
Are you tired of having gelled hair that just won’t come out? Trying to remove it can be frustrating if you use too much gel or have been wearing your hairstyle for too long. But don’t worry; and there are several methods you can try to get the gel out of your hair and leave it feeling clean and fresh.
How to get gel out of hair can sometimes feel challenging, especially if it’s a strong-hold or long-lasting product. However, with the proper techniques and tools, getting your hair clean and back to its natural state is easy.
Whether you’re dealing with a small amount of product or build-up from regular use, this guide will walk you through simple and practical steps to remove the gel from your hair without causing damage or dryness.
What Are the Benefits of Removing Gel from Hair
You may want to remove gel from your hair for many reasons. Some common benefits include:
- Maintaining Healthy Hair: Leaving gel in your hair for extended periods can cause build-up, which can clog pores and lead to dryness and irritation on the scalp.
- Restoring Natural Texture: Sometimes, gelled hair can feel stiff and unnatural. Removing the gel can bring back your hair’s natural softness and movement.
- Preventing Product Build-up: Regularly removing gel from your hair prevents build-up that could weigh down your locks or make them look greasy.
Removing gel from your hair helps keep it clean, healthy, and looking its best.
What Will You Need?
Before you begin the process of removing gel from your hair, it’s essential to gather all the necessary tools and products. These may vary depending on which method you choose, but some everyday items include:
- Shampoo: A gentle shampoo will be your primary product for removing gel from hair.
- Conditioner: After using shampoo, you’ll want to condition your hair to restore moisture and prevent dryness.
- Wide-Tooth Comb: This comb is perfect for separating and detangling your hair.
- Towel or Microfiber Cloth: A towel or microfiber cloth will help absorb excess water from your hair after washing it.
Once you have all your tools and products ready, you can proceed with one of the methods to get the gel out of your hair.
10 Easy Steps on How to Get Gel Out of Hair
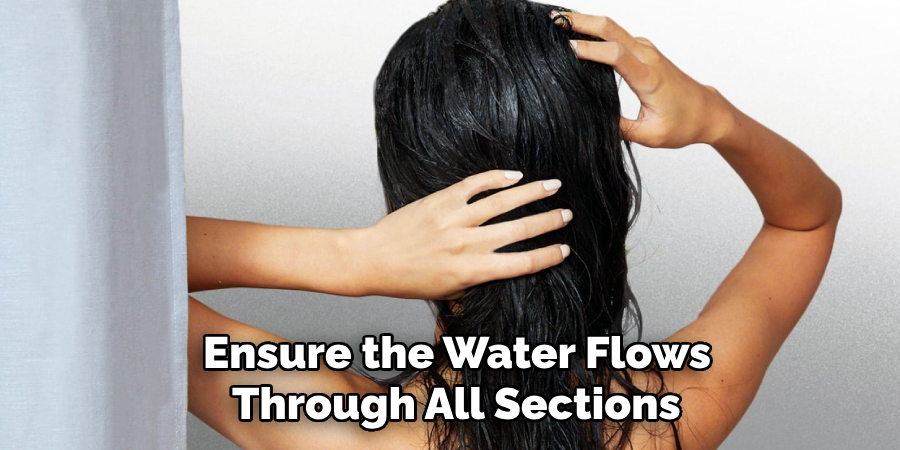
Step 1: Rinse Your Hair with Warm Water
Start by rinsing your hair thoroughly with warm water. The warm temperature helps to loosen the gel, making it easier to remove. Ensure the water flows through all sections of your hair, mainly if the gel has been applied heavily. Use your fingers to gently massage your scalp and hair, aiding the process of breaking down the gel. This step prepares your hair for shampooing and ensures that the product can penetrate effectively during the next steps. Spend a minute or two rinsing to ensure the gel starts softening.
Step 2: Apply a Clarifying Shampoo
After rinsing thoroughly, apply a sufficient amount of clarifying shampoo to your wet hair. A clarifying shampoo is designed to remove product buildup, including stubborn gel residues. Work the shampoo into a rich lather, gently but thoroughly massaging your scalp and hair strands. Focus on areas where the gel might be concentrated and ensure the shampoo is evenly distributed. This step will help loosen and lift the gel from your hair. Rinse the shampoo with warm water before moving on to the next step.
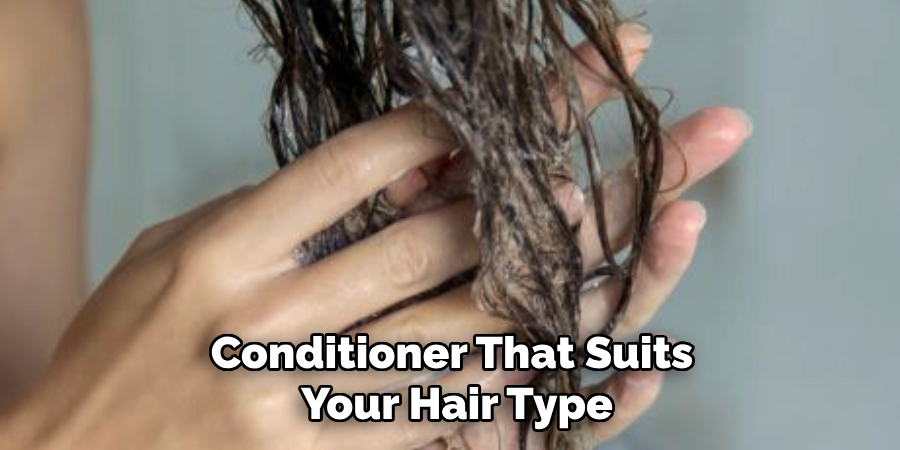
Step 3: Condition Your Hair
After thoroughly rinsing out the shampoo, it’s essential to restore moisture to your hair by applying a conditioner. Choose a conditioner that suits your hair type, focusing on hydration and nourishment. Apply the conditioner generously to the mid-lengths and ends of your hair, avoiding the scalp to prevent excess oil buildup. Allow the conditioner to sit for a few minutes to penetrate and soften your strands deeply. Rinse your hair with cool water to seal the cuticle and add shine, leaving your hair smooth and manageable.
Step 4: Dry Your Hair Gently
Once your hair is clean and conditioned, it’s essential to dry it gently to prevent damage. Begin by using a soft, absorbent towel to blot excess water from your hair — avoid vigorous rubbing, as this can lead to breakage and frizz. If possible, allow your hair to air-dry to retain its natural moisture and texture. Use a blow dryer on a low heat setting for quicker drying, and keep it at a safe distance from your hair. Using a heat protectant spray before blow-drying can also minimize heat damage. This careful approach will leave your hair healthy and styled to perfection.
Step 5: Style and Protect
Styling your hair is the final step to achieving your desired look, but protecting your strands in the process is crucial. Before using any heat styling tools, apply a heat protectant product to create a barrier against high temperatures. Choose tools with adjustable heat settings and use the lowest practical temperature for your hair type. Whether you prefer straightening, curling, or adding volume, work in small sections to ensure even styling without overexposure to heat. Finish with a lightweight serum or styling cream to enhance shine and tame flyaways, giving your hair a polished and healthy appearance.
Step 6: Maintain Your Look
Maintaining your hairstyle ensures that your efforts last longer and your hair remains healthy. Use a high-quality hairspray or setting spray to lock your style in place without making your hair feel stiff or heavy. Avoid touching or playing with your hair too frequently, as this can disrupt your style and transfer oils from your hands to your strands. For overnight protection, consider wrapping your hair in a silk scarf or sleeping on a silk pillowcase to reduce friction and keep your look intact. Regularly follow a proper hair care routine to nourish your hair for your next styling session.
Step 7: Protect Your Hair from Environmental Damage
To keep your hairstyle looking fresh and healthy, it’s essential to protect it from environmental stressors. Before heading outdoors, apply a heat protectant spray or hair SPF to shield your strands from harmful UV rays. Use an anti-frizz spray or smoothing product on windy or humid days to prevent your hair from becoming unruly. If you’re spending extended time in harsh conditions, consider wearing a hat or scarf to provide additional protection. Taking these precautions will help maintain your hairstyle and prevent unnecessary damage.
Step 8: Trim Your Hair Regularly
Regular trims are essential for maintaining healthy hair and keeping your hairstyle looking its best. Split ends and damaged tips can hinder hair growth and lead to further breakage if not addressed in time. Aim to trim your hair every 6-8 weeks, or as needed, to remove damaged ends and keep your hair in optimal condition. This practice promotes healthier strands and ensures your hairstyle retains its shape and vibrancy. Consult with a professional stylist for the best trimming techniques suited to your hair type and length.
Step 9: Nourish Your Hair from Within
Healthy hair starts from the inside out, so focusing on your diet and overall wellness is essential. Ensure you’re consuming a balanced diet rich in vitamins and minerals like biotin, vitamin E, and omega-3 fatty acids, vital for strong and shiny hair. Staying hydrated is equally important, as water helps keep your scalp and hair hydrated. Additionally, consider incorporating supplements if recommended by a healthcare professional to fill any nutritional gaps. By prioritizing your overall health, you’ll provide your hair with the foundation it needs to grow and thrive.
Step 10: Protect Your Hair from Heat Damage
Excessive heat styling can lead to dryness, breakage, and long-term damage to your hair. Always use a heat protectant spray or serum before using tools like blow dryers, straighteners, or curling irons to minimize the risk. Opt for tools with adjustable temperature settings and use the lowest practical heat setting for your hair type. Additionally, limit heat styling to only a few times a week, and consider incorporating heat-free styling methods into your routine for healthier, more resilient hair.
By following these ten steps, you’ll be able to achieve and maintain healthy, styled hair. Remember to listen to your hair’s needs and adjust your routine accordingly. You can have the beautiful, nourished locks you’ve always wanted with proper care and attention.
Conclusion
Taking care of your hair may seem daunting, but it doesn’t have to be. By understanding your hair type and its specific needs, choosing the right products, and following a proper routine, you can achieve healthy and styled hair without much effort.
Hopefully, the article on how to get gel out of hair and these ten steps for healthy, styled hair have given you a better understanding of how to care for your hair and maintain your desired look.
With consistency and patience, you’ll soon see the difference in the health and appearance of your hair. So go ahead, give your locks the love they deserve! Happy hair styling!
About the Author
Jane Hubbard is a passionate beauty expert with a wealth of experience in makeup, hair, and overall beauty techniques. After years of working as a hairdresser specialist, she followed her entrepreneurial spirit and started her own consultancy business.
Jane has always been driven by her desire to help others feel confident in their own skin, and she does this by sharing her knowledge, experiences, and practical beauty tips. Through her consultancy, she empowers individuals to embrace their unique beauty, offering tailored guidance that boosts both self-esteem and personal style.
Professional Focus
- Specializes in makeup, hairstyling, and beauty consulting.
- Provides personalized beauty advice, tips, and techniques to help individuals feel confident in their appearance.
- Dedicated to staying up-to-date with the latest industry trends and developments.
- Passionate about creating a comfortable and empowering experience for every client.
Education History
- University of Craft and Design – Bachelor of Fine Arts (BFA) in Woodworking and Furniture Design
- Woodworking Apprenticeships – Extensive hands-on training with skilled craftsmen to refine carpentry and furniture making techniques
- Online Courses & Masterclasses – Continued education in advanced woodworking techniques, design principles, and specialized tools
Expertise:
- Makeup artistry, hairstyling, and beauty consulting.
- Personalized beauty techniques to enhance confidence and self-expression.
- Educating clients on how to maintain their beauty routines at home.