
Gel-X nails offer a stunning, durable manicure that can last for weeks, but the time always comes when they need to be removed. While peeling or prying them off might seem like a quick fix, it can cause significant damage to your natural nails, leaving them weak and brittle. Proper removal is crucial for maintaining nail health and ensuring your nail beds remain strong for your next manicure.
If you’re wondering how to get gel x nails off safely at home without booking a salon appointment, you’ve come to the right place. This guide will provide a detailed, step-by-step process using acetone and gentle techniques to dissolve the adhesive, allowing the tips to slide off effortlessly while protecting the integrity of your natural nails. Get ready to master the art of safe and effective at-home removal.
Removing gel x nails at home might seem intimidating, but with the right tools and approach, it can be a simple and stress-free process. By following a few easy steps, you can carefully take off your gel x nails without damaging your natural nails. The key is patience and using proper techniques to ensure your nails remain healthy and strong throughout the process.
Step-by-Step Guide to Getting Gel-X Nails Off
Step 1: Trim the Length of the Extensions
Before you begin the soaking process, the first step is to reduce the length of the Gel-X extensions. Use a pair of nail clippers to carefully trim the tips down as short as possible without cutting your natural nail. This step is important because it significantly reduces the surface area that the acetone needs to penetrate, which will speed up the entire removal process. By cutting off the excess length, you allow the solvent to work more efficiently on the area where the tip is bonded to your nail plate, saving you time and patience later on.

Step 2: File Down the Top Coat
Next, you need to break the seal of the top coat. Grab a coarse nail file (around 100/180 grit) and gently but thoroughly file the surface of each Gel-X nail. The goal is to remove the shiny top layer of gel polish. This protective layer is non-porous and designed to resist chemicals, so removing it is essential for allowing the acetone to penetrate the soft gel underneath. You will know you have filed enough when the shine is completely gone and the surface appears dull and matte. Be careful not to file down to your natural nail.
Step 3: Protect Your Surrounding Skin
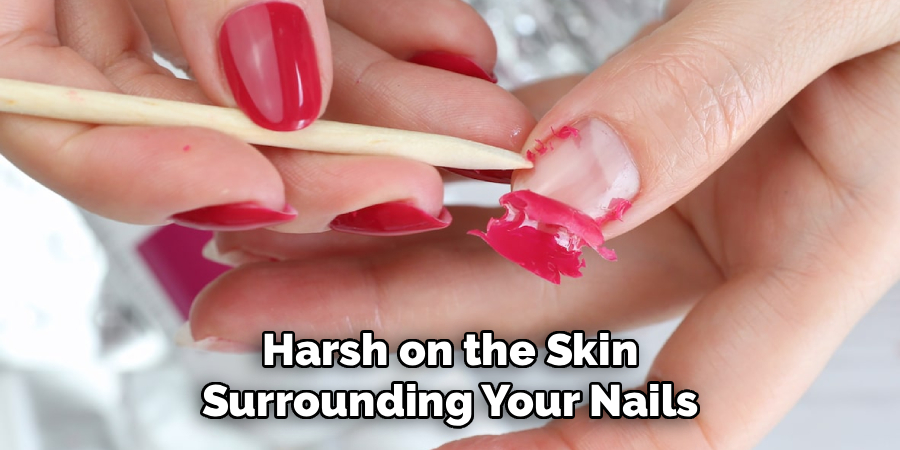
Acetone is extremely drying and can be harsh on the skin surrounding your nails. Before you proceed with the soaking, it is a smart idea to apply a protective barrier to your cuticles and the skin on your fingertips. A thick layer of petroleum jelly or a quality cuticle oil works perfectly for this purpose. This creates an oily barrier that prevents the acetone from stripping the natural moisture from your skin, reducing the risk of irritation, redness, and dryness. Take a moment to apply it generously around each nail you plan to soak.
Step 4: The Soaking Method
Now it is time for the most critical part of the process. To effectively dissolve the adhesive, you will need to soak your nails in pure acetone. A common method is the foil wrap technique. Saturate a cotton ball or a piece of a cotton pad with 100% acetone, place it directly on top of your filed nail, and then wrap your fingertip tightly with a small square of aluminum foil. The foil traps heat and prevents the acetone from evaporating, which accelerates the breakdown of the gel. Ensure the wrap is snug to keep the cotton in firm contact with the nail surface.
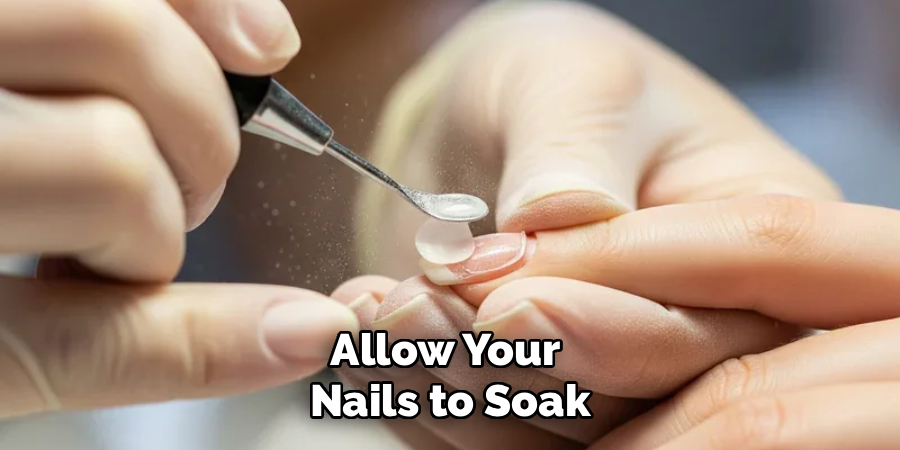
Step 5: Wait Patiently for the Gel to Dissolve
Once all your nails are wrapped, it is time to let the acetone work its magic. This step requires patience. Allow your nails to soak for at least 15 to 20 minutes. You can check one nail after about 15 minutes to see how the process is going. The gel should look softened, gummy, and should be lifting away from the nail plate easily. If it still feels firmly attached, re-wrap the nail and give it another 5 to 10 minutes. Rushing this step and trying to force the nail off too soon can lead to damage.
Step 6: Gently Scrape Away the Softened Gel
After the soaking time is complete, remove the foil and cotton from one nail at a time. The gel and the Gel-X tip should be very soft and appear to be melting or peeling off. Use a wooden orange stick or a gentle cuticle pusher to carefully scrape away the residue. If you encounter any resistance, do not force it or pry. This is a sign that the nail needs to soak for longer. Simply re-saturate your cotton ball, re-wrap the nail with foil, and wait a few more minutes before trying again.
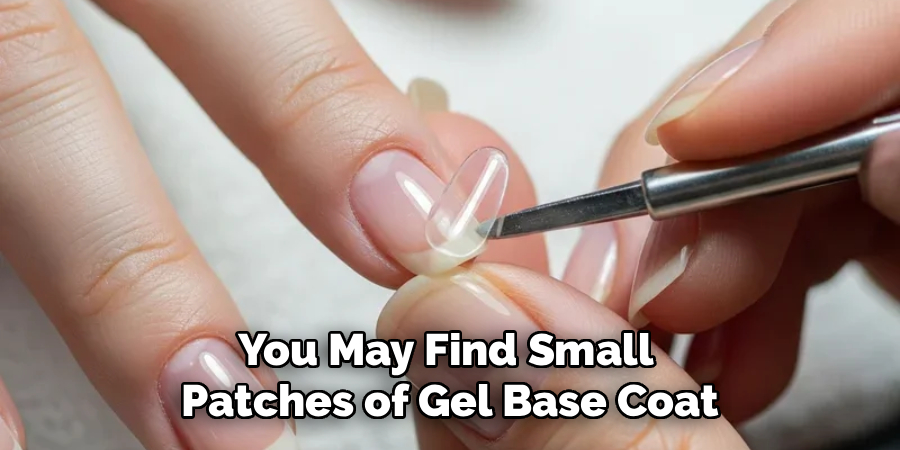
Step 7: Buff Away Any Remaining Residue
Even after a successful soak and scrape, you may find small patches of gel base coat or adhesive left on your natural nails. To remove these last traces, use a fine-grit buffer block. Gently buff the surface of your nails until they are smooth and completely clean of any product. This step helps to create a clean canvas and restores a neat appearance to your nail plate. Be careful not to over-buff, as this can thin out your natural nail. The goal is just to smooth the surface, not remove layers of the nail itself.
Step 8: Rehydrate and Nourish Your Nails and Hands
The final and most important step in understanding how to get gel x nails off properly is rehydration. Acetone leaves nails and skin incredibly dehydrated. Once all the extensions are off and your nails are clean, wash your hands thoroughly with a gentle soap to remove any remaining acetone residue. Immediately follow up by applying a generous amount of nourishing cuticle oil to your nails and the surrounding skin. Massage it in, then finish with a rich hand cream to restore moisture and support healthy nail recovery.
Common Removal Mistakes
When removing gel x nails, there are several common mistakes to avoid to ensure the health of your natural nails. One of the most frequent errors is peeling or picking at the extensions. This can cause significant damage by removing the top layers of your natural nails, leaving them weak and prone to splitting. Another mistake is skipping the soaking process or not using enough acetone, which often results in excessive scraping.
Using improper tools, such as metal implements or harsh nail files, can also harm the nail surface, leading to unevenness and thinning. Additionally, failing to hydrate after removal contributes to dryness and brittleness, which can hinder nail recovery. Proper technique and post-care are essential to maintaining the integrity of your nails.
Frequently Asked Questions
Can I Reuse Gel-X Nails After Removing Them?
No, Gel-X nails are not reusable. The removal process involves dissolving the soft gel material with acetone, which breaks down the structure of the tip. Once removed, the extension will be misshapen and gummy, making it impossible to reapply. They are designed for single-use applications only.
How Long Does It Take to Remove Gel-X Nails at Home?
The entire process typically takes about 30 to 45 minutes from start to finish. This includes time for preparation like trimming and filing, a 15-20 minute soak, and the gentle scraping and buffing afterward. Rushing the soak time will only make the scraping phase more difficult and longer.
Will Removing Gel-X Nails Damage My Natural Nails?
When done correctly following a safe, soak-off method, removing Gel-X nails should not cause damage. Damage usually occurs from impatience, such as peeling, prying, or aggressively scraping the tips off before the adhesive has fully dissolved. Always be gentle and let the acetone do the work for you.
What’s the Difference Between Gel-X and Acrylic Removal?
Gel-X removal is generally faster and gentler because the tips are made entirely of soft gel, which dissolves completely in acetone. Acrylics, on the other hand, are much harder and require more extensive filing and longer soaking times to break down, which can sometimes be more stressful on the natural nail.
Can I Use Nail Polish Remover Instead of Pure Acetone?
For best results, 100% pure acetone is highly recommended. While some non-acetone removers may work eventually, they are far less effective at dissolving the strong bonding gel used for Gel-X. Using a weaker remover will significantly prolong the soaking time and may not fully remove the product, leading to frustration.
Conclusion
Successfully removing your manicure at home is entirely achievable with the right technique and a bit of patience. By following these steps—trimming, filing, soaking, and gently scraping—you can protect your natural nails from the damage that comes with peeling or forcing extensions off. The key takeaway is to let the acetone dissolve the product completely before you attempt to remove it. Now that you know how to get gel x nails off safely, you can confidently manage your manicures from application to removal, keeping your nails healthy and ready for their next style.
About the Author
Jane Hubbard is a passionate beauty expert with a wealth of experience in makeup, hair, and overall beauty techniques. After years of working as a hairdresser specialist, she followed her entrepreneurial spirit and started her own consultancy business.
Jane has always been driven by her desire to help others feel confident in their own skin, and she does this by sharing her knowledge, experiences, and practical beauty tips. Through her consultancy, she empowers individuals to embrace their unique beauty, offering tailored guidance that boosts both self-esteem and personal style.
Professional Focus
- Specializes in makeup, hairstyling, and beauty consulting.
- Provides personalized beauty advice, tips, and techniques to help individuals feel confident in their appearance.
- Dedicated to staying up-to-date with the latest industry trends and developments.
- Passionate about creating a comfortable and empowering experience for every client.
Education History
- University of Craft and Design – Bachelor of Fine Arts (BFA) in Woodworking and Furniture Design
- Woodworking Apprenticeships – Extensive hands-on training with skilled craftsmen to refine carpentry and furniture making techniques
- Online Courses & Masterclasses – Continued education in advanced woodworking techniques, design principles, and specialized tools
Expertise:
- Makeup artistry, hairstyling, and beauty consulting.
- Personalized beauty techniques to enhance confidence and self-expression.
- Educating clients on how to maintain their beauty routines at home.