
That one stubborn patch of hair that refuses to cooperate, growing in a different direction no matter what you do. Sound familiar? You’re likely dealing with a cowlick.
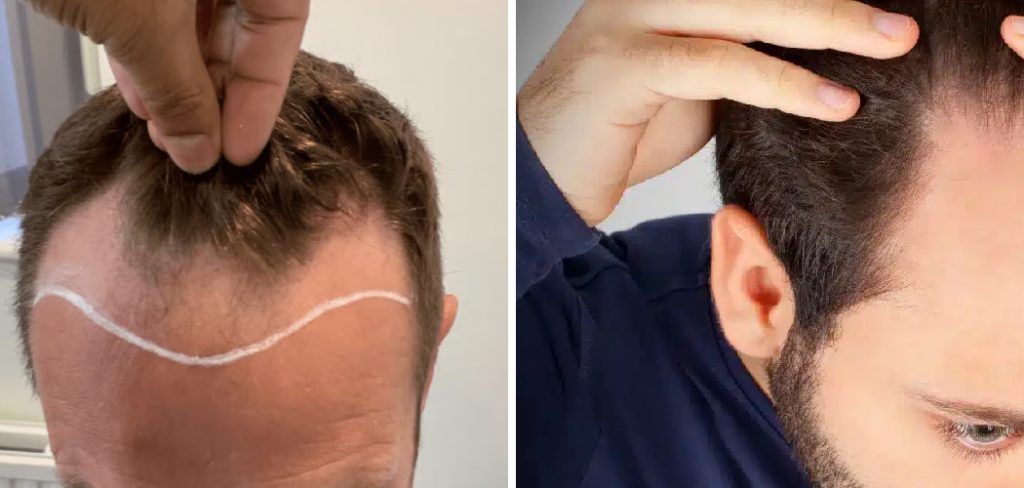
This common hair feature is essentially a spiral pattern of hair growth that goes against the grain of the rest of your hair. It gets its name from the swirled pattern left on a calf’s fur after being licked by its mother. While some people embrace their cowlicks, many find them frustrating, making it difficult to achieve certain hairstyles. If you’re tired of fighting a losing battle with your hair every morning, you’re in the right place.
In this guide on how to get rid of cowlicks permanently, we’ll cover the root causes of cowlicks and provide practical tips on how to tame them.
What Will You Need?
Before we dive into the steps, let’s gather the essential tools and products that will help you tame that unruly hair. Having these on hand will make the process much more effective.
- A high-quality blow dryer with a concentrator nozzle
- A round brush or a fine-tooth comb
- Strong-hold hairspray
- Styling mousse or gel
- Hair clips for sectioning
- Water spray bottle
- A flat iron (optional)
10 Easy Steps on How to Get Rid of Cowlicks Permanently
Taming a cowlick requires patience and consistency. While “permanent” removal is difficult since cowlicks are determined by your genetics, you can train your hair to lie flat and significantly reduce its appearance. Follow these steps diligently to take back control of your hair.
Step 1: Start with Wet Hair
Never try to tackle a cowlick on dry hair. Your hair is most pliable and easiest to manipulate when it’s wet. The moment you step out of the shower, your training begins. If you aren’t washing your hair, use a water spray bottle to thoroughly dampen the cowlick and the surrounding area. The key is to saturate the roots, as this is where the growth pattern is established. Trying to style a dry cowlick is like trying to bend a set piece of plastic—it will just spring back into place. Wetting the hair allows you to reset its direction before applying heat and product.
Step 2: Apply a Styling Product
With your hair still damp, it’s time to bring in some reinforcement. A quality styling product will provide the hold and memory your hair needs to stay in its new, desired position. Apply a dollop of styling mousse or a small amount of strong-hold gel directly to the roots of the cowlick. Use your fingers to work the product in, making sure you are coating the hair from root to tip. This product acts as a foundation, giving the hair strands the structure they need to resist falling back into their natural swirl. Don’t be shy with the product, but avoid overdoing it to prevent a stiff, unnatural look.
Step 3: Use a Comb to Force the Hair in Place
Now, take your fine-tooth comb and begin to direct the hair in the opposite direction of its growth. For example, if your cowlick naturally pushes your hair to the right, comb it firmly to the left. Then, comb it forward, and then backward. The goal is to confuse the hair follicle and break its natural pattern. Hold the hair down with your comb or fingers for a few seconds in each new direction. This action begins the physical process of retraining the hair roots, disrupting their stubborn memory, and making them more receptive to the new style you are about to create with heat.
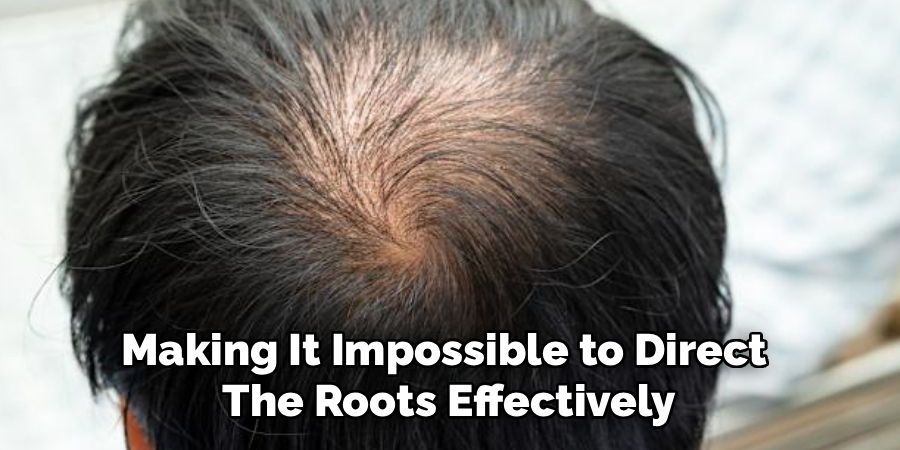
Step 4: Grab Your Blow Dryer and Nozzle
Your blow dryer is your most powerful weapon against a cowlick. Attach the concentrator nozzle—this is a non-negotiable step. The nozzle directs the airflow into a focused stream, giving you precise control over the section of hair you’re working on. Without it, the air scatters, creating more frizz and making it impossible to direct the roots effectively. Turn your dryer on to a medium-to-high heat setting and a powerful airflow. The combination of heat and directed air is what will ultimately reshape the bonds in your hair.
Step 5: Direct Heat While Brushing
Hold the blow dryer a few inches from your head. Using your round brush or comb, brush the cowlick in all different directions—left, right, forward, and back—while blasting it with heat. This continuous motion further confuses the hair root. By not allowing the hair to settle in its preferred direction, you are actively breaking its will. The heat makes the hair shaft malleable, and the constant brushing forces it into submission. Spend at least a minute on this step, ensuring the root area gets plenty of focused heat.
Step 6: Brush Hair into Your Desired Style
After you’ve thoroughly disoriented the cowlick, it’s time to show it who’s boss. Decide on the final direction you want your hair to lie in. Using your brush, pull the hair taut in that direction while continuing to apply direct heat from the blow dryer. For instance, if you want your bangs to lie flat and forward, pull them straight down and aim the dryer’s airflow downwards from the root. This step sets the final position. The tension from the brush, combined with the heat, molds the hair into its new, compliant state.
Step 7: The Cool Shot Is Your Best Friend
Once the hair is almost completely dry and styled in the desired direction, switch your blow dryer to the “cool shot” setting. Go over the entire area with cold air for about 30 seconds. This is a critical step that many people skip. Heat shapes the hair, but cool air locks it in place. The blast of cold air rapidly cools the hair shaft, closing the cuticle and setting the style. This makes it much harder for the cowlick to spring back up later in the day. Think of it as the final seal on all your hard work.
Step 8: Consider a Flat Iron for Extra Control
If your cowlick is particularly stubborn, a flat iron can provide an extra level of reinforcement. Once your hair is completely dry, take the cowlick section and press it with a flat iron, pulling the hair in the direction you want it to go. Be careful not to hold the heat on for too long to avoid damage. This direct, intense heat provides a sleek finish and further flattens any rebellious roots that the blow dryer might have missed. This is especially effective for cowlicks at the hairline or in bangs.
Step 9: Lock It In with Hairspray
Now that your cowlick is tamed and styled, you need to ensure it stays that way. Take a strong-hold hairspray and give the area a light, even misting. To avoid a helmet-like feel, you can spray a little on your fingertips or a comb and then specifically target the root area of the cowlick. This provides a final layer of hold without making your entire hairstyle stiff. The hairspray acts as an external cast, reinforcing the new shape you have created.
Step 10: Repeat, Repeat, Repeat
Consistency is everything. A single styling session won’t permanently fix a cowlick. You need to repeat this process every time you wash and style your hair. Over weeks and months, you are gradually training your hair follicles. While you may never eliminate the growth pattern entirely, your hair will learn to lie flatter with less effort over time. Eventually, you may find that a quick blast with the blow dryer is all you need, as the hair becomes accustomed to its new position.
5 Things You Should Avoid
Managing a cowlick is as much about what you don’t do as what you do. Avoid these common mistakes to keep your hair cooperative.
- Air-Drying Your Hair: Letting your hair air-dry gives the cowlick free rein to spring up in its natural direction. Always use heat to control it.
- Cutting Your Hair Too Short at the Cowlick: Very short hair has less weight to hold it down, which can make the cowlick stand up even more prominently. Consult your stylist about the right length.
- Sleeping on Wet Hair: Going to bed with damp hair is a recipe for a rebellious cowlick in the morning. The pressure from the pillow will set it in an awkward position.
- Using the Wrong Products: Heavy, greasy products can weigh hair down in the wrong way, making the cowlick separate and look more obvious. Stick to lightweight mousse or targeted hairspray.
- Rubbing Hair with a Towel: Aggressively rubbing your hair with a towel creates frizz and roughs up the hair cuticle, making your cowlick even harder to control. Gently squeeze out excess water instead.
Conclusion
A cowlick might feel like a daily hair struggle, but it doesn’t have to be. With the right tools, products, and a consistent routine, you can train your hair and significantly diminish its unruly appearance.
By starting with wet hair, using heat and product strategically, and setting your style with a cool shot, you can teach your cowlick to behave. Remember to be patient and persistent—your efforts will pay off with smoother, more manageable hair.
Hopefully, this guide on how to get rid of cowlicks permanently has given you some new ideas and techniques to try in taming your cowlick.
About the Author
Jane Hubbard is a passionate beauty expert with a wealth of experience in makeup, hair, and overall beauty techniques. After years of working as a hairdresser specialist, she followed her entrepreneurial spirit and started her own consultancy business.
Jane has always been driven by her desire to help others feel confident in their own skin, and she does this by sharing her knowledge, experiences, and practical beauty tips. Through her consultancy, she empowers individuals to embrace their unique beauty, offering tailored guidance that boosts both self-esteem and personal style.
Professional Focus
- Specializes in makeup, hairstyling, and beauty consulting.
- Provides personalized beauty advice, tips, and techniques to help individuals feel confident in their appearance.
- Dedicated to staying up-to-date with the latest industry trends and developments.
- Passionate about creating a comfortable and empowering experience for every client.
Education History
- University of Craft and Design – Bachelor of Fine Arts (BFA) in Woodworking and Furniture Design
- Woodworking Apprenticeships – Extensive hands-on training with skilled craftsmen to refine carpentry and furniture making techniques
- Online Courses & Masterclasses – Continued education in advanced woodworking techniques, design principles, and specialized tools
Expertise:
- Makeup artistry, hairstyling, and beauty consulting.
- Personalized beauty techniques to enhance confidence and self-expression.
- Educating clients on how to maintain their beauty routines at home.