
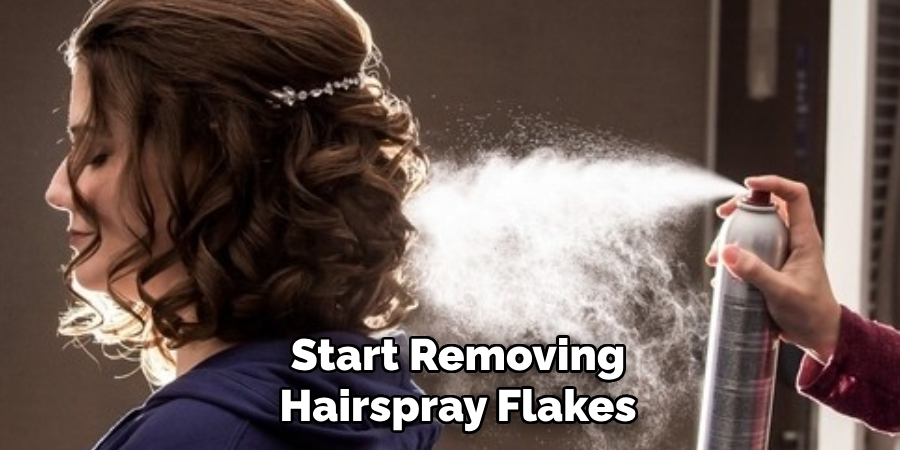
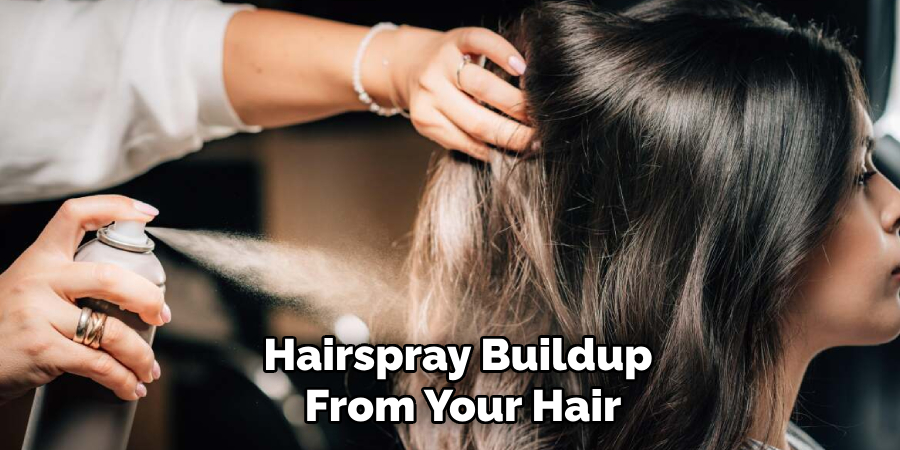
Are you tired of seeing white flakes all over your hair after using hairspray? Don’t worry, you’re not alone. As much as hairspray can be a lifesaver in keeping our hair in place, it can also leave behind annoying flakes that are hard to remove.
Hairspray is a staple in many hair care routines, offering long-lasting hold and style. However, it can sometimes leave behind pesky flakes that make the hair look dull and unclean. Getting rid of these flakes doesn’t have to be a struggle. With the proper techniques and products, you can effectively remove hairspray residue and restore your hair’s natural shine and softness.
In this guide on how to get rid of hairspray flakes, we will discuss the causes of flakes, as well as some tips and tricks to help you eliminate them for good.
Why Do Hairspray Flakes Appear?
Before we discuss how to get rid of hairspray flakes, it’s essential to understand why they appear. Hairspray flakes are tiny particles of dried hairspray that remain on the hair after application. They can make the hair look dull, stiff, and even dirty, which could be better for everyone.
The main cause of hairspray flakes is using too much product or misusing it. When too much hairspray is used, excess residue builds on the hair shaft and scalp, leading to flakes. Additionally, if you don’t hold the can appropriately from your head while spraying, it can create a concentrated product buildup in one area, resulting in flakes.
Another possible cause is using hairspray on damp hair. When the hairspray mixes with water, it creates a sticky residue that can easily flake off once dry.
What Will You Need?
To effectively get rid of hairspray flakes, you will need the following items:
- Clarifying shampoo
- Apple cider vinegar or lemon juice
- Wide-toothed comb
- Microfiber towel or cotton T-shirt
- Optional: deep conditioning mask or hot oil treatment
Once you have these items, you’re ready to start removing hairspray flakes from your hair.
10 Easy Steps on How to Get Rid of Hairspray Flakes
Step 1. Start by Brushing Your Hair
The first step in removing hairspray flakes is thoroughly brushing your hair to loosen and remove as much residue as possible. Use a wide-toothed comb or a brush with soft bristles to detangle your hair gently. Begin at the ends of your hair and work your way up to the roots to avoid unnecessary breakage or tugging. This step helps dislodge any dried flakes sitting on the surface of your hair, making the following steps more effective. For best results, ensure your hair is dehydrated before brushing, as wet hair is more prone to damage and may cause the hairspray flakes to stick even more.
Step 2. Rinse Your Hair with Warm Water
Once you’ve thoroughly brushed your hair, it’s time to rinse it with warm water. Warm water helps to loosen any remaining hairspray buildup and prepares your hair for cleansing. Stand under the shower or use a handheld showerhead to gently rinse your hair, ensuring that the water reaches both the scalp and the ends. Avoid rubbing your hair aggressively, as this can cause tangling or damage. Instead, use your fingers to lightly comb through your hair as the water runs through it. This step lays the foundation for properly removing hairspray flakes in the next stages.
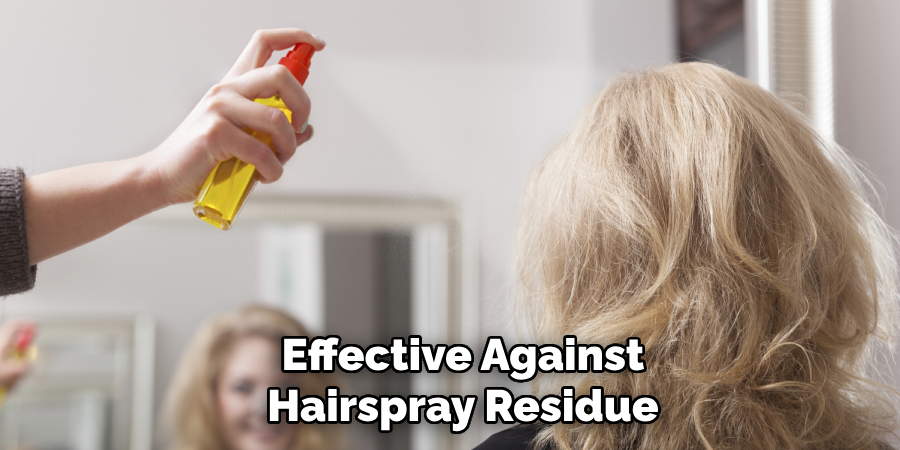
Step 3. Apply a Clarifying Shampoo
After rinsing your hair with warm water, apply a clarifying shampoo to your scalp and hair. Clarifying shampoos are designed to remove product buildup, making them highly effective against hairspray residue. Work the shampoo into your hair using your fingertips, focusing on the roots and areas where flakes are most prominent. Massage gently in circular motions to lift the buildup without irritating your scalp. Once you’ve lathered thoroughly, rinse your hair with warm water until the shampoo is completely removed. If necessary, repeat this step to ensure all residue is eliminated.
Step 4. Use an Apple Cider Vinegar Rinse
After shampooing, an apple cider vinegar rinse can help to dissolve any remaining hairspray residue further. Mix two to three tablespoons of apple cider vinegar with a cup of water and pour the solution over your hair, focusing on the scalp and roots. Apple cider vinegar helps to break down product buildup while balancing the pH of your scalp, leaving your hair shiny and clean. Allow the mixture to sit for two to three minutes before rinsing it out thoroughly with warm water. If the smell of vinegar is too strong for you, you can substitute it with freshly squeezed lemon juice, which has similar effects for removing residues.
Step 5. Deep Condition Your Hair
After thoroughly cleansing your hair and scalp, it’s essential to replenish moisture and restore softness. Use a deep conditioning mask or a hot oil treatment to hydrate your hair and repair any dryness caused by product buildup or clarifying treatments. Apply the conditioner evenly throughout your hair, focusing on the mid-lengths and ends, and avoid the scalp to prevent further residue buildup. Leave the conditioner on for 5-10 minutes, or follow the product instructions, then rinse it out with cool water. Cool water helps seal the hair cuticle and lock in moisture, making your hair feel smooth and healthy.
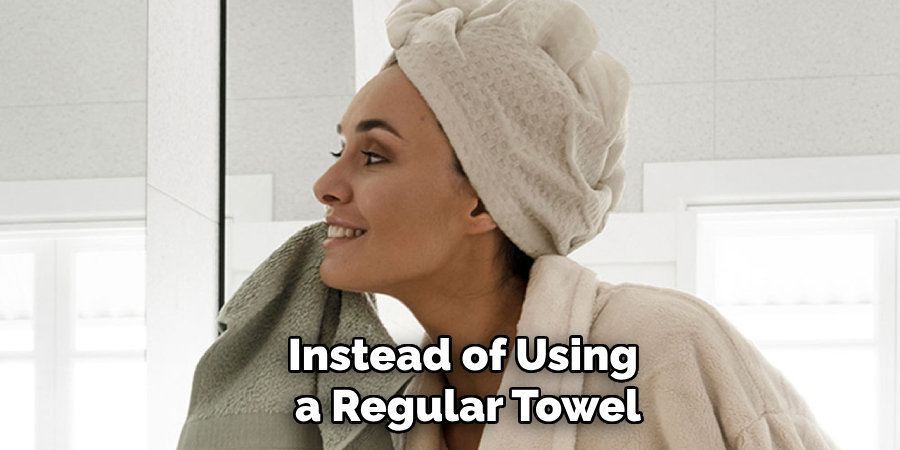
Step 6. Dry Your Hair Properly
Once you have completed the rinsing and conditioning steps, it’s time to dry your hair properly. Instead of using a regular towel, opt for a microfiber towel or a cotton t-shirt to gently squeeze excess water out of your hair. These materials are gentler on your hair and help minimize frizz and breakage. Avoid rubbing your hair aggressively, as this can cause tangling and roughen the hair cuticle. If possible, allow your hair to air dry, but if you need to use a blow dryer, set it to a low heat or cool setting to prevent additional dryness or damage. Proper drying ensures your hair stays smooth and manageable while maintaining its natural shine.
Step 7. Comb Through Your Hair
After your hair is dry or mostly dry, use a wide-toothed comb to detangle and smooth it gently. This step helps to eliminate any remaining flakes or residue that may have loosened during the cleaning process. Start from the ends of your hair and gradually work your way up to the roots, being gentle to avoid breakage or pulling. Combing through your hair also helps distribute any leftover conditioning treatment, ensuring an even and polished look. For the best results, avoid using a fine-toothed comb, as it may tug on your hair or cause unnecessary stress to your scalp.
Step 8. Inspect for Remaining Flakes
Once you’ve combed through your hair, take a moment to inspect for any remaining hairspray flakes. Use natural light or a well-lit area to check your scalp and hair strands. If you notice small patches of residue, you can repeat the clarifying steps or gently target the areas with a damp cloth to remove them. Being thorough ensures your hair is immaculate and free of product buildup, leaving it refreshed and ready for styling.
Step 9. Maintain a Regular Hair Care Routine
To prevent the buildup of hairspray and other styling products in the future, it’s essential to maintain a regular hair care routine. Use a clarifying shampoo once every two weeks to keep your hair clean and residue-free, mainly if you use heavy styling products frequently. Incorporate a hydrating shampoo and conditioner into your routine to ensure your hair stays nourished and healthy. Additionally, avoid overusing hairspray and explore lighter styling options that are easier to wash out. A consistent routine helps maintain a clean scalp and promotes firmer, shinier hair over time.
Step 10. Protect Your Hair from Damage
To keep your hair healthy and minimize damage, it’s essential to take preventative measures as part of your hair care routine. Avoid excessive heat styling tools like straighteners, curling irons, or hot blow dryers, and always use a heat protectant spray when applying heat to your hair. Additionally, reduce exposure to harsh environmental factors such as direct sunlight or chlorine from swimming pools by wearing a hat or using protective hair products. Regular trims can also prevent split ends and breakage, ensuring your hair stays strong and manageable. Prioritizing protection will help your hair maintain its vitality and luster long-term.
By following these steps, you can effectively remove hairspray buildup from your hair and maintain a healthy scalp.
Conclusion
How to get rid of hairspray flakes can be challenging, but with the right approach, maintaining clean, healthy hair is entirely achievable.
By following the outlined steps—from clarifying shampoos and vinegar rinses to moisturizing treatments and protective habits—you can effectively remove residue while keeping your scalp balanced and your hair nourished. Regular maintenance and mindful use of styling products are vital in preventing flakes in the future. With a consistent hair care routine that prioritizes cleaning, conditioning, and protection, you can ensure your hair remains smooth, shiny, and free of unwanted buildup.
Hopefully, these tips and tricks will help you achieve your desired hair goals and leave you feeling confident in your mane once again. So go ahead, rock that hairspray without worrying about pesky flakes!
About the Author
Jane Hubbard is a passionate beauty expert with a wealth of experience in makeup, hair, and overall beauty techniques. After years of working as a hairdresser specialist, she followed her entrepreneurial spirit and started her own consultancy business.
Jane has always been driven by her desire to help others feel confident in their own skin, and she does this by sharing her knowledge, experiences, and practical beauty tips. Through her consultancy, she empowers individuals to embrace their unique beauty, offering tailored guidance that boosts both self-esteem and personal style.
Professional Focus
- Specializes in makeup, hairstyling, and beauty consulting.
- Provides personalized beauty advice, tips, and techniques to help individuals feel confident in their appearance.
- Dedicated to staying up-to-date with the latest industry trends and developments.
- Passionate about creating a comfortable and empowering experience for every client.
Education History
- University of Craft and Design – Bachelor of Fine Arts (BFA) in Woodworking and Furniture Design
- Woodworking Apprenticeships – Extensive hands-on training with skilled craftsmen to refine carpentry and furniture making techniques
- Online Courses & Masterclasses – Continued education in advanced woodworking techniques, design principles, and specialized tools
Expertise:
- Makeup artistry, hairstyling, and beauty consulting.
- Personalized beauty techniques to enhance confidence and self-expression.
- Educating clients on how to maintain their beauty routines at home.