
The Mohawk is more than just a haircut; it’s a statement. Bold, rebellious, and undeniably cool, it’s a style that commands attention.
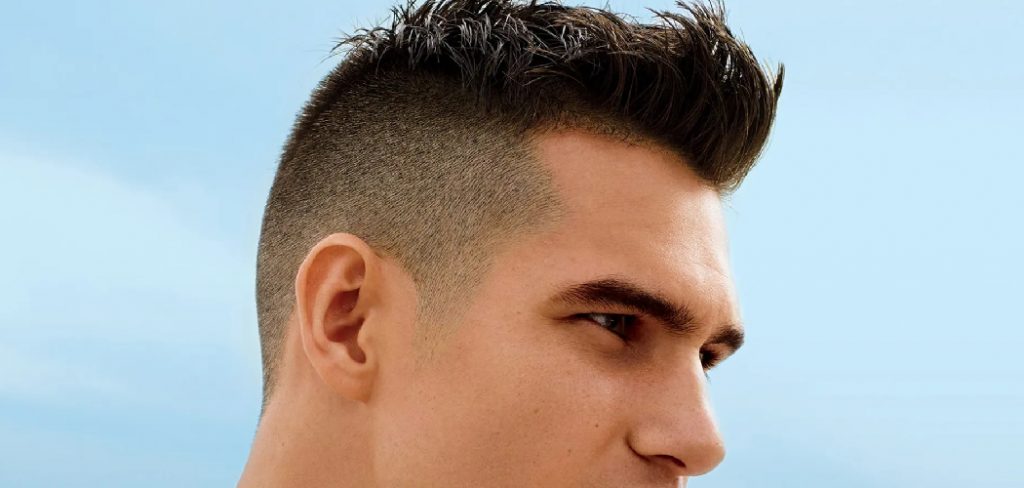
But like all great things, sometimes you’re ready for a change. The decision to grow out your mohawk is the start of a new style journey. It’s a process that requires patience and a bit of creativity, but it allows you to explore different looks as your hair transitions.
This guide on how to grow out a mohawk is here to walk you through every stage, from the initial awkward phases to the final, fully grown-out style, helping you embrace the transformation with confidence.
What are the Benefits?
Growing out a mohawk isn’t just about getting back to a conventional haircut; it’s an experience with its own unique rewards.
- Self-Expression: The grow-out phase is a canvas for your creativity. You can experiment with different styles, textures, and accessories, showcasing your personality at every length.
- Versatility: As your hair grows, you’ll unlock a variety of new styling options. From a faux hawk to a textured crop, you can adapt your look to suit any occasion, giving you more freedom than ever before.
- Uniqueness: The in-between stages of growing out a mohawk are anything but ordinary. You’ll sport a unique look that stands out, turning what could be an awkward phase into a distinctive style statement.
What Will You Need?
To navigate this journey successfully, you’ll want to have a few key items and the right attitude on your side.
Tools and Products:
- A quality pomade, wax, or styling clay for hold and texture.
- Light-hold hairspray to tame flyaways without stiffness.
- A good leave-in conditioner to keep hair healthy and manageable.
- Headbands, hats, or beanies for days when you need a quick fix.
- A fine-tooth comb and a brush for styling.
- Small scissors or clippers for minor trims and maintenance.
Mindset:
- Patience: This is the most crucial element. Hair grows at its own pace, so you need to be prepared for the long haul.
- Creativity: Be open to trying new things and experimenting with your look.
- Confidence: Own every stage of the process. Your confidence will make any hairstyle look intentional and stylish.
10 Easy Steps on How to Grow Out a Mohawk
Growing out a mohawk can feel like a challenge, but breaking it down into manageable steps makes the process much smoother. Follow this guide to transition your style with ease.
Step 1: Make the Decision and Commit
The first step is mental. Decide you’re ready for a change and commit to the process. Understand that there will be awkward stages, but with the right approach, you can manage them. This commitment will help you resist the urge to just shave it all off when you feel frustrated. Think about your end goal. Do you want long hair, a classic short style, or something in between? Having a vision will keep you motivated. Embrace the journey and view it as an opportunity to experiment rather than a problem to be solved. This positive mindset is your foundation for success.
Step 2: Stop Shaving the Sides
This is the most obvious, yet most important, physical step. To grow out your mohawk, you must let the hair on the sides of your head grow. The initial growth will be short and may feel prickly, creating a stark contrast with the longer strip on top. This is the beginning of the most challenging phase. It might look a little unconventional for a few weeks, but this is a necessary part of the process. The sooner you let the sides start growing, the sooner your hair will begin to look more uniform. Resist the temptation to “clean it up” by shaving the sides again, as this will only set you back.
Step 3: Embrace the Faux Hawk
As the sides start to fill in, but before they have any real length, the faux hawk will become your best friend. Use a strong-hold pomade or wax to style the longer hair on top into a less dramatic hawk shape. This style helps blend the different lengths, making the transition look more intentional. Apply product to your fingertips and work it through the top section, pushing the hair towards the center and slightly up. This look is stylish and modern, and it’s a perfect way to maintain an edgy vibe while you wait for more length. It’s a smart trick to manage the early, awkward weeks with purpose.
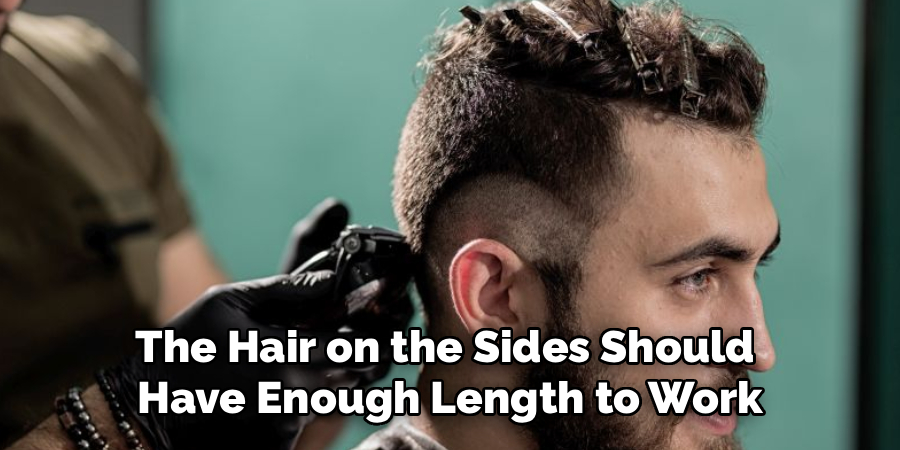
Step 4: Get Your First “Blending” Trim
After about four to six weeks, the hair on the sides should have enough length to work with. It’s time to visit a barber or stylist for your first transitional haircut. Explain your goal of growing out the mohawk. A skilled professional can trim the top section to reduce some of the length and add texture, helping it blend better with the shorter sides. They might use texturizing shears to remove bulk without sacrificing too much length. This trim is crucial for creating a more cohesive shape and moving you away from the distinct mohawk silhouette. It helps bridge the gap between the different hair lengths.
Step 5: Focus on Hair Health
Healthy hair grows faster and looks better at every stage. Now is the time to double down on your hair care routine. Use a nourishing shampoo and conditioner, and consider adding a weekly deep conditioning treatment or hair mask. A leave-in conditioner can also work wonders, keeping your hair hydrated and preventing breakage. A healthy scalp is equally important, so make sure you’re massaging your scalp when you wash your hair to stimulate blood flow. Eating a balanced diet and staying hydrated also contributes to stronger, healthier hair growth.
Step 6: Experiment with Texturizing Products
As your hair gets longer, styling becomes more about managing texture. Products like styling clay, sea salt spray, and texturizing powder will be invaluable. These products help create a messy, lived-in look that is very effective at disguising uneven lengths. Sea salt spray can give your hair a bit of grit and a natural, wavy texture. A matte clay or paste can help you create a piecey, textured style that looks deliberate and cool. Play around with different products to see what works best for your hair type and the look you want to achieve.
Step 7: Try a Side Part
Once the hair on top is long enough, you can start experimenting with a side part. This is a major milestone because it signals that you are moving past the hawk-centric styles. Use a comb to create a clean part and apply a light-hold product to keep the hair in place. Parting your hair to the side helps to conceal the last remnants of the mohawk structure. It distributes the longer hair over the top of your head, making the overall length appear more even. This is a great way to achieve a more classic and professional look as you continue to grow your hair out.
Step 8: Regular Maintenance Trims
While you’re growing your hair out, regular trims are still important. Schedule an appointment with your barber or stylist every six to eight weeks. These are not drastic cuts; they are maintenance trims. The goal is to even things out gradually. Your stylist can trim the back and slightly shape the sides to keep things neat while allowing the top to integrate. These trims prevent your hair from looking unkempt and help you maintain a deliberate shape throughout the process, making the grow-out phase much more manageable and stylish.
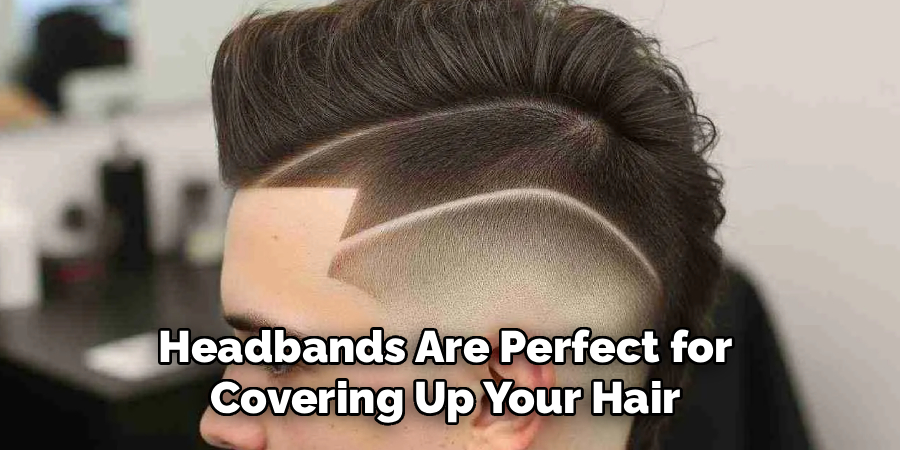
Step 9: Use Accessories Strategically
Some days will be better than others. For those moments when your hair just won’t cooperate, accessories are your secret weapon. Hats, beanies, and headbands are perfect for covering up your hair while still looking stylish. A good hat can get you through a particularly awkward day with zero styling effort. Headbands can be used to pull your hair back from your face, which is especially useful when the top section reaches that in-between length where it’s constantly in your eyes. Don’t view accessories as hiding your hair; see them as part of your evolving style.
Step 10: Reach Your Goal and Choose Your New Style
After several months of patience and care, you’ll find that your hair has reached a relatively uniform length. The Mohawk is officially grown out. Congratulations! Now you have a new decision to make: what’s next? You have a full head of hair to work with. You could go for a sharp undercut, a classic pompadour, a textured quiff, or continue to grow it even longer. The possibilities are endless. Celebrate the end of your transition and enjoy your new, versatile hairstyle. You’ve earned it.
5 Things You Should Avoid
- Impatience: Don’t give up and shave it all off on a bad hair day. The awkward phases are temporary.
- Neglecting Trims: Skipping trims will make your hair look messy and unkempt. Regular shaping is key.
- Using Too Much Product: Overloading your hair with heavy gels or waxes can make it look greasy and weigh it down.
- Heat Styling Damage: Avoid excessive use of blow dryers or straighteners on high heat, as this can damage your hair and slow down growth.
- Comparing Your Progress: Everyone’s hair grows at a different rate. Focus on your own journey and don’t get discouraged by others.
Conclusion
How to grow out a mohawk is a true test of patience, but it’s also a rewarding style adventure. Each stage offers a chance to reinvent your look and express yourself in new ways.
By embracing the process, caring for your hair, and using the right techniques, you can navigate the transition with style and confidence. Remember that the awkward phases are temporary, but the feeling of achieving your goal—and the versatile new look that comes with it—is well worth the wait.
Enjoy the journey and the hair you end up with.
About the Author
Jane Hubbard is a passionate beauty expert with a wealth of experience in makeup, hair, and overall beauty techniques. After years of working as a hairdresser specialist, she followed her entrepreneurial spirit and started her own consultancy business.
Jane has always been driven by her desire to help others feel confident in their own skin, and she does this by sharing her knowledge, experiences, and practical beauty tips. Through her consultancy, she empowers individuals to embrace their unique beauty, offering tailored guidance that boosts both self-esteem and personal style.
Professional Focus
- Specializes in makeup, hairstyling, and beauty consulting.
- Provides personalized beauty advice, tips, and techniques to help individuals feel confident in their appearance.
- Dedicated to staying up-to-date with the latest industry trends and developments.
- Passionate about creating a comfortable and empowering experience for every client.
Education History
- University of Craft and Design – Bachelor of Fine Arts (BFA) in Woodworking and Furniture Design
- Woodworking Apprenticeships – Extensive hands-on training with skilled craftsmen to refine carpentry and furniture making techniques
- Online Courses & Masterclasses – Continued education in advanced woodworking techniques, design principles, and specialized tools
Expertise:
- Makeup artistry, hairstyling, and beauty consulting.
- Personalized beauty techniques to enhance confidence and self-expression.
- Educating clients on how to maintain their beauty routines at home.