
Are you tired of using harsh chemicals to lighten your hair? Do you want a more natural and gentle approach to achieving lighter locks? Look no further because we have the perfect solution for you – lightening hair with a developer and shampoo without bleach!
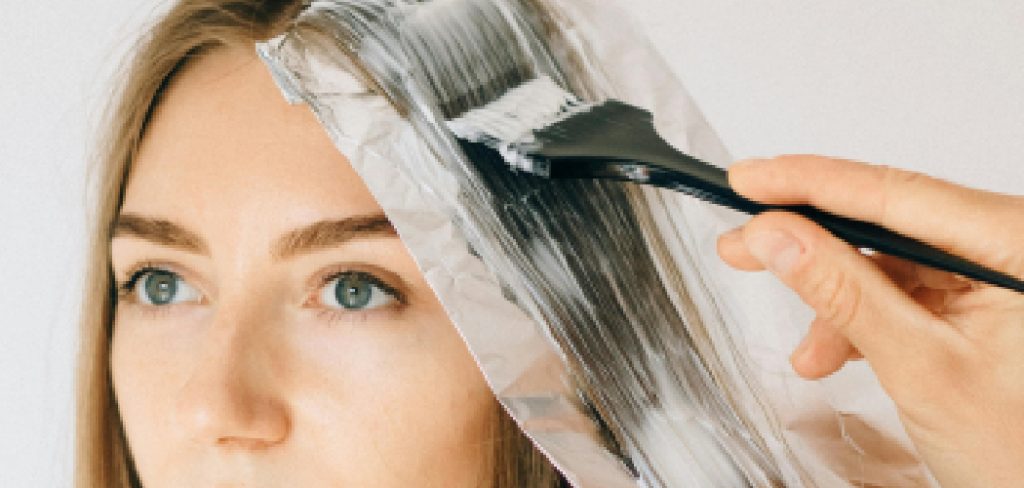
Lightening your hair can be a fun and creative way to change your look, but many traditional methods involve harsh chemicals, like bleach, that can damage your hair. Fortunately, a gentler alternative combines developer and shampoo to achieve a lightening effect without the need for bleach. This method is ideal for those seeking a subtle lightening effect while minimizing potential harm to their hair.
In this guide on how to lighten hair with developer and shampoo no bleach, we’ll walk you through the step-by-step process and provide helpful tips to help you achieve your desired results.
What Are the Benefits of Using Developer and Shampoo to Lighten Hair?
Before we dive into the process, let’s first understand why using a developer and shampoo to lighten hair without bleach is a better option. Here are some benefits of this method:
- No Harsh Chemicals: As mentioned earlier, traditional lighting methods often involve harsh chemicals that can damage your hair. By using a developer and shampoo, you can avoid exposing your hair to these harmful substances.
- More Natural Look: The combination of developer and shampoo produces a more subtle lightening effect than bleach, resulting in a more natural-looking color. This is perfect for those who want a softer change or have darker hair.
- Cost-effective: Bleaching products can be expensive, and the frequent use can add up. Using developer and shampoo is a more budget-friendly option for achieving lighter hair.
- Less Damage: Developer and shampoo are gentler on your hair, meaning they have less potential to cause damage or breakage. This makes it an ideal method for those with already damaged or fragile hair.
Now that you know why using developer and shampoo to lighten hair without bleach is beneficial, let’s dive into the step-by-step process.
What Will You Need?
Before you start, ensure you have all the necessary tools and products. Here’s a list of what you’ll need:
- Developer: You can find this at any beauty supply store or online. Opt for a 20-volume developer for best results.
- Shampoo: It’s recommended to use a clarifying shampoo to remove any product build-up before lightening your hair.
- Plastic Bowl: This will be used to mix the developer and shampoo.
- Hair dye brush: This will help with even application of the mixture onto your hair.
- Gloves: To protect your hands from coming into contact with the chemicals.
- Towel: To drape over your shoulders to protect your clothes from any potential drips.
Once you have all the necessary items, you’re ready to start the lightening process!
10 Easy Steps on How to Lighten Hair With Developer and Shampoo No Bleach
Step 1: Prepare the Mixture
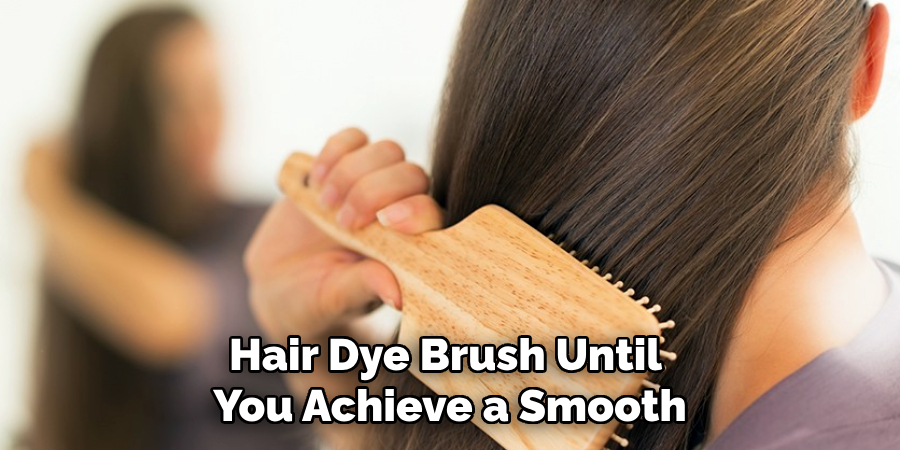
Start by pouring the developer into the plastic bowl. Use the appropriate amount based on the length and thickness of your hair. Next, add an equal amount of clarifying shampoo to the bowl. Mix the two ingredients thoroughly with the hair dye brush until you achieve a smooth and consistent paste. Make sure the mixture is free of lumps before proceeding.
Step 2: Section Your Hair
Divide your hair into manageable sections using clips or hair ties. This will help ensure an even application of the mixture. Start by parting your hair down the middle, then create additional sections based on the thickness of your hair. Typically, four sections work well for most hair types. Secure each section away from the others to keep your hair organized and prevent overlapping during the application process.
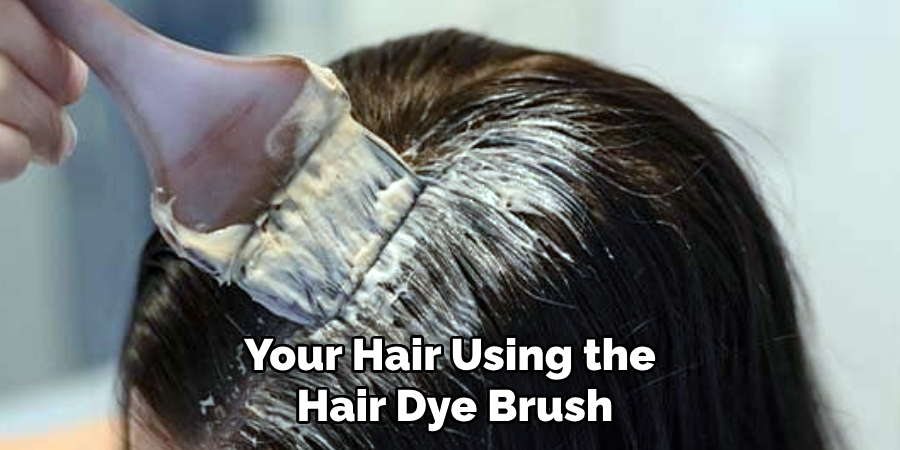
Step 3: Apply the Mixture
Apply the mixture to one section of your hair using the hair dye brush. Start at the ends and work to the roots, ensuring even coverage throughout. Be thorough, but avoid saturating your scalp with the developer and shampoo. Repeat this process for each section of your hair, not missing any strands. Once finished, check all sections to confirm the mix has been applied evenly.
Step 4: Allow the Mixture to Process
Once the mixture is applied evenly, leave it on your hair for the recommended time. This duration may vary depending on the desired lighting effect and the condition of your hair. Typically, 15-30 minutes is sufficient but constantly monitor your hair closely to avoid overprocessing. During this time, you can place a shower cap over your hair to keep it contained and help with heat retention, which can improve the effectiveness of the process.
Step 5: Rinse and Condition Your Hair
After the processing time, rinse your hair thoroughly with lukewarm water until the mixture is completely removed. Avoid using hot water, as it may irritate your scalp. Once your hair is clean, generously apply a deep conditioner or hair mask to restore moisture and nourish your strands. Leave the conditioner on for several minutes before rinsing it out. This step is crucial to maintain the health and smoothness of your hair after the lightening process.
Step 6: Style and Maintain Your Hair
Once your hair is clean and conditioned, gently pat it dry with a soft towel to avoid causing breakage. Allow your hair to air dry, or use a blow dryer on a low heat setting if necessary. After drying, style your hair as desired, but avoid using excessive heat tools for a few days to minimize damage. To maintain your hair’s results and health, incorporate nourishing hair products into your routine, such as leave-in treatments, oils, or serums. Regular trims and protective styling will also help keep your hair looking its best after lightening.
Step 7: Protect Your Hair from Environmental Damage
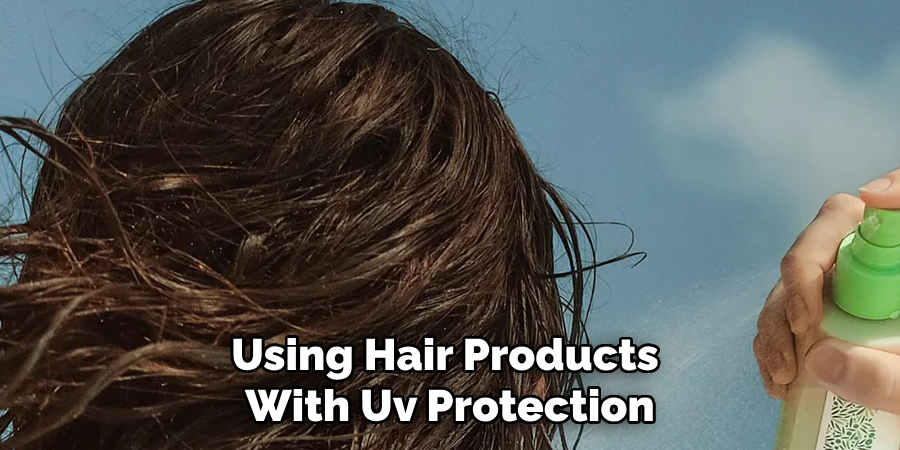
To ensure your lightened hair remains vibrant and healthy, take steps to protect it from environmental factors. Limit prolonged sun exposure by wearing a hat or using hair products with UV protection. If you plan to swim, coat your hair with a leave-in conditioner or oil to create a barrier against chlorine or saltwater, which can strip moisture and fade your color. Being mindful of these precautions will help preserve your hair’s tone and texture for longer.
Step 8: Hydrate and Nourish Your Hair Regularly
Lightened hair requires extra hydration and nourishment to stay healthy and prevent dryness or breakage. Incorporate deep conditioning treatments into your routine at least once a week to restore moisture and repair damage. Look for products with ingredients like keratin, argan oil, or shea butter to strengthen and soften your hair. Additionally, consider using a silk or satin pillowcase to reduce friction and retain your hair’s moisture while you sleep. Consistent care will help your hair stay silky, shiny, and strong after lightening.
Step 9: Trim Your Hair Regularly
Maintaining lightened hair involves regular trims to keep it looking healthy and vibrant. Lightening can sometimes lead to split ends or dryness, so scheduling a trim every 6 to 8 weeks helps to remove damaged ends and prevent breakage from traveling up the hair shaft. By staying consistent with trims, you ensure your hair retains its shape, softness, and overall appearance, complementing the effort you put into your care routine.
Step 10: Protect Your Hair from Heat
Heat styling tools like blow dryers, straighteners, and curling irons can exacerbate damage to lightened hair if not used carefully. Always apply a heat protectant spray or serum before using any hot tools to create a barrier against high temperatures. Limit heat styling to special occasions or reduce the temperature to minimize harm. Opting for air-drying or heatless styling methods can further help maintain the health and integrity of your hair.
You can achieve stunning results with at-home hair lightening by following these steps and incorporating proper hair care techniques.
5 Things You Should Avoid:
- Using a High-Volume Developer: Avoid using a developer higher than 20-volume, as stronger developers can lead to excessive hair damage or breakage when not paired with bleach.
- Skipping a Strand Test: Always do a strand test before applying the mixture to your entire head. Failing to do so can result in unexpected results or unevenly lightened hair.
- Overusing the Mixture: Applying the developer and shampoo for too long or too frequently can severely dry out your hair, causing permanent damage and brittleness.
- Ignoring Pre-Conditioning: Avoid skipping pre-conditioning treatments, mainly if you have dry or damaged hair. Preparing your hair ensures minimal damage while lightening.
- Not Monitoring the Process: Leaving the mixture on without checking can lead to overprocessing and uneven lighting. Always keep an eye on the time and the state of your hair during the process.
By avoiding these mistakes, you can successfully lighten your hair with developer and shampoo without bleach while keeping your hair healthy and damage-free.
Conclusion
How to lighten hair with developer and shampoo no bleach can be a convenient and cost-effective way to achieve lighter locks. However, it is essential to avoid these common mistakes to prevent damage and achieve the desired results.
By following the tips mentioned above, you can safely lighten your hair at home without causing harm to your hair. Always do a strand test, use the right products in the appropriate proportions, and monitor the process closely for the best results. You can achieve beautiful, lightened hair without using bleach with proper care and precautions!
So, try this method for a subtle change or a drastic transformation. But always remember to take good care of your hair.
About the Author
Jane Hubbard is a passionate beauty expert with a wealth of experience in makeup, hair, and overall beauty techniques. After years of working as a hairdresser specialist, she followed her entrepreneurial spirit and started her own consultancy business.
Jane has always been driven by her desire to help others feel confident in their own skin, and she does this by sharing her knowledge, experiences, and practical beauty tips. Through her consultancy, she empowers individuals to embrace their unique beauty, offering tailored guidance that boosts both self-esteem and personal style.
Professional Focus
Specializes in makeup, hairstyling, and beauty consulting.
Provides personalized beauty advice, tips, and techniques to help individuals feel confident in their appearance.
Dedicated to staying up-to-date with the latest industry trends and developments.
Passionate about creating a comfortable and empowering experience for every client.
Education History
University of Craft and Design – Bachelor of Fine Arts (BFA) in Woodworking and Furniture Design
Woodworking Apprenticeships – Extensive hands-on training with skilled craftsmen to refine carpentry and furniture making techniques
Online Courses & Masterclasses – Continued education in advanced woodworking techniques, design principles, and specialized tools
Expertise:
Makeup artistry, hairstyling, and beauty consulting.
Personalized beauty techniques to enhance confidence and self-expression.
Educating clients on how to maintain their beauty routines at home.