
Do you often find yourself struggling to keep your roots looking their best? Whether it’s fading colors or grays sticking out, toner can be a great solution for lightening up the issue and providing some relief. Toner is an amazing tool that helps enhance hair color and covers unwanted tones like those pesky grays. But with any type of product used on hair, there are definitely some tips and tricks needed to ensure positive results with minimal damage!

If you’re wondering how to lighten roots with toner, then this post is going to show you the way. We’ll explore exactly how toner works its magic on color-treated or natural hair. Plus, we’ll give you all the essential information needed to help achieve salon-worthy tresses without compromising your locks’ health! Follow along, and you’ll be able to say goodbye to those pesky grays and hello to beautiful color!
Why Do You Need to Lighten Roots With Toner?
1. Natural Looks
The first step in learning how to lighten roots with toner is understanding why it’s so important. Toner helps eliminate any unwanted brassiness and even out the color between your highlights and base shade. It helps provide a more natural-looking finish, all while also increasing shine. It’s a great tool to use if you’re looking to cover gray hair or refresh the tone of color-treated hair.
2. Refresh Color
If you’re noticing that your color is starting to look dull, then it might be time for a toning session. Applying toner helps refresh the shade of your color and make it look more vibrant and lively. Plus, if you have any regrowth, toner can help take care of that too.
Required Items
When it comes to learning how to lighten roots with toner, there are a few items that you’ll need in order to get the job done. Here’s what you will need:
- Toner
- Color brush
- Gloves
- Bowl and applicator bottle
- Hair clips
How to Lighten Roots With Toner in 10 Steps
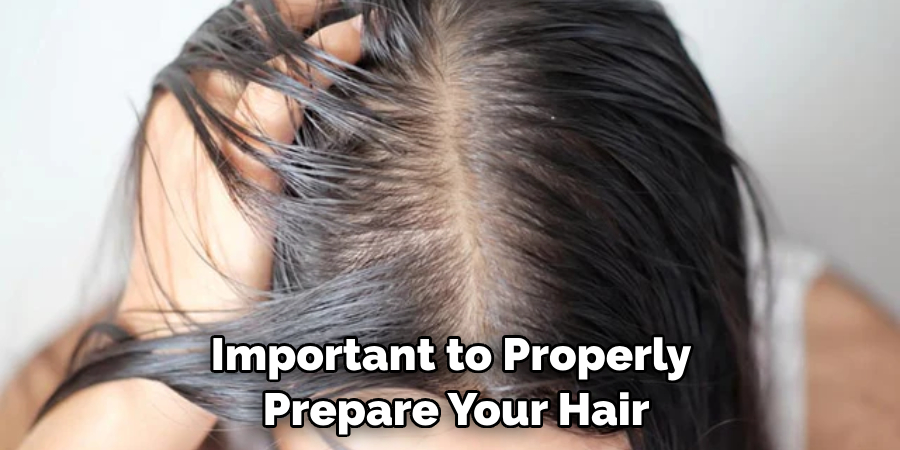
Step 1: Prepare Your Hair
Before starting the lightening process, it’s important to properly prepare your hair. Start by making sure your locks are completely dry and free of any oils or product build-up. This will help ensure the toner adheres to the roots evenly.
Step 2: Divide Your Hair
Divide your hair into four sections using clips and determine which areas need lightening. This will allow you to target the specific spots that need to be toned without overdoing it on the rest of your locks. While dividing your hair, make sure your parts are even and symmetrical.
Step 3: Mix Toner
Next, you’ll need to mix the toner according to the instructions provided. Put on your gloves and use a bowl and color brush to properly mix the toner. Once you have achieved an even consistency, fill up an applicator bottle with the mixture and get ready for application!
Step 4: Apply Toner to Roots
Starting with the roots, apply the toner using a color brush. Make sure that you are evenly distributing the mixture throughout your entire head and not just focusing on one area. Give special attention to those grays or brassier strands that need more lightening.
Step 5: Wait
Now it’s time to wait! Allow the toner to sit on your roots for about 10-15 minutes or until you have achieved the desired tone. To monitor your progress, take a peek in the mirror every now and then.
Step 6: Rinse and Shampoo
Once you have reached the desired color, rinse out the mixture with cool water. Follow with a shampoo and conditioner to help keep the color vibrant and healthy. Rinsing with cool water also helps the color last longer.
Step 7: Style as Usual
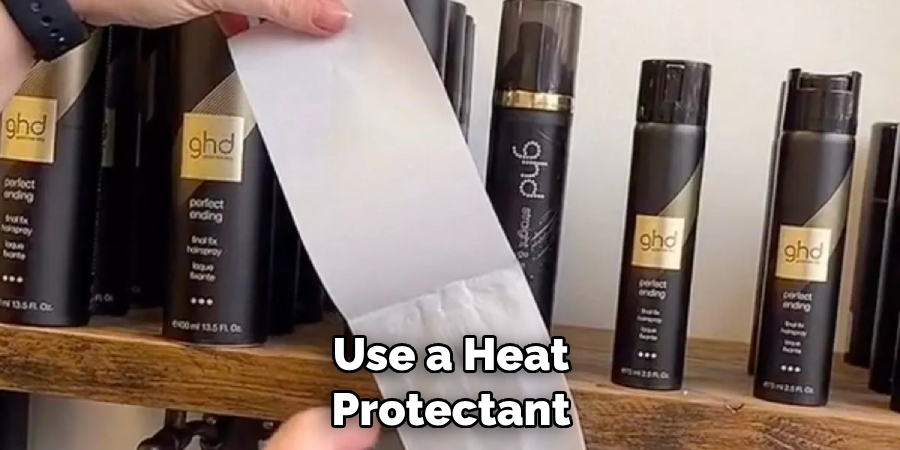
After rinsing and conditioning, you can style your hair as usual. Use a heat protectant if you plan on blow drying or using hot tools to help prevent further damage from occurring. Styling your hair in this manner also helps the toner last longer.
Step 8: Maintain Color
At this point, you have successfully lightened your roots with toner! To keep the color looking its best, you’ll need to maintain it properly. Use color-safe shampoos and conditioners as well as deep conditioning treatments to help keep the hair hydrated and nourished.
Step 9: Touch Ups
If your roots start to fade over time, you can always go in for another toning session. This will help keep the color looking fresh between regular salon visits.
Step 10: Enjoy Your Hair!
You are now officially done with how to lighten roots with toner! Sit back and admire your refreshed tresses. You just saved yourself a trip to the salon, so reward yourself with some extra pampering and enjoy your new look!
We hope you found this guide on how to lighten roots with toner helpful! With these steps, you can keep those pesky grays at bay in no time. But if you’re still unsure about the process or don’t feel comfortable doing it yourself, then we highly recommend booking an appointment with a professional colorist. They will be able to provide you with expert advice and assistance on how to achieve the perfect shade of color!
5 Tips for Choosing the Right Toner to Lighten Roots
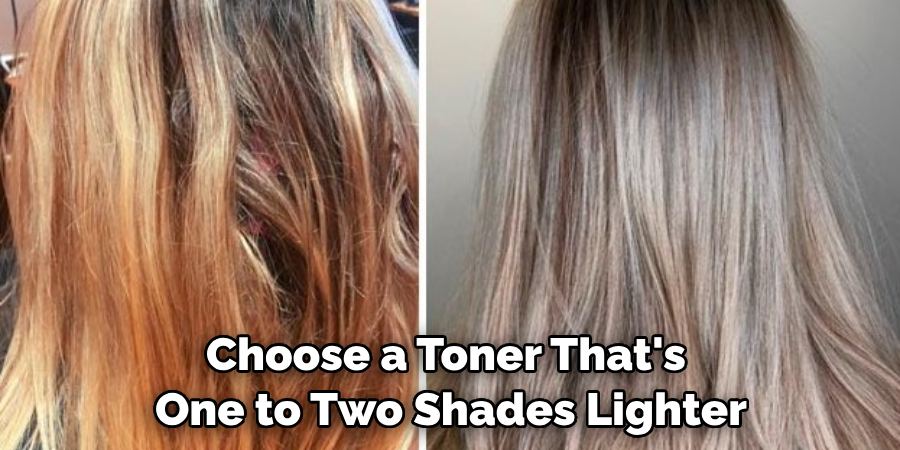
1. Always choose a toner that’s one to two shades lighter than your natural hair color. This will help create a subtle, blended look with less noticeable roots. Otherwise, if your toner is too light, it can make your roots look unnatural and jarring.
2. Invest in a quality toner that’s tailored to address your specific hair color needs. This will ensure the best result for achieving lighter roots without compromising the health of your strands. Investing in professional salon-grade products is always the way to go.
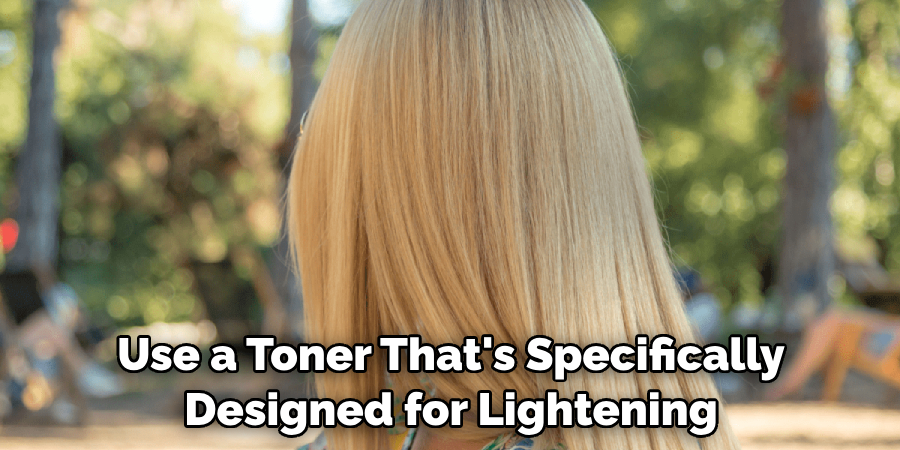
3. Use a toner that’s specifically designed for lightening roots, as it will be more effective than regular toners. These usually contain extra ingredients like bleaching agents that target stubborn root regrowth and help to lift away pigment faster.
4. Do a patch test before committing to the full toning process. This will help you determine any potential allergic reactions and make sure that the color is right before continuing with the application.
5. Always read through instructions carefully before beginning the toning process, following all safety precautions and timelines as instructed on the product label. Not adhering to directions can lead to serious damage or a less-than-ideal result.
For the best results, always consult with an experienced hairdresser when lightening your roots with toner. They’ll be able to assess the right toner for your hair type and color and provide expert advice on how to care for your newly toned strands. With these steps in mind, you’ll be sure to achieve lighter, healthier-looking roots with toner.
Frequently Asked Question
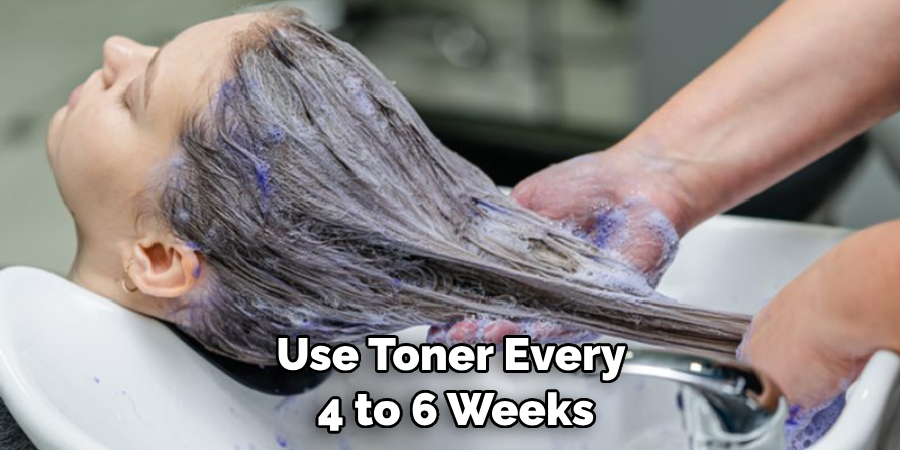
1. How often should I use toner to lighten my roots?
It is recommended to use toner every 4-6 weeks. If you want less frequent maintenance, you can leave it until your roots are noticeably darker than the rest of your hair and apply toner at that time. Keep in mind to monitor the progress and adjust application frequency as necessary.
2. Is Toner Safe for All Hair Types?
Toner is generally safe for all hair types. However, some formulas may be too strong or harsh on certain hair types. To ensure that you are using a product that is suitable, consult with a professional stylist before use. Look for formulas specifically designed for your hair type.
3. Is There a Difference Between Toner and Dye?
Yes, there is a difference between toner and dye. Toner is used to correct or enhance the color of existing hair, while dye changes the color of hair permanently. Dye is usually stronger than toner and can be damaging if not used correctly. It is best to consult with a professional colorist before using either one.
4. Can I Tone My Roots at Home?
Yes, you can tone your roots at home, but it is recommended that you seek assistance from a professional stylist for the best results. If you decide to attempt toning by yourself, make sure that you use a quality toner and take the necessary precautions to avoid any damage.
Conclusion
After going through the steps mentioned above, you should be well on your way to having lightened roots! Once you have toned your roots, make sure to deep-condition your hair and use salon-quality color-safe hair products to preserve the life of your new look. Don’t forget to provide proper moisture for your scalp – a healthy scalp leads to beautiful, healthy-looking hair. Keeping these few simple tips in mind can ensure that you get the best outcome when it comes to lightening your roots with toner.
Remember, taking time for yourself and taking care of yourself is key to achieving beautiful looks that can help make you feel more confident and radiant. Use toner as an easy way to enhance what nature gave you – you deserve only the best for yourself. Follow these steps on how to lighten roots with toner, and you will be blooming with confidence in no time!
About the Author
Jane Hubbard is a passionate beauty expert with a wealth of experience in makeup, hair, and overall beauty techniques. After years of working as a hairdresser specialist, she followed her entrepreneurial spirit and started her own consultancy business.
Jane has always been driven by her desire to help others feel confident in their own skin, and she does this by sharing her knowledge, experiences, and practical beauty tips. Through her consultancy, she empowers individuals to embrace their unique beauty, offering tailored guidance that boosts both self-esteem and personal style.
Professional Focus
- Specializes in makeup, hairstyling, and beauty consulting.
- Provides personalized beauty advice, tips, and techniques to help individuals feel confident in their appearance.
- Dedicated to staying up-to-date with the latest industry trends and developments.
- Passionate about creating a comfortable and empowering experience for every client.
Education History
- University of Craft and Design – Bachelor of Fine Arts (BFA) in Woodworking and Furniture Design
- Woodworking Apprenticeships – Extensive hands-on training with skilled craftsmen to refine carpentry and furniture making techniques
- Online Courses & Masterclasses – Continued education in advanced woodworking techniques, design principles, and specialized tools
Expertise:
- Makeup artistry, hairstyling, and beauty consulting.
- Personalized beauty techniques to enhance confidence and self-expression.
- Educating clients on how to maintain their beauty routines at home.