
Are you a fan of anime shows and want to learn how to draw or make their iconic large, expressive eyes? Look no further! In this guide, we will break down the steps to create your own anime eyes.
How to make anime eyes is one of the essential steps in bringing anime characters to life. Known for their exaggerated size and expressive nature, anime eyes are a defining feature that conveys the character’s emotions and personality.
Whether you’re a beginner artist or looking to refine your skills, mastering the art of drawing anime eyes involves understanding basic shapes, proportions, and the use of highlights and shadows.
This anime eyes tutorial will walk you through the key techniques and steps needed to design captivating anime eyes with confidence.
What Will You Need?
Before we dive into the steps, let’s gather all the necessary materials:
- Pencils (HB or 2B)
- Eraser
- Ruler
- Fine point pens or markers (optional but recommended)
- Colored pencils or watercolor paints (optional)
Having these materials on hand will make it easier to follow along and create a beautiful pair of anime eyes. Once you have everything ready, let’s get started!
8 Easy Steps on How to Make Anime Eyes
Step 1: Start with Basic Shapes
To begin, sketch the basic outline of the anime eye using simple shapes. Typically, anime eyes start with a horizontal oval or a rounded rectangle for the general structure. This will serve as the foundation for your drawing and help establish the eye proportions.
For beginners, it can be helpful to lightly draw guidelines with a ruler to ensure symmetry, especially if you’re drawing both eyes on a character’s face. Remember to leave enough space between the eyes to maintain balance. Once you’re satisfied with the shape, you can refine the edges and erase unnecessary lines. Keeping the initial sketch light allows easy adjustments as you move through the later steps.
Step 2: Add the Eyelids
Next, draw the upper and lower eyelids to further define the eye’s shape. The upper eyelid typically has a more pronounced curve and can be slightly thicker to represent eyelashes.
The lower eyelid is usually less pronounced and drawn with a lighter line. Pay close attention to the positioning of the eyelids as they convey the character’s expression. For instance, a wider opening might indicate surprise, while a narrower one could suggest a more relaxed or serious look. Take your time to adjust the curves until the overall shape feels just right.
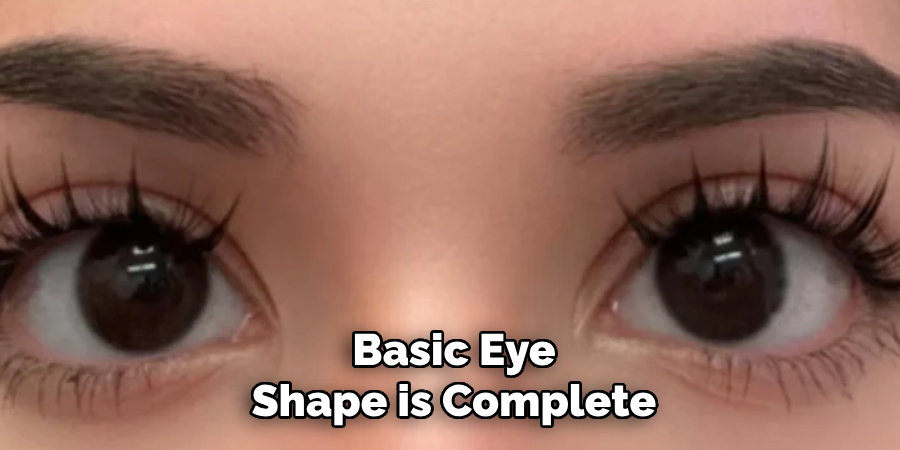
Step 3: Draw the Iris and Pupil
Now that the basic eye shape is complete, it’s time to add the iris and pupil. Start by sketching a circle within the eye to represent the iris, ensuring it’s centered and proportional to the overall shape. Inside the iris, draw a smaller circle for the pupil.
The size of the pupil can help convey lighting conditions or emotion—for example, larger pupils might indicate dim light or excitement. Add shading or highlights within the iris to give it depth and detail, making the eye look more realistic. These details will bring life and character to your drawing.
Step 4: Add Eyelashes
Eyelashes are an essential detail that can enhance the realism and expressiveness of your drawing. Begin by drawing short, curved lines from the upper and lower eyelids. Keep the strokes delicate and natural, varying the length and angle slightly to mimic the organic appearance of real eyelashes.
On the upper eyelid, the lashes tend to be longer and more pronounced, while on the lower eyelid, they are often shorter and sparser. Pay attention to the direction of the lashes, as they typically fan outward from the eyelid’s curve. Take your time to add this intricate detail, as it will significantly contribute to the overall look of the eye.
Step 5: Draw the Eyebrows
The eyebrows frame the eye and play a crucial role in conveying expression. Start by sketching the general shape of the eyebrow above the eye, keeping in mind the natural arch and thickness. Use light, feathery strokes to imitate the appearance of individual hairs, following the natural growth direction.
Thicker and denser areas should be represented with overlapping strokes, while the edges can be tapered for a more realistic effect. Adjust the placement and style of the eyebrows based on the expression or character you want to depict, as they can dramatically alter the mood of your drawing.
Step 6: Add Shading and Highlights
Shading and highlights are essential for giving the eye depth and a realistic appearance. Start by identifying the light source in your drawing to determine where shadows and highlights will fall.
Use a soft pencil or blending tool to shade around the edges of the iris, the sclera (the white part of the eye), and beneath the upper eyelid to create shadow. Gradually build up layers of shading to achieve a smooth gradient, avoiding harsh lines.
Add highlights to the eye by leaving small areas of the iris and pupil untouched or erasing with precision to represent reflected light. These highlights give the eye its sparkle and lifelike quality. Be careful not to overdo the shading, as maintaining contrast is essential for a natural effect.

Step 7: Refine the Details
Once the basic structure, shading, and highlights are in place, take the time to refine the finer details of the eye. Look closely at the eyelashes, ensuring they curve naturally and vary in length and thickness.
Add subtle vein details or texture to the sclera for realism, but remember that less is often more. Revisit the iris to enhance its patterns and radiance, creating intricate lines or ridges that mimic the natural complexities of the eye. Finally, review the entire eye, cleaning up any smudges or unintended marks, and adjust contrast to make the drawing stand out.
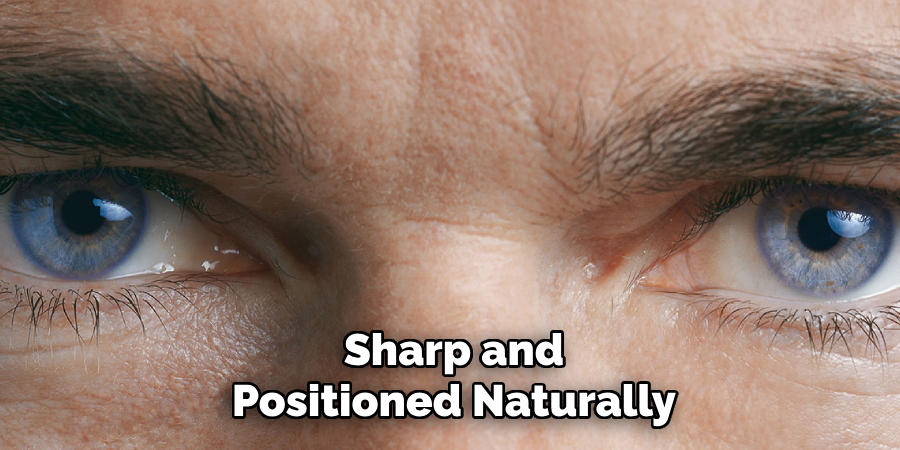
Step 8: Final Touches and Presentation
The final step in drawing a realistic eye is adding the finishing touches and preparing your artwork for presentation. Revisit the entire drawing, ensuring each aspect—shape, shading, and details—is cohesive and polished. Use a blending tool or tissue to smooth any harsh transitions softly, but avoid over-blending to maintain texture.
Examine the highlights, ensuring they are sharp and positioned naturally. Consider adding a shadow or light reflection below the eye for additional depth. Once satisfied, fix your drawing with a light spray of fixative to preserve it, and your work is ready to be shared or displayed! Always take a moment to appreciate your effort and progress.
By following these steps and practicing consistently, you can improve your eye-drawing skills and create realistic, expressive eyes for your characters or portraits.
5 Things You Should Avoid
- Overcomplicating the Design: While anime eyes can be intricate, avoid adding too many details that detract from their simplicity and charm. Keep the overall design balanced and ensure that the features, such as highlights and lashes, work harmoniously rather than overwhelming the eye.
- Ignoring Proportions: Incorrectly sizing the eyes about the face can make your character appear unnatural. Anime eyes are often oversized compared to realistic eyes, but they must still align proportionately with other facial features like the nose and mouth.
- Misplacing Highlights: Highlights are crucial for adding life and emotion to the eyes, but placing them incorrectly can make the character look cross-eyed or unbalanced. Ensure that highlights match the direction of the light source.
- Using Flat Colors: Avoid filling the iris with a single flat color, as this can make the eyes look dull and lifeless. Instead, use gradients and subtle variations to add depth and vibrancy, enhancing the overall aesthetic.
- Forgetting Expression: Anime eyes are iconic for conveying strong emotions. Overlooking small details, like the angle of the eyelid or the thickness of the lashes, can result in a lack of expression, diminishing the connection between the character and the viewer. Always align the eye design with the emotion you want to portray.
5 Different Design Elements to Try
- Colorful Irises: Play with different colors and combinations for the iris, such as using a gradient or incorporating multiple hues. This adds visual interest and can enhance the mood of your character.
- Unique Eyelash Styles: Don’t be afraid to experiment with various eyelash styles, from long and dramatic to short and sparse. Different lash shapes can convey different personalities and emotions for your character.
- Eyebrow Variations: Change up the shape, thickness, and arch of the eyebrows for each character to give them individuality and personality. Try experimenting with bold colors or patterns on the brows for a unique look.
- Different Light Sources: Vary the placement and strength of the light source in your drawings to create different moods and atmospheres. A strong light source can make the eyes appear brighter and more lively, while a softer source can add a sense of intimacy.
- Play with Reflections: Use reflections in the eye, such as a window or another character’s face, to add depth and interest to your drawing. You can also add small details like eyelid creases or tears for added realism.
By incorporating these design elements into your anime eye drawings, you can create unique and captivating characters that stand out.

Conclusion
How to make anime eyes is a blend of technical skill and creative expression. By focusing on elements like proportions, eyebrow variations, light sources and adding reflections, you can bring your characters to life with depth and personality.
Experimentation is key—try different styles, shapes, and techniques to find what best suits your artistic vision. Always remember the eyes are a window to the character’s soul, and with practice and imagination, you can craft eyes that leave a lasting impression.
Hopefully, this guide has provided valuable insights and tips to help you improve your anime eye-drawing skills. Happy drawing!
About the Author
Jane Hubbard is a passionate beauty expert with a wealth of experience in makeup, hair, and overall beauty techniques. After years of working as a hairdresser specialist, she followed her entrepreneurial spirit and started her own consultancy business.
Jane has always been driven by her desire to help others feel confident in their own skin, and she does this by sharing her knowledge, experiences, and practical beauty tips. Through her consultancy, she empowers individuals to embrace their unique beauty, offering tailored guidance that boosts both self-esteem and personal style.
Professional Focus
- Specializes in makeup, hairstyling, and beauty consulting.
- Provides personalized beauty advice, tips, and techniques to help individuals feel confident in their appearance.
- Dedicated to staying up-to-date with the latest industry trends and developments.
- Passionate about creating a comfortable and empowering experience for every client.
Education History
- University of Craft and Design – Bachelor of Fine Arts (BFA) in Woodworking and Furniture Design
- Woodworking Apprenticeships – Extensive hands-on training with skilled craftsmen to refine carpentry and furniture making techniques
- Online Courses & Masterclasses – Continued education in advanced woodworking techniques, design principles, and specialized tools
Expertise:
- Makeup artistry, hairstyling, and beauty consulting.
- Personalized beauty techniques to enhance confidence and self-expression.
- Educating clients on how to maintain their beauty routines at home.