
Anna’s Wild Yam Cream has gained popularity as a natural topical solution, often sought after for its potential benefits related to hormonal balance. While many commercial versions are available, creating your own allows you to control the ingredients, ensure freshness, and tailor the formula to your preferences. This guide provides a comprehensive walkthrough of the process.
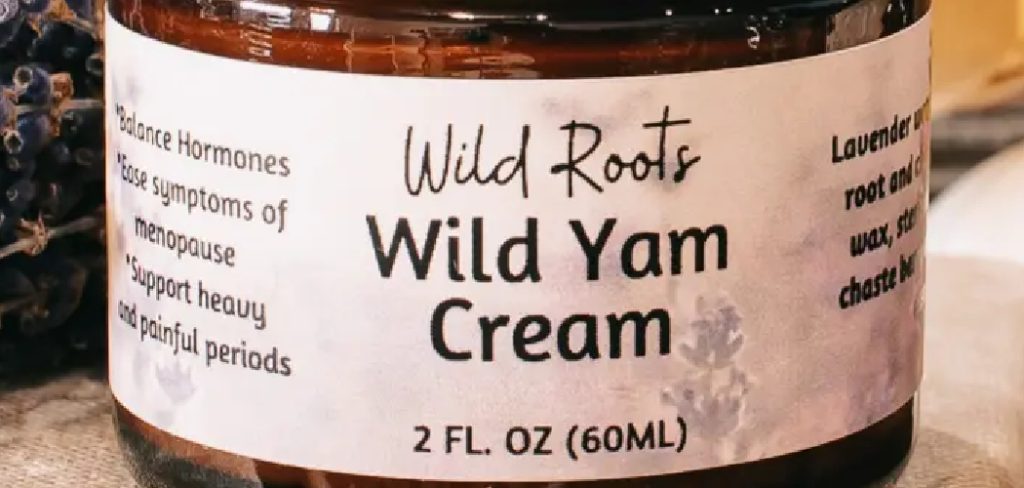
Making your own skincare products can be a rewarding experience. It connects you to the ingredients and gives you complete transparency about what you are putting on your body. This detailed recipe will guide you through creating a high-quality, stable wild yam cream in your own kitchen, demystifying the process from start to finish. In this guide on how to make Anna’s wild yam cream, we will cover the ingredients, equipment, and steps involved in creating your own custom cream.
Key Ingredients and Their Benefits
The effectiveness of this cream lies in its carefully selected ingredients, each serving a specific purpose. The star ingredient is, of course, wild yam root extract, traditionally used in herbal medicine for its properties. It is rich in a compound called diosgenin.
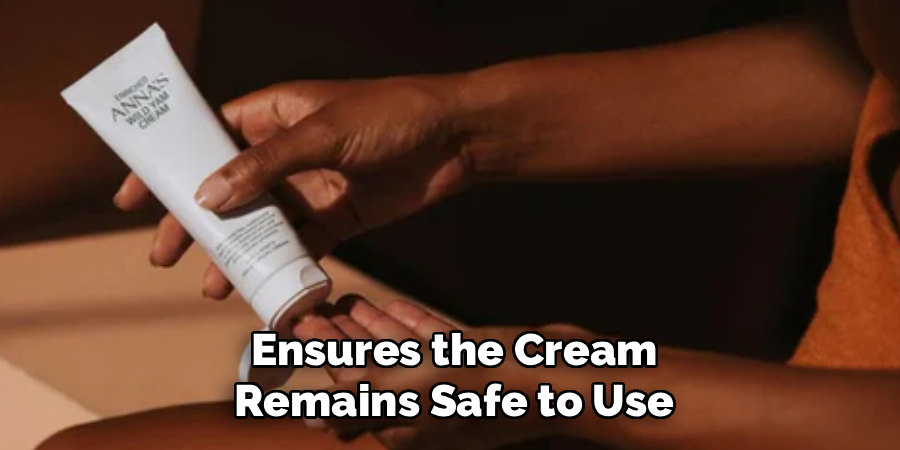
To create a nourishing and stable cream, we combine this extract with high-quality oils, butters, and an emulsifier. Ingredients like shea butter and almond oil provide deep moisturization, while vitamin E oil acts as a natural preservative and antioxidant, protecting the skin and extending the cream’s shelf life. Beeswax or a vegan alternative provides structure, and a gentle preservative ensures the cream remains safe to use.
Equipment Needed
- Two heat-resistant glass beakers or jars (for a double boiler setup)
- A small saucepan
- A digital kitchen scale for accurate measurements
- A small immersion blender or milk frother
- Spatulas for scraping
- A thermometer (optional but helpful)
- Sterilize airtight jars or containers for storage
- Measuring spoons
6 Simple Step-By-Step Guidelines on How to Make Anna’s Wild Yam Cream
Step 1: Prepare Your Workspace and Measure Ingredients
Before you begin mixing, proper preparation is essential for a successful outcome and a safe final product. Start by thoroughly cleaning and sanitizing your workspace, all equipment, and storage containers. You can do this by washing everything with hot, soapy water and then wiping it down with rubbing alcohol to eliminate any lingering bacteria that could spoil your cream. Once your station is ready, meticulously measure out all your ingredients using a digital scale. Precision is key in cream making; even small variations can affect the texture and stability of the emulsion.
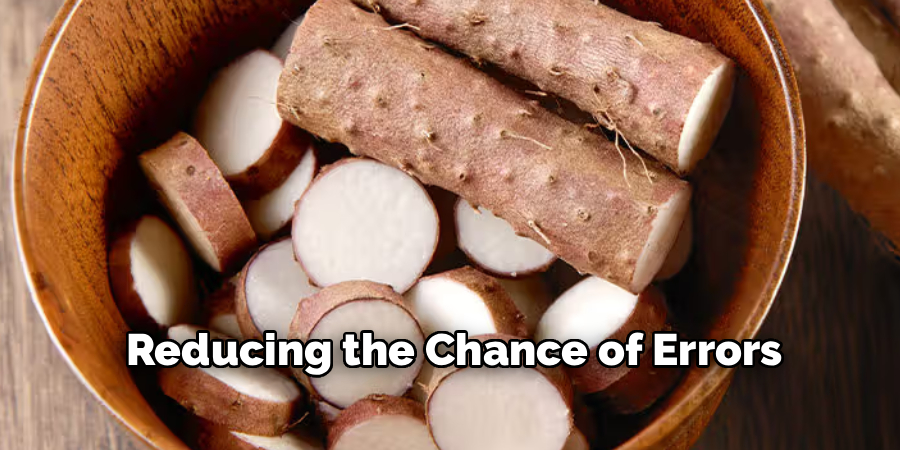
Set your ingredients aside in separate small bowls to create a streamlined workflow. This practice, known as ‘mise en place’ in the culinary world, prevents you from scrambling to find or measure something mid-process. Organize them into two groups: the oil-phase ingredients (oils, butters, emulsifying wax) and the water-phase ingredients (distilled water, wild yam extract, glycerin). This organization will make the heating and combining process much smoother and more efficient, reducing the chance of errors.
Step 2: Melt the Oil-Phase Ingredients
Now it’s time to create the oil base of your cream. Combine your oil-phase ingredients—such as shea butter, almond oil, and emulsifying wax—into one of your heat-resistant glass beakers. Create a double boiler by placing this beaker inside a saucepan filled with a few inches of water. Ensure the water level is high enough to heat the beaker’s contents but not so high that it risks splashing into your mixture. Gently heat the saucepan over a low to medium flame.
Allow the ingredients to melt slowly and completely, stirring occasionally with a clean spatula. The goal is to achieve a uniform, clear liquid without overheating the oils, which can degrade their beneficial properties. Avoid bringing the water in the saucepan to a rolling boil; a gentle simmer is sufficient. Once everything is fully melted and combined, remove the beaker from the heat, but keep the warm water in the saucepan for the next step.
Step 3: Heat the Water-Phase Ingredients
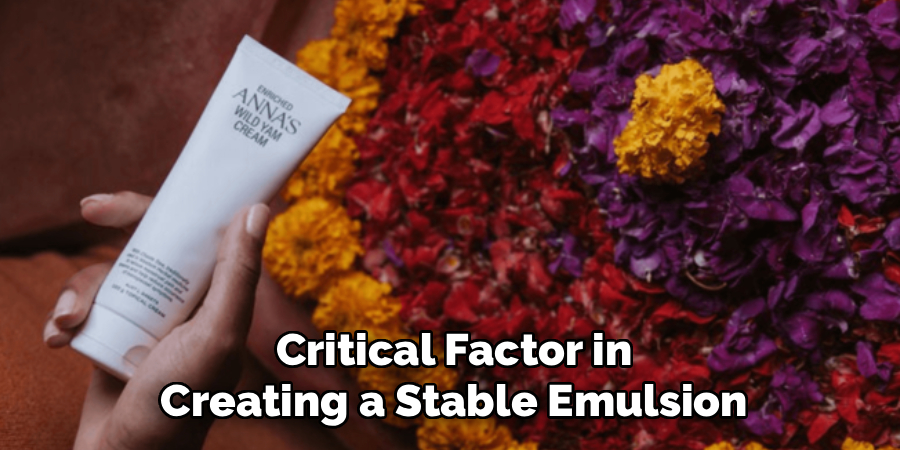
While the oil phase is melting or just after you’ve removed it from the heat, you will prepare the water-phase ingredients. In your second heat-resistant beaker, combine the distilled water and any other water-soluble components like vegetable glycerin. Place this beaker into the same saucepan of warm water you used for the oil phase. This method ensures that both the oil and water mixtures will be at a similar temperature when you combine them, which is critical for forming a stable emulsion.
Gently heat the water phase until it reaches approximately the same temperature as your melted oil phase—ideally around 150-160°F (65-70°C). Using a thermometer can help with accuracy, but if you don’t have one, just ensure the water is hot but not boiling. Proper temperature matching is the secret to preventing the cream from separating later. Once the water phase is adequately heated, you are ready for the most crucial part of the process: emulsification.
Step 4: Combine and Emulsify
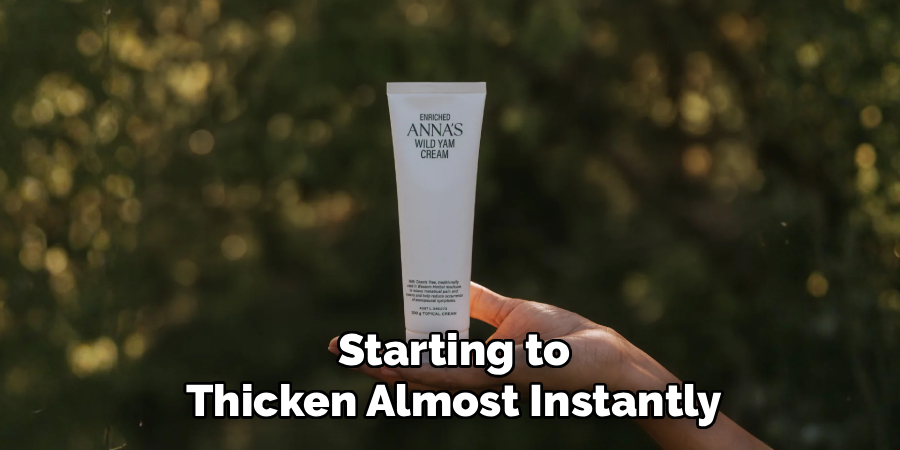
This is where the magic happens and your separate liquids transform into a cream. Carefully and slowly pour the heated water phase into the beaker containing the melted oil phase. Begin mixing immediately with your immersion blender or milk frother. Start with short bursts to incorporate the liquids without splashing. As they begin to combine, you can increase the blending speed. You will notice the mixture turning a milky white color and starting to thicken almost instantly.
Continue blending for at least two to three minutes, moving the blender around the beaker to ensure everything is thoroughly combined. This sustained agitation is what creates a stable emulsion, where the oil and water molecules are finely dispersed and bound together by the emulsifying wax. Proper emulsification is the difference between a smooth, luxurious cream and a separated, oily mess. Be patient during this step; the more you blend, the more stable your cream will be.
Step 5: Add Cool-Down Ingredients
After you have achieved a stable emulsion, the cream will still be quite warm. Allow it to cool down for several minutes, stirring gently with a spatula every so often. The cream will continue to thicken as it cools. When the temperature drops below 110°F (43°C), it is safe to add your cool-down ingredients. This includes the wild yam root extract, any essential oils for fragrance, vitamin E oil, and the preservative.
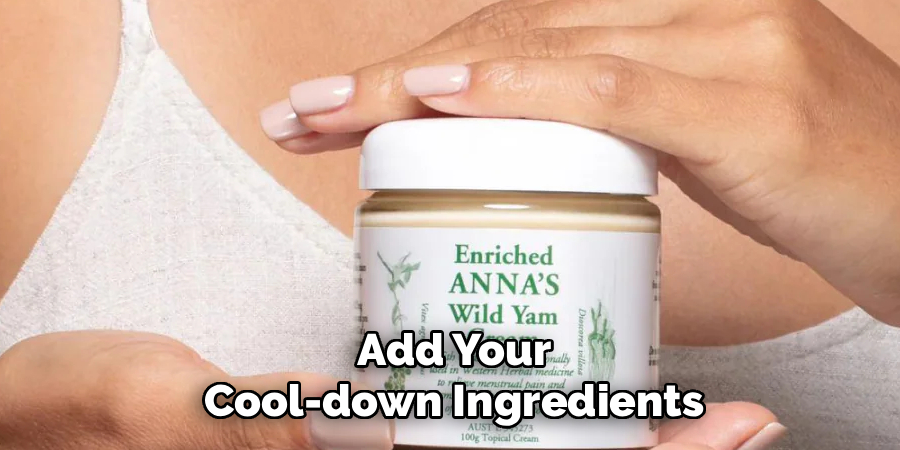
Adding these temperature-sensitive ingredients at a lower temperature is crucial to preserving their therapeutic properties and effectiveness. High heat can destroy the delicate compounds in extracts, vitamins, and essential oils. Once you’ve added the cool-down ingredients, stir them in thoroughly with your spatula until they are completely incorporated. You can also give the mixture a few final, quick pulses with your immersion blender to ensure everything is evenly distributed throughout the cream.
Step 6: Jar and Store the Cream
Your homemade Anna’s Wild Yam Cream is now complete. The final step is to transfer it into your prepared, sterilized, airtight containers. Use a clean spatula to carefully spoon the cream into the jars, trying to avoid creating air pockets. Once filled, leave the lids off the containers for a few hours to allow the cream to cool completely to room temperature. Putting the lids on while the cream is still warm can cause condensation to form inside the jar, which can introduce bacteria and lead to spoilage.
After the cream has fully cooled, secure the lids tightly. Label each jar with the name of the product and the date it was made. This helps you keep track of its freshness. Proper storage is essential to maintaining the cream’s quality and extending its shelf life. Your beautifully crafted, homemade cream is now ready to be used or stored for future use.
Following these steps on how to make Anna’s wild yam cream, you can now enjoy a natural and organic alternative to commercial skin care products. The best part is, you know exactly what ingredients are in your cream and can customize it according to your needs.
Tips for a Smooth, Stable Cream
To achieve a professional-quality cream, focus on temperature and technique. Ensure both your oil and water phases are heated to a similar temperature (around 150-160°F or 65-70°C) before combining. This temperature matching is the most critical factor in creating a stable emulsion.
Use an immersion blender rather than a whisk for a finer, more reliable emulsion. Blend for a solid 2-3 minutes to fully incorporate the ingredients. Finally, always use distilled water instead of tap water, as the minerals in tap water can interfere with the preservative and affect the cream’s stability and shelf life.
How to Store the Cream?
Proper storage is key to preserving your homemade cream. Keep it in a cool, dark place away from direct sunlight and heat, such as a medicine cabinet or a drawer. Because it contains water and was made without harsh commercial preservatives, it has a shorter shelf life.
When made with a natural preservative like Geogard ECT, the cream should last for about three to six months. Always use clean hands or a small spatula to scoop out the cream to avoid introducing bacteria into the jar.
How to Use Anna’s Wild Yam Cream?
For best results, apply a small, pea-sized amount of the cream to areas of soft skin, such as the inner arms, inner thighs, abdomen, or chest. Rotate the application sites each day to ensure even distribution and absorption. The cream can be used once or twice daily.
Gently massage it into the skin until it is fully absorbed. It’s often recommended to follow a cycle, such as using it for three weeks and then taking one week off, especially when using it for hormonal support. However, it is always best to consult with a healthcare professional for personalized advice on usage and frequency.
Safety Considerations
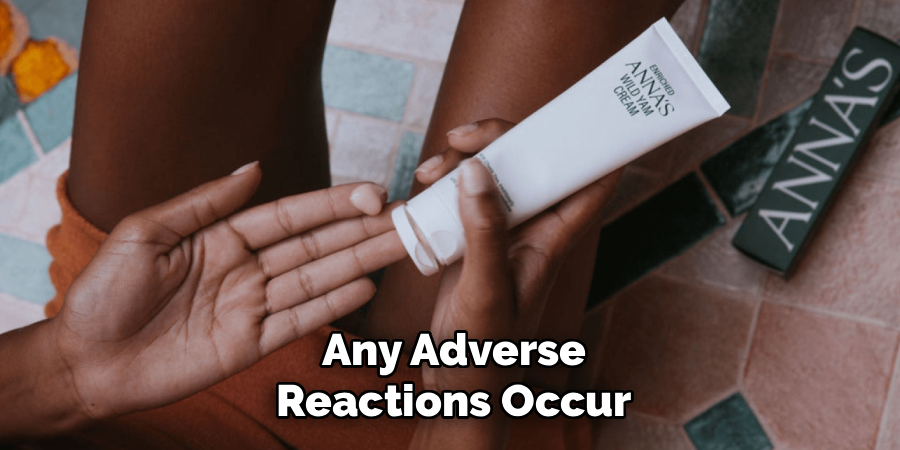
Before using the cream regularly, it is essential to perform a patch test. Apply a small amount to your inner elbow and wait 24-48 hours to check for any signs of irritation, redness, or allergic reaction. This product is for external use only.
Avoid contact with eyes and mucous membranes. If you are pregnant, nursing, have a history of hormone-sensitive conditions, or are taking any medications, consult with your healthcare provider before using this cream. Discontinue use immediately if any adverse reactions occur.
Frequently Asked Questions
Q1: Why Did My Cream Separate?
A1: Cream separation is the most common issue in DIY lotion making and it almost always points to a problem with the emulsification process. The primary cause is a significant temperature difference between the oil and water phases when they are combined. If one is much hotter or cooler than the other, they won’t bind properly. Another reason could be insufficient blending time or using a tool that isn’t powerful enough, like a simple whisk, which can’t break down the particles finely enough for a stable bond.
Q2: Can I Make This Cream Without a Preservative?
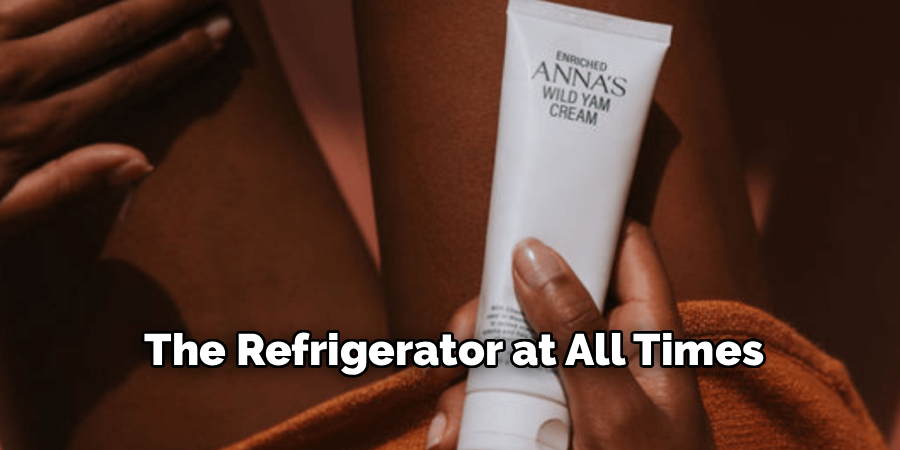
A2: It is strongly advised not to make this cream without a broad-spectrum preservative. Any product that contains water (an aqueous phase) is a breeding ground for bacteria, mold, and yeast. Without a preservative, your cream could become contaminated within days, even if stored in the refrigerator. Using a contaminated product on your skin can lead to infections and irritation. If you are committed to not using a preservative, you must make a very small batch that you can use within a week and store it in the refrigerator at all times.
Conclusion
Creating your own Anna’s Wild Yam Cream is an empowering and straightforward process that puts you in control of your skincare. By following these detailed steps, from meticulous preparation to proper emulsification and storage, you can craft a high-quality, effective product tailored to your needs.
This guide on how to make Anna’s wild yam cream equips you with the knowledge to not only make the cream but also understand the science behind it, ensuring a stable, safe, and luxurious result. Enjoy the satisfaction of using a natural product made by you, for you.
About the Author
Jane Hubbard is a passionate beauty expert with a wealth of experience in makeup, hair, and overall beauty techniques. After years of working as a hairdresser specialist, she followed her entrepreneurial spirit and started her own consultancy business.
Jane has always been driven by her desire to help others feel confident in their own skin, and she does this by sharing her knowledge, experiences, and practical beauty tips. Through her consultancy, she empowers individuals to embrace their unique beauty, offering tailored guidance that boosts both self-esteem and personal style.
Professional Focus
- Specializes in makeup, hairstyling, and beauty consulting.
- Provides personalized beauty advice, tips, and techniques to help individuals feel confident in their appearance.
- Dedicated to staying up-to-date with the latest industry trends and developments.
- Passionate about creating a comfortable and empowering experience for every client.
Education History
- University of Craft and Design – Bachelor of Fine Arts (BFA) in Woodworking and Furniture Design
- Woodworking Apprenticeships – Extensive hands-on training with skilled craftsmen to refine carpentry and furniture making techniques
- Online Courses & Masterclasses – Continued education in advanced woodworking techniques, design principles, and specialized tools
Expertise:
- Makeup artistry, hairstyling, and beauty consulting.
- Personalized beauty techniques to enhance confidence and self-expression.
- Educating clients on how to maintain their beauty routines at home.