
Creating black glitter at home is a fun and creative project that allows you to add a unique sparkle to your crafts and decorations. Whether you’re working on a Halloween project, personalizing a gift, or simply experimenting with DIY materials, making black glitter is surprisingly simple and cost-effective. This guide will walk you through the steps of how to make black glitter.
Why Make Your Own Black Glitter
Making your own black glitter offers several advantages over buying it pre-made. First, it allows you to customize the texture and sparkle level to perfectly suit your project, whether you prefer fine glitter for a subtle shimmer or chunky glitter for a bold statement. Additionally, crafting your own glitter can be more cost-effective, especially if you already have some of the materials at home. It also gives you the freedom to experiment with different finishes or even mix in other colors for a unique effect. Plus, the process of making your own glitter can be a fun and rewarding creative activity, giving you a sense of accomplishment and adding a personal touch to your crafts.
Materials Needed
To create your own glitter, you will need the following materials:
- Salt or sugar (for a fine texture base)
- Food coloring or liquid dye
- Aluminum foil or parchment paper
- Baking sheet
- Oven or heat source
- Airtight container (for storage)
These items are inexpensive and can often be found in your kitchen or crafting supplies, making this project both accessible and enjoyable.
10 Methods How to Make Black Glitter
1. Use Black Salt and Food Coloring
A simple and natural way to make black glitter is to start with coarse salt or Epsom salt. Pour the salt into a zip-lock bag and add a few drops of black gel or liquid food coloring. Seal the bag and shake vigorously until the salt is evenly colored. Then, spread the salt on a baking sheet and let it air dry or bake it in a low-temperature oven (around 200°F or 93°C) for 10–15 minutes until completely dry. Once cooled, crush it lightly for a finer glitter texture. This method is ideal for eco-conscious crafters and safe for kids’ crafts.
2. Color Sugar Crystals
Granulated sugar or sanding sugar can be transformed into shimmering black glitter. Add a few drops of black food coloring to a small bowl of sugar and stir until the color is evenly distributed. You can add a tiny bit of cornstarch to prevent clumping. Spread the colored sugar on parchment paper and let it dry completely before use. The result is a sparkly, edible glitter perfect for cake decorations, cookies, or Halloween-themed desserts.
3. Crush Black Eyeshadow or Pigment
For a fine, makeup-safe glitter effect, use black eyeshadow or black mica pigment. Scrape or crush the eyeshadow into a fine powder and mix with a pinch of cosmetic-grade shimmer powder or biodegradable sparkle. If needed, add a touch of cosmetic-safe glue or primer to apply it to skin. This method produces subtle shimmer, perfect for makeup, body art, or nail decoration.
4. Create from Black Craft Foam
Craft foam sheets are an excellent base for making chunky glitter. Cut a black glitter foam sheet into tiny pieces using scissors or a hole puncher. For finer texture, use a blender reserved for crafts to pulse the foam into smaller flakes. This technique creates a bold, lightweight glitter suitable for decorations, scrapbooking, and card-making.
5. Spray Paint Clear Glitter
If you have clear or white glitter at home, you can turn it black using black spray paint. Spread the glitter in a thin layer on a piece of cardboard or parchment paper and lightly spray it with black paint. Let it dry, then stir and repeat until fully coated. Allow it to cure completely before use. This method creates deep, glossy black glitter with a reflective finish, perfect for dark-themed crafts and centerpieces.
6. Mix Black Acrylic Paint with Clear Glue and Glitter Base
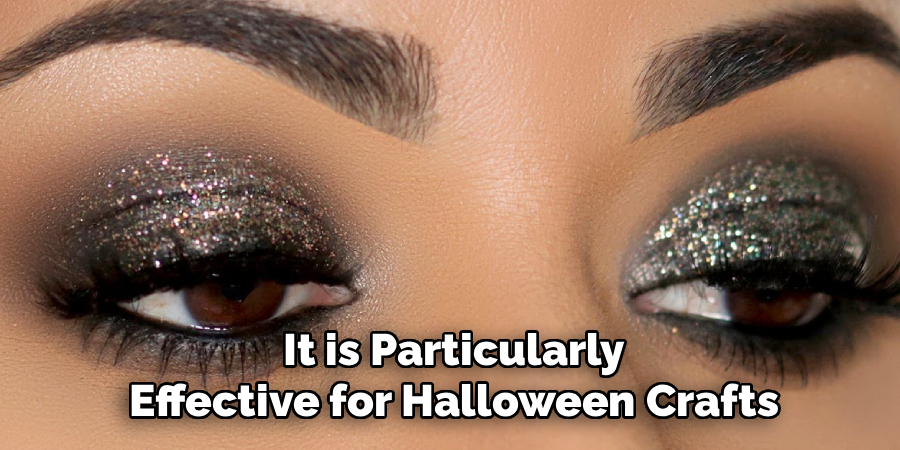
To create a textured glitter paste, mix black acrylic paint with clear craft glue and a coarse material like sand, salt, or clear glitter flakes. Adjust the amount of each component until the consistency is thick and gritty. This mixture can be used directly on paper, wood, or canvas to create sparkly black textures in your art projects. It is particularly effective for Halloween crafts or Gothic art styles.
7. Use Crushed Black Glitter Paper
Black glitter paper is commonly available at craft stores and can be turned into loose glitter. Tear or cut the paper into small strips, then use a hole punch or paper shredder to create confetti-sized glitter particles. You can also rub the paper between your hands to loosen the glitter and collect it. This method is an excellent way to upcycle leftover paper scraps and produce large, bold glitter pieces for dramatic visual effects.
8. Blend Charcoal Powder with Biodegradable Sparkle
For a completely natural and eco-friendly black glitter, mix finely ground activated charcoal or charcoal powder with a biodegradable shimmer powder, such as mica or cellulose-based glitter. The charcoal gives the deep black hue, while the shimmer adds sparkle. This combination works great for natural beauty products, eco-crafts, or rustic-style decorations. Be careful during application, as charcoal can stain fabric or porous surfaces.
9. Color Clear Resin Glitter
If you work with resin or epoxy crafts, you can make your own black glitter by tinting clear glitter with black resin pigment or mica powder. Pour clear glitter into a small container and add black pigment, mixing thoroughly. Let it dry if needed. This type of glitter can be added directly to resin molds to create shiny, long-lasting black accents in jewelry, coasters, or ornaments.
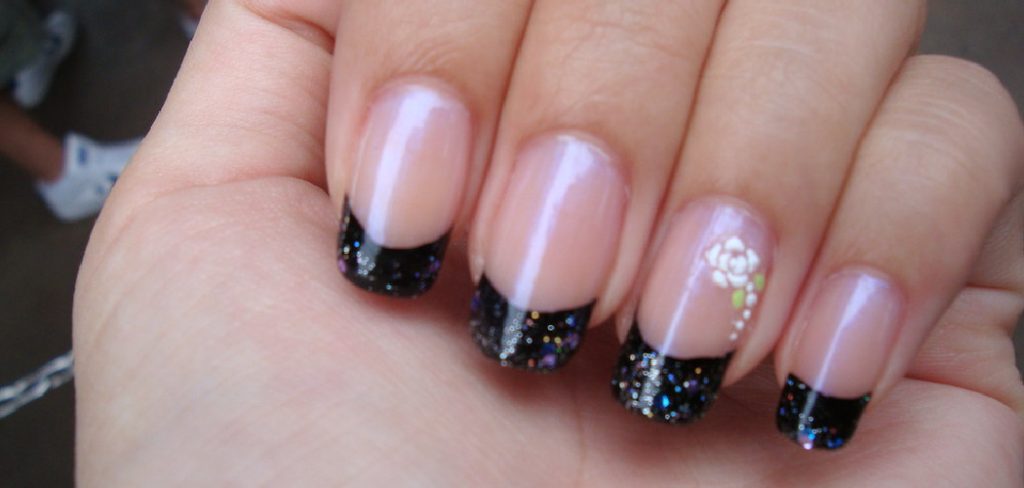
10. Add Black Nail Polish to Clear Microbeads
To create a glossy black glitter perfect for nail art or miniature crafts, mix clear glass microbeads with black nail polish in a disposable container. Stir gently until the beads are evenly coated. Pour them onto a piece of parchment paper and allow them to dry thoroughly. The resulting beads will have a beautiful shine and dimensional appearance. Once dry, you can store them in a small jar and use them in various decorative projects.
Maintenance and Upkeep
To ensure the longevity and quality of your handcrafted materials, proper maintenance is key. Store the finished products, such as the glossy black microbeads, in a cool, dry place away from direct sunlight to prevent discoloration or damage. Use airtight containers to avoid exposure to moisture, which could impact their finish or usability over time.
When working with materials like nail polish-coated beads, handle them carefully to avoid chipping. Regularly inspect your supplies and decorative items to check for wear and make adjustments or touch-ups as needed. Proper storage and care will keep your creations in optimal condition for future projects.

Troubleshooting Common Issues
When crafting, you may encounter a few common challenges that can impact the quality of your work. Here are some tips to address these issues:
- Chipping or Peeling on Coated Materials
If you notice chipping or peeling on materials like painted beads or sealed surfaces, ensure they have been properly prepped before use. Sand rough areas lightly and apply a fresh, even coat of paint or sealant. Allow adequate drying time between layers to enhance durability.
- Glue Failing to Bond
To avoid weak adhesion, ensure that surfaces are clean and dry before applying glue. For stubborn materials, consider using specialized adhesives designed for the material you’re working with, such as E6000 for heavy embellishments or hot glue for porous surfaces.
- Uneven Paint or Finish
Uneven finishes can result from improper application or insufficient drying time. Use thin, even layers of paint or sealant, and allow each layer to dry completely before adding another. Sand lightly between coats for a smooth final surface.
- Fading Colors
If your creations are exposed to sunlight or moisture, fading can occur. Whenever possible, use UV-resistant coatings or store completed items in shaded areas to preserve their color vibrancy.
- Warping or Distortion of Materials
Warping often happens when materials are exposed to excess moisture or heat. Keep raw materials in a controlled environment and avoid overusing heat tools during the crafting process. If warping occurs, consider reshaping gently with heat and pressure.
By addressing these issues proactively, you can ensure your projects turn out polished and professional every time.
Conclusion
Making black glitter at home offers a wide range of possibilities, allowing for customization in texture, finish, and application. Whether you’re crafting with kids, preparing festive décor, baking spooky treats, or creating beauty products, one of these ten methods is sure to fit your needs. From natural ingredients like charcoal and sugar to creative repurposing of materials like glitter paper and craft foam, the versatility of homemade black glitter is both inspiring and practical.
Not only does this DIY approach save money, but it also gives you the creative freedom to experiment and refine your own signature sparkle. Now that you know how to make black glitter, try it yourself today and feel good about completing such a big DIY job!
About the Author
Jane Hubbard is a passionate beauty expert with a wealth of experience in makeup, hair, and overall beauty techniques. After years of working as a hairdresser specialist, she followed her entrepreneurial spirit and started her own consultancy business.
Jane has always been driven by her desire to help others feel confident in their own skin, and she does this by sharing her knowledge, experiences, and practical beauty tips. Through her consultancy, she empowers individuals to embrace their unique beauty, offering tailored guidance that boosts both self-esteem and personal style.
Professional Focus
- Specializes in makeup, hairstyling, and beauty consulting.
- Provides personalized beauty advice, tips, and techniques to help individuals feel confident in their appearance.
- Dedicated to staying up-to-date with the latest industry trends and developments.
- Passionate about creating a comfortable and empowering experience for every client.
Education History
- University of Craft and Design – Bachelor of Fine Arts (BFA) in Woodworking and Furniture Design
- Woodworking Apprenticeships – Extensive hands-on training with skilled craftsmen to refine carpentry and furniture making techniques
- Online Courses & Masterclasses – Continued education in advanced woodworking techniques, design principles, and specialized tools
Expertise:
- Makeup artistry, hairstyling, and beauty consulting.
- Personalized beauty techniques to enhance confidence and self-expression.
- Educating clients on how to maintain their beauty routines at home.