
One of the secrets to achieving luscious, healthy hair lies in the power of natural ingredients. If you want to boost your hair growth and enhance its overall health, look no further than clove and rosemary water.
This potent combination of herbs has been cherished for centuries due to their remarkable properties that aid in promoting hair growth, preventing hair loss, and improving scalp health. In this guide, we will walk you through the simple steps of how to make clove and rosemary water for hair growth, allowing you to harness nature’s goodness and unlock the full potential of your hair.
Get ready to pamper your locks and witness the transformation as you indulge in this natural hair care ritual.
What Are the Benefits of Clove and Rosemary for Hair?
Before we jump into the process of making clove and rosemary water, let’s first understand the benefits these two ingredients offer to our hair:
- Stimulate Hair Growth: Both clove and rosemary have stimulating properties that promote blood circulation in the scalp. This increased blood flow ensures that essential nutrients are effectively delivered to the hair follicles, promoting healthy growth.
- Prevent Hair Loss: Cloves contain eugenol, a compound known for its anti-inflammatory and antibacterial properties. These help in preventing fungal infections on the scalp, which can lead to hair loss. On the other hand, rosemary has been found to inhibit the activity of 5-alpha reductase, an enzyme responsible for hair loss.
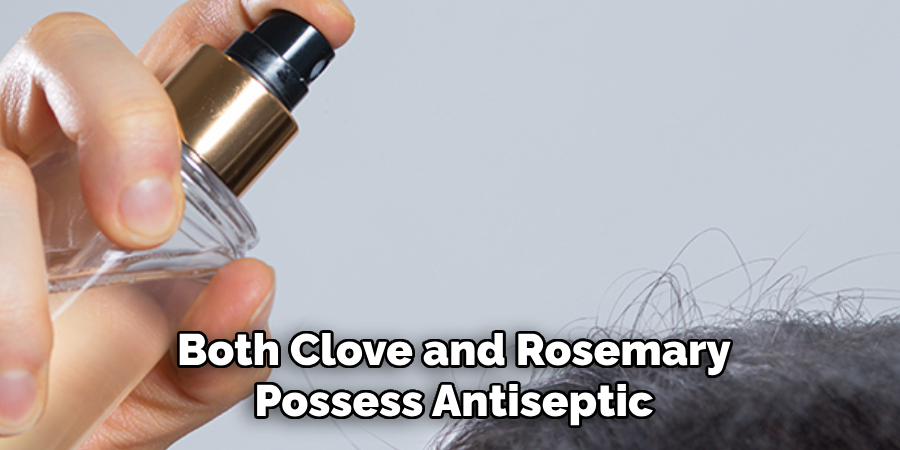
- Improve Scalp Health: Both clove and rosemary possess antiseptic properties that help alleviate scalp conditions such as dandruff, eczema, and psoriasis. This promotes a healthy scalp environment for hair to grow.
- Nourish Hair Follicles: The rich nutrient content of these herbs, including vitamins A, C, and B-complex, along with minerals like iron and calcium, nourish the hair follicles. This strengthens the hair from the roots and improves its overall health.
Now that we know the benefits of using clove and rose
What Will You Need?
- 1 cup of dried rosemary leaves
- 1 cup of whole cloves
- A large pot or saucepan
- Water
- A strainer
- A spray bottle or storage container
Once you have gathered all the necessary ingredients, it’s time to start making your clove and rosemary water for hair growth.
10 Easy Steps on How to Make Clove and Rosemary Water for Hair Growth
Step 1. Boil Water
Start by bringing a large pot or saucepan filled with water to a gentle boil. Your water will depend on how many cloves and rosemary water you wish to make. Using at least 4 cups of water is generally recommended to ensure you have enough for the infusion process. Boiling the water will help extract the beneficial properties of the cloves and rosemary, creating a potent solution for your hair.
Step 2. Add Cloves and Rosemary
Once the water reaches a gentle boil, carefully add a handful of whole cloves and a generous amount of fresh rosemary sprigs to the pot. The cloves and rosemary will infuse the water with their beneficial properties, promoting hair growth and overall scalp health.
The exact amount of cloves and rosemary can vary based on personal preference, but a ratio of 1 tablespoon of cloves to 2-3 sprigs of rosemary is a good starting point. Adjust the quantities according to your desired potency and aroma.
Step 3. Reduce Heat and Simmer
Once you have added the cloves and rosemary to the boiling water, reduce the heat to low and let the mixture simmer. Allowing it to simmer gently for approximately 30 minutes will maximize the infusion process, ensuring that the beneficial properties of the cloves and rosemary are thoroughly extracted.
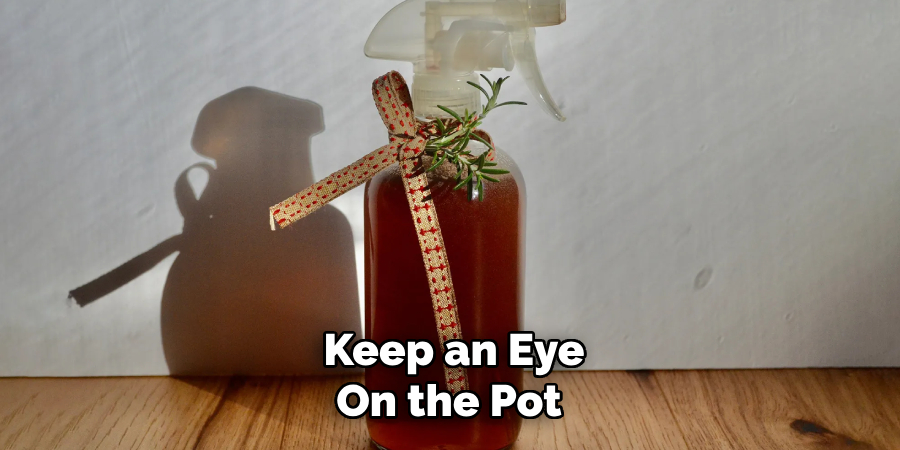
Keep an eye on the pot to maintain a gentle simmer without reaching a full boil, as excessive heat can potentially degrade the potency of the infusion. This slow simmering process helps create a concentrated and effective solution for your hair.
Step 4. Remove from Heat
After simmering the cloves and rosemary infusion for approximately 30 minutes, it’s time to remove the mixture from heat. Carefully turn off the stove or remove the pot from the heat source. Allow the infusion to cool down naturally before proceeding to the next steps.
This cooling period allows the flavors and beneficial properties to meld together, ensuring a well-rounded and potent hair rinse. Handling the hot mixture with caution is crucial to avoid accidents or burns. Once the infusion has cooled, you can strain it and transfer it to a suitable container for storage or immediate use. Remember to discard the cloves and rosemary remnants properly.
Step 5. Strain the Mixture
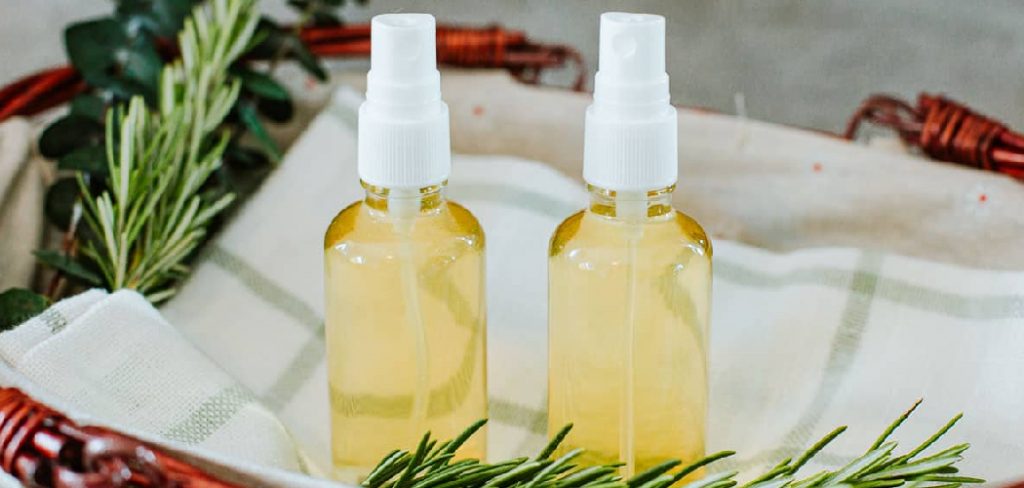
Using a strainer, carefully separate the liquid portion of the infusion from the cloves and rosemary remnants. The remaining solution should be a beautiful golden color infused with all the beneficial properties of these herbs. You can gently press on the leftover mixture to extract any excess liquid, but avoid using too much pressure as it may result in a cloudy or bitter solution.
Step 6. Transfer to Container
After straining, transfer your clove and rosemary water into a clean spray bottle or storage container. If you prefer not to use a spray bottle, use a cup or jug for easy pouring. Clean and dry the container before transferring the infusion to ensure a clean and hygienic solution.
Step 7. Dilute with Water (Optional)
To optimize the use of your clove and rosemary hair rinse, you can dilute it with water before application. Diluting the solution helps customize the intensity of the infusion based on your hair type and preferences. If you have sensitive or dry hair, diluting the rinse with equal water can provide a milder effect while benefiting from the herbal properties.
On the other hand, if you have oily hair or desire a more potent infusion, you can use the hair rinse without dilution. Experiment with different dilution ratios to find the perfect balance for your hair’s needs and desired results. Remember to adjust the dilution ratio accordingly to maintain the effectiveness of the rinse while catering to your hair’s unique characteristics.
Step 8. Use as a Hair Rinse
To use the clove and rosemary hair rinse, follow these steps:
- After shampooing and conditioning your hair, allow it to partially dry. It should be damp but not dripping wet.
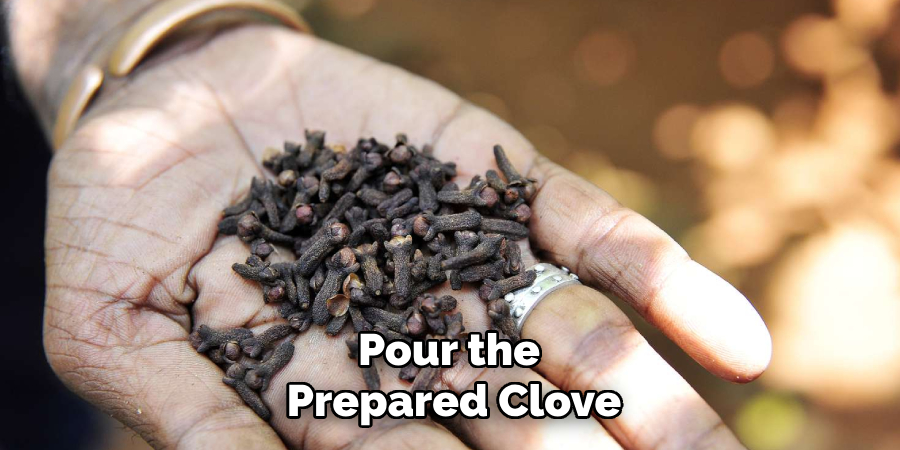
- Pour the prepared clove and rosemary infusion over your hair, saturate it from roots to ends.
- Gently massage your scalp to ensure the rinse is even.
- Leave the rinse on your hair for about 5-10 minutes to allow the herbal properties to penetrate the hair follicles.
- Rinse your hair thoroughly with cool water to remove any residue.
- If desired, follow up with your regular hair care routine, such as applying a leave-in conditioner or styling products.
Using the clove and rosemary hair rinse regularly can help promote scalp health, strengthen hair strands, and add a natural shine to your locks. Enjoy this homemade hair rinse’s refreshing herbal aroma and rejuvenating benefits.
Step 9. Store and Refrigerate
To maintain the freshness and effectiveness of your clove and rosemary hair rinse, it’s essential to store it properly. Make sure to use a clean container with a tight lid to prevent any contamination or spoilage.
You can also choose to refrigerate the infusion for an extended shelf life, but remember to label the container with the date of preparation for reference. The recommended shelf life for homemade herbal infusions is around 1-2 weeks if stored in the refrigerator.
Step 10. Use Regularly
Consistency is key to reaping the benefits of clove and rosemary hair rinse. Incorporate it into your regular hair care routine to maximize its effects. Depending on your hair’s needs and preferences, you can use the hair rinse once or twice a week as a final rinse after shampooing and conditioning.
Gently massage the infusion into your scalp and along the length of your hair, allowing the herbal blend to nourish and revitalize your strands. Regular clove and rosemary hair rinse can help maintain scalp health, strengthen hair follicles, and enhance the natural shine of your locks. Embrace the refreshing aroma and indulge in the rejuvenating experience this homemade hair rinse provides.
Following these simple steps, you can create your own clove and rosemary hair rinse at home.
5 Additional Tips and Tricks
- Customize with Essential Oils: Add a few drops of essential oils like lavender, peppermint, or tea tree oil further to enhance the fragrance and benefits of your hair rinse.
- Experiment with Other Herbs: Feel free to explore herbs beneficial for hair health, such as chamomile, nettle, or sage. You can infuse them individually or create unique herbal blends.
- Test Allergies and Sensitivities: Before using the hair rinse for the first time, perform a patch test on a small area of your skin to ensure you don’t have any allergies or sensitivities to the ingredients.
- Adjust the Concentration: If you find the hair rinse too strong or too mild, you can adjust the infusion concentration by adding more or less of the ingredients accordingly.
- Stay Consistent: To truly experience the long-term benefits of the clove and rosemary hair rinse, make it a part of your regular hair care routine and stay consistent with its use.

Conclusion
In conclusion, how to make clove and rosemary water for hair growth is a simple and cost-effective way to incorporate herbal remedies into your hair care routine.
Following the steps outlined above, you can create a refreshing and nourishing infusion that promotes scalp health, strengthens hair strands, and adds shine to your locks. With regular use and a few extra tips and tricks, you can elevate your hair care game with this homemade herbal remedy.
So why not give it a try? Your hair will thank you for it! Always consult with a healthcare professional before trying new treatments or remedies. Cheers to healthy and beautiful hair!
About the Author
Jane Hubbard is a passionate beauty expert with a wealth of experience in makeup, hair, and overall beauty techniques. After years of working as a hairdresser specialist, she followed her entrepreneurial spirit and started her own consultancy business.
Jane has always been driven by her desire to help others feel confident in their own skin, and she does this by sharing her knowledge, experiences, and practical beauty tips. Through her consultancy, she empowers individuals to embrace their unique beauty, offering tailored guidance that boosts both self-esteem and personal style.
Professional Focus
- Specializes in makeup, hairstyling, and beauty consulting.
- Provides personalized beauty advice, tips, and techniques to help individuals feel confident in their appearance.
- Dedicated to staying up-to-date with the latest industry trends and developments.
- Passionate about creating a comfortable and empowering experience for every client.
Education History
- University of Craft and Design – Bachelor of Fine Arts (BFA) in Woodworking and Furniture Design
- Woodworking Apprenticeships – Extensive hands-on training with skilled craftsmen to refine carpentry and furniture making techniques
- Online Courses & Masterclasses – Continued education in advanced woodworking techniques, design principles, and specialized tools
Expertise:
- Makeup artistry, hairstyling, and beauty consulting.
- Personalized beauty techniques to enhance confidence and self-expression.
- Educating clients on how to maintain their beauty routines at home.