
Are you tired of buying blush that doesn’t quite match your skin tone? You may want a more natural and dewy look for your cheeks. Well, why not try making your own cream blush at home? Not only is it customizable to your specific needs, but it’s also easy and cost-effective.
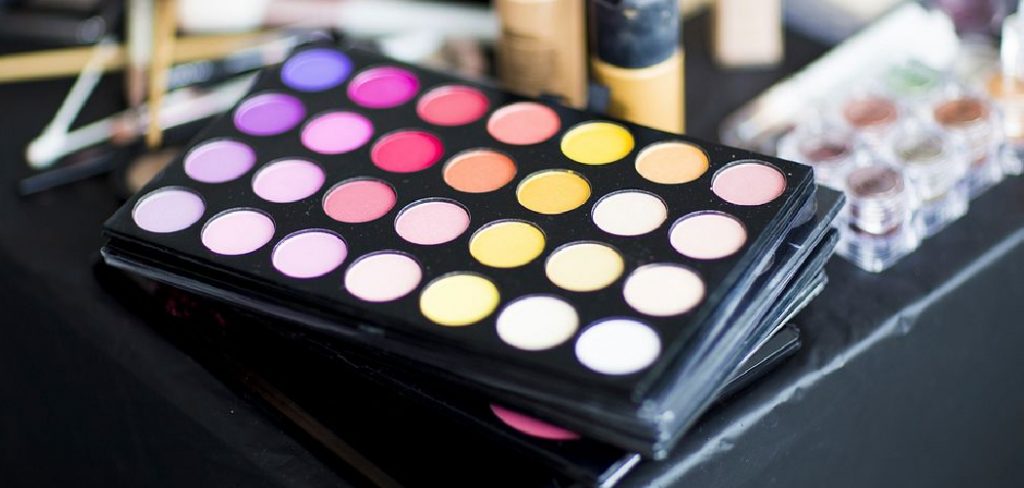
DIY cream blush is a versatile and easy-to-make addition to your beauty routine. It provides a natural, dewy finish that enhances your complexion while allowing you to control the shade and ingredients. By creating your own cream blush, you can customize it to match your skin tone and preferences, avoiding harsh chemicals often found in store-bought products.
In this guide on how to make cream blush at home, we’ll cover the basic steps and ingredients needed to create your own personalized blush.
What Are the Benefits of Making Cream Blush at Home?
Making your own cream blush comes with several benefits, including:
- Customization: As mentioned earlier, creating your cream blush allows you to customize it to match your skin tone and preferences. You can mix different pigments and adjust the concentration of each ingredient to achieve the perfect shade for your complexion.
- Natural Ingredients: Many store-bought beauty products contain harsh chemicals that can irritate sensitive skin. By making your own cream blush, you can control the ingredients used and choose natural alternatives that are gentle on your skin.
- Cost-effective: Creating your beauty products at home can save you money in the long run. The ingredients needed for a cream blush are inexpensive and can be used to make multiple batches.
- Eco-friendly: By making your beauty products, you reduce packaging waste from store-bought products. You can also choose eco-friendly ingredients and containers when making your cream blush at home.
What Will You Need?
- Base oil (such as jojoba, almond, or coconut oil)
- Beeswax or candelilla wax for a vegan option
- Shea butter or cocoa butter for moisture and texture
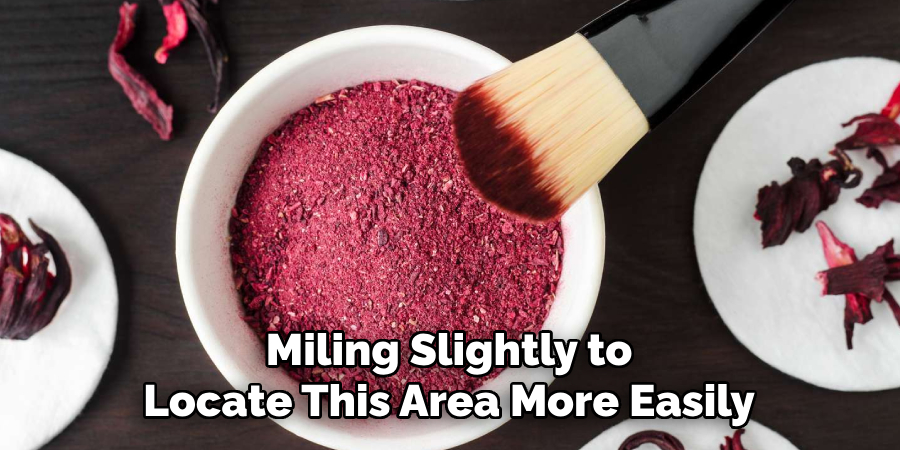
- Natural colorants such as beetroot powder, hibiscus powder, or cocoa powder
- Essential oils for scent (optional)
- Small saucepan
- Glass jar or container to store the cream blush in
Once you have gathered all your ingredients, it’s time to start making your cream blush!
8 Easy Steps on How to Make Cream Blush
Step 1. Melt the Base Ingredients
Begin by combining your chosen carrier oil, beeswax or candelilla wax, and shea or cocoa butter in a small saucepan. Use a low heat setting to gently melt these ingredients, stirring occasionally to ensure they blend evenly. It’s essential to monitor the heat closely to avoid overheating, as this could degrade the properties of the natural ingredients.
If you don’t have a small saucepan, a double-boiler method can also work effectively, placing the ingredients in a heat-safe bowl over a pot of simmering water. Once the mixture has fully melted and you achieve a smooth, consistent texture, you can move to the next step. This forms the base of your cream blush and plays a crucial role in its application and performance.
Step 2: Add Color to Your Base
Now that your base is ready, it’s time to introduce color to your cream blush. Choose a natural pigment powder, such as beetroot powder or mica powder, depending on your preferred shade. Start with a small amount—about 1/4 of a teaspoon—and mix it thoroughly into the melted base.
Gradually add more pigment as needed, testing the shade on your hand to ensure it reaches your desired intensity. Stir well to achieve an even distribution of color, making sure there are no clumps. This step allows you to customize the blush to complement your skin tone perfectly.
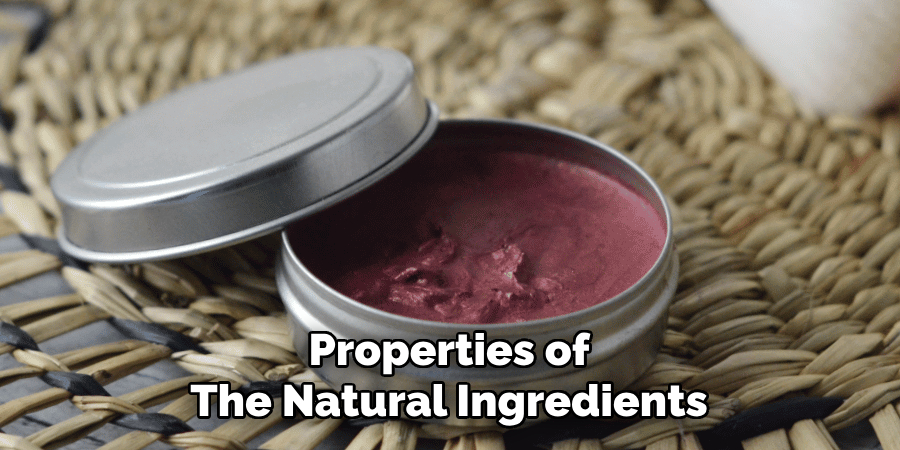
Step 3: Pour and Set
Once you are satisfied with the color and consistency of your cream blush, carefully pour the mixture into a clean, sterilized container, such as a small tin or jar. Allow the blush to cool and solidify at room temperature for several hours.
Be sure not to move the container during this time to ensure a smooth finish. Once it has fully set, your homemade cream blush is ready for use! Store it in a cool, dry place, and enjoy your personalized, natural makeup.
Step 4: Application Tips
To apply your homemade cream blush, use clean fingers or a makeup brush to dab the product onto the apples of your cheeks. Blend it upwards and outwards toward your cheekbones for a natural flush of color.
Start with a small amount, as cream blush is buildable, and you can layer more for a more intense look. This versatile blush can also double as a lip tint—simply pat a little onto your lips for a cohesive and polished makeup look.
Step 5: Storage and Shelf Life
Store your homemade cream blush in a small, airtight container to maintain its freshness and quality. Keep the container in a cool, dry place away from direct sunlight to prevent the natural ingredients from breaking down. Since this is a natural product without preservatives, it’s best to use it within six months.
Consider labeling your container with the date it was made for added freshness. If you notice any changes in texture, smell, or color, it’s time to make a fresh batch.
Step 6: Apply Your Cream Blush
To apply your cream blush effectively, ensure your skin is clean and moisturized. This helps the blush glide on smoothly and blend seamlessly into your complexion. Take a small amount of the blush using clean fingers, a makeup brush, or a sponge. Begin by lightly dabbing it onto the apples of your cheeks, smiling slightly to locate this area more easily.
Gradually build up the color by adding more product in small increments, blending outward toward your temples for a natural, flushed look. Be sure to mix well, as cream blush is designed to mimic a subtle, natural glow. If you’ve applied too much, use a bit of foundation or a clean sponge to tone it down. For multitasking, you can also apply the blush to your lips or eyelids for a cohesive, radiant look.
Step 7: Store Your Cream Blush Properly
To ensure your homemade cream blush stays fresh and compelling, it’s essential to store it correctly. Place your blush in a clean, airtight container to prevent it from drying out or being exposed to bacteria.
Keep the container away from direct sunlight and avoid storing it in areas with high humidity, as excess moisture can affect the product’s texture and shelf life. A cool, dry place such as a drawer or cabinet is ideal for maintaining its quality.
If you notice any changes in the texture, scent, or color over time, it may be a sign that the blush is no longer safe to use, and it’s best to discard it and make a new batch. Proper storage will extend the life of your cream blush and ensure it remains safe and pleasant to use.
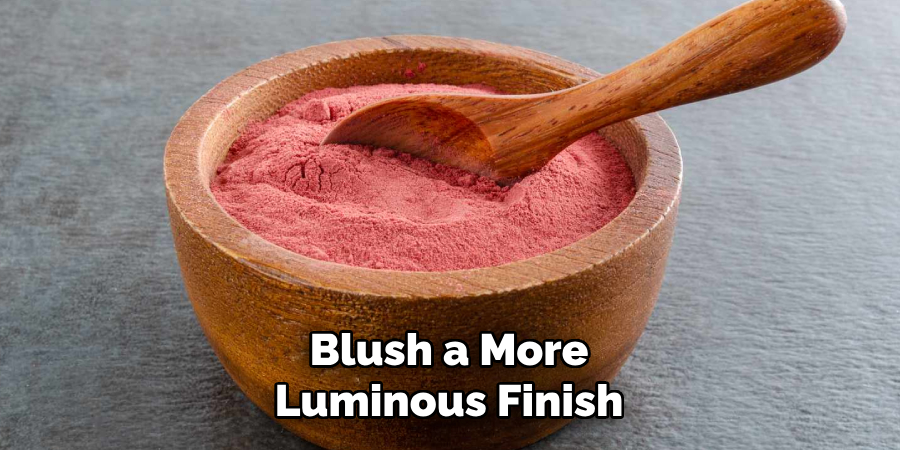
Step 8: Experiment with Different Shades and Formulas
Once you have mastered the basic recipe for cream blush, feel free to experiment with different shades and formulas! You can mix in different pigments or try using natural ingredients like beetroot powder or hibiscus powder for a more organic look. You can also play around with the ratios of ingredients to achieve your desired level of color intensity.
Additionally, consider trying out different types of oils and butters to create unique textures and finishes. For example, using shea butter instead of cocoa butter may produce a creamier consistency, while adding jojoba oil can give the blush a more luminous finish.
By following these simple tips, you can customize and create your unique DIY blush that is good for your skin and reflects your style and preferences.
5 Things You Should Avoid
1. Using Expired Ingredients
Always ensure that the oils, butters, and pigments you use are fresh and within expiration dates. Using expired ingredients can result in a product that may irritate your skin or fail to work as intended.
2. Adding Too Much Pigment
While adding more pigment for a bolder hue might be tempting, overdoing it can make the blush difficult to blend and may lead to uneven application. Start with a small amount and build up the intensity gradually.
3. Skipping a Patch Test
Before applying your DIY blush to your face, always perform a patch test on a small skin area. This precaution helps to ensure you won’t have an allergic reaction or skin irritation from the ingredients.
4. Neglecting Proper Hygiene
Cleanliness is crucial when creating any cosmetic product. Always sterilize your tools, containers, and workspace to prevent contamination that could lead to harmful bacteria forming in your blush.
5. Ignoring Consistency
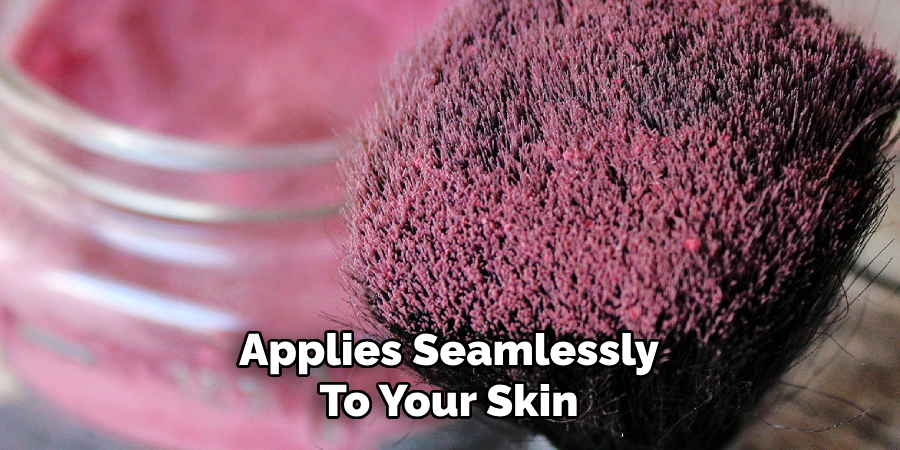
Achieving the right consistency is essential for cream blush. Avoid creating a product that is either too runny or too solid. Properly balancing your base ingredients will ensure a smooth, creamy finish that applies seamlessly to your skin.
Conclusion
How to make cream blush at home can be a fun and rewarding process when done with care.
By selecting high-quality ingredients, maintaining proper hygiene, and paying attention to texture and consistency, you can craft a safe and effective product. Remember to test your formulation and adjust as needed to achieve the perfect shade and finish for your skin.
With patience and creativity, you’ll have a custom-made cream blush that enhances your natural beauty.
About the Author
Jane Hubbard is a passionate beauty expert with a wealth of experience in makeup, hair, and overall beauty techniques. After years of working as a hairdresser specialist, she followed her entrepreneurial spirit and started her own consultancy business.
Jane has always been driven by her desire to help others feel confident in their own skin, and she does this by sharing her knowledge, experiences, and practical beauty tips. Through her consultancy, she empowers individuals to embrace their unique beauty, offering tailored guidance that boosts both self-esteem and personal style.
Professional Focus
- Specializes in makeup, hairstyling, and beauty consulting.
- Provides personalized beauty advice, tips, and techniques to help individuals feel confident in their appearance.
- Dedicated to staying up-to-date with the latest industry trends and developments.
- Passionate about creating a comfortable and empowering experience for every client.
Education History
- University of Craft and Design – Bachelor of Fine Arts (BFA) in Woodworking and Furniture Design
- Woodworking Apprenticeships – Extensive hands-on training with skilled craftsmen to refine carpentry and furniture making techniques
- Online Courses & Masterclasses – Continued education in advanced woodworking techniques, design principles, and specialized tools
Expertise:
- Makeup artistry, hairstyling, and beauty consulting.
- Personalized beauty techniques to enhance confidence and self-expression.
- Educating clients on how to maintain their beauty routines at home.