
Are you tired of having dry, cracked cuticles? Look no further, as making your cuticle remover at home is easy and effective.
DIY cuticle remover is a handy tool for maintaining well-groomed nails and healthy hands. Rather than purchasing commercial products that might contain harsh chemicals, making your cuticle remover at home allows you to use natural ingredients that are gentle yet effective. This process is simple, affordable, and ensures that you know exactly what you’re applying to your skin. Additionally, by making your cuticle remover, you can customize the ingredients to suit your specific needs and preferences.
In this guide on how to make cuticle remover at home, we will discuss the benefits of using natural ingredients, provide step-by-step instructions on how to make your own cuticle remover, and share some tips for maintaining healthy cuticles.
What Are the Benefits of Using Natural Ingredients?
Using natural ingredients in your cuticle remover has several benefits for both your skin and the environment. Here are some reasons why you should consider making your own cuticle remover with natural ingredients:
- Gentle on the Skin: Many store-bought cuticle removers contain harsh chemicals that can strip the skin of its natural oils and irritate sensitive areas. By using natural ingredients, you can create a gentle formula that will still effectively remove dead skin cells without causing any harm to your skin.
- Non-Toxic: Conventional beauty products often contain harmful chemicals such as parabens, sulfates, and phthalates. These toxins can be absorbed into the body through the skin and have been linked to various health issues.
- Affordable: Store-bought cuticle removers can be expensive, especially if you use them frequently. Making your own at home allows you to save money and use simple, affordable ingredients that are readily available.
- Customizable: Another benefit of making your cuticle remover is that you can customize it to fit your specific needs and preferences. You can experiment with different essential oils for added benefits or adjust the recipe based on your skin type.
What Will You Need?
To make your own cuticle remover, you will need the following ingredients and materials:
- Liquid Soap: A mild liquid soap is necessary to help clean and soften the cuticles. You can also use dish soap as an alternative.
- Warm Water: Warm water helps to open up the pores and softens the skin, making it easier to remove the cuticles.
- Lemon Juice: Lemon juice is a natural bleaching agent and helps to whiten the nails. It also acts as a natural exfoliator, helping to remove dead skin cells from around the nail bed.
- Olive Oil: Olive oil is rich in vitamins and minerals that nourish and moisturize the cuticles. It also helps to soften them, making it easier to push them back.
- Cuticle Pusher: A cuticle pusher is a tool specifically designed for pushing back and cleaning the cuticles. It has a flat, blunt end that gently pushes back the skin without causing any damage or pain.
- Cuticle Nippers: Cuticle nippers are small scissors with sharp blades that are used to trim excess cuticle skin. They should be used carefully and sparingly to avoid cutting too much of the skin.
- Moisturizer: After removing the cuticles, it’s important to moisturize the area to keep it soft and prevent dryness.
10 Easy Steps on How to Make Cuticle Remover
Step 1. Gather Your Ingredients
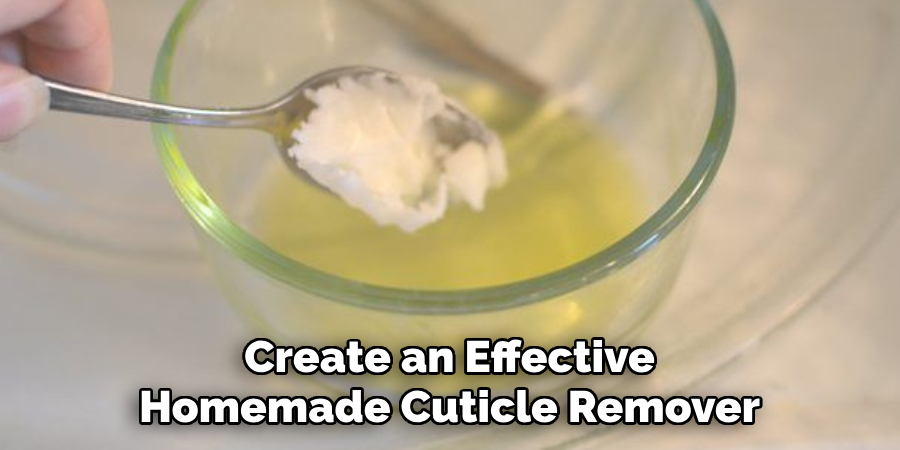
To create an effective homemade cuticle remover, you’ll need a few simple and easily accessible ingredients. These typically include natural oils, such as olive oil or coconut oil, which will help to soften the skin, making it easier to remove excess cuticles. You may also want to include an acidic component, like lemon juice or apple cider vinegar, as these work to gently break down the dead skin around the cuticle.
Baking soda is another excellent addition, often used for its exfoliating properties to further assist in the removal process. By gathering these ingredients, you’ll be ready to craft an affordable and gentle alternative to store-bought cuticle removers.
Step 2. Prepare a Mixing Bowl
Choose a clean, small mixing bowl to combine your ingredients. Ensure the bowl is non-reactive, such as glass or ceramic, especially if you are using acidic components like lemon juice or apple cider vinegar. Measure out the ingredients as specified in your recipe or to your desired consistency, and place them into the bowl. Use a spoon or small whisk to mix thoroughly until you achieve a smooth, even texture.
Step 3. Measure Olive Oil
Using a measuring spoon or cup, carefully measure the required amount of olive oil as dictated by your recipe. Opt for a high-quality, extra virgin olive oil to enhance the flavor and nutritional value of your mixture. Pour the measured olive oil slowly into the mixing bowl with the other ingredients to avoid splashing and ensure an accurate measurement.
Step 4. Add Lemon Juice
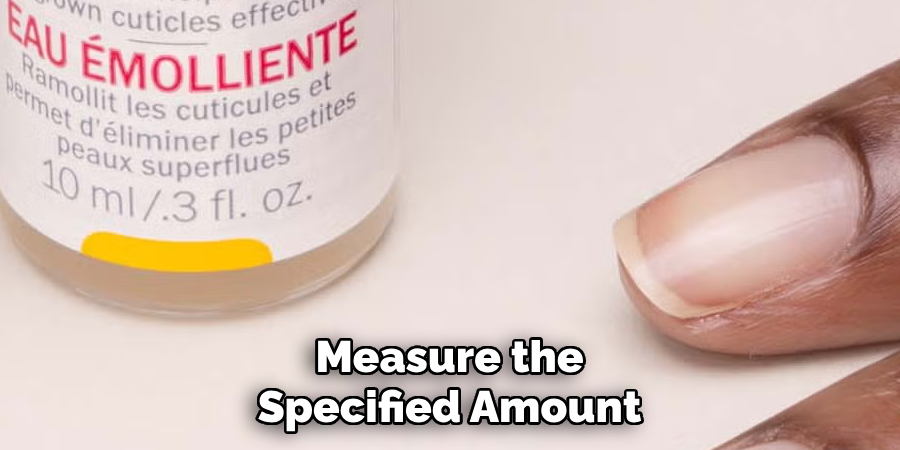
Measure the specified amount of freshly squeezed lemon juice, ensuring no seeds are included. Slowly pour the lemon juice into the mixture, blending it with the other ingredients. The lemon juice adds a bright, tangy flavor and balances the richness of the olive oil, creating a harmonious combination. Stir well to integrate the ingredients evenly.
Step 5. Mix in Baking Soda
Carefully measure the required amount of baking soda and sprinkle it evenly over the mixture. Baking soda acts as a leavening agent, introducing air and lightness to the final product. Gently stir the mixture until the baking soda is fully dissolved and evenly incorporated. Be mindful not to overmix, as this may affect the texture of the final result.
Step 6. Stir the Mixture
Using a spatula or wooden spoon, stir the mixture gently but thoroughly to ensure all the ingredients are well combined. Scrape down the sides of the bowl as you go to incorporate any dry ingredients that may have settled there. Continue stirring until the mixture achieves a smooth and even consistency, free of lumps or pockets of unmixed ingredients. This step lays the foundation for a uniform and cohesive final product.
Step 7. Prepare Your Hands
Before handling the mixture, ensure your hands are clean and dry to maintain hygiene and prevent the mixture from sticking excessively. If the recipe allows, lightly coat your hands with a small amount of oil, butter, or flour to create a non-stick barrier. This preparation will make shaping, rolling, or handling the mixture easier and more efficient, contributing to a smoother process overall.
Step 8. Apply the Remover
Using a clean brush or applicator, carefully apply the remover to the designated surface or area. Ensure even coverage, working methodically to prevent missing any spots. Allow the remover to sit for the recommended amount of time as specified in the instructions, enabling it to penetrate and loosen the material effectively. Avoid overapplying, as this may impact the overall results. Remember to handle with care and follow safety guidelines, such as wearing gloves, if needed.
Step 9. Allow It to Sit:
After applying the remover, give it adequate time to work as specified in the product instructions. This waiting period is crucial for ensuring the remover effectively penetrates and breaks down the material. During this time, avoid disturbing the area to prevent uneven results. Monitor the process and ensure the remover doesn’t dry out or evaporate prematurely, as this may reduce its effectiveness. Patience during this step will help achieve the best outcome.
Step 10. Rinse and Moisturize
After the remover has had sufficient time to work, gently rinse the area with warm water to remove all residue. Use a soft cloth or sponge to assist in lifting away any remaining material, ensuring the surface is thoroughly cleaned. Once rinsed, pat the area dry with a clean towel. To restore hydration and prevent dryness caused by the remover, apply a suitable moisturizer or conditioning treatment. This will help maintain the integrity of the surface of the skin and leave it feeling smooth and refreshed.

By following these steps, you can effectively and safely remove stubborn materials from various surfaces and skin without causing damage.
5 Things You Should Avoid
1. Using Harsh Chemicals
Avoid using overly harsh chemicals, such as acetone or high concentrations of alcohol, as these can cause skin irritation, dryness, or even damage the cuticle area. Opt for gentler, skin-safe ingredients.
2. Skipping Dilution
Never use strong or concentrated substances directly without proper dilution. Ingredients like essential oils or acidic components should always be diluted to prevent potential burns or adverse reactions.
3. Neglecting Allergy Testing
Do not skip an allergy patch test before using your homemade cuticle remover. Applying the mixture without testing could result in unexpected allergic reactions or sensitivity.
4. Overapplying the Mixture
Using too much of the product can overwhelm the delicate cuticle area, leading to overexposure and weakening of the skin. Apply only a moderate amount and follow the usage instructions carefully.
5. Reusing Old or Contaminated Containers
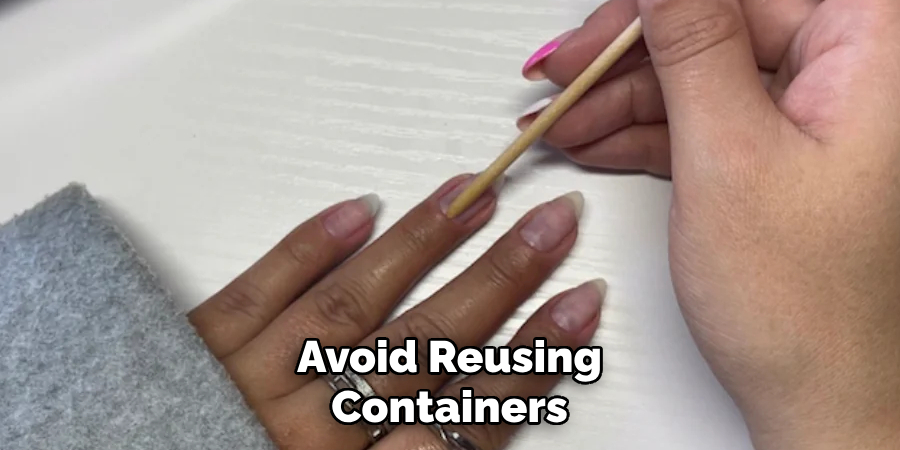
Avoid reusing containers that may not be properly sterilized. Contaminated containers can introduce bacteria into your product, which can lead to infections or skin issues. Always use clean, airtight containers to store your homemade cuticle remover.
Conclusion
How to make cuticle remover at home can be a safe and effective alternative to store-bought options when done correctly.
By selecting natural and skin-friendly ingredients, such as aloe vera or lemon juice, you can ensure a gentle solution that protects and nourishes your skin. Always prioritize hygiene by using clean tools and containers, and follow instructions precisely to avoid overuse or irritation.
With proper care and attention, your homemade cuticle remover can become a reliable part of your nail care routine.
About the Author
Jane Hubbard is a passionate beauty expert with a wealth of experience in makeup, hair, and overall beauty techniques. After years of working as a hairdresser specialist, she followed her entrepreneurial spirit and started her own consultancy business.
Jane has always been driven by her desire to help others feel confident in their own skin, and she does this by sharing her knowledge, experiences, and practical beauty tips. Through her consultancy, she empowers individuals to embrace their unique beauty, offering tailored guidance that boosts both self-esteem and personal style.
Professional Focus
- Specializes in makeup, hairstyling, and beauty consulting.
- Provides personalized beauty advice, tips, and techniques to help individuals feel confident in their appearance.
- Dedicated to staying up-to-date with the latest industry trends and developments.
- Passionate about creating a comfortable and empowering experience for every client.
Education History
- University of Craft and Design – Bachelor of Fine Arts (BFA) in Woodworking and Furniture Design
- Woodworking Apprenticeships – Extensive hands-on training with skilled craftsmen to refine carpentry and furniture making techniques
- Online Courses & Masterclasses – Continued education in advanced woodworking techniques, design principles, and specialized tools
Expertise:
- Makeup artistry, hairstyling, and beauty consulting.
- Personalized beauty techniques to enhance confidence and self-expression.
- Educating clients on how to maintain their beauty routines at home.