
Dark green nail polish is a stylish and versatile option that complements a variety of looks, from bold and edgy to sophisticated and chic. While it can be purchased at stores, creating your own shade allows for customization and a unique finish.
With the right materials and a few simple steps, you can craft a beautiful dark green polish tailored to your preferences. In this blog post, we’ll walk you through the steps on how to make dark green nail polish so that you can get back to using it in no time! So grab your tools, and let’s get started!
Why Make Your Own Nail Polish?
Making your own nail polish offers a range of benefits that store-bought options often can’t match. First and foremost, it allows for complete customization. You can create a shade that matches your exact vision, whether it’s a rich, dark green or a completely unique blend.
Additionally, crafting your own polish gives you the opportunity to control the ingredients, making it easier to avoid harsh chemicals or allergens that might be present in commercial products. It’s also a more sustainable choice, as you can repurpose old polishes and reduce waste. Lastly, the process can be a fun and creative activity, giving you a sense of pride and satisfaction every time you wear your custom creation.
Why Choose a Dark Green Nail Color
Dark green nail polish is a timeless and versatile choice that makes a bold yet sophisticated statement. This rich, earthy hue complements a wide variety of skin tones and pairs beautifully with both casual and formal outfits. Its deep color evokes feelings of elegance, confidence, and a connection to nature, making it an excellent option for any occasion.
Additionally, dark green is perfect for seasonal transitions, offering a chic alternative to more traditional shades like black or red. Whether you’re aiming for a dramatic look or subtle sophistication, a dark green nail color can elevate your style effortlessly.
10 Methods How to Make Dark Green Nail Polish
1. Mix Primary Colors Using Old Polishes
One of the simplest ways to create dark green nail polish at home is by mixing basic colors you already own. Begin with a small amount of blue nail polish as your base—preferably a navy or deep cobalt shade. Add green polish gradually, stirring with a clean toothpick or brush in a disposable mixing palette or small bottle.

To darken the hue, introduce a tiny drop of black polish or dark brown. Adjust the ratios until you achieve your preferred shade of dark green. This method allows you to recycle old or nearly empty bottles and discover new tones without spending extra money.
2. Use Eyeshadow Pigment and Clear Polish
Crushed eyeshadow can double as pigment for creating custom nail polish. Select a deep green or forest-colored eyeshadow and use a small makeup spatula or the back of a spoon to grind it into a fine powder. Mix the powder into a clear nail polish base, a few pinches at a time, shaking vigorously or stirring with a clean toothpick.
The finer the powder, the smoother the finish. You can also add a hint of black or charcoal shadow to deepen the green tone. This method is great for reusing broken palettes or creating subtle shimmer if your eyeshadow is metallic.
3. Use Acrylic Paint to Tint Clear Polish
A surprisingly effective technique involves using acrylic paint to tint clear nail polish. Pour a small amount of dark green acrylic paint into a mixing tray and add a few drops of clear nail polish. Mix well to ensure no streaks or lumps remain. Once blended, use a small funnel or pipette to pour the mixture into a nail polish bottle.
Keep in mind that acrylic paint-based polish may not last as long as commercial polish, but it’s perfect for experimenting with different green tones or creating seasonal shades on a budget.
4. Add Nail Pigment Powders for Rich Color
Mica powders or specialized nail pigment powders are excellent for making rich, custom-colored polish. Choose a deep green mica powder and add it to a clear polish base. These powders are ultra-fine and blend easily, offering a smooth finish and optional shimmer depending on the type you choose.
You can create endless variations by mixing in gold, silver, or even teal shimmer. Add a touch of black pigment powder to intensify the color for a truly dark, luxurious green. Shake the mixture well and let it settle before applying to your nails.
5. Create a Jelly Polish with Green and Black Tints
For a sheer, jelly-style dark green polish, start with a clear base and mix in small drops of green liquid dye or alcohol ink—both of which are highly pigmented. Slowly incorporate a drop or two of black to deepen the tone while preserving translucency. Jelly polishes have a see-through, syrup-like finish that looks especially elegant when layered.
This method is perfect if you want to build color gradually or create nail art looks that require dimension, such as smoky gradients or stained glass effects.
6. Use Nail Polish Remnants to Layer Colors
If you have several nail polish bottles with leftover amounts that are too little to use individually, layer them to create custom dark green shades. Begin by applying a layer of deep green or teal, followed by a coat of dark blue or black. The key is layering translucent or semi-opaque polishes strategically to create depth and richness.
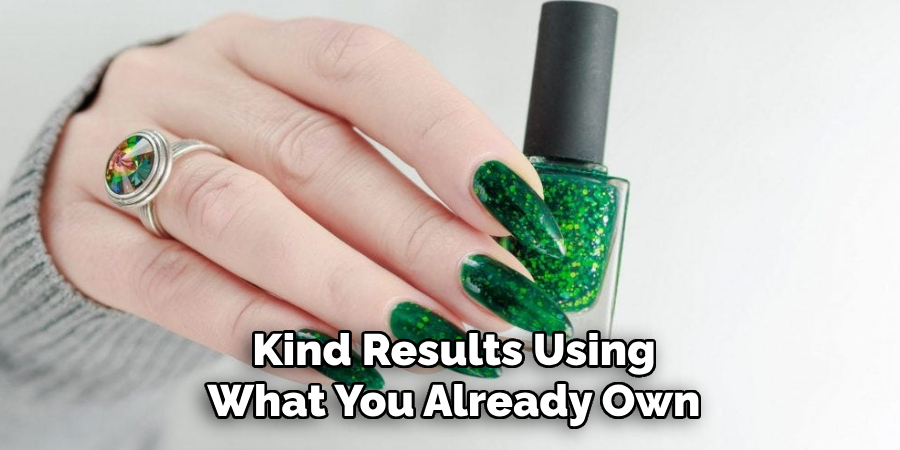
For a unique twist, apply a sheer gold or metallic green on top to give your dark green polish a duochrome finish. Though it requires trial and error, this method gives you one-of-a-kind results using what you already own.
7. Combine Food Coloring with DIY Nail Base
For an all-natural approach, mix food coloring with a DIY nail base made of clear topcoat and cornstarch. Start by adding a drop or two of green food coloring into a small container, then mix with a teaspoon of clear polish and a pinch of cornstarch. This creates a slightly thicker consistency with decent color payoff.
If you want to deepen the tone, add a tiny drop of blue or black food coloring. Note: this polish may not last as long as conventional formulas, but it’s a fun, safer way to experiment with temporary color.
8. Use Gel Polish Base with Gel Pigments
If you’re working with gel polish, use gel pigment tints to make your own dark green shade. In a mixing palette, combine a white or clear gel base with several drops of green gel pigment. Slowly add black or deep blue pigment to darken the color, and stir with a gel brush or metal spatula until you get a smooth mixture.
Cure a test swatch under your LED or UV lamp to confirm the final shade before bottling it. This method gives you salon-grade results and is perfect for long-lasting manicures with a custom touch.
9. Add Glitter or Shimmer for Dimensional Finish
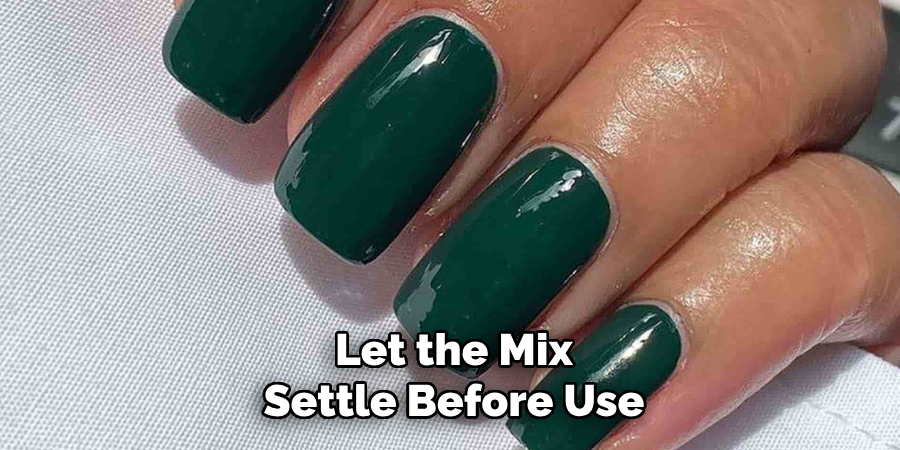
Once you’ve created your desired dark green base, consider enhancing it with shimmer, glitter, or metallic powder. For a magical effect, mix in fine gold or emerald glitter, or even holographic flakes, depending on your style. Add these elements to the polish base in small amounts, stir well, and let the mix settle before use.
This works especially well for holiday manicures or special occasions where a rich, dimensional polish takes center stage. Be careful not to overdo the glitter, as too much can interfere with smooth application.
10. Store and Preserve Your Custom Polish Properly
After crafting your perfect dark green nail polish, make sure it’s stored properly to extend its shelf life. Use clean, airtight glass nail polish bottles (you can find empty ones online or reuse old ones) and label them with the color name and date of creation. Store your polish in a cool, dark place away from direct sunlight, which can alter the pigments over time.
Shake the bottle gently before each use to re-mix settled particles, and avoid introducing moisture or contaminants to keep the polish smooth and clump-free.
Things to Consider When Mixing Custom Nail Polish
Color Compatibility
When blending different nail polish shades, ensure the colors complement each other. Test small amounts first to avoid wasting polish if the result is not as expected.
Pigment Density
Some polishes may be more opaque or sheer than others. Consider the pigmentation levels of the shades you’re mixing to achieve the desired coverage and consistency.
Base Consistency
Be mindful of the polish texture. Mixing formulas with vastly different consistencies (e.g., thick and runny polishes) can result in uneven application or separation.
Additives and Enhancements
If you’re adding glitter, shimmering powder, or other decorative elements, do so sparingly to avoid clumping. These additions can affect how the polish applies and dries.
Testing Before Full Use
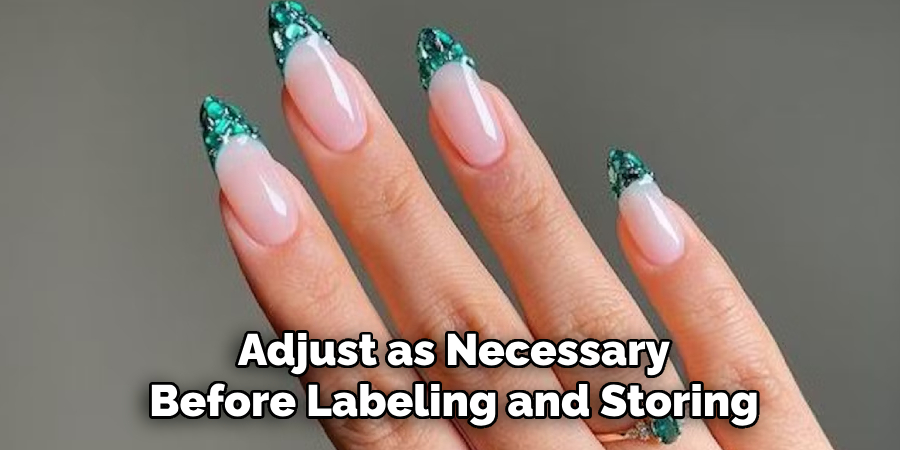
Always test your custom polish on a nail swatch or a piece of tape to ensure the color, texture, and drying time meet your expectations. Adjust as necessary before labeling and storing.
Conclusion
Creating your own custom nail polish is a fun and rewarding way to express your creativity. By carefully selecting your base, pigments, and additives, you can craft unique shades that reflect your personal style. Always remember to test your polish and adjust as needed to achieve the perfect result.
With practice and experimentation, you can master the art of custom nail polish and enjoy a truly personalized manicure experience. Thanks for reading our blog post on how to make dark green nail polish! We hope you found it helpful and informative.
About the Author
Jane Hubbard is a passionate beauty expert with a wealth of experience in makeup, hair, and overall beauty techniques. After years of working as a hairdresser specialist, she followed her entrepreneurial spirit and started her own consultancy business.
Jane has always been driven by her desire to help others feel confident in their own skin, and she does this by sharing her knowledge, experiences, and practical beauty tips. Through her consultancy, she empowers individuals to embrace their unique beauty, offering tailored guidance that boosts both self-esteem and personal style.
Professional Focus
- Specializes in makeup, hairstyling, and beauty consulting.
- Provides personalized beauty advice, tips, and techniques to help individuals feel confident in their appearance.
- Dedicated to staying up-to-date with the latest industry trends and developments.
- Passionate about creating a comfortable and empowering experience for every client.
Education History
- University of Craft and Design – Bachelor of Fine Arts (BFA) in Woodworking and Furniture Design
- Woodworking Apprenticeships – Extensive hands-on training with skilled craftsmen to refine carpentry and furniture making techniques
- Online Courses & Masterclasses – Continued education in advanced woodworking techniques, design principles, and specialized tools
Expertise:
- Makeup artistry, hairstyling, and beauty consulting.
- Personalized beauty techniques to enhance confidence and self-expression.
- Educating clients on how to maintain their beauty routines at home.