Creating your own face serum at home not only allows you to customize it to your skin’s unique needs but also ensures that you know exactly what ingredients are going into it. Homemade serums can be tailored to address concerns like dryness, acne, aging, or dullness, using natural, skin-friendly components. Plus, it’s a cost-effective and fun way to enhance your skincare routine while avoiding unnecessary chemicals and additives found in many store-bought products.

In this article, we’ll walk you through the steps of creating your own personalized serum using simple and natural ingredients. If you’re curious about how to make face serum at home, our simple guide will teach you how to create a nourishing formula using natural ingredients.
Ingredients and Their Benefits
Here are some popular ingredients you can use in your homemade face serum, along with their benefits:
Jojoba Oil:
A lightweight oil that closely mimics the skin’s natural sebum, making it an excellent moisturizer for all skin types. It helps balance oil production and improve skin texture.
Rosehip Oil:
Rich in antioxidants, vitamin C, and fatty acids, rosehip oil promotes cell turnover and helps reduce dark spots and scars. It also has anti-aging properties that can improve skin elasticity and firmness.
Grapeseed Oil:
A light and non-greasy oil that absorbs quickly into the skin. It contains high levels of linoleic acid, which helps regulate sebum production and prevent acne.
Vitamin E Oil:
Known for its ability to fight free radicals, vitamin E oil is a powerful antioxidant that can protect the skin from environmental damage. It also helps with skin repair and regeneration.
9 Steps on How to Make Face Serum at Home
Step 1: Choose Your Base Oil(s)
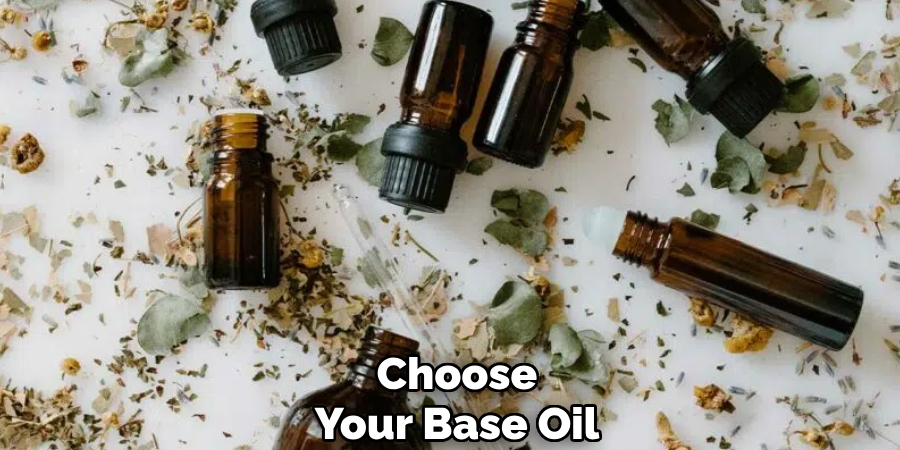
Start by selecting one or more base oils that suit your skin type and goals. Base oils act as the foundation of your serum, providing hydration and nourishment. For dry or mature skin, oils like rosehip or jojoba oil can offer deep moisturization and anti-aging benefits.

If you have oily or acne-prone skin, consider lightweight options such as grapeseed oil or hemp seed oil to avoid clogging pores. You can also mix a couple of base oils to combine their benefits and create a well-rounded formula tailored to your skin’s needs.
Step 2: Pick Your essential oils
Essential oils not only add a pleasant scent to your serum but also provide additional benefits such as soothing, brightening, or anti-inflammatory properties. However, they are highly concentrated and potent, so make sure to use them sparingly and do a patch test before using them on your face. Some popular essential oils for skincare include tea tree, lavender, rosemary, and chamomile.
You can also opt for fragrance-free serums by omitting essential oils altogether or using unscented carriers like jojoba oil.
Step 3: Measure and Mix
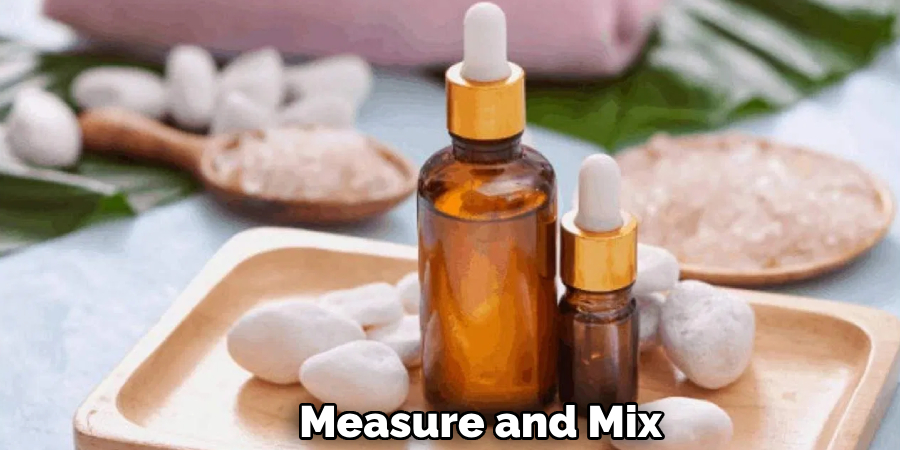
Once you’ve selected your base oils and essential oils, it’s time to measure and mix them. Use a clean dropper or a measuring spoon to ensure precise quantities. A good rule of thumb for face serums is to use about 90% base oil(s) and 10% essential oil(s). For example, if you’re making 1 ounce (30 ml) of serum, you would use approximately 27 ml of base oil and 3 ml of essential oil.

Combine the oils in a small glass bowl or directly into a dark amber glass dropper bottle, which will help protect the serum from light exposure and extend its shelf life. Gently stir or swirl the mixture to ensure the oils are well-blended. Avoid using metal utensils, as they may react with the essential oils and compromise the serum’s effectiveness. Make sure everything is thoroughly mixed before proceeding to the next step.
Step 4: Add Vitamin E Oil
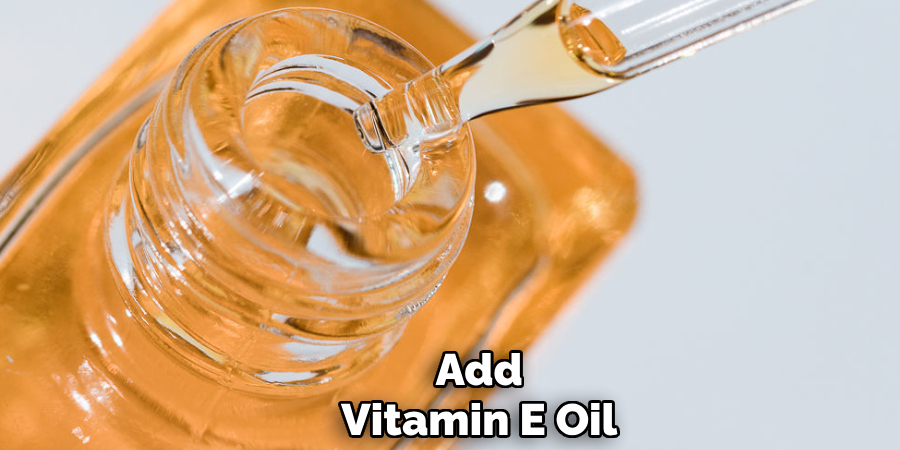
Vitamin E oil is a fantastic addition to your homemade serum, as it helps to extend the shelf life of your product while providing numerous skin benefits. It acts as a natural preservative and is an excellent antioxidant that repairs and protects the skin from free radical damage. To add vitamin E oil, use 1-2 drops for every ounce (30 ml) of serum.
If you’re using vitamin E capsules, simply puncture the capsule with a clean needle or pin and squeeze out the oil. Mix the vitamin E oil thoroughly with your base and essential oils to ensure it is evenly distributed throughout the serum.
Step 5: Label Your Serum
Before using or storing your serum, make sure to label it with the ingredients used, the date of creation, and an expiration date (typically around three months). This will help you keep track of what’s in your serum so you can adjust it as needed in the future.
It’s also important to store your serum in a cool, dry place away from direct sunlight to maintain its potency.

Step 6: Do a Patch Test
Before incorporating your homemade serum into your routine, it’s essential to do a patch test to ensure your skin doesn’t have any adverse reactions. Apply a small amount of the serum on your inner arm and leave it on for 24 hours. If you experience any redness, irritation, or discomfort, discontinue use.
You can also do a sensitivity test by applying a small amount of the serum on your face and waiting 24 hours to see if any reactions occur. If all is well, you’re ready to incorporate your serum into your skincare routine.
Step 7: Prep Your Skin
Before applying your homemade face serum, ensure your skin is clean and ready to absorb the nutrients effectively. Start by cleansing your face with a gentle cleanser suited to your skin type, removing any dirt, oil, or makeup. Follow up with a toner to balance your skin’s pH and prepare it for better product absorption.
Pat your skin dry with a clean towel, leaving it slightly damp, as this helps the serum penetrate deeper into the skin. Properly prepping your skin ensures you get the maximum benefits from your personalized serum.
Step 8: Apply Your Serum
Using your fingertips, gently massage a few drops of the serum onto your face and neck in an upward, circular motion. Avoid tugging or pulling on the skin, as this can lead to premature aging and wrinkles. Allow the serum to absorb for a minute or two before applying any additional products like moisturizer or sunscreen.

You can use your homemade serum both morning and night, depending on your skincare routine and needs. It’s also great to incorporate into your facial massage routine for added relaxation and skin benefits.
Step 9: Enjoy The Results
With consistent use, you’ll start seeing results from your personalized face serum. However, remember that skincare is not a one-size-fits-all approach, and it may take some trial and error to find the right combination of oils that work best for your skin. Don’t be afraid to experiment with different ratios or types of oils if needed.
Following these steps on how to make face serum at home and regularly using your homemade serum can help improve the overall health and appearance of your skin. It’s a simple, affordable, and natural way to customize your skincare routine and address specific concerns. So go ahead, get creative, and start making your own personalized face serum today!
How Much Will It Cost?
The cost of making your own face serum will depend on the types of oils and ingredients you choose. High-quality base oils such as jojoba, argan, or rosehip oil typically cost between $10-$20 for a small bottle, while essential oils vary in price based on their rarity and purity, ranging from $5 to $30 per bottle. Vitamin E oil or capsules are generally affordable, with prices around $5-$15.
When creating your serum, keep in mind that a single batch often requires only small amounts of each ingredient, meaning your initial investment in ingredients can last through multiple serum preparations. Additionally, purchasing tools like glass dropper bottles or measuring spoons may add an extra cost upfront, but they are reusable, making them a worthwhile investment.
Altogether, crafting your personalized serum at home can cost significantly less than purchasing high-quality pre-made serums from stores, which often retail for $50 or more. Plus, you get the added benefit of controlling the ingredients to suit your specific skincare needs.

Frequently Asked Questions
Q: How Long Does Homemade Face Serum Last?
A: It depends on the ingredients used and storage conditions, but typically around three months. Make sure to label your serum with an expiration date and use it within that time frame. If you notice any changes in scent, appearance, or texture, discard the serum immediately.
Q: Can I Use Essential Oils Directly on My Skin?
A: No, essential oils are highly concentrated and can cause irritation if applied directly to the skin. Always dilute them with a carrier oil before using them topically.
Q: Can I Store My Serum in Plastic Bottles?
A: It’s best to use glass dropper bottles for your homemade serum as they do not react with essential oils as plastic does. Additionally, glass is more environmentally friendly and easier to sanitize for future use.
Q: Can I Add Other Ingredients to My Serum?
A: Yes, feel free to experiment with different ingredients depending on your skin’s needs. Some popular additions include hyaluronic acid for added hydration, witch hazel for soothing effects, and aloe vera gel for its anti-inflammatory properties. However, always research and test new ingredients carefully before adding them to your serum.
Conclusion
Making your own face serum at home is an excellent way to personalize your skincare routine while avoiding harsh chemicals and potentially harmful ingredients found in store-bought products. With a few simple steps on how to make face serum at home and the right combination of oils, you can create a nourishing serum tailored to your skin’s specific needs.
Remember always to patch-test new products, properly label and store your homemade serum, and consult with a dermatologist if you experience any adverse reactions. So why not give it a try and see the amazing benefits for yourself? Your skin will thank you!
Happy Serum Making!
About the Author
Jane Hubbard is a passionate beauty expert with a wealth of experience in makeup, hair, and overall beauty techniques. After years of working as a hairdresser specialist, she followed her entrepreneurial spirit and started her own consultancy business.
Jane has always been driven by her desire to help others feel confident in their own skin, and she does this by sharing her knowledge, experiences, and practical beauty tips. Through her consultancy, she empowers individuals to embrace their unique beauty, offering tailored guidance that boosts both self-esteem and personal style.
Professional Focus
- Specializes in makeup, hairstyling, and beauty consulting.
- Provides personalized beauty advice, tips, and techniques to help individuals feel confident in their appearance.
- Dedicated to staying up-to-date with the latest industry trends and developments.
- Passionate about creating a comfortable and empowering experience for every client.
Education History
- University of Craft and Design – Bachelor of Fine Arts (BFA) in Woodworking and Furniture Design
- Woodworking Apprenticeships – Extensive hands-on training with skilled craftsmen to refine carpentry and furniture making techniques
- Online Courses & Masterclasses – Continued education in advanced woodworking techniques, design principles, and specialized tools
Expertise:
- Makeup artistry, hairstyling, and beauty consulting.
- Personalized beauty techniques to enhance confidence and self-expression.
- Educating clients on how to maintain their beauty routines at home.
