
Facial serums are lightweight, highly concentrated skincare products designed to target specific skin concerns, such as hydration, wrinkles, or brightness.
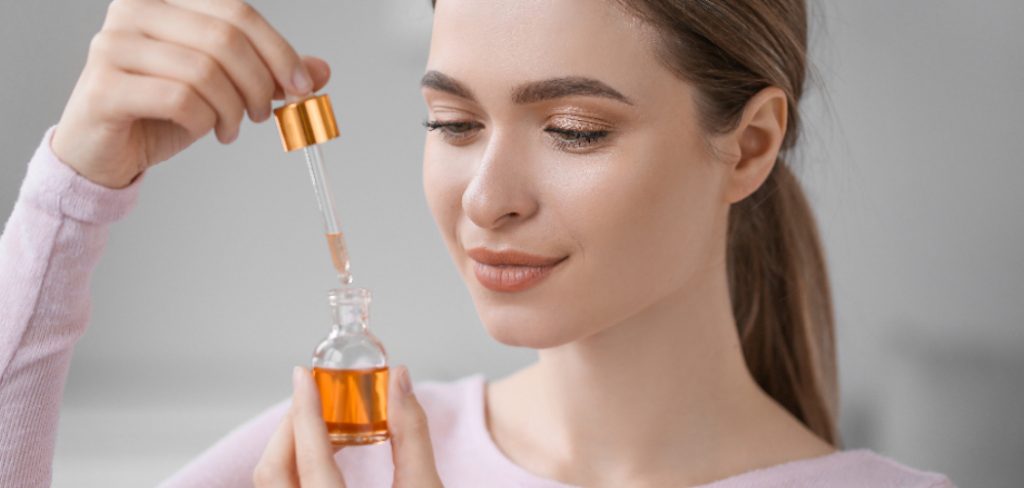
Unlike moisturizers, serums are formulated to penetrate deeper into the skin, delivering powerful active ingredients directly where they are needed. This guide explores the key aspects of how to make facial serum. Creating your own facial serum at home allows you to customize the formula to suit your unique skin type and needs, using natural and effective ingredients.
Why Serums Are a Powerhouse in Skincare
Serums are considered a powerhouse in skincare due to their potent formulations and targeted benefits. Unlike traditional creams or lotions, serums are made up of smaller molecules that can penetrate deeper layers of the skin, allowing the active ingredients to work more effectively.
They are packed with a higher concentration of beneficial compounds like antioxidants, vitamins, and peptides, making them particularly effective for addressing specific concerns such as fine lines, dark spots, or dehydration. Additionally, serums are lightweight and fast-absorbing, making them a versatile addition to any skincare routine. By delivering powerful, results-driven ingredients directly to the skin, serums help to enhance overall skin health and achieve noticeable improvements over time.
Benefits of Making Your Own Facial Serum
Creating your own facial serum offers a range of benefits, both for your skin and your overall well-being. One of the most significant advantages is the ability to tailor the formula to suit your unique skin type and concerns. By selecting your preferred ingredients, you can avoid harsh chemicals, fragrances, or other additives commonly found in store-bought products, making your serum more natural and skin-friendly. Additionally, making your own serum can be more cost-effective in the long run, as high-quality commercial serums often come with a steep price tag.
It’s also an eco-friendly choice, as you can reduce packaging waste by using reusable containers. Furthermore, the process of crafting your own skincare fosters a deeper understanding of the ingredients you use and how they benefit your skin, giving you a greater sense of control and satisfaction in your skincare routine.
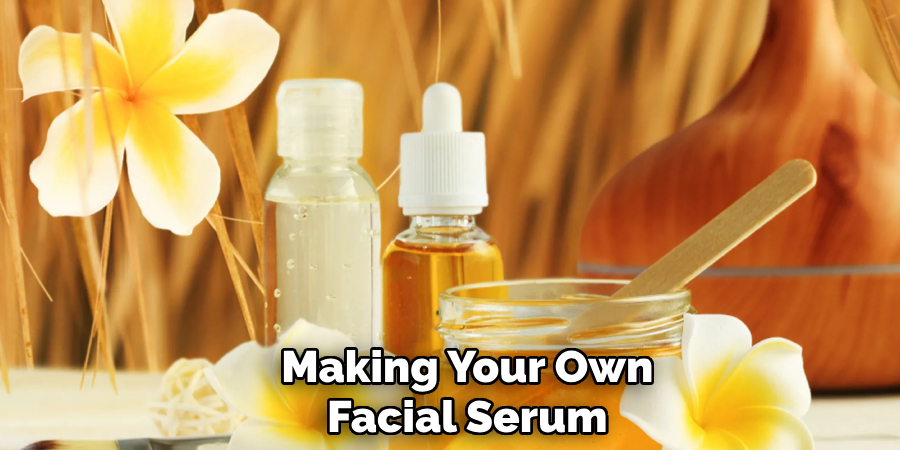
10 Methods How to Make Facial Serum
1. Hydrating Aloe Vera and Glycerin Serum
Aloe vera is known for its soothing and hydrating properties, while glycerin helps retain moisture. To make this serum, mix two tablespoons of aloe vera gel with one teaspoon of vegetable glycerin. Add a few drops of rose water for extra hydration. Store in a dropper bottle and apply a few drops daily for smooth, plump skin.
2. Anti-Aging Vitamin C Serum
Vitamin C is a powerful antioxidant that helps brighten the skin and reduce fine lines. Mix one teaspoon of vitamin C powder with two tablespoons of distilled water. Add one teaspoon of glycerin and stir well. Store in a dark glass bottle to protect the serum from light exposure. Apply in the morning to boost collagen production and even out skin tone.
3. Brightening Turmeric and Jojoba Oil Serum
Turmeric has anti-inflammatory properties, while jojoba oil mimics the skin’s natural sebum. To create this serum, mix one teaspoon of turmeric-infused oil with two tablespoons of jojoba oil. Add a few drops of lemon essential oil for extra brightening effects. Apply at night for a radiant complexion.
4. Nourishing Rosehip and Argan Oil Serum
Rosehip oil is rich in vitamins A and C, promoting skin regeneration, while argan oil provides deep nourishment. Mix one tablespoon of rosehip oil with one tablespoon of argan oil. Add five drops of lavender essential oil for a calming effect. Use this serum before bedtime to restore skin elasticity and moisture.

5. Acne-Fighting Tea Tree and Witch Hazel Serum
Tea tree oil has antibacterial properties that help combat acne, and witch hazel acts as a natural astringent. Mix one tablespoon of witch hazel with one tablespoon of aloe vera gel. Add five drops of tea tree oil and shake well. Apply to blemish-prone areas to reduce inflammation and prevent breakouts.
6. Hydrating Hyaluronic Acid and Rose Water Serum
Hyaluronic acid is a powerhouse ingredient for hydration, helping the skin retain moisture. Dissolve one teaspoon of hyaluronic acid powder in two tablespoons of rose water. Stir well and store in a sterile dropper bottle. Apply morning and night for deeply hydrated and plump skin.
7. Calming Chamomile and Almond Oil Serum
Chamomile soothes irritated skin, while almond oil is rich in vitamins that nourish the skin. Steep a chamomile tea bag in a quarter cup of hot water. Allow it to cool, then mix one tablespoon of chamomile tea with one tablespoon of almond oil. Add a few drops of vitamin E oil for extra skin protection. Use this serum to calm redness and irritation.
8. Firming Green Tea and Aloe Vera Serum
Green tea is packed with antioxidants that help tighten and rejuvenate the skin. Brew a strong cup of green tea and allow it to cool. Mix two tablespoons of green tea with one tablespoon of aloe vera gel. Add a few drops of peppermint essential oil for a refreshing feel. Apply in the morning to firm and energize the skin.
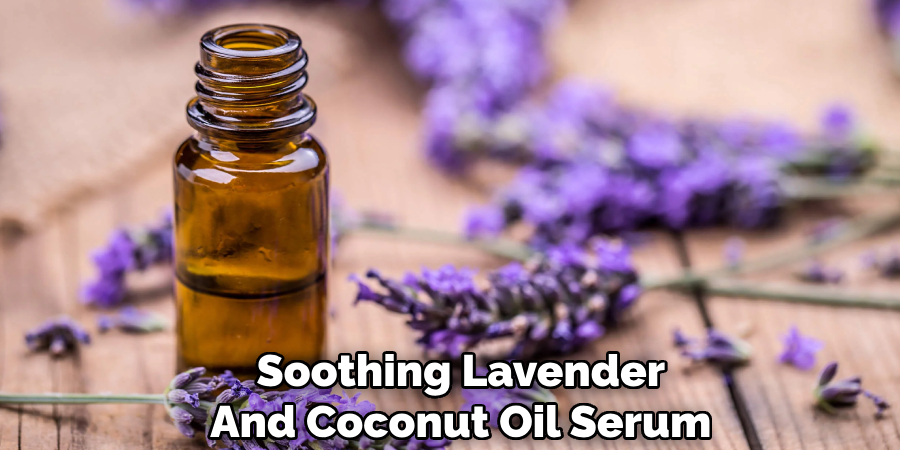
9. Soothing Lavender and Coconut Oil Serum
Lavender oil has antibacterial and soothing properties, while coconut oil provides deep hydration. Mix one tablespoon of melted coconut oil with five drops of lavender essential oil. Store in a dropper bottle and use nightly to soothe dry and irritated skin.
10. Exfoliating Apple Cider Vinegar and Honey Serum
Apple cider vinegar helps balance the skin’s pH, while honey provides hydration and antibacterial benefits. Mix one teaspoon of apple cider vinegar with one tablespoon of honey. Add a tablespoon of distilled water to dilute the mixture. Apply with a cotton pad to gently exfoliate and refresh the skin.
Things to Consider When Making Your Own Facial Serum
When making your own facial serum, it’s important to keep a few key factors in mind to ensure its efficacy and safety. First, always choose high-quality ingredients, preferably organic, to avoid exposure to pesticides or harmful additives. Perform a patch test on a small area of your skin before using the serum to check for any allergic reactions or sensitivities.
Pay close attention to ingredient ratios—some active ingredients, like essential oils or acids, can be potent and should be used sparingly to avoid irritation. Proper storage is also crucial; store your serum in a cool, dark place and use clean tools to prevent contamination. Additionally, research and understand the benefits and potential interactions of each ingredient to create a formula that meets your specific skincare needs. Lastly, start with small quantities to experiment with different combinations, and adjust as necessary to refine your serum for the best results.
Troubleshooting Common Issues
Creating your own facial serum can be a rewarding process, but you may encounter some challenges along the way. Here are solutions to some of the most common issues:
1. Separation of Ingredients
If your serum separates into layers, it might be due to a lack of emulsifiers or improper mixing. To address this, shake your serum well before each use, or consider adding a natural emulsifier like lecithin to help the ingredients blend more effectively.
2. Skin Irritation or Redness
Experiencing irritation could mean that an ingredient is too potent or not suitable for your skin type. Check the ratios of active ingredients, especially essential oils or acids, and dilute them further if needed. Always perform a patch test before applying the serum to your face.

3. Unpleasant Odor
An unpleasant smell could result from expired ingredients or improper storage. Make sure to use fresh, high-quality components and store your serum in a sealed, dark glass bottle in a cool place. Avoid leaving it exposed to heat or sunlight, as this can cause ingredients to degrade.
4. Sticky or Oily Texture
If your serum feels overly sticky or greasy, it could be due to an imbalance in the formula. For a lighter texture, reduce the amount of glycerin or heavy oils and consider incorporating lighter oils like jojoba or squalane. Adjust the ratios to achieve the desired consistency.
5. Short Shelf Life
Homemade serums often have a shorter shelf life due to the absence of preservatives. To extend freshness, use distilled water and consider adding a natural preservative like vitamin E oil or rosemary extract. Ensure all tools and containers used are sterilized to prevent contamination.
6. Lack of Results
If your serum isn’t delivering the expected results, evaluate the ingredients to ensure they align with your skincare goals. Sometimes the serum requires consistent use over a few weeks to show noticeable changes. Additionally, confirm the potency of active ingredients such as vitamin C or hyaluronic acid.
Conclusion
Making your own facial serums can be a creative and fulfilling way to personalize your skincare routine. By selecting high-quality ingredients and tailoring formulations to your skin’s specific needs, you can create effective and natural solutions for a variety of concerns. While there may be challenges along the way, careful research, experimentation, and adherence to best practices will help you craft serums that deliver beneficial results.
So, there you have it – a quick and easy guide on how to make facial serum.
About the Author
Jane Hubbard is a passionate beauty expert with a wealth of experience in makeup, hair, and overall beauty techniques. After years of working as a hairdresser specialist, she followed her entrepreneurial spirit and started her own consultancy business.
Jane has always been driven by her desire to help others feel confident in their own skin, and she does this by sharing her knowledge, experiences, and practical beauty tips. Through her consultancy, she empowers individuals to embrace their unique beauty, offering tailored guidance that boosts both self-esteem and personal style.
Professional Focus
Specializes in makeup, hairstyling, and beauty consulting.
Provides personalized beauty advice, tips, and techniques to help individuals feel confident in their appearance.
Dedicated to staying up-to-date with the latest industry trends and developments.
Passionate about creating a comfortable and empowering experience for every client.
Education History
University of Craft and Design – Bachelor of Fine Arts (BFA) in Woodworking and Furniture Design
Woodworking Apprenticeships – Extensive hands-on training with skilled craftsmen to refine carpentry and furniture making techniques
Online Courses & Masterclasses – Continued education in advanced woodworking techniques, design principles, and specialized tools
Expertise:
Makeup artistry, hairstyling, and beauty consulting.
Personalized beauty techniques to enhance confidence and self-expression.
Educating clients on how to maintain their beauty routines at home.