
Creating your own foundation at home can be a fun and rewarding experience. Not only does it allow you to customize the formula to match your skin tone perfectly, but it also gives you control over the ingredients, ensuring a natural and skin-friendly product.
Whether you prefer a light, dewy finish or a full-coverage matte look, making foundation at home can suit your specific preferences and skin type while avoiding harsh chemicals often found in store-bought products. In this blog post, we’ll walk you through the steps on how to make foundation at home easy so that you can get back to using it in no time! So grab your tools, and let’s get started!
Why Make Foundation at Home?
Making your own foundation at home comes with numerous benefits, both for your skin and your wallet. One of the primary reasons is the ability to customize the formula to suit your individual needs. Store-bought foundations often contain synthetic ingredients, fragrances, and preservatives that can irritate sensitive skin. By creating your own, you can choose natural, non-toxic ingredients that align with your skin type and tone.
Additionally, homemade foundation allows you to experiment with textures and coverage levels, giving you complete control over the final product. Not only is it a healthier option, but it’s also cost-effective in the long run, as you can avoid buying multiple products to find the one that works. Crafting your foundation ensures it’s truly personalized and free from unnecessary chemicals.
Basic Ingredients Needed
Creating your own foundation requires just a few simple, natural ingredients that can be easily sourced. Here are the basic components you will need:
- Arrowroot Powder or Cornstarch: Acts as the base for your foundation, providing a smooth texture and helping to absorb oil.
- Cocoa Powder (unsweetened): Used to adjust the color of your foundation, adding warmth and depth.
- Cinnamon or Nutmeg Powder (optional): These can be added in small amounts to fine-tune the shade to match your skin tone.
- Kaolin Clay or Bentonite Clay (optional): Helps improve coverage and provides a matte finish, making it ideal for oily skin.
- Jojoba Oil, Argan Oil, or Vitamin E Oil (optional): To create a creamier consistency and add moisture, especially for dry skin types.
These ingredients allow you to create a foundation tailored to your unique needs while keeping it natural and chemical-free.
10 Methods How to Make Foundation at Home Easy
Understand Your Skin Tone and Undertone Before Starting
Before embarking on making your own diy foundation liquid homemade at home, it is essential to understand your skin tone and undertone. Your skin tone refers to the depth of color on your skin, which can range from fair to deep, while your undertone is the subtle hue beneath the surface, typically categorized as cool, warm, or neutral. Identifying these factors will help you mix ingredients that perfectly match your complexion.
To determine your undertone, observe the veins on your wrist—if they appear blue or purple, you likely have cool undertones; greenish veins suggest warm undertones, and a mix of both indicates a neutral undertone. This knowledge serves as the foundation for creating a custom makeup base that enhances your natural beauty rather than masking it.
Gather Simple and Natural Ingredients for Your Foundation Base
Making foundation at home requires a few basic ingredients that are often found in your kitchen or can be purchased easily. Common base ingredients include arrowroot powder or cornstarch, which provide the powdery texture and help absorb oil; cocoa powder or cinnamon, which add warmth and color; and bentonite clay or kaolin clay, which can add coverage and skin benefits like oil control and detoxification.
Mixing these natural powders allows you to create a lightweight and breathable foundation free from harmful chemicals. Starting with a few base ingredients gives you control over texture and shade, making the process both simple and customizable.
Start with Small Quantities to Experiment and Adjust Shade
When making your foundation, it is advisable to start with small quantities to avoid wastage and to give yourself room for adjustments. For example, begin with a tablespoon of arrowroot powder or cornstarch as the base, then add cocoa powder or cinnamon gradually, a pinch at a time, mixing thoroughly after each addition. This methodical approach allows you to tailor the shade to your exact skin tone.
Mixing too much cocoa or cinnamon at once may result in a color that is too dark, so patience and gradual blending are key. You can always add more powder but removing excess is impossible once mixed, so precision is essential.
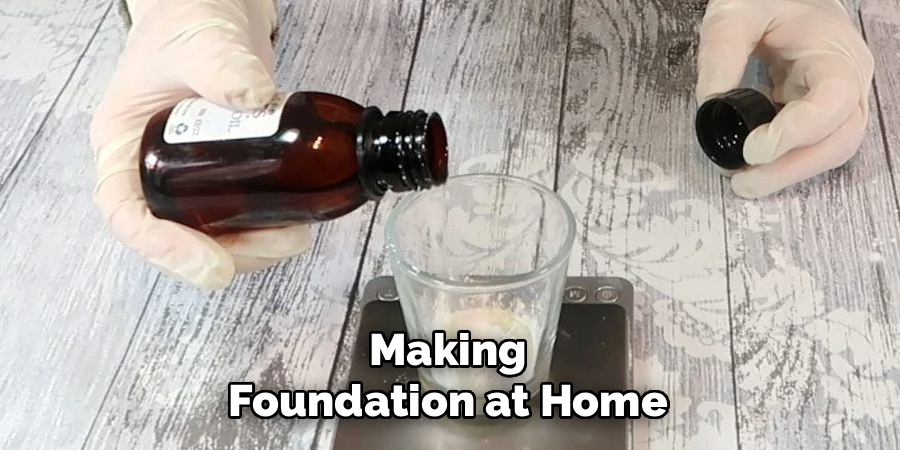
Add Liquid Components to Achieve Desired Consistency
Once you have mixed the dry powders to a shade you are happy with, the next step is to incorporate liquids to transform the powder into a cream or liquid foundation. Common liquids used include aloe vera gel, rose water, or a few drops of jojoba or almond oil. Aloe vera gel adds soothing properties and hydration, rose water offers a refreshing scent and light astringent benefits, while oils provide nourishment and help the foundation glide smoothly on the skin.
Start by adding a few drops at a time and mix thoroughly until you reach a smooth, spreadable consistency. The balance between powder and liquid will determine the coverage and finish, so experiment to find what works best for your skin.
Use a Blender or Whisk to Mix Ingredients Thoroughly
Achieving a smooth, lump-free foundation requires thorough mixing. Using a small whisk, spoon, or even a clean blender designed for cosmetic or kitchen use can help you combine the powders and liquids evenly. Whisking vigorously will ensure that the dry ingredients are fully incorporated into the wet base without clumps, resulting in a creamy texture similar to commercial foundations. This step is important to avoid uneven patches when applying the foundation to your face. Take your time during this process and use a clean mixing bowl to keep the formula hygienic and consistent.
Test the Shade on Your Jawline and Adjust if Necessary
Once your homemade foundation reaches the desired consistency and color, it is crucial to test the shade on your jawline or the side of your neck. This area provides a good match to your face and neck, ensuring a natural and seamless blend. Apply a small amount and observe it in natural light to see if it matches your skin tone perfectly. If it appears too light, add a bit more cocoa powder or cinnamon; if too dark, add more arrowroot powder or cornstarch to lighten it. This testing phase is essential because it prevents the foundation from appearing unnatural or creating a noticeable line between your face and neck.
Store the Foundation in a Clean, Airtight Container for Longevity
After perfecting your homemade foundation, proper storage is necessary to maintain its freshness and prevent contamination. Use a clean, airtight container such as a small glass jar or a recycled cosmetic container with a tight lid. Before transferring your foundation into the container, sterilize it with rubbing alcohol and dry thoroughly to kill bacteria. Store the container in a cool, dry place away from direct sunlight to prevent spoilage, especially if your formula contains water-based ingredients like aloe vera or rose water.
Homemade foundations generally have a shorter shelf life than commercial products, so making small batches and storing them properly is important for safety and quality.
Apply Your Homemade Foundation Using Clean Tools
When applying your foundation, hygiene is paramount to avoid introducing bacteria to your skin and the product. Use a clean makeup sponge, brush, or your fingertips, but ensure whatever tool you choose is freshly washed or sanitized before use. Dabbing and blending the foundation gently onto your skin will provide an even and natural finish. Using fingers can warm the product, making it easier to blend, while brushes and sponges help with a more polished look. Clean application tools regularly to maintain skin health and prevent breakouts from residue buildup.
Customize Your Foundation with Additional Ingredients for Benefits
One of the joys of making foundation at home is the ability to customize it with beneficial ingredients tailored to your skin’s needs. You can add a few drops of vitamin E oil as an antioxidant, honey for its antibacterial and moisturizing properties, or even a tiny amount of turmeric powder for its anti-inflammatory effects and a golden glow. These additives not only enhance the foundation’s performance but also nourish your skin while you wear it. Be cautious with quantities and patch-test new ingredients to ensure you don’t experience irritation or allergic reactions. This customization elevates your foundation from just a makeup base to a skincare product.
Practice Patience and Keep a Makeup Journal for Future Improvements
Making foundation at home is a creative process that may take a few attempts before you achieve the perfect match and texture. Practice patience and keep notes or a makeup journal documenting the quantities and combinations you used each time. Record what worked well, what didn’t, and how your skin responded. Over time, this practice allows you to refine your recipe to suit seasonal changes in your skin, aging, or different occasions. Homemade cosmetics are dynamic, and your evolving knowledge will empower you to create the best foundation tailored uniquely to you.
Conclusion
Making your own foundation at home is a rewarding, natural, and customizable alternative to store-bought products. By understanding your skin tone, gathering simple ingredients, mixing carefully, and applying with care, you can create a foundation that not only enhances your beauty but also supports skin health. Thanks for reading our blog post on how to make foundation at home easy! We hope you found it helpful and informative.
About the Author
Jane Hubbard is a passionate beauty expert with a wealth of experience in makeup, hair, and overall beauty techniques. After years of working as a hairdresser specialist, she followed her entrepreneurial spirit and started her own consultancy business.
Jane has always been driven by her desire to help others feel confident in their own skin, and she does this by sharing her knowledge, experiences, and practical beauty tips. Through her consultancy, she empowers individuals to embrace their unique beauty, offering tailored guidance that boosts both self-esteem and personal style.
Professional Focus
- Specializes in makeup, hairstyling, and beauty consulting.
- Provides personalized beauty advice, tips, and techniques to help individuals feel confident in their appearance.
- Dedicated to staying up-to-date with the latest industry trends and developments.
- Passionate about creating a comfortable and empowering experience for every client.
Education History
- University of Craft and Design – Bachelor of Fine Arts (BFA) in Woodworking and Furniture Design
- Woodworking Apprenticeships – Extensive hands-on training with skilled craftsmen to refine carpentry and furniture making techniques
- Online Courses & Masterclasses – Continued education in advanced woodworking techniques, design principles, and specialized tools
Expertise:
- Makeup artistry, hairstyling, and beauty consulting.
- Personalized beauty techniques to enhance confidence and self-expression.
- Educating clients on how to maintain their beauty routines at home.