
Are you looking for a simple way to add some sparkle to your eyeshadow look? Look no further!
Applying glitter eye makeup can be a fun and glamorous way to elevate your makeup look, but getting it to stay in place can often be a challenge. Without the proper preparation and techniques, glitter can easily fall off or lose its luster throughout the day. Fortunately, with a few simple tips and the right products, you can achieve a long-lasting, eye-catching glitter look that stays in place.
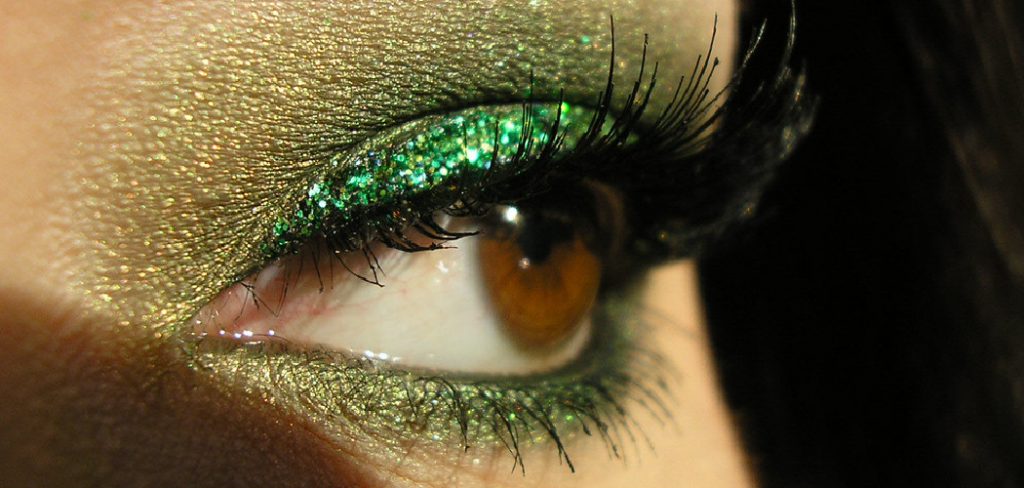
Whether you’re getting ready for a special event or just want to add some sparkle to your daily routine, this guide on how to make glitter eyeshadow stick will help you master the art of making glitter eyeshadow stick. Let’s get glittering!
What Are the Benefits of Using Glitter Eyeshadow?
There are many benefits to using glitter eyeshadow, including:
- Adding sparkle and dimension to your eye makeup look
- Creating a bold and eye-catching statement
- Enhancing the color and intensity of your eyeshadow
- Making your eyes appear more open and awake
- Elevating any makeup look from simple to glamorous
In addition, glitter eyeshadow is a versatile product that can be used for various occasions. You can opt for a subtle shimmer for everyday wear or go all out with a full-on glitter look for special events. With endless colors and finishes available, there’s no limit to the possibilities with glitter eyeshadow.
What Will You Need?
To achieve a stunning glitter eyeshadow look, you will need the following items:
- Glitter eyeshadow of your choice (loose or pressed)
- Eyeshadow primer or glitter glue
- Flat eyeshadow brush
- Fluffy blending brush
- Small detail brush (optional)
- Makeup setting spray.
Make sure to choose a high-quality glitter eyeshadow and invest in a good primer or glitter glue for long-lasting wear. You can also use a small detail brush to apply precise lines of glitter for more intricate designs.
10 Easy Steps on How to Make Glitter Eyeshadow Stick
Step 1: Prepare Your Eyelids
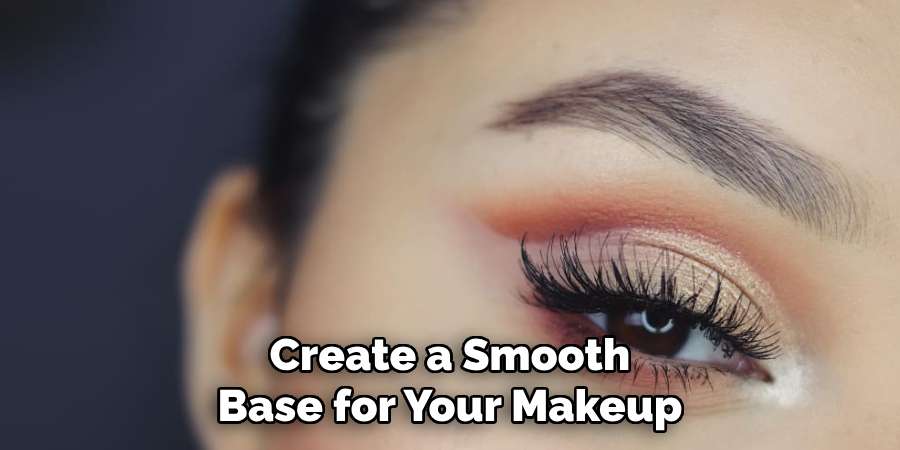
To ensure your glitter eyeshadow application is smooth, vibrant, and long-lasting, it’s essential to begin by prepping your eyelids. Begin by thoroughly cleansing your face to remove any excess oil or dirt. Follow this by applying a lightweight moisturizer or eye cream to hydrate the area and create a smooth base for your makeup.
Once your skin is prepped, use an eyeshadow primer or glitter glue and gently spread it across your eyelids with your finger or a flat brush. This step helps to create a tacky base, allowing the glitter to adhere better while preventing fallout throughout the day. Don’t rush this step – a well-prepared canvas is key to achieving a professional-looking result!
Step 2: Apply Your Base Eyeshadow
Once your primer or glitter glue is set, it’s time to apply your base eyeshadow. Choose a neutral or matte shade that complements the glitter you plan to use. Using a fluffy blending brush, sweep the shadow across your eyelid to create an even base and add depth to your look. This step helps create a seamless transition and ensures that your glitter stands out against a well-balanced background. Take your time blending to achieve a smooth and polished finish.
Step 3: Pick Up Glitter with a Flat Brush
Dip a flat, synthetic brush into your glitter or glitter pigment. Synthetic brushes are most effective, as they hold the product securely and enable precise application. Gently tap or press the brush into the glitter to pick up a generous amount, ensuring the bristles are evenly coated. Avoid brushing or sweeping, as this can cause fallout and uneven pick-up. Once the glitter is on your brush, you’re ready to apply it to your eyelid for a dazzling finish.
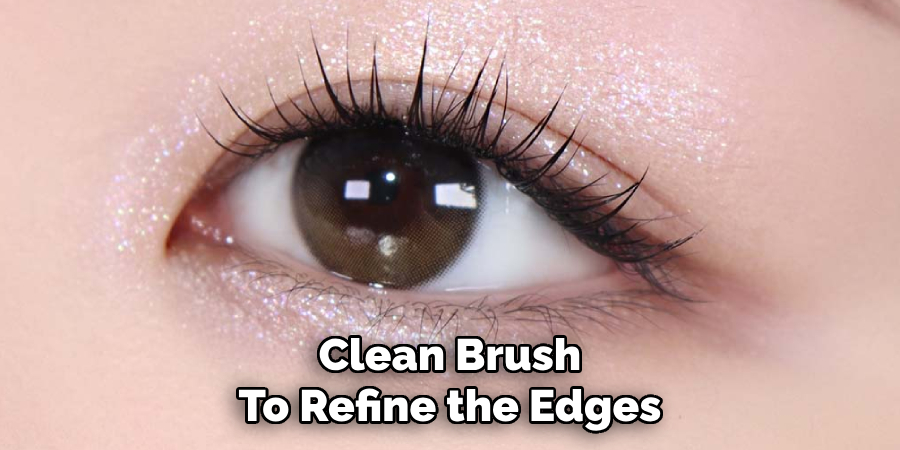
Step 4: Press the Glitter Onto Your Lid
With the glitter coated on your brush, gently press it onto your eyelid using a tapping motion. Start at the center of your lid and gradually work your way outward to ensure an even and vibrant application. Avoid swiping or dragging the brush, as this can disturb the base and reduce the glitter’s intensity. For a more defined look, focus on layering the glitter in targeted areas. If needed, use a small, clean brush to refine the edges or add more precision to your application. Repeat as necessary until you achieve the desired sparkle and coverage.
Step 5: Blend for a Seamless Look
After applying the glitter, blending becomes essential to create a harmonious and polished finish. Use a soft, clean blending brush to gently diffuse any harsh lines or edges where the glitter meets other eyeshadow colors.
Employ small, circular motions or light sweeping strokes to achieve a seamless transition between shades. Take your time during this step to avoid over-blending, which could diminish the vibrancy of the glitter. The goal is to ensure that the glitter complements the overall eye look without appearing uneven or patchy. Once blended, step back and assess the consistency and integration of the colors to perfect your artistry.
Step 6: Add Fine Details
Now that the main elements of your eye makeup are in place, it’s time to focus on the finer details that will make your look truly stand out. Use a precision brush to apply a small amount of highlighter or shimmer to the inner corners of your eyes and just beneath the brow bone. This will brighten the eyes and add dimension to your look.
If desired, use a liquid eyeliner to create a sharp wing or define the lash line for added drama. You can also use a fine-tipped brush to intensify any colors or sharpen edges where needed. Finish by applying a coat of mascara to the lashes or adding falsies for an extra striking effect. These delicate touches will elevate your makeup, ensuring a polished and professional finish.
Step 7: Set Your Glitter
To ensure your glitter stays in place and shines all day or night, use a setting spray or glitter adhesive specifically designed for makeup. Hold the setting spray at arm’s length and lightly mist your face, focusing on the areas where glitter has been applied. If using a glitter adhesive, gently tap it over the glitter with a fingertip or small brush to lock it in place. This step not only enhances the longevity of your look but also minimizes fallout, keeping your makeup flawless and vibrant.
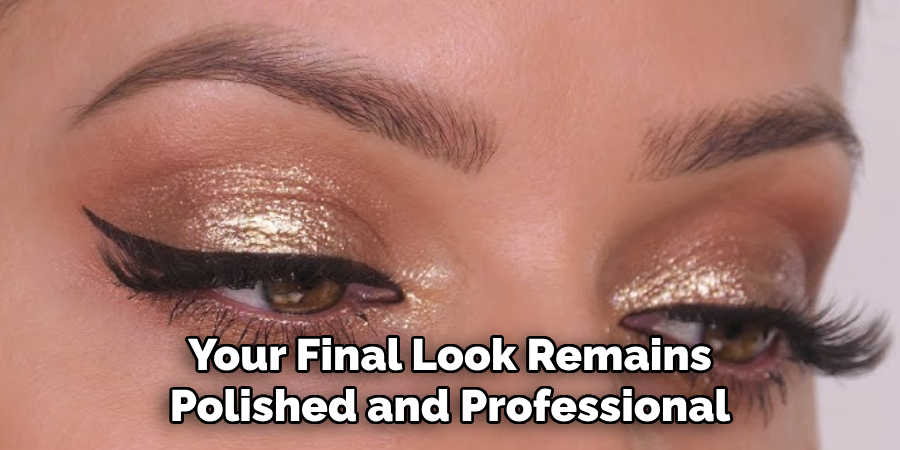
Step 8: Clean Up Fallout
After applying glitter, it’s common to notice some fallout on your skin or surrounding areas. To clean up any excess glitter, use a piece of adhesive tape or a clean makeup brush. Lightly press the adhesive tape onto the skin to pick up stray glitter specks without disturbing the rest of your makeup.
Alternatively, a soft makeup brush can be used to gently sweep away any fallout. For a more precise approach, a cotton swab dipped in micellar water can help remove stubborn glitter particles from specific areas. Cleaning up fallout ensures that your final look remains polished and professional.
Step 9: Complete Your Look
After ensuring your makeup is flawless and free of stray glitter specks, it’s time to complete your overall look. This can include adding any finishing touches such as setting sprays or powders, highlighting and contouring, or even adding false lashes for extra drama.
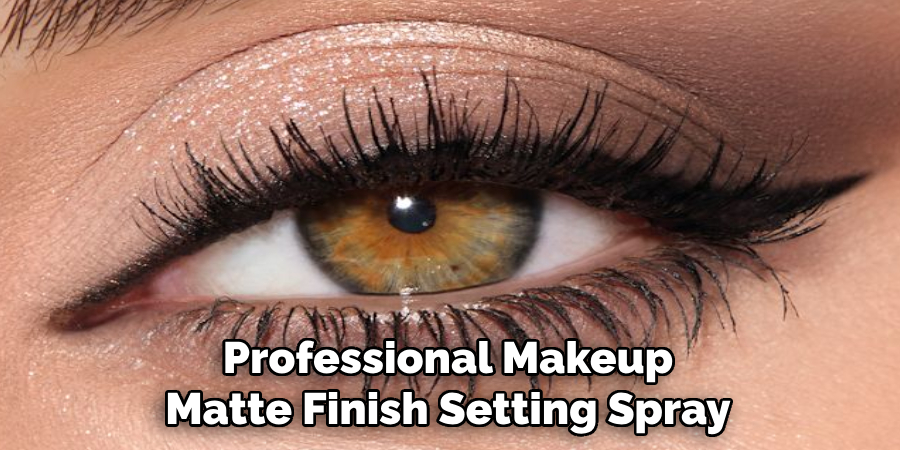
Some popular options for setting sprays include Urban Decay’s All Nighter Long-Lasting Makeup Setting Spray and the NYX Professional Makeup Matte Finish Setting Spray. Both of these products help keep makeup in place all day and night, while also giving a natural, matte finish.
Highlighting and contouring are techniques used to enhance your facial features by playing with light and shadow.
Step 10: Maintain Touch-Ups
Touching up your makeup throughout the day ensures that your look remains flawless and fresh. Even with the help of setting sprays and powders, factors like heat, humidity, and natural oils can occasionally cause makeup to fade or crease. Carrying a few essential products with you, such as blotting papers, a compact powder, and your lipstick or gloss, can make quick touch-ups a breeze.
Blotting papers help absorb excess oil without disturbing your foundation, while a light dusting of powder can refresh your complexion and reduce shine. For longer-lasting color, reapplying lipstick or lip gloss after meals or drinks helps maintain a polished appearance. Keeping these items on hand ensures you’re always photo-ready, no matter the time or place.
By following these steps, you’ll achieve a sparkling, long-lasting glitter eyeshadow look that stays in place and adds a touch of glamour to any makeup routine!
Conclusion
Achieving a flawless glitter eyeshadow look that lasts all day requires proper preparation and the right products.
Starting with a clean, primed eyelid creates a solid base, while using a high-quality glitter adhesive ensures the glitter adheres effectively. Layering the glitter carefully and sealing it with a setting spray locks everything in place, providing a stunning finish. By following these simple yet effective steps, you can enjoy a beautiful and eye-catching look that stays vibrant and secure throughout any occasion.
Hopefully, the article on how to make glitter eyeshadow stick has provided you with helpful insights and tips to achieve a flawless glittery look.
About the Author
Jane Hubbard is a passionate beauty expert with a wealth of experience in makeup, hair, and overall beauty techniques. After years of working as a hairdresser specialist, she followed her entrepreneurial spirit and started her own consultancy business.
Jane has always been driven by her desire to help others feel confident in their own skin, and she does this by sharing her knowledge, experiences, and practical beauty tips. Through her consultancy, she empowers individuals to embrace their unique beauty, offering tailored guidance that boosts both self-esteem and personal style.
Professional Focus
- Specializes in makeup, hairstyling, and beauty consulting.
- Provides personalized beauty advice, tips, and techniques to help individuals feel confident in their appearance.
- Dedicated to staying up-to-date with the latest industry trends and developments.
- Passionate about creating a comfortable and empowering experience for every client.
Education History
- University of Craft and Design – Bachelor of Fine Arts (BFA) in Woodworking and Furniture Design
- Woodworking Apprenticeships – Extensive hands-on training with skilled craftsmen to refine carpentry and furniture making techniques
- Online Courses & Masterclasses – Continued education in advanced woodworking techniques, design principles, and specialized tools
Expertise:
- Makeup artistry, hairstyling, and beauty consulting.
- Personalized beauty techniques to enhance confidence and self-expression.
- Educating clients on how to maintain their beauty routines at home.