
Making your own greens powder recipes at home is a simple and cost-effective way to boost your daily intake of essential nutrients. Greens powders are packed with vitamins, minerals, and antioxidants, providing a convenient way to support overall health.
By using fresh, wholesome ingredients and following a straightforward process, you can create a custom blend tailored to your dietary needs and preferences. In this blog post, we’ll walk you through the steps on how to make greens powder so that you can get back to using it in no time! So grab your tools, and let’s get started!
What is Greens Powder and Why is it Popular?
Greens powder is a dietary supplement made from a blend of nutrient-rich, plant-based ingredients such as leafy greens, vegetables, fruits, herbs, and superfoods like spirulina and chlorella. These ingredients are typically dried and ground into a fine powder, allowing for easy mixability into water, smoothies, or other beverages.
Greens powders have gained popularity due to their convenience and ability to provide a concentrated source of essential nutrients that might be missing from the average diet. They are particularly favored by individuals seeking to support energy levels, improve digestion, and boost overall wellness without the need for extensive meal prep or complicated diets. The combination of versatility, portability, and health benefits has made greens powder a staple in many health-conscious lifestyles.
Health Benefits of Greens Powders
Greens powders are celebrated for their wide range of health benefits, making them a valuable addition to any diet. Packed with vitamins, minerals, and antioxidants, they help support the body’s immune system, promoting overall health and resilience. Many greens powders also contain probiotics and digestive enzymes, which aid in gut health and improve nutrient absorption.
Additionally, the nutrient-dense nature of these powders can help combat fatigue, promote sustained energy levels, and enhance mental clarity. For individuals aiming to maintain a balanced pH in the body, the alkalizing properties of greens powders can be particularly beneficial.
Regular consumption may also support detoxification processes, as they often contain ingredients like chlorella or spirulina, known for their ability to bind to and eliminate toxins. With such a comprehensive profile of wellness benefits, greens powders serve as a convenient and effective way to bolster health and vitality.
10 Methods How to Make Greens Powder
1. Choose a Variety of Leafy Greens and Nutrient-Rich Vegetables
Creating a high-quality greens powder begins with choosing a diverse range of fresh, nutrient-dense greens. While kale, spinach, and collard greens are the classic staples, don’t limit yourself. Add herbs like parsley, cilantro, and mint for detoxifying benefits and brightness.
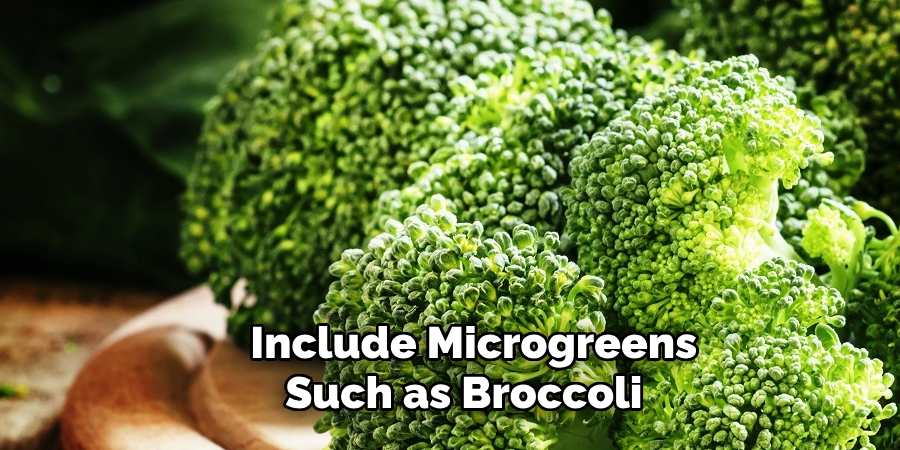
Include microgreens such as broccoli sprouts or wheatgrass for their concentrated nutrients. You can also expand your ingredients to include dandelion greens, beet greens, moringa leaves, or even seaweed like spirulina (if accessible in dry form). The more varied your selection, the broader the range of vitamins, minerals, antioxidants, and fiber your finished product will provide.
2. Wash Thoroughly to Remove Dirt and Residue
Greens, especially homegrown or organic ones, often carry soil particles, bugs, and sometimes pesticide residues. Begin the process by washing them thoroughly in cool water—use a vegetable brush or your hands to gently scrub the leaves.
For extra assurance, you can soak them briefly in a water-vinegar solution (one part vinegar to three parts water) to help remove unwanted residues. After soaking, rinse again with clean water. Taking the time to clean your produce ensures that your final greens powder is not only nutritious but also safe and free from contaminants.
3. Chop the Greens into Smaller Pieces
Before dehydrating, chop your greens into manageable pieces. This not only speeds up the drying process but also ensures even dehydration. Larger leaves like collard greens or kale should be stripped from their stems, as the thick stalks contain more moisture and take longer to dry.
Stems can be used in a separate batch or composted if you prefer a finer powder. Consistent chopping into small, uniform pieces allows the greens to dry at the same rate, preventing any soggy or overly brittle parts, which is essential for producing a consistent powder texture.
4. Dehydrate Slowly to Preserve Nutrients
Dehydration is the most critical step in the process, as it removes moisture while retaining nutrients. Use a food dehydrator set to 115–125°F (46–52°C) to keep the temperature low enough to preserve enzymes, vitamins, and minerals.
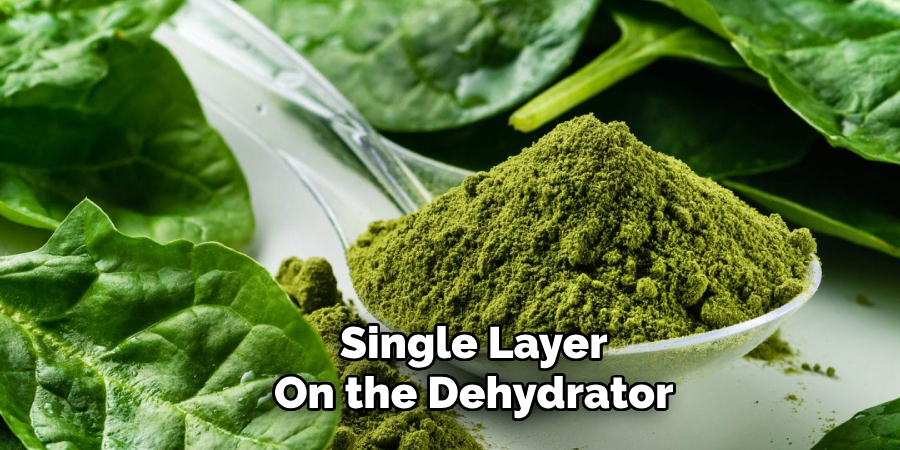
Arrange your greens in a single layer on the dehydrator trays and dry them for 8–12 hours or until the pieces are completely crisp and brittle. If you don’t own a dehydrator, you can use an oven on its lowest setting with the door slightly ajar, although the temperature control may be less precise. This step ensures your greens are shelf-stable and won’t develop mold during storage.
5. Add Complementary Ingredients for a Nutrient Boost
To elevate your greens powder, consider incorporating additional superfoods once your greens are dried. Dried beet slices, carrot chips, turmeric root, mushrooms (like lion’s mane or reishi), or dried lemon peel add both nutritional value and flavor.
Spirulina or chlorella powder can also be stirred in at the blending stage, as they are typically purchased pre-dried. These additions complement the vitamin and mineral profile of your greens while adding unique health benefits like improved circulation, immune support, or digestive aid. Blend your ingredients intentionally for the best results.
6. Blend to a Fine Powder Using a High-Powered Blender
Once all your greens and complementary ingredients are dry, transfer them to a high-powered blender, food processor, or spice grinder. Pulse in short bursts, then blend continuously until a fine, smooth powder forms. Depending on your equipment, you may need to sift the powder through a fine mesh sieve and reprocess any remaining coarse bits.
The goal is to produce a soft, fluffy powder that will mix easily into smoothies, soups, or juices. Blending thoroughly ensures consistent dosing and texture, making your greens powder more enjoyable and easier to use daily.
7. Store in an Airtight, Lightproof Container
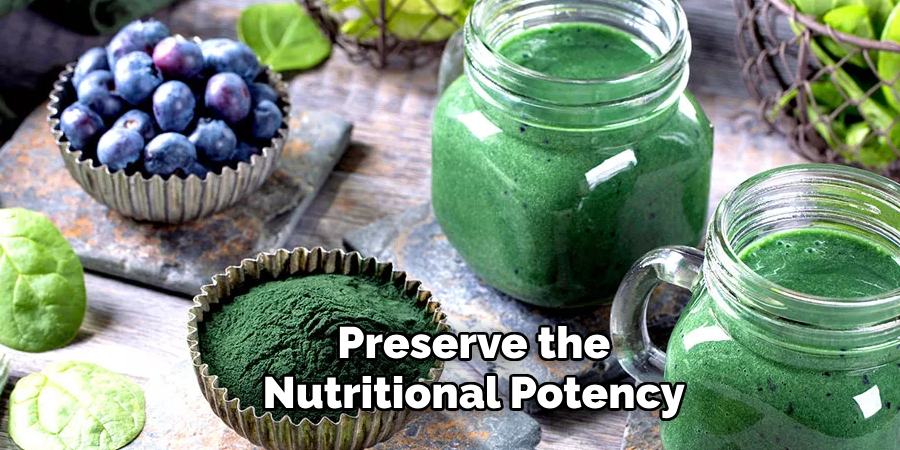
To preserve the nutritional potency of your homemade greens powder, store it in an airtight container—preferably a dark glass jar or a BPA-free opaque container. Exposure to air, light, and moisture can degrade the nutrients and reduce shelf life. Label the container with the date and ingredients used.
Store the powder in a cool, dry cupboard or pantry, away from heat sources like stoves or dishwashers. When stored properly, your greens powder can last up to six months, although using it within three months is ideal for maximum freshness.
8. Incorporate Into Daily Diet with Simple Recipes
Now that your greens powder is complete, integrate it into your daily routine in small, steady doses. A teaspoon added to your morning smoothie, protein shake, or oatmeal goes a long way. You can also stir it into soups, stews, scrambled eggs, or salad dressings for a nutritional upgrade.
The concentrated nature of greens powder means a little goes a long way, and incorporating it into various dishes ensures you enjoy both the health benefits and the added convenience. Experiment with flavor pairings and recipes to keep it enjoyable and sustainable as part of your health routine.
9. Test for Flavor and Nutrient Balance
Before making a large batch, it’s helpful to taste-test your greens powder and assess how it blends with different foods. Some combinations may be bitter or overly earthy, especially with greens like dandelion or kale.
You can balance flavors by adding dried herbs like basil or mint, or slightly sweet elements like dried apple slices or citrus peel. Testing small batches allows you to tailor your powder to suit your preferences, ensuring that you enjoy using it every day. Over time, you’ll find the ideal mix that fits your nutritional goals and flavor palate.
10. Create Custom Blends for Specific Health Goals
One of the greatest advantages of making your own greens powder is the ability to customize blends for specific health purposes. For gut health, you might include dried ginger, fennel, or peppermint. For energy, you could add maca root or matcha powder.
If you’re focusing on detox, incorporate parsley, cilantro, and lemon peel. By understanding the properties of each ingredient, you can craft multiple blends—one for morning energy, another for digestion, or even a calming blend for evening. Tailoring your powder this way transforms it into a powerful tool in your wellness routine.
Conclusion
Customizing your own wellness powders not only empowers you to take control of your health but also allows you to address your specific needs in a natural and personalized way.
By carefully selecting and combining ingredients, you can create blends that support your goals, whether it’s boosting energy, improving digestion, or promoting relaxation. This thoughtful approach to wellness encourages a deeper connection with your body and fosters a healthier, more balanced lifestyle. Thanks for reading, and we hope this has given you some inspiration on how to make greens powder!
About the Author
Jane Hubbard is a passionate beauty expert with a wealth of experience in makeup, hair, and overall beauty techniques. After years of working as a hairdresser specialist, she followed her entrepreneurial spirit and started her own consultancy business.
Jane has always been driven by her desire to help others feel confident in their own skin, and she does this by sharing her knowledge, experiences, and practical beauty tips. Through her consultancy, she empowers individuals to embrace their unique beauty, offering tailored guidance that boosts both self-esteem and personal style.
Professional Focus
- Specializes in makeup, hairstyling, and beauty consulting.
- Provides personalized beauty advice, tips, and techniques to help individuals feel confident in their appearance.
- Dedicated to staying up-to-date with the latest industry trends and developments.
- Passionate about creating a comfortable and empowering experience for every client.
Education History
- University of Craft and Design – Bachelor of Fine Arts (BFA) in Woodworking and Furniture Design
- Woodworking Apprenticeships – Extensive hands-on training with skilled craftsmen to refine carpentry and furniture making techniques
- Online Courses & Masterclasses – Continued education in advanced woodworking techniques, design principles, and specialized tools
Expertise:
- Makeup artistry, hairstyling, and beauty consulting.
- Personalized beauty techniques to enhance confidence and self-expression.
- Educating clients on how to maintain their beauty routines at home.