
Are you looking for a fun and unique way to add sparkle to your hair? Look no further than making your DIY glitter hair gel!
Creating your hair gel glitter at home is a fun and straightforward project that lets you customize your style with a shimmering flair.
Whether you’re preparing for a special event or festival or want to add sparkle to your everyday look, homemade hair gel glitter is an affordable and creative solution. With just a few easy-to-find ingredients and a little bit of time, you can craft a gel that provides both a hold and a dazzling shine to your hair.
This guide will walk you through the process step-by-step on how to make hair gel glitter, ensuring your glitter gel is not only eye-catching but also safe and comfortable for everyday use.
What Will You Need?
Before you begin making your own hair gel glitter, you’ll need to gather a few key ingredients and tools:
- 1/4 cup of clear hair gel (you can find this at most drugstores or beauty supply stores)
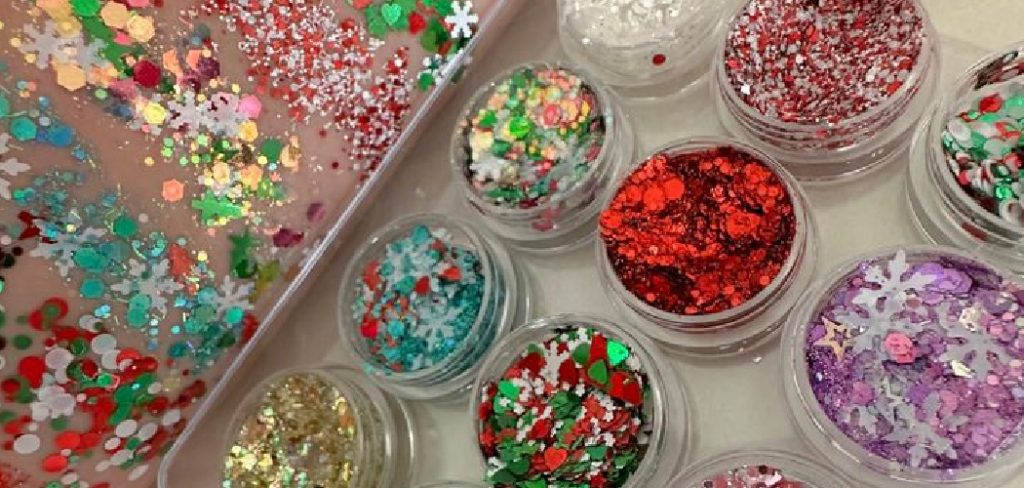
- Fine cosmetic-grade glitter in the color(s) of your choice
- A small mixing bowl
- A spoon or spatula for mixing
- A clean container or jar with a lid for storage
You may also want gloves on hand to prevent any possible irritation from handling the glitter. Additionally, if you have sensitive skin or allergies, it’s essential to do a patch test before using the glitter gel on your entire head.
10 Easy Steps on How to Make Hair Gel Glitter
Step 1. Measure the Hair Gel:
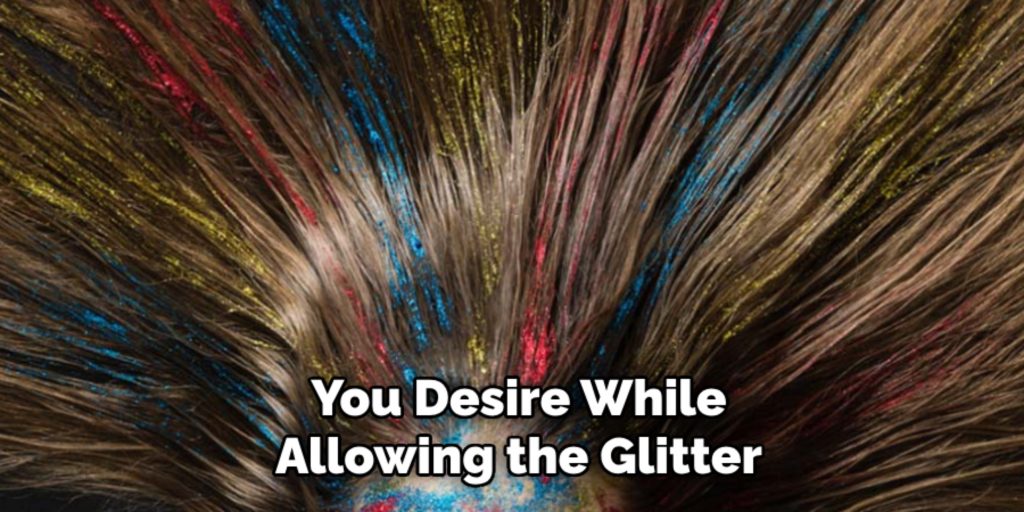
Begin by measuring out 1/4 cup of clear hair gel. This serves as the base of your glitter hair gel, providing the hold you desire while allowing the glitter to be suspended evenly throughout the mixture. Opt for a gel that has a lightweight texture for easy application and a comfortable feel.
If you prefer, you can adjust the quantity of gel if you need more or less product, keeping in mind to maintain the proportions of other ingredients accordingly. Transfer the measured hair gel into a small mixing bowl, ensuring the bowl is clean and dry to avoid contamination. A clear gel is ideal as it will allow the glitter to stand out clearly, providing a more vibrant and noticeable effect in your hair.
Step 2. Choose Your Glitter
Select fine cosmetic-grade glitter in the colors that best suit your style and occasion. It’s essential to use cosmetic-grade glitter because it’s designed specifically for skin and hair, ensuring that it is safe and comfortable to apply.
You can opt for a single color to create a uniform sparkle or mix multiple shades to achieve a more dynamic, multi-dimensional look. Consider matching the glitter to your outfit, theme, or mood to make a bolder statement. Once you’ve picked your glitter, you’ll be ready to blend it into the gel base, creating a customized, shimmering product that reflects your personality and creativity.
Step 3. Add Glitter to the Gel
Once you’ve selected your glitter, it’s time to incorporate it into the hair gel. Start by adding a small amount of glitter to the hair gel bowl, using your spoon or spatula to mix it in thoroughly. The amount of glitter you add can be adjusted based on how subtle or bold you want the effect to be.
Start with a small quantity and gradually increase until you achieve the desired level of sparkle. As you mix, ensure the glitter is evenly distributed throughout the gel to avoid clumps and ensure a smooth application. Taking the time to mix well will help achieve a uniform glitter effect when applied to your hair.
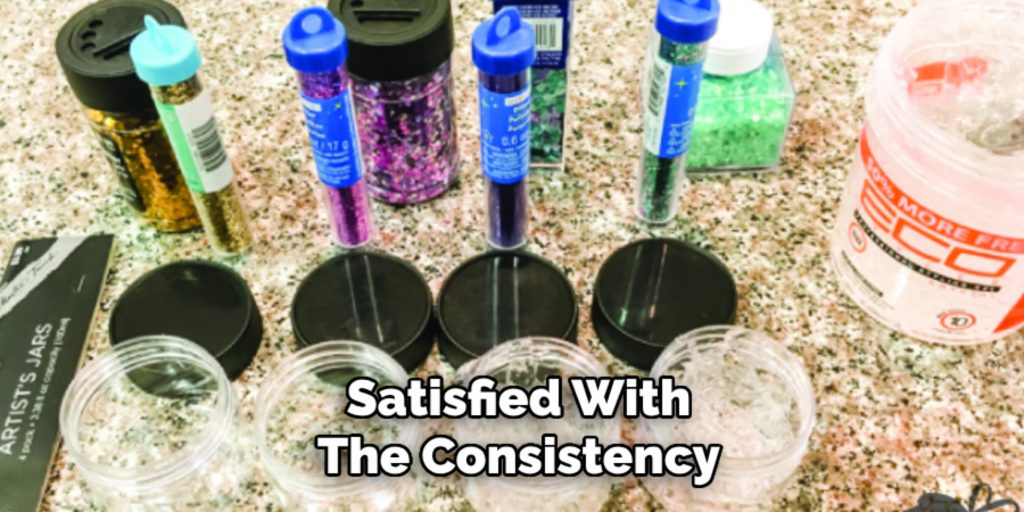
Step 4. Test the Consistency and Color
After mixing the glitter into the gel, it’s essential to test the mixture’s consistency and color. Add a small amount of the glitter gel to a patch of hair to see how it looks under natural light. This step allows you to confirm the concentration of glitter and ensure it provides the intended effect. If the gel feels too thick or doesn’t spread quickly, consider adding a small amount of water to thin it out, mixing thoroughly after each addition.
Conversely, if the glitter is too sparse, you can mix in more until you reach your desired level of sparkle. Testing the product also lets you determine if the color is visible and vibrant enough according to your preference, allowing you to make any necessary adjustments before you proceed with the full application.
Step 5. Transfer to Storage Container
Once you are satisfied with the consistency and appearance of your glitter gel, carefully transfer the mixture into a clean container or jar with a lid for storage. Ensure the lid is tightly sealed to prevent the gel from drying out and to maintain its quality over time.
Label the container with the date of creation and any specific details about the glitter used so you can recreate the exact mix if desired. Choosing an airtight container will help keep your glitter gel fresh, ensuring you can enjoy its effects whenever you want to add sparkle to your style.
Step 6. Application Tips
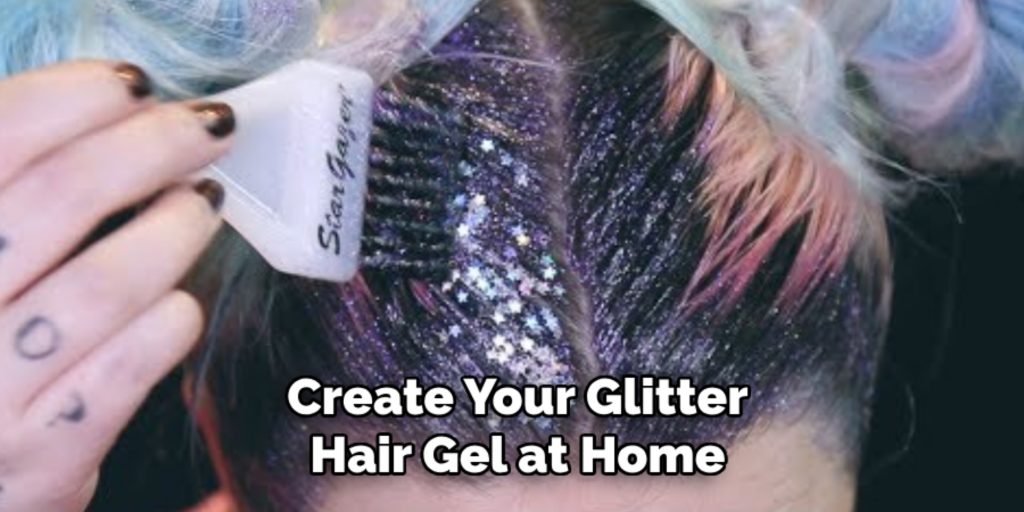
With your glitter hair gel ready, it’s time to apply it and add some sparkle to your hairstyle. Begin by using your fingers or a clean applicator to scoop a small amount of the glitter gel. Apply it directly to the areas of your hair you wish to highlight, such as roots, tips, or throughout the strands, for an all-over shimmer. Distribute the gel evenly to avoid clumping and ensure a smooth, seamless look.
Consider using a brush or comb to carefully place the gel where desired for more defined patterns or styles. Once applied, allow the gel to air dry completely to set the style and prevent glitter fallout. As a finishing touch, you can gently fix any stray hairs in place without disrupting the glitter effect.
Step 7. Enhance Your Style
Once the glitter gel has set correctly in your hair, consider enhancing your overall style by incorporating accessories or hairstyles that complement the shimmery look. Adding hair clips, pins, or a headband can elevate the sparkle and add an extra layer of glam to your appearance.
Alternatively, try braiding sections of your glitter-adorned hair or crafting it into a sleek ponytail or bun to showcase the glitter effect uniquely and fashionably. Experiment with different styles to find one that best suits your personality and occasion.
Step 8. Safe Removal
When it’s time to remove the glitter gel, ensure you do so safely to prevent damage to your hair or scalp. Start by rinsing your hair with warm water gently massaging your scalp to help break down the gel.
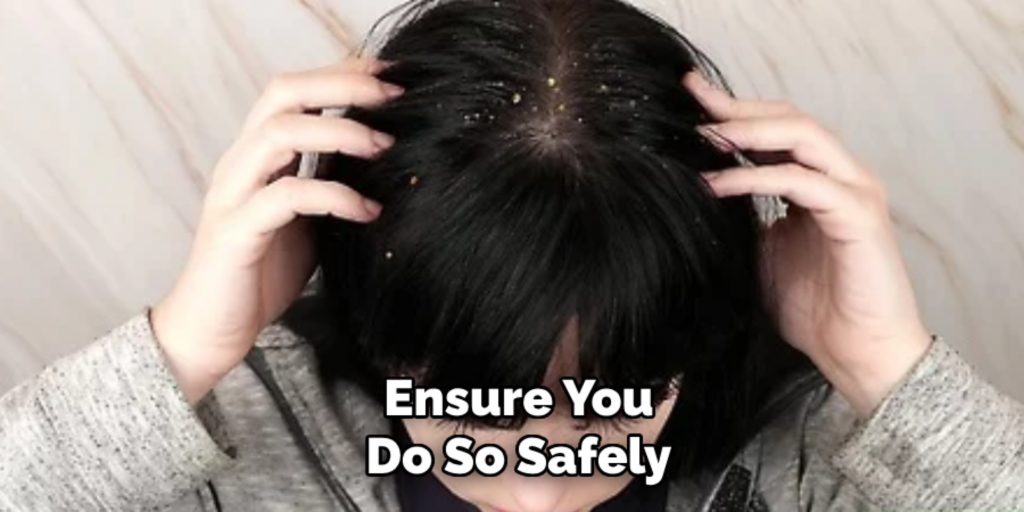
Follow up with a clarifying shampoo to remove the remaining glitter and product buildup. Depending on the amount of glitter used, a second wash may be necessary to clean your hair thoroughly. Finish with a conditioner to restore moisture and softness, leaving your hair refreshed and glitter-free.
Step 9. Clean Up Residue
After successfully removing the glitter gel from your hair, it’s essential to tackle any lingering glitter residue that might have settled on your clothes, bathroom surfaces, or floor. Begin by tidying up your workspace gently sweeping or vacuuming any stray glitter particles if necessary.
For bathroom surfaces like countertops and sinks, use a damp cloth or towel to wipe away any glitter, making sure to use gentle, circular motions to capture the particles effectively. If glitter has transferred onto clothing, use a lint roller or duct tape to pick it up carefully.
Additionally, a small vacuum with an attachment specifically for hard-to-reach areas can be invaluable for efficiently sucking up any remaining particles. Cleaning up thoroughly will maintain a neat environment and prevent the spread of glitter to other parts of your home.
Step 10. Store Leftover Glitter Gel Responsibly
If you have any leftover glitter gel, storing it properly ensures it stays fresh and ready for future use. Keep the container in a cool, dry place, away from direct sunlight, to prevent any potential alteration of the gel’s consistency or color.
Ensure the lid is secured tightly after each use to keep the product from drying out. Periodically check the gel for any changes or signs of contamination to ensure its quality. Storing your glitter gel responsibly allows you to enjoy its effects while continually minimizing waste.
Following these steps, you can easily create your glitter hair gel at home. For optimal results, remember to always use cosmetic-grade glitter and store the product safely.
Conclusion
how to make hair gel glitter at home can be a fun and rewarding process.
By following these detailed steps, you can ensure that your homemade product not only adds a dazzling touch to your hairstyle but is also safe and high-quality.
It all begins with carefully selecting cosmetic-grade glitter and the suitable base gel, followed by methodically testing and adjusting the mixture to achieve the perfect blend of sparkle and texture. Proper storage and handling also play crucial roles in preserving your glitter gel for future use.
With creativity and a little experimentation, you can personalize your glitter gel to suit any occasion. This allows you to shine confidently, knowing your product is unique and hand-crafted. Enjoy the journey of crafting your glitter gel as much as the sparkle it brings to your hair.
About the Author
Jane Hubbard is a passionate beauty expert with a wealth of experience in makeup, hair, and overall beauty techniques. After years of working as a hairdresser specialist, she followed her entrepreneurial spirit and started her own consultancy business.
Jane has always been driven by her desire to help others feel confident in their own skin, and she does this by sharing her knowledge, experiences, and practical beauty tips. Through her consultancy, she empowers individuals to embrace their unique beauty, offering tailored guidance that boosts both self-esteem and personal style.
Professional Focus
- Specializes in makeup, hairstyling, and beauty consulting.
- Provides personalized beauty advice, tips, and techniques to help individuals feel confident in their appearance.
- Dedicated to staying up-to-date with the latest industry trends and developments.
- Passionate about creating a comfortable and empowering experience for every client.
Education History
- University of Craft and Design – Bachelor of Fine Arts (BFA) in Woodworking and Furniture Design
- Woodworking Apprenticeships – Extensive hands-on training with skilled craftsmen to refine carpentry and furniture making techniques
- Online Courses & Masterclasses – Continued education in advanced woodworking techniques, design principles, and specialized tools
Expertise:
- Makeup artistry, hairstyling, and beauty consulting.
- Personalized beauty techniques to enhance confidence and self-expression.
- Educating clients on how to maintain their beauty routines at home.