
Achieving long-lasting lip liner can elevate your makeup look and ensure that your lips stay perfectly defined all day. Whether you’re preparing for a special event or simply want your makeup to hold up through a busy schedule, there are simple tips and tricks you can follow to maximize the longevity of your lip liner. This guide will walk you through effective steps of how to make lip liner last.
Importance of Lip Liner
Lip liner is an essential step in any makeup routine, often serving as the foundation for a flawless and polished look. Its primary purpose is to define the shape of your lips, creating a clear and even outline that enhances symmetry and prevents lipstick from bleeding or feathering. Additionally, lip liner can be used to slightly adjust the natural shape of your lips, adding dimension or balance where needed. It also acts as a base to help lip color adhere better and last longer, making it indispensable for achieving a long-lasting and professional finish. With the right lip liner, your overall look can appear more refined and put together.
Choose the Right Lip Liner
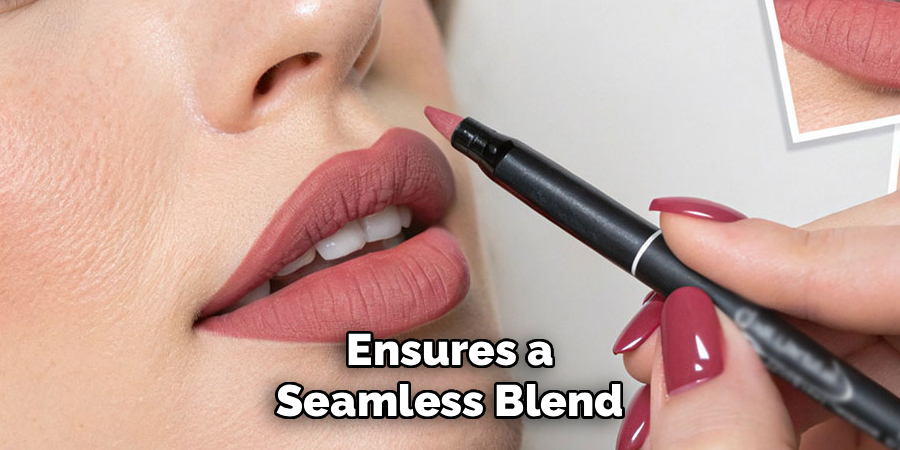
Selecting the perfect lip liner aesthetic involves considering several factors to complement your makeup look. Start by choosing a shade that closely matches your natural lip color or the lipstick you plan to wear.
This ensures a seamless blend and avoids harsh, obvious lines. For a more natural appearance, opt for neutral or nude shades, while bold or dramatic looks may call for deeper, richer hues that pair well with your lipstick. Additionally, pay attention to the formula—creamy, long-lasting liners are ideal for smooth application and extended wear. Lastly, consider the finish; some lip liners are matte, while others offer a slight sheen, so pick one that aligns with your desired look. With the right lip liner, you can enhance your features effortlessly and elevate your overall makeup aesthetic.
10 Methods How to Make Lip Liner Last
1. Choose a High-Quality, Long-Wearing Lip Liner
The foundation of making any lip liner last begins with selecting a high-quality product formulated for longevity. Not all lip liners are created equal; some tend to fade quickly or smudge with minimal contact. When shopping for lip liners, look for those labeled as “long-wear,” “waterproof,” or “smudge-proof.” These formulas typically contain ingredients that help them adhere better to your lips, resist fading, and withstand eating or drinking. Additionally, a creamy yet firm texture allows for precise application and better staying power. Investing in a reputable brand known for lasting lip liners is the first crucial step to achieving all-day wear.
2. Exfoliate Your Lips Gently to Create a Smooth Base
Before applying lip liner, preparing your lips is essential to maximize the product’s adherence and appearance. Dry, flaky, or chapped lips can cause the liner to settle unevenly or flake off quickly. To prevent this, exfoliate your lips gently using a lip scrub or a soft toothbrush dipped in sugar mixed with honey or coconut oil. This removes dead skin cells and smooths the surface, allowing the lip liner to glide on effortlessly. After exfoliation, moisturize your lips with a lightweight balm and allow it to absorb completely before starting your makeup routine. Smooth, healthy lips provide the perfect canvas for long-lasting lip liner.
3. Apply a Lightweight Lip Balm and Let It Absorb Fully
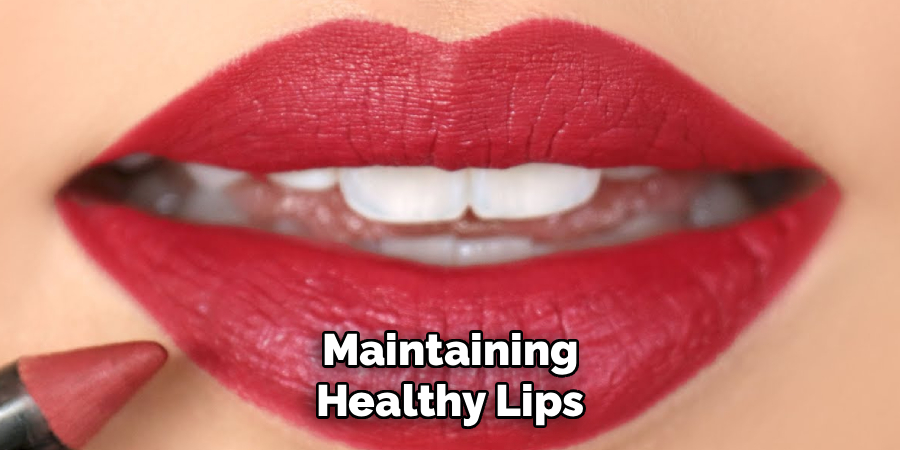
Hydration is key to maintaining healthy lips, but excess moisture can cause your lip liner to slide off. After exfoliating, apply a thin layer of lightweight lip balm to nourish your lips and prevent dryness, which can cause cracking and fading. It’s important to let the balm absorb completely—this usually takes a few minutes—so the liner can grip your lips rather than the balm’s surface. Avoid thick or heavy balms that leave a greasy residue, as this will reduce the liner’s staying power. Properly hydrated lips ensure that your lip liner applies smoothly without compromising longevity.
4. Prime Your Lips with a Lip Primer or Concealer
To further enhance your lip liner’s durability, consider using a lip primer or a small amount of concealer on your lips before application. Lip primers create a tacky base that improves adhesion and color payoff, helping the liner last longer throughout the day. Alternatively, applying a thin layer of concealer or foundation on your lips neutralizes their natural color and creates a blank canvas, making the liner’s true shade stand out and adhere better. Use a small brush or fingertip to blend the primer or concealer evenly, then allow it to dry slightly before moving to the next step. This technique adds a professional touch to your lip routine and significantly boosts the liner’s lifespan.
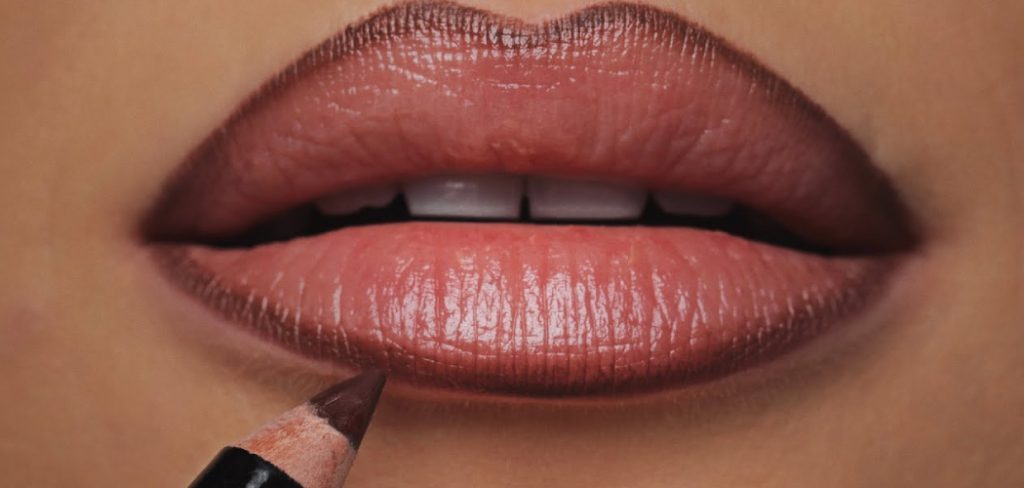
5. Sharpen Your Lip Liner Pencil for Precise Application
A sharp lip liner pencil is essential for creating clean, defined lines that last longer. Dull pencils can smudge easily and make it difficult to control application, which can result in patchiness or bleeding. Sharpen your lip liner before each use to achieve a fine tip that allows you to draw precise outlines or fill in your lips meticulously. This precision helps create a better seal along the lip edges, preventing feathering and fading. Additionally, applying the liner with a light hand and building up the intensity gradually ensures an even and long-lasting finish.
6. Outline and Fill In Your Lips for Maximum Staying Power
A common mistake in lip liner application is only outlining the lips and leaving the center bare. To make your lip liner last longer, extend its use by filling in the entire lip area. This creates a solid base of color that holds your lipstick or gloss in place and prevents patchiness. Start by carefully outlining your lips, following their natural shape or slightly overlining if desired for fullness. Then, use short, gentle strokes to fill in the lips completely with the liner. Filling in adds pigment and texture, increasing the overall longevity of your lip look and preventing your lipstick from fading unevenly throughout the day.
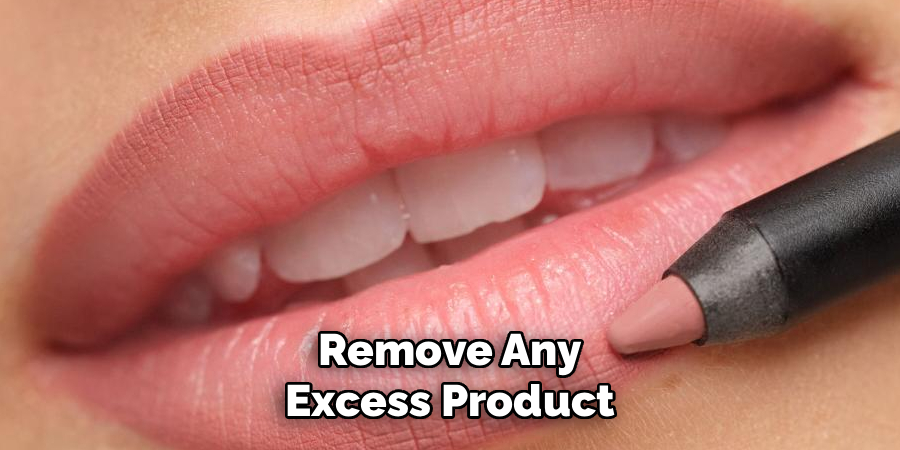
7. Blot Excess Product and Set with Translucent Powder
After applying lip liner, blotting and setting are effective methods to extend wear time. Gently press a tissue against your lips to remove any excess product, which can otherwise transfer or smudge easily. Next, take a small, fluffy makeup brush and lightly dust translucent setting powder over your lips. To avoid altering the color, place a thin tissue over your lips and apply the powder through it—this technique sets the liner without dulling the hue. Setting your lips with powder helps absorb oils and moisture, locking the liner in place and significantly reducing the chances of smudging or fading.
8. Layer Lipstick or Lip Gloss Over the Lip Liner
Using lip liner as a base for lipstick or lip gloss is a proven way to improve the overall longevity of your lip color. After applying and setting your liner, choose a complementary lipstick shade and apply it over the entire lip surface. The lip liner acts as a “primer,” anchoring the color and preventing feathering or bleeding. If you prefer gloss, apply it sparingly to avoid diluting the liner’s intensity, focusing on the center of your lips for a plump effect. For extra staying power, consider blotting your lipstick with a tissue after the first application and reapplying a second thin layer. Layering in this way creates a long-lasting, vibrant finish.
9. Avoid Excessive Lip Touching or Rubbing Throughout the Day
Once you have perfected your lip liner application, maintaining its longevity requires some mindful habits. Avoid licking, rubbing, or touching your lips frequently, as these actions can cause the liner to wear off prematurely or smudge. When eating or drinking, try to sip carefully and avoid foods that easily remove lip products, such as oily or creamy dishes. If you notice any fading or smudging, touch up gently with a lip brush or your liner pencil without removing the entire product. These small efforts help maintain the pristine look of your lip liner and keep your makeup looking fresh longer.
10. Carry Your Lip Liner for Quick Touch-Ups When Needed
Even with the best preparation and application, lip liners can fade over time due to natural lip movements, eating, or environmental factors. To ensure your lip liner stays flawless throughout the day, carry it with you for quick and easy touch-ups. Keep a compact mirror handy so you can check for any fading or bleeding, and reapply the liner precisely where needed. Touching up your lips periodically refreshes the color and prevents patchiness, helping your makeup look polished from morning to night. Having your lip liner on hand also allows you to adapt your lip look for different occasions without needing a complete redo.
Conclusion
Making your lip liner last is a combination of choosing the right product, preparing your lips properly, precise application, and maintaining good habits throughout the day. By following these ten elaborated methods, you can enjoy beautifully defined lips with color that stays put and looks fresh for hours. Whether you prefer a subtle outline or a bold full-lip look, these techniques will ensure your lip liner remains flawless no matter the occasion. Thanks for reading our blog post on how to make lip liner last! We hope you found it helpful and informative.
About the Author
Jane Hubbard is a passionate beauty expert with a wealth of experience in makeup, hair, and overall beauty techniques. After years of working as a hairdresser specialist, she followed her entrepreneurial spirit and started her own consultancy business.
Jane has always been driven by her desire to help others feel confident in their own skin, and she does this by sharing her knowledge, experiences, and practical beauty tips. Through her consultancy, she empowers individuals to embrace their unique beauty, offering tailored guidance that boosts both self-esteem and personal style.
Professional Focus
- Specializes in makeup, hairstyling, and beauty consulting.
- Provides personalized beauty advice, tips, and techniques to help individuals feel confident in their appearance.
- Dedicated to staying up-to-date with the latest industry trends and developments.
- Passionate about creating a comfortable and empowering experience for every client.
Education History
- University of Craft and Design – Bachelor of Fine Arts (BFA) in Woodworking and Furniture Design
- Woodworking Apprenticeships – Extensive hands-on training with skilled craftsmen to refine carpentry and furniture making techniques
- Online Courses & Masterclasses – Continued education in advanced woodworking techniques, design principles, and specialized tools
Expertise:
- Makeup artistry, hairstyling, and beauty consulting.
- Personalized beauty techniques to enhance confidence and self-expression.
- Educating clients on how to maintain their beauty routines at home.