
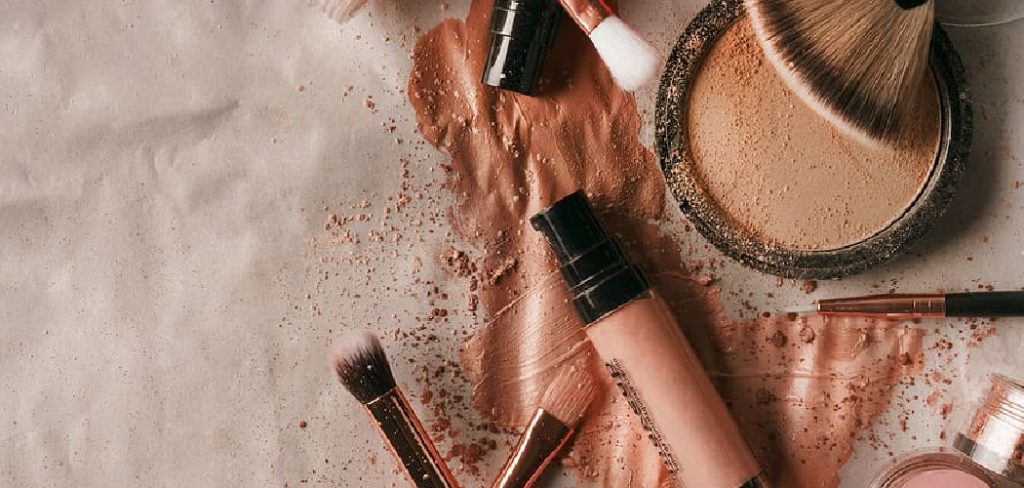
Are you tired of spending money on expensive liquid blushes that don’t quite match your skin tone or desired shade? Look no further, because making your own liquid blush is easier than you think!
How to make liquid blush is a fun and rewarding way to customize your makeup routine while ensuring you’re using high-quality, skin-friendly ingredients. Liquid blush is loved for its natural, dewy finish and the ability to blend seamlessly into your skin for a radiant, youthful glow. By making it yourself, you can tailor the shade, consistency, and formula to suit your preferences and skin type perfectly.
Plus, it’s an eco-friendly alternative to store-bought products, often requiring fewer chemicals and less packaging. Whether you’re new to DIY beauty products or a seasoned crafter, making liquid blush is surprisingly simple and offers endless creative possibilities.
What Are the Benefits of Liquid Blush?
Liquid blush is a versatile makeup product that can benefit your skin and overall look. Some of the top advantages include:
- Natural Finish: Liquid blush provides a natural, dewy finish that mimics the appearance of flushed cheeks or a subtle sun-kissed glow. It blends into the skin seamlessly, making it hard to tell where your skin ends and the blush begins.
- Customizable Shade: You have complete control over the shade and intensity by making your liquid blush. You can mix different pigments and adjust the amount of each ingredient to create your perfect color.
- Buildable Coverage: Unlike powder blushes that can quickly become patchy or cakey, liquid blush allows for buildable coverage. You can apply a sheer layer for a subtle hint of color or layer it up for a more intense look.
- Hydrating Formula: Many store-bought liquid blushes contain hydrating ingredients, such as hyaluronic acid or glycerin, to help keep your skin moisturized and plump.
- Longevity: Liquid blushes have better staying power than powder blushes. Once set, it can last all day without smudging or fading.
What Will You Need?
Before you begin making your own liquid blush, gathering all the necessary ingredients and tools is essential. Here’s what you’ll need:
- Base: You’ll need a base for your liquid blush, which can be a lotion or serum. Choose one that is lightweight and non-greasy.
- Pigments: You can use any pigments of your choice to create the desired color. Some popular options include beetroot powder, cocoa powder, turmeric powder, and mica powders.
- Oil: A few drops of oil will help give your liquid blush a smooth texture and moisturizing properties. You can use jojoba, almond, or any other oil suitable for your skin type.
- Container: Choose a small, airtight container to store your liquid blush. A dropper bottle or mini pump bottle would work well.
- Measuring Spoons: To accurately measure the ingredients, you’ll need a set of measuring spoons.
- Mixing Bowl and Spoon: You’ll also need a mixing bowl and spoon to combine all the ingredients.
8 Easy Steps on How to Make Liquid Blush
Step 1. Prepare Your Workspace:
Before crafting your liquid blush, ensure your workspace is clean, organized, and free of dust or debris. This is especially important as you’ll work with products that will go directly onto your skin. Wipe down the surface with a clean cloth and some disinfectant if necessary. Lay out all your materials and tools to be within easy reach.
Having some paper towels or a cloth nearby is also a good idea to clean up any spills. Consider wearing gloves or an apron to avoid staining your hands or clothes if using powdered pigments.
Step 2. Measure Your Base Ingredients:
Using your spoons, carefully measure the base ingredients for your liquid blush. This typically includes a lightweight oil, such as jojoba or rosehip oil, and a liquid binder, such as glycerin or aloe vera gel.
The exact measurements will depend on your desired consistency and quantity, but a good starting ratio is 1 part oil to 2 parts binder. Add these ingredients to your mixing bowl, ensuring they are correctly proportioned to achieve a smooth and blendable texture. Always measure accurately to avoid imbalances that could affect the final product.
Step 3. Add Your Pigments:
Now it’s time to add color to your liquid blush. Select a powdered pigment or mica, considering shades that complement your skin tone. Add a small amount, about 1/8 teaspoon, to the base mixture.
Gradually mix the pigment into the liquid using your mixing tool until the color is even and consistent. If the shade is too light, add more pigment in small increments until you achieve the desired intensity. Be careful not to add too much at once, as highly pigmented blush can be difficult to adjust.
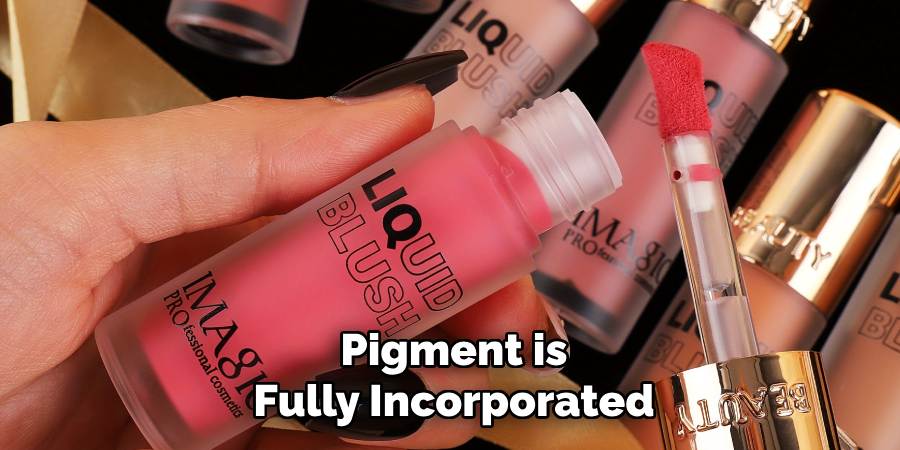
Step 4. Adjust the Formula Consistency:
Once your pigment is fully incorporated, assess the consistency of your liquid blush. If the mixture feels too thick, add a few drops of a lightweight oil or distilled water to thin it out. On the other hand, if it’s too runny, incorporate a small amount of your binder to thicken it.
Mix thoroughly after each adjustment to ensure a smooth and cohesive texture. The goal is to achieve a consistency that glides effortlessly onto the skin while blending seamlessly for a natural finish.
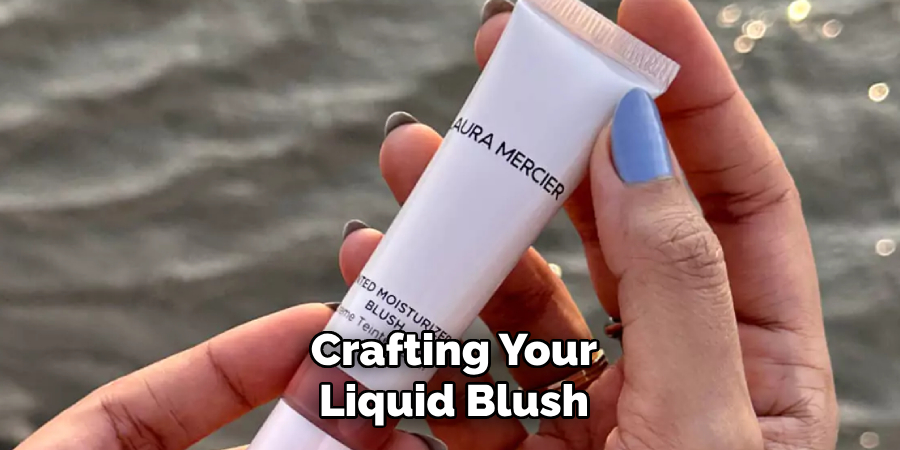
Step 5. Transfer and Store Your Liquid Blush:
Once you are satisfied with the color and consistency, carefully transfer your liquid blush into a clean, airtight container or dropper bottle. Use a small funnel or pipette to avoid spills and ensure a tidy transfer. Proper storage is essential to maintain the quality and longevity of your product.
Keep the container in a cool, dry place, away from direct sunlight. Label your container with the product name and date of creation for easy identification and tracking. With your blush safely stored, it’s now ready to use whenever you need a touch of color!
Step 6. How to Apply Your Liquid Blush:
To achieve a flawless look, apply your liquid blush sparingly and gradually build up the color. Using clean fingers or a makeup brush, dab a small amount of the product onto the apples of your cheeks. Blend outward in gentle, circular motions for a natural and seamless finish. Depending on your desired look, You can layer the blush to intensify the color. Remember, a little goes a long way, so start with a small amount and adjust as needed. Enjoy your customized liquid blush and its radiant glow to your complexion!
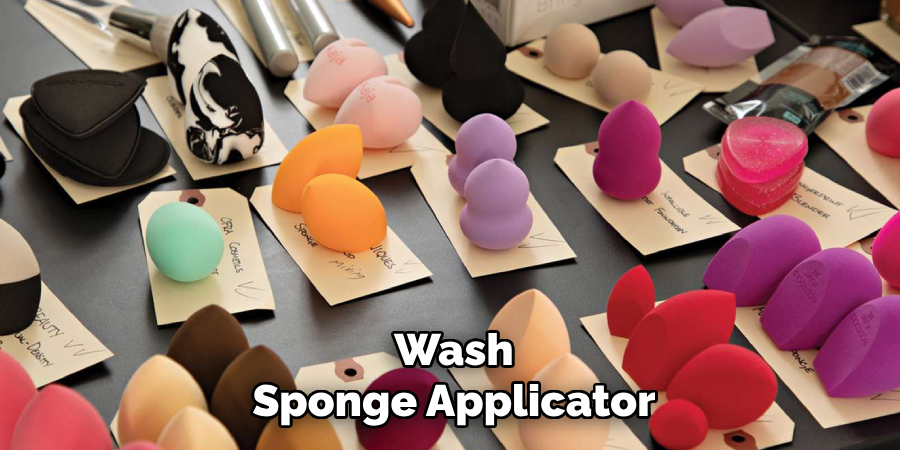
Step 7. Cleaning and Maintaining Your Tools:
Proper care of your tools ensures hygienic application and prolongs their usability. After each use, thoroughly clean your makeup brushes or applicators with a gentle cleanser or brush cleaner. Rinse well and allow them to air dry completely before storing them.
Wash sponge applicators with mild soap and warm water, ensuring all product residue is removed. Regular maintenance keeps your tools in top condition and prevents the buildup of bacteria, ensuring your skin stays healthy and your blush applies flawlessly every time.
Step 8. Storing Your Liquid Blush:
Proper storage is essential to ensure the longevity and quality of your liquid blush. Keep the product in a cool, dry place away from direct sunlight, as excessive heat or light can alter its consistency and pigment. Make sure the cap is tightly sealed to prevent drying or contamination. If you notice any changes in the blush’s color, texture, or smell, it may be time to replace it. Proper storage habits will help maintain the product’s effectiveness and keep your makeup routine hassle-free.
By following these 8 easy steps, you can create your own customized liquid blush that is not only cost-effective but also tailored to your unique preferences and skin tone.
5 Things You Should Avoid
- Using Low-Quality Ingredients: Always choose high-quality products when making liquid blush. Low-quality pigments or oils can cause skin irritation or lead to a product that doesn’t blend well or last long.
- Skipping Proper Measurements: Avoid guessing proportions when mixing your ingredients. Improper measurements can affect the final product’s consistency, color, or safety.
- Failing to Test for Allergies: Testing your homemade liquid blush on a small skin patch is crucial. Skipping this step can result in unexpected allergic reactions or sensitivity.
- Neglecting Hygiene Practices: Ensure all tools, containers, and workspaces are sanitized. Contaminated materials can lead to bacterial growth in your product, making it unsafe to use.
- Overloading on Pigment: Adding too much pigment can make the blush overly intense, difficult to blend, or even stain the skin. Start with small amounts and build up until you achieve the desired shade.
Conclusion
How to make liquid blush can be a rewarding experience, offering the chance to create a customized product tailored to your preferences.
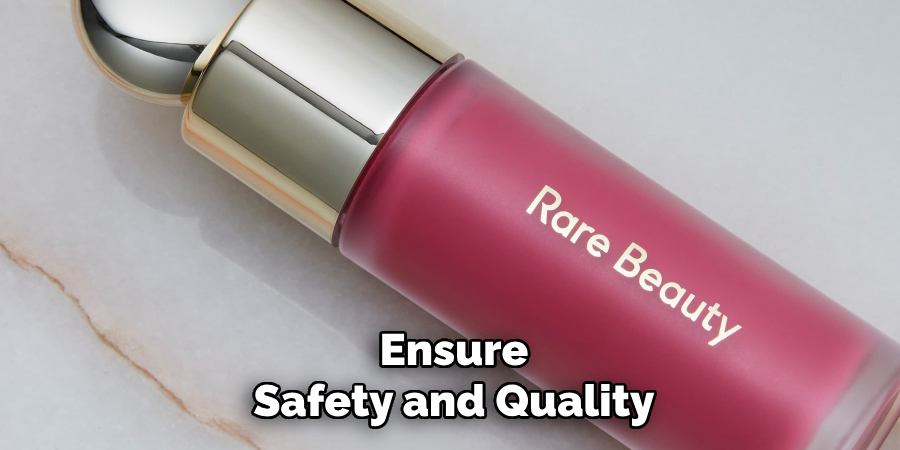
You can ensure safety and quality in your blush by carefully selecting high-quality ingredients, maintaining proper hygiene practices, and following accurate measurements. Testing the product for allergies and gradually building the color will help you achieve the perfect shade.
Attention to detail enables you to craft a beautiful, skin-friendly liquid blush that enhances your natural glow.
About the Author
Jane Hubbard is a passionate beauty expert with a wealth of experience in makeup, hair, and overall beauty techniques. After years of working as a hairdresser specialist, she followed her entrepreneurial spirit and started her own consultancy business.
Jane has always been driven by her desire to help others feel confident in their own skin, and she does this by sharing her knowledge, experiences, and practical beauty tips. Through her consultancy, she empowers individuals to embrace their unique beauty, offering tailored guidance that boosts both self-esteem and personal style.
Professional Focus
- Specializes in makeup, hairstyling, and beauty consulting.
- Provides personalized beauty advice, tips, and techniques to help individuals feel confident in their appearance.
- Dedicated to staying up-to-date with the latest industry trends and developments.
- Passionate about creating a comfortable and empowering experience for every client.
Education History
- University of Craft and Design – Bachelor of Fine Arts (BFA) in Woodworking and Furniture Design
- Woodworking Apprenticeships – Extensive hands-on training with skilled craftsmen to refine carpentry and furniture making techniques
- Online Courses & Masterclasses – Continued education in advanced woodworking techniques, design principles, and specialized tools
Expertise:
- Makeup artistry, hairstyling, and beauty consulting.
- Personalized beauty techniques to enhance confidence and self-expression.
- Educating clients on how to maintain their beauty routines at home.