
Have you ever looked at the ingredient list on your favorite tube of mascara and felt a little overwhelmed? Between the parabens, synthetic dyes, and preservatives with unpronounceable names, it is easy to wonder what exactly we are putting so close to our eyes every single day. For those of us who love natural beauty or perhaps even grow our own aloe vera in the garden, the idea of creating cosmetics from scratch is incredibly appealing. It offers a sense of control over what goes onto your skin and lashes, ensuring that only the purest, most nourishing ingredients are used.
Switching to a homemade alternative is not just about avoiding chemicals; it is also about embracing a more sustainable and personalized approach to beauty. When you learn how to make mascara at home, you open the door to a world where you can tweak formulas to suit your specific needs.
Do you want a lash-lengthening boost? Add a little more castor oil. Need something that holds a curl better? Adjust your wax ratios. Plus, there is a profound satisfaction in using a product that you crafted with your own hands, perhaps using beeswax from a local apiary or aloe gel harvested from your own windowsill.
Why You Should Make Your Own Mascara
The commercial beauty industry is vast, and while there are many clean beauty brands emerging, the majority of conventional mascaras still rely on synthetic polymers and preservatives to achieve that long-lasting, waterproof effect. These ingredients can often lead to eye irritation, dryness, or brittle lashes over time. By taking the DIY route, you eliminate these risks.
You can choose ingredients like coconut oil, shea butter, and vitamin E oil that actually condition and strengthen your lashes while coating them in color. It transforms your makeup routine from a purely aesthetic step into a nourishing treatment for your eyelashes.
Step-by-Step Guide: How to Make Mascara at Home
Step 1: Gather Your Natural Ingredients
The foundation of any good homemade mascara lies in the quality of its ingredients. You will need a few key components: a binding wax, nourishing oils, a pigment, and a soothing gel base. For the wax, beeswax is the gold standard as it provides excellent hold and water resistance. If you are vegan, candelilla wax is a fantastic plant-based alternative. For oils, coconut oil and castor oil are top choices; castor oil specifically is renowned for promoting hair growth and thickness.
You will also need aloe vera gel to provide moisture and create a smooth texture that glides onto the lashes without clumping. Finally, for that deep black color, activated charcoal is the safest and most effective natural pigment. If you prefer a brown hue, cocoa powder works beautifully. Ensure all your ingredients are cosmetic grade and, if possible, organic to avoid any hidden pesticides.

Step 2: Prepare Your Mixing Station
Before you begin heating anything, it is crucial to set up a clean and organized workspace. Because you are making a product that will be used near your eyes, hygiene is paramount. Sanitize your countertops, mixing bowls, spoons, and mascara tubes with rubbing alcohol to eliminate any bacteria.
You will need a double boiler system to gently melt your ingredients; if you don’t have a dedicated double boiler, a heat-safe glass bowl placed over a pot of simmering water works perfectly. Gather a small spatula for stirring, measuring spoons (or a digital scale for better accuracy), and a syringe or a small plastic bag with the corner snipped off to help you transfer the finished product into the tube.
Having everything within arm’s reach will prevent your mixture from cooling and hardening prematurely while you scramble for a tool.
Step 3: Melt the Waxes and Oils
Start the process by combining your solid ingredients. Place roughly one teaspoon of beeswax pellets and one teaspoon of coconut oil (or your chosen oil blend) into your double boiler. If you are using shea butter for extra conditioning, add half a teaspoon now. Gently heat the mixture over low heat. It is vital not to overheat these ingredients, as high temperatures can degrade the beneficial properties of the oils.
Stir the mixture continuously with a clean utensil until everything is completely melted and combined into a clear, golden liquid. This lipid phase is what gives your mascara its staying power and water resistance. The wax acts as a structuring agent, ensuring the pigment adheres to your lashes, while the oils ensure the formula remains flexible and doesn’t flake off throughout the day.
Step 4: Incorporate the Natural Pigments
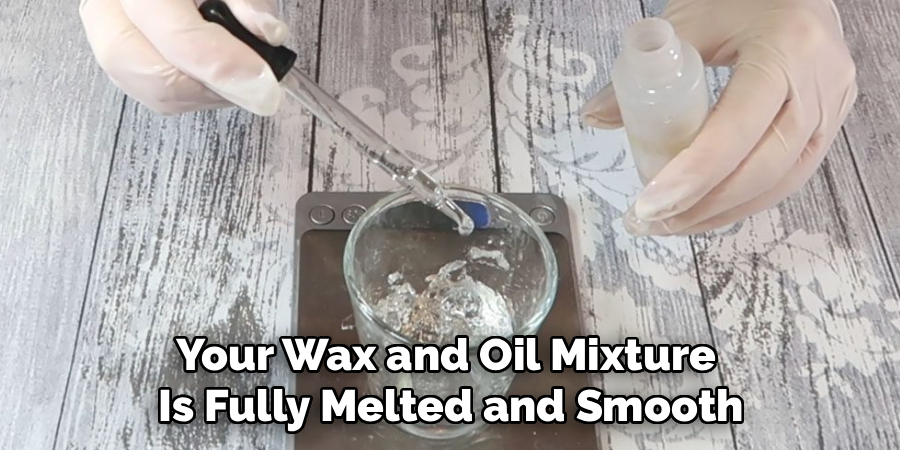
Once your wax and oil mixture is fully melted and smooth, remove the bowl from the heat source but keep it warm to prevent it from solidifying immediately. Now, it is time to add the color. Gradually sprinkle in your activated charcoal powder (about two capsules or half a teaspoon) or cocoa powder. It is best to sift the powder through a small mesh strainer before adding it to avoid any gritty lumps in your final product.
Whisk the pigment into the oil mixture vigorously. You want to ensure that every particle of charcoal is coated in oil, creating a smooth, glossy black paste. This step is critical for color payoff; if the pigment isn’t well-dispersed, your mascara might look gray or patchy on the lashes rather than a rich, defining black.
Step 5: Emulsify for the Perfect Consistency
This is the trickiest part of learning how to make mascara at home. You now need to introduce the aloe vera gel to your oil and pigment mixture. Add about four teaspoons of room-temperature aloe vera gel into the bowl. Because oil and water (contained in the aloe) don’t naturally mix, you need to whisk rapidly to create an emulsion.
If the mixture separates or looks curdled, you can place it back over the gentle heat for a few seconds to soften it, then whisk again until it creates a creamy, cohesive texture. Some crafters add a drop of bentonite clay at this stage; the clay helps the mascara dry faster on the lashes and adds smudge-proof properties. Continue stirring until the mixture is completely smooth and resembles the consistency of commercial mascara—thick, glossy, and uniform.
Step 6: Transfer to the Mascara Tube
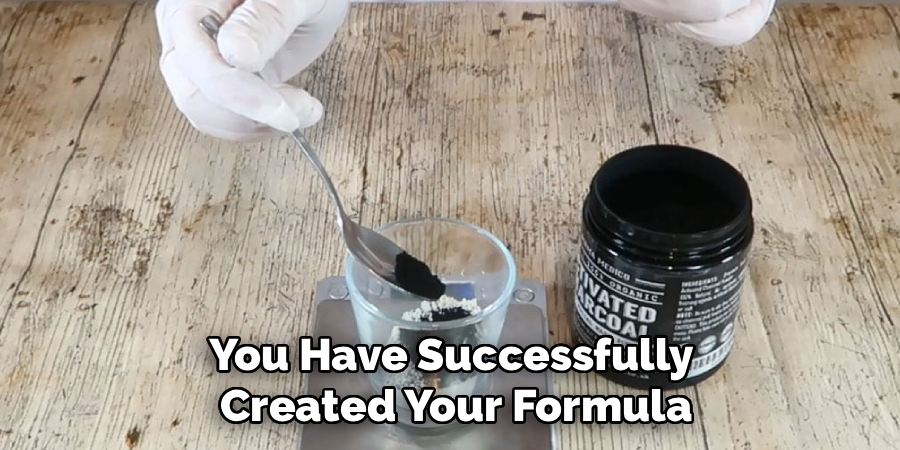
You have successfully created your formula, but now you must get it into the tiny mascara tube before it cools completely and hardens. This requires a steady hand. If you have a small oral syringe (often available at pharmacies), this is the easiest tool to use. Draw the mascara mixture up into the syringe and inject it slowly into the tube.
Alternatively, you can scoop the mixture into a small plastic sandwich bag, push it all to one corner, snip a tiny tip off the corner, and pipe it into the tube like frosting. Tap the bottom of the mascara tube on the counter gently every few seconds to encourage the product to settle at the bottom and release any trapped air bubbles. Leave a little space at the top to accommodate the wand without overflowing.
Step 7: Apply and Store Safely
Congratulations, you have made your own natural mascara! Once the transfer is complete, insert the rubber stopper (if your tube has one) and screw on the wand cap. Let the mascara sit for an hour or so to cool completely and set to its final consistency. When you are ready to use it, apply it just as you would any other mascara.
You might find that it feels slightly different—perhaps a bit lighter or more conditioning—than synthetic versions. Because this formula lacks harsh preservatives, its shelf life is shorter. Store it in a cool, dry place away from direct sunlight. If you notice any change in smell or texture, discard it immediately. Generally, homemade mascara should be replaced every 3 to 4 months to ensure eye safety.
Frequently Asked Question
Is homemade mascara safe for sensitive eyes?
Yes, homemade mascara is generally safer for sensitive eyes because it lacks the harsh chemicals, synthetic fragrances, and artificial preservatives found in many commercial brands. However, since you are using natural ingredients, always do a patch test on your skin first to ensure you don’t have an allergy to specific components like beeswax or charcoal.
How long does DIY mascara stay fresh?
Because your DIY mascara does not contain industrial-strength preservatives, it has a shorter shelf life than store-bought versions. Typically, it will stay fresh for about 3 to 4 months. To extend its life, keep the lid tightly closed, store it in a cool place, and avoid pumping the wand, which introduces bacteria.
Can I make my mascara waterproof?
While it is difficult to achieve the 100% waterproof nature of synthetic polymers with natural ingredients, you can make your mascara water-resistant. Increasing the ratio of beeswax in your formula will provide a stronger barrier against moisture. Additionally, adding a pinch of bentonite clay can help the formula set firmly and resist smudging.
What are the best natural pigments for black mascara?
Activated charcoal is the superior choice for a deep, rich black pigment. It is safe for use around the eyes and provides intense color payoff. For a softer, dark brown look, organic cocoa powder is an excellent alternative. Always ensure your charcoal is food-grade or cosmetic-grade to ensure purity and safety.
How do I properly clean my mascara wand?
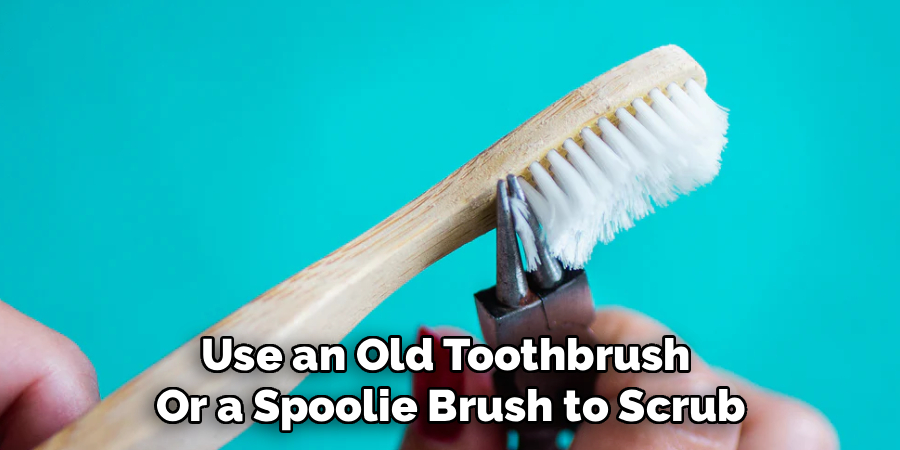
To clean your mascara wand, soak it in hot, soapy water for 10 to 15 minutes to loosen the dried product. Use an old toothbrush or a spoolie brush to scrub between the bristles gently. Rinse thoroughly with warm water until the water runs clear, then lay it flat on a clean towel to air dry completely.
Conclusion
Creating your own beauty products is a journey of empowerment. It connects you to the ingredients you use and allows you to step away from the cycle of consuming plastic-packaged, chemical-laden goods. Your homemade mascara might not promise 24-hour wear or false-lash effects, but it promises something better: healthy, nourished lashes and a clean conscience.
By mastering this skill, you also gain a deeper appreciation for the simplicity of nature. Whether you are harvesting aloe from your garden or sourcing local beeswax, the process is grounding and rewarding. We hope this guide on how to make mascara at home inspires you to explore other DIY beauty projects. Your skin, your wallet, and the planet will thank you for it.
About the Author
Jane Hubbard is a passionate beauty expert with a wealth of experience in makeup, hair, and overall beauty techniques. After years of working as a hairdresser specialist, she followed her entrepreneurial spirit and started her own consultancy business.
Jane has always been driven by her desire to help others feel confident in their own skin, and she does this by sharing her knowledge, experiences, and practical beauty tips. Through her consultancy, she empowers individuals to embrace their unique beauty, offering tailored guidance that boosts both self-esteem and personal style.
Professional Focus
- Specializes in makeup, hairstyling, and beauty consulting.
- Provides personalized beauty advice, tips, and techniques to help individuals feel confident in their appearance.
- Dedicated to staying up-to-date with the latest industry trends and developments.
- Passionate about creating a comfortable and empowering experience for every client.
Education History
- University of Craft and Design – Bachelor of Fine Arts (BFA) in Woodworking and Furniture Design
- Woodworking Apprenticeships – Extensive hands-on training with skilled craftsmen to refine carpentry and furniture making techniques
- Online Courses & Masterclasses – Continued education in advanced woodworking techniques, design principles, and specialized tools
Expertise:
- Makeup artistry, hairstyling, and beauty consulting.
- Personalized beauty techniques to enhance confidence and self-expression.
- Educating clients on how to maintain their beauty routines at home.