
Are you tired of dealing with weak nail glue that easily breaks or becomes brittle? Look no further, because we have some simple tips on how to make your nail glue stronger and more durable.
If you’ve ever struggled with diy nail glue that doesn’t hold as long or as firmly as you’d like, you’re not alone. Making nail glue stronger can save time and prevent frustration, ensuring your manicure stays intact for longer. Whether you’re fixing your natural nails or applying artificial ones, understanding the small adjustments and best practices to enhance the strength of your nail glue can make all the difference.
This guide on how to make nail glue stronger will walk you through simple yet effective methods to boost the durability and reliability of your nail glue.
What Are the Benefits of Stronger Nail Glue?
Before diving into the techniques to improve your nail glue’s strength, it’s essential to understand why it’s worth the effort.
- Longer-lasting Manicures: One of the most significant benefits of making nail glue stronger is that it increases the longevity of your manicure. With a more robust bond between your natural or artificial nails and the glue, you can expect your manicure to last for days without any chips or lifting.
- Reduced Need for Touch-ups: As mentioned earlier, stronger nail glue means a longer-lasting manicure. This translates to fewer touch-ups throughout the week, saving you time and effort in maintaining your nails.
- Improved Durability: Stronger nail glue not only helps your manicure last longer, but it also improves its overall durability. This is especially beneficial for those who have an active lifestyle or work with their hands frequently.
- Better Adhesion to Artificial Nails: Another advantage of using strong nail glue is that it provides a better bond between natural nails and artificial extensions or overlays. This ensures that your artificial nails stay in place and don’t pop off easily.
- Easier Removal Process: With stronger nail glue, you can also expect an easier removal process when it’s time to take off your manicure. The stronger bond means the glue will come off more smoothly, minimizing any damage to your natural nails.
What Will You Need?
To get started with using strong nail glue for your manicure, here are some essential items you’ll need:
- Artificial nails or extensions
- Strong nail glue
- Nail file and buffer
- Cuticle pusher
- Acetone or nail polish remover (for removal)
Once you have these items, it’s time to get started on your strong nail glue manicure!
10 Easy Steps on How to Make Nail Glue Stronger
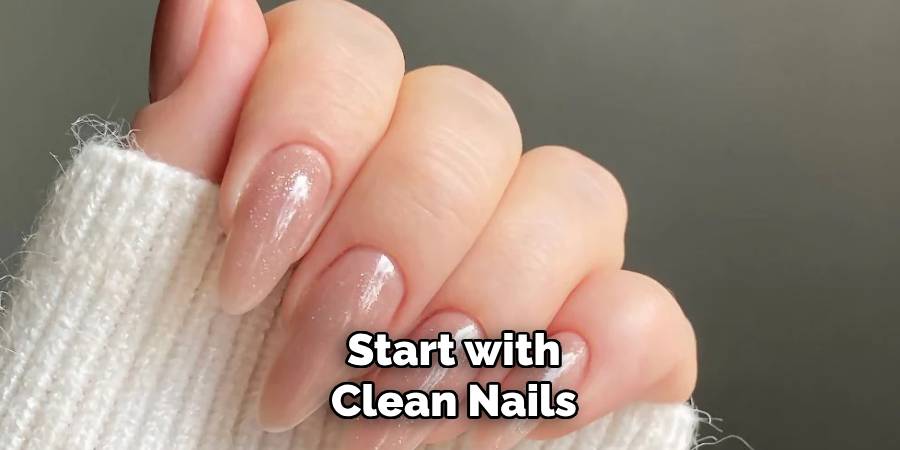
1. Start with Clean Nails
Before applying strong nail glue, it’s crucial to ensure your natural nails are clean and free from oils, dirt, or old nail polish. Begin by removing any residual nail products using acetone or nail polish remover. This helps create a better bond between your nails and the artificial extensions. After that, wash your hands thoroughly with soap and water to eliminate any remaining residue. Finally, dry your nails completely, as moisture can weaken the adhesive strength of the glue and lead to premature lifting or detachment of the extensions. Taking the time to properly prepare your nails sets a solid foundation for a durable and long-lasting manicure.
2. Buff the Nail Surface
Use a nail buffer to gently roughen the surface of your natural nails. This step helps remove any natural oils and shine, allowing the artificial extensions to adhere more effectively. Be careful not to overbuff, as this can weaken your nails. Focus on creating a smooth, matte finish across the nail plate for optimal results. After buffing, use a soft brush or cloth to wipe away any dust particles left behind.
3. Use a Primer or Dehydrator
Apply a nail primer or dehydrator to your natural nails to prepare them for the artificial extensions. This step helps to remove excess moisture and oils that could prevent proper adhesion. Use a small brush to apply the product evenly, focusing on the entire nail surface. Allow the primer or dehydrator to dry completely before moving on to the next step. For best results, choose a product specifically designed for nail extension applications.
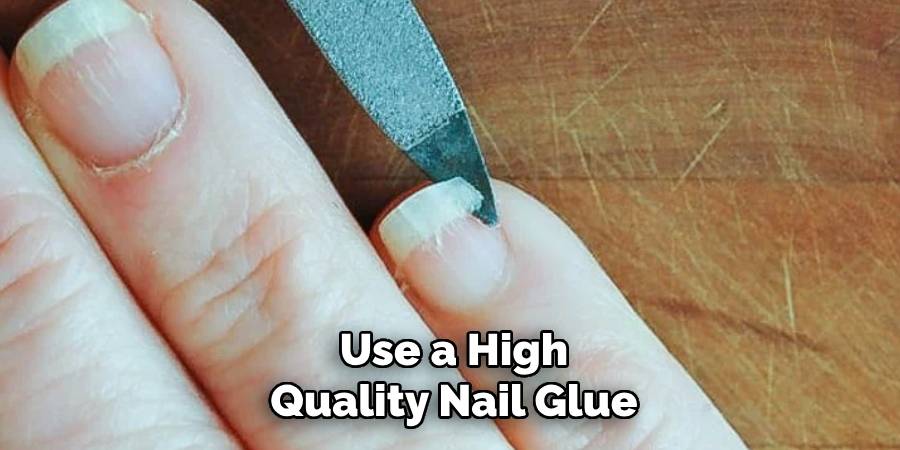
4. Use a High-Quality Nail Glue
Select a reliable, high-quality nail glue to ensure the artificial extensions stay securely in place. Start by applying a small amount of glue directly to the underside of the nail extension or onto your natural nail. Be careful not to overapply, as this can cause excess glue to spill out when pressing the extension onto the nail. Carefully align the extension with your natural nail, ensuring it is straight and positioned correctly. Press down firmly for several seconds to create a strong bond. Allow the glue to dry completely before proceeding to the next step. High-quality nail glue can make a significant difference in the durability and overall appearance of your extensions.
5. Apply Glue Sparingly but Evenly
It is essential to strike a balance when applying glue to your nail extensions. Use a small, precise amount of glue to avoid excess spillage, which can create a messy appearance or weaken the bond. Spread the glue evenly across the contact surface of the extension, ensuring that it provides full coverage without pooling. Proper application not only enhances the longevity of your extensions but also keeps the process clean and professional. Always work carefully, as rushing this step can lead to uneven results or unnecessary adjustments later.
6. Press and Hold Firmly
Once the glue is evenly applied, align the extension with the intended surface and press it firmly into place. Apply steady pressure for the recommended time to ensure a secure bond between the surfaces. Avoid shifting or moving the extension during this period, as it could compromise the adhesion. Using a clamp or other holding tool may help maintain consistent pressure if needed. Properly pressing and holding allows the glue to set effectively, resulting in a durable and reliable connection.
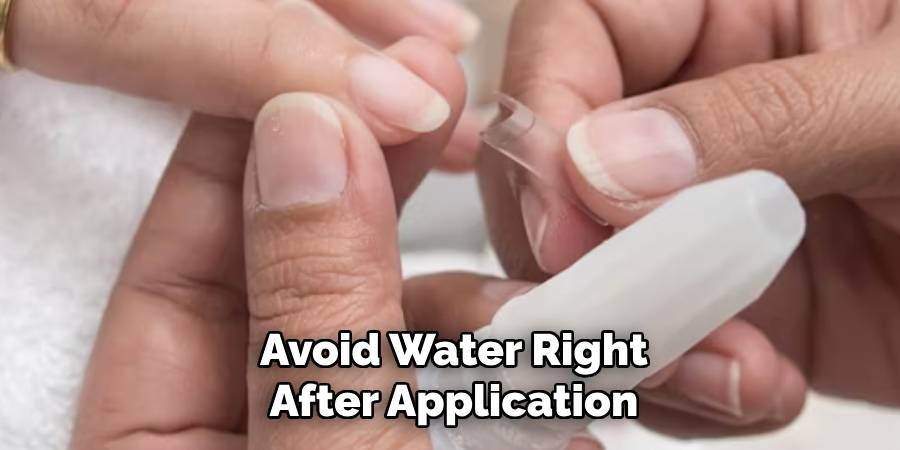
7. Avoid Water Right After Application
After applying the adhesive, it is crucial to keep the bonded area away from water or any moisture for the recommended curing time. Exposure to water too soon can weaken the bond, preventing the adhesive from setting properly and reducing the durability of the connection. Check the manufacturer’s guidelines for the specific drying and curing times, and ensure the environment remains dry during this period for optimal results. Patience during this stage will ensure a strong and lasting adhesion.
8. Consider a UV or LED Lamp
Using a UV or LED lamp can significantly speed up the curing process for certain adhesives, such as UV-cured glues. These lamps emit light at specific wavelengths, activating the adhesive and causing it to harden quickly and efficiently. When selecting a lamp, ensure it matches the curing requirements of the adhesive you are using. Always follow the safety precautions outlined by the manufacturer, including wearing protective eyewear if necessary. Incorporating a UV or LED lamp can be a valuable step in achieving professional-quality results in less time.
9. Maintain Your Nails
Proper nail maintenance is essential for healthy, strong nails and a polished appearance. Start by keeping your nails clean and dry to prevent infections. Regularly trim your nails with clean, sharp nail clippers, cutting straight across to avoid ingrown nails. Gently file the edges to achieve your desired shape and smoothness. Moisturize your nails and cuticles daily using a nourishing lotion or oil to prevent dryness and cracking.
10. Store Glue Properly
Proper glue storage is crucial to maintaining its quality and effectiveness. Always seal the cap tightly after use to prevent the glue from drying out. Store it in a cool, dry place away from direct sunlight and heat sources, which can degrade the adhesive’s properties. For certain types of glue, such as superglue, consider keeping it in airtight containers or even refrigerating it to extend its shelf life. Check the packaging for specific storage instructions, as different glues may have unique requirements. Correct storage ensures your glue remains ready for future projects and use.
By following these steps, you can ensure that your manicure stays flawless with stronger, longer-lasting nail glue!
5 Things You Should Avoid
- Exposing Nail Glue to Moisture: Moisture can weaken the adhesive properties of nail glue, making it less effective. Always ensure the glue is stored in a dry place and sealed properly after each use.
- Using Expired Glue: Expired nail glue loses its bonding strength and effectiveness over time. Check the expiration date on your product to avoid compromising your manicure.
- Skipping Proper Nail Preparation: If nails are not cleaned and dried thoroughly before applying glue, the adhesive won’t bond as strongly. Avoid leaving any oils, lotions, or previous nail polish residue on your nails.
- Overapplying Glue: Using too much glue not only creates a messy application but also reduces its effectiveness. A small amount evenly applied is more than sufficient for a strong hold.
- Exposing Nails to Excess Water Too Soon: After applying nail glue, avoid soaking your hands in water or exposing them to excessive moisture for at least an hour. This prevents the glue from weakening before it sets properly.
Conclusion
To ensure your nail glue achieves maximum strength and longevity, it is essential to follow a few key steps.
Begin by properly preparing your nails, cleaning and buffing them to create a smooth surface for better adhesion. Avoid overapplying glue, as a thin, even layer is sufficient for a strong bond. Always allow the glue adequate time to set, keeping your nails away from water and excessive moisture during this period.
By adhering to these practices on how to make nail glue stronger, you can significantly improve the effectiveness and durability of your nail glue application.
About the Author
Jane Hubbard is a passionate beauty expert with a wealth of experience in makeup, hair, and overall beauty techniques. After years of working as a hairdresser specialist, she followed her entrepreneurial spirit and started her own consultancy business.
Jane has always been driven by her desire to help others feel confident in their own skin, and she does this by sharing her knowledge, experiences, and practical beauty tips. Through her consultancy, she empowers individuals to embrace their unique beauty, offering tailored guidance that boosts both self-esteem and personal style.
Professional Focus
- Specializes in makeup, hairstyling, and beauty consulting.
- Provides personalized beauty advice, tips, and techniques to help individuals feel confident in their appearance.
- Dedicated to staying up-to-date with the latest industry trends and developments.
- Passionate about creating a comfortable and empowering experience for every client.
Education History
- University of Craft and Design – Bachelor of Fine Arts (BFA) in Woodworking and Furniture Design
- Woodworking Apprenticeships – Extensive hands-on training with skilled craftsmen to refine carpentry and furniture making techniques
- Online Courses & Masterclasses – Continued education in advanced woodworking techniques, design principles, and specialized tools
Expertise:
- Makeup artistry, hairstyling, and beauty consulting.
- Personalized beauty techniques to enhance confidence and self-expression.
- Educating clients on how to maintain their beauty routines at home.