
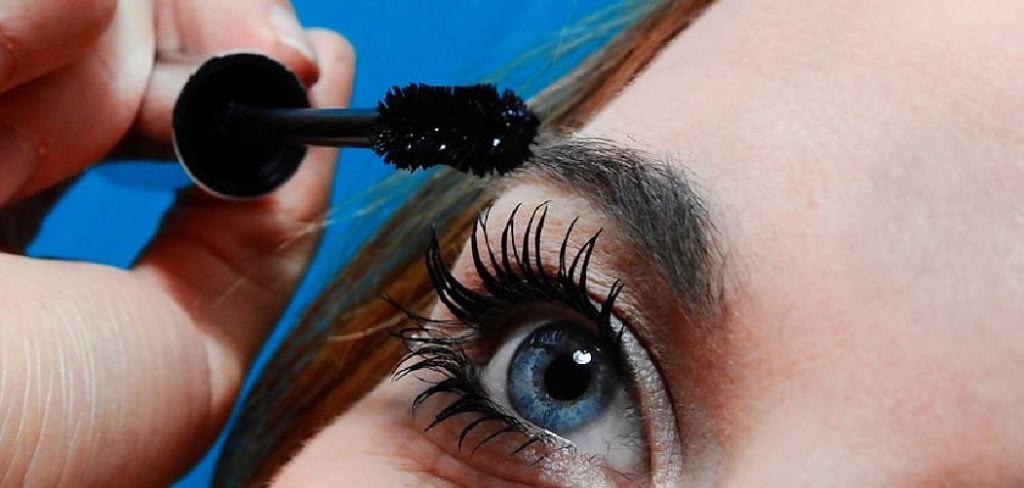
Are you tired of using store-bought mascaras that have harsh chemicals and leave your lashes feeling brittle? Well, look no further! This guide will teach you how to make natural mascara at home using simple ingredients.
Creating your own natural mascara is a simple and rewarding way to enhance your beauty routine while avoiding the harsh chemicals often found in commercial products.
By using safe, non-toxic ingredients, you can craft a mascara that is gentle on your lashes and suitable for sensitive eyes. This approach gives you control over what goes into your beauty products and promotes sustainability by reducing waste and reliance on mass-produced cosmetics.
Whether you want a subtle, natural look or bold, dramatic lashes, homemade mascara provides a customizable and eco-friendly solution.
What Are the Benefits of Using Natural Ingredients?
Commercial mascaras often contain harsh chemicals, such as parabens and phthalates, which can irritate the delicate skin around your eyes. These ingredients have been linked to various health concerns, including hormonal disruption and allergic reactions. In contrast, natural mascara is made from simple and safe ingredients that nourish your lashes without compromising your health.
Furthermore, choosing natural ingredients promotes sustainability by reducing the environmental impact of production processes and packaging waste.
What Will You Need?
Making your natural mascara requires only a few essential ingredients that you may already have in your kitchen or can easily find at a local health food store:
- Beeswax: This acts as a binding agent and provides a creamy consistency to your mascara.
- Coconut Oil: Coconut oil is known for its conditioning properties, making it an excellent ingredient for healthy lashes.
- Aloe Vera Gel: Aloe vera gel helps thicken the mascara while promoting lash growth.
- Activated Charcoal or Cocoa Powder: These ingredients provide natural color to your mascara. Activated charcoal creates a black shade, while cocoa powder offers a brown tone.
- Empty Mascara Tube or Small Container: You can repurpose an old mascara tube or use a small container with a lid.
8 Easy Steps on How to Make Natural Mascara
Step 1. Melt the Beeswax and Coconut Oil:
Start by placing a small heatproof bowl over a pot of simmering water to create a double boiler. Add a teaspoon of beeswax and coconut oil to the bowl. Stir occasionally as the ingredients gently melt, ensuring they combine into a smooth, uniform mixture.
Take care not to overheat, as excessive heat can alter the ingredients’ beneficial properties. Once thoroughly melted, remove the bowl from heat and set it aside for a moment. This warmed blend will serve as the base for your mascara, giving it the right consistency and nourishing properties.
Step 2. Add Activated Charcoal or Cocoa Powder:
Add your coloring agent once the beeswax and coconut oil mixture has slightly cooled but is still liquid. Use activated charcoal for black mascara or cocoa powder for a brown shade. Start with 1/2 teaspoon of your chosen ingredient and mix thoroughly to evenly distribute the color.
You can adjust the amount depending on how deep you want the color to be. Stir until the mixture is smooth and lumped-free, creating the foundation for your natural mascara.
Step 3. Add Aloe Vera Gel:
Aloe vera gel is essential in achieving the smooth, easy-to-apply texture of your mascara while also offering soothing and nourishing properties for your eyelashes. Measure out one teaspoon of pure aloe vera gel and gently incorporate it into your prepared mixture. Stir slowly and meticulously to blend the gel evenly with the beeswax, coconut oil, and coloring agent.
The aloe vera gel helps create a creamy consistency and ensures that the mascara glides effortlessly during application without clumping. Its natural moisturizing properties can protect your lashes and encourage healthier, more vigorous growth over time.
If the mixture thickens while you’re stirring, place it back over the heat for a few seconds to keep it workable. Continue mixing until the entire blend is smooth and uniform, and then you’re ready for the next step.
Step 4. Add Vitamin E Oil:
Vitamin E oil is a fantastic addition to your homemade mascara, as it acts as a natural preservative while also providing nourishing benefits for your lashes. Add 2 to 3 drops of vitamin E oil to your mixture. This antioxidant-rich ingredient helps to extend the shelf life of your mascara tips and tricks and supports the growth and strength of your lashes, reducing the chances of breakage.
Carefully mix the oil into the existing blend to ensure an even distribution. By incorporating vitamin E oil, you’re not only enhancing your mascara’s performance but also contributing to the overall health of your eyelashes. Once fully combined, proceed to the next step.
Step 5. Transfer to the Mascara Tube:
Now that your mascara mixture is complete, it’s time to transfer it into a clean, empty mascara tube for easy application. Use a small funnel or a pipette to pour the mixture into the tube carefully. Be patient during this process to avoid spilling or overfilling. Once the tube is filled, secure the cap tightly to ensure the mascara remains fresh. Your homemade mascara is now ready for use! Always shake the tube gently before each application to ensure the ingredients are well-mixed.
Step 6. Apply and Test Your Mascara:
With your homemade mascara ready, it’s time to test it out! Use the wand from your clean mascara tube to apply the mascara evenly to your lashes. Start from the base of your lashes and wiggle the wand upwards to ensure complete coverage and separation. Check for any clumping and adjust the formula in the future if needed. Enjoy the satisfaction of wearing a natural, customized mascara that nurtures your lashes while enhancing their beauty!
Step 7. Store Your Mascara Properly:
Proper storage is essential to maintain the quality and longevity of your homemade mascara. Keep the mascara tube in a cool, dry place away from direct sunlight or extreme heat, which may cause the ingredients to separate or spoil.
Using your homemade mascara within 2-3 months is recommended to ensure freshness and prevent bacterial growth. If you notice any changes in smell, texture, or color, discard the mascara and make a fresh batch to ensure your safety. Proper hygiene and storage practices will help you enjoy your natural mascara worry-free!
Step 8. Clean Your Mascara Tools Regularly:
To maintain the effectiveness and safety of your homemade mascara, it is essential to clean your mascara wand and tube regularly. Residue buildup can lead to clumping and increase the risk of bacterial contamination.
After each use, gently rinse the wand with warm water and mild soap, then dry it thoroughly before placing it back in the tube. Clean the inside of the mascara tube between batches using a small brush or pipe cleaner to remove any leftover residue. Keeping your tools clean will ensure a smooth application and protect the health of your lashes.
By following these simple steps, you can create your very own natural mascara at home. Experiment with different ingredients and ratios to find the perfect formula that works for you.
5 Things You Should Avoid
1. Using Non-Natural Ingredients
When making natural mascara, avoid chemical or artificial ingredients. Synthetic substances can irritate the eyes and outperform the purpose of creating an organic product.
2. Skipping Sterilization
Failing to sterilize tools and containers can lead to contamination. Always ensure that your equipment is clean to prevent infections or spoilage.
3. Ignoring Shelf Life
Natural products have a shorter shelf life due to the absence of preservatives. Avoid making large quantities unless you plan to use it quickly or store it properly.
4. Using Unsafe Containers
Using containers that are not airtight or suitable for cosmetics can compromise the quality of your mascara. Stick to containers specifically designed for makeup products.
5. Overlooking Patch Testing
Avoid skipping a patch test before applying your homemade mascara. Testing ensures the product is safe for your skin and helps identify potential allergens.
How Can You Add Flavor to Your Homemade Mascara?
Homemade mascara can be customized by adding natural ingredients for added benefits and flavor. Here are a few ideas to spice up your mascara:
- Add a few drops of essential oils like lavender, peppermint, or rosemary for a pleasant scent.
- Mix in some activated charcoal for a deeper black color.
- For a glossy finish, add some vitamin E oil or coconut oil.
By experimenting with different ingredients, you can create a personalized mascara that enhances the appearance of your lashes and provides additional benefits for your eye area.
Conclusion
How to make natural mascara can be a rewarding and safe process when done correctly. By using high-quality, organic ingredients, maintaining proper hygiene, and carefully testing your product, you can enjoy a clean and effective alternative to store-bought options.
Pay close attention to the details, such as sterilization, proper storage, and shelf life, to ensure your homemade mascara remains safe and effective. With the right approach, creating natural mascara allows you the freedom to customize your beauty routine while avoiding potentially harmful chemicals.
Hopefully, these tips will guide you in creating your own natural mascara and inspire you to explore other DIY beauty products using natural ingredients. Happy experimenting!
About the Author
Jane Hubbard is a passionate beauty expert with a wealth of experience in makeup, hair, and overall beauty techniques. After years of working as a hairdresser specialist, she followed her entrepreneurial spirit and started her own consultancy business.
Jane has always been driven by her desire to help others feel confident in their own skin, and she does this by sharing her knowledge, experiences, and practical beauty tips. Through her consultancy, she empowers individuals to embrace their unique beauty, offering tailored guidance that boosts both self-esteem and personal style.
Professional Focus
- Specializes in makeup, hairstyling, and beauty consulting.
- Provides personalized beauty advice, tips, and techniques to help individuals feel confident in their appearance.
- Dedicated to staying up-to-date with the latest industry trends and developments.
- Passionate about creating a comfortable and empowering experience for every client.
Education History
- University of Craft and Design – Bachelor of Fine Arts (BFA) in Woodworking and Furniture Design
- Woodworking Apprenticeships – Extensive hands-on training with skilled craftsmen to refine carpentry and furniture making techniques
- Online Courses & Masterclasses – Continued education in advanced woodworking techniques, design principles, and specialized tools
Expertise:
- Makeup artistry, hairstyling, and beauty consulting.
- Personalized beauty techniques to enhance confidence and self-expression.
- Educating clients on how to maintain their beauty routines at home.