
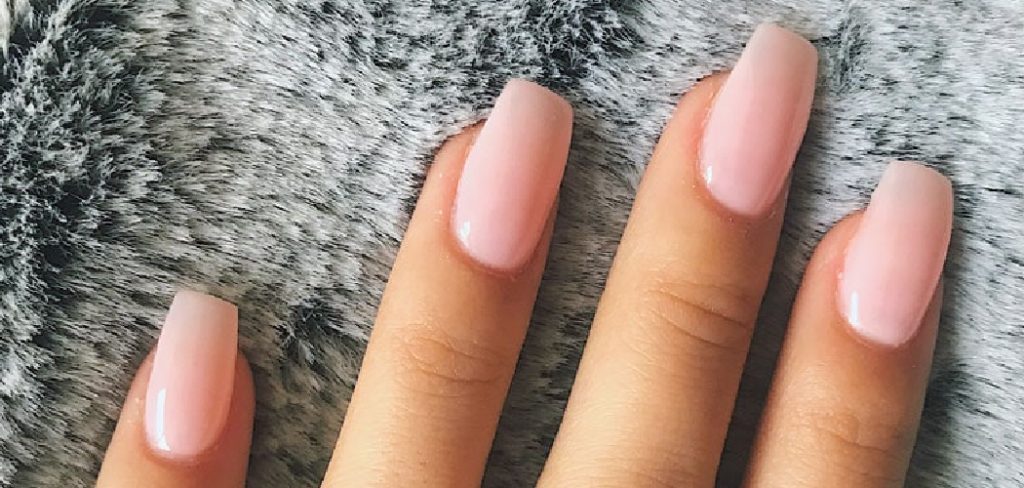
Round nails are a timeless classic. They are elegant, low-maintenance, and incredibly flattering on almost every hand shape. Unlike sharper styles like stiletto or coffin nails, round nails mirror the natural curve of your fingertip, making them durable and less prone to snagging or breaking. This makes them the perfect choice for anyone who works with their hands or prefers a clean, understated look.
If you have been struggling to get that salon-quality curve at home, you are not alone. Achieving perfect symmetry can be tricky without the right technique. Fortunately, mastering this shape is easier than it looks. In this guide, we will walk you through exactly how to make round nails yourself, saving you time and money on professional manicures. Whether you are prepping for a special event or just want to tidy up your daily look, these simple steps will help you achieve a flawless finish every time.
Why Choose Round Nails?
Round nails are a timeless and versatile shape that suits nearly everyone. This classic style not only enhances the natural curvature of your nail beds but also creates an elegant and clean look. Round nails are highly practical — they’re less likely to snag on fabrics, making them ideal for everyday tasks. Additionally, this shape helps maintain the strength of your nails, reducing the risk of breakage. Whether you prefer a short, polished look or slightly longer nails, the round shape complements every occasion with effortless sophistication.
Step-by-Step Guide: How to Make Round Nails
Step 1: Prepare Your Natural Nails
Before you begin filing, it is crucial to start with a clean canvas. Remove any old polish using a gentle, acetone-free remover to prevent drying out your nail bed. Wash your hands thoroughly with warm water and soap to remove oils and debris. Once your hands are clean, ensure they are completely dry; wet nails are more porous and prone to splitting during filing. If your nails are particularly long or uneven, you might want to use a pair of sharp nail clippers to take down the length before you start shaping, but be careful not to clip too close to the quick.
Step 2: Determine Your Desired Length
Deciding on the length is a personal preference, but round nails generally look best when they extend slightly past the fingertip. This allows enough space to create a smooth, tapered arch. Hold your hand up and look at your fingers from the palm side. You want to visualize an arc that mirrors your cuticle line. If you are learning how to make round nails for the first time, start slightly longer than you think you want. You can always file them down further, but you cannot add length back once it is gone. Aim for a uniform length across all fingers for the most polished appearance.
Step 3: Trim the Corners for Rounding
Many people make the mistake of going straight in with a file, which can take a long time and result in uneven sides. Instead, use your nail clippers to snip off the sharp corners of your nails at a forty-five-degree angle. Do not cut too deep into the side walls, as this can weaken the nail structure. You are simply removing the bulk of the square edge to create a rough, tapered start. This small preparation step significantly reduces filing time and helps you establish the center point of the nail, making it much easier to achieve a symmetrical curve later on.
Step 4: Use a Fine Grit File
The tool you use matters just as much as your technique. For natural nails, avoid metal files or coarse grit boards, which can shred the keratin layers and lead to peeling. Opt for a glass file or a soft emery board with a grit of 240 or higher. Hold the file parallel to the side of your nail. Avoid sawing back and forth, as this creates heat and friction that damages the nail edge. Instead, file in one fluid direction, moving from the side toward the center. This unidirectional motion gives you more control and ensures a smoother edge that requires less buffing later.
Step 5: Shape the Sides and Curve
Now comes the most important part of the process. With your file held at a slight angle, begin rounding out the corners you clipped earlier. Follow the natural curve of your fingertip as a guide. Work slowly, checking your progress frequently by flipping your hand over to look at the nail from different angles. You want the sides to be straight and parallel until they reach the stress point, where they should gently curve inward to meet at a soft, rounded center. If you notice any flat spots, gently rock the file over the edge to soften the transition and create a perfect arc.
Step 6: Buff and Smooth the Edges
Once you are satisfied with the shape, you might notice small shreds of nail hanging underneath the free edge. This is normal and easily fixed. Take a high-grit buffer block and gently run it downwards across the tip of the nail to remove this debris, often called the “feather.” Then, lightly buff the surface of your nails to smooth out ridges and create a consistent texture. Do not over-buff, as this can thin the nail plate. This step seals the edge you just created, making your manicure last longer and preventing snagging on clothes or hair.
Step 7: Hydrate and Protect Your Cuticles
Filing can generate dust and strip moisture from the skin surrounding your nails. To finish your manicure, wash your hands again to remove all nail dust. Apply a generous amount of high-quality cuticle oil to the nail bed and surrounding skin, massaging it in to stimulate blood flow. Follow up with a rich hand cream to lock in moisture. Hydrated nails are flexible nails, which means your new round shape will be less likely to break or chip. Your hands will look salon-fresh, and your nails will remain healthy and strong until your next shaping session.
DIY Nail Care Recipes
Creating your own nail care products at home is a fun and cost-effective way to maintain healthy nails. Here are a few simple recipes to try:
- Nourishing Cuticle Oil
Combine 1 tablespoon of jojoba oil, 1 teaspoon of vitamin E oil, and 3-4 drops of lavender essential oil in a small bottle. Shake well, then apply a small amount to your cuticles daily to keep them soft and hydrated. - Strengthening Nail Soak
Mix 1 cup of warm water, 1 tablespoon of olive oil, and the juice of half a lemon in a bowl. Soak your nails for 10-15 minutes once a week to strengthen them and brighten their appearance. - Exfoliating Hand Scrub
Blend 2 tablespoons of sugar with 1 tablespoon of coconut oil to create a simple yet effective exfoliating scrub. Gently massage it onto your hands and around your nails to remove dead skin and reveal a healthy glow.
These easy DIY recipes use natural ingredients and can be customized with your favorite essential oils for a personalized touch. Regular use will leave your nails and hands feeling pampered and cared for.
Frequently Asked Questions
FAQ 1: What Tools Are Best for Rounding?
The best tools for shaping natural nails are crystal glass files or soft emery boards with a 240-grit texture. Glass files are particularly excellent because they seal the keratin layers of the nail as you shape, preventing splits. Avoid coarse metal files, which are too harsh for natural nails.
FAQ 2: Are Round Nails More Durable?
Yes, round nails are considered one of the most durable shapes. Because they lack sharp corners that can catch on things and have a structural arc that mimics the natural fingertip, they are less likely to break or chip. This makes them ideal for anyone with weak nails or active lifestyles.
FAQ 3: How Do I Fix Asymmetrical Nails?
If your nail looks uneven, stop filing and look at it from the palm side of your hand. Locate the center point of your fingertip and file the longer side gently until it matches the shorter side. working slowly in one direction helps prevent over-filing and maintains balance.
FAQ 4: Can Short Nails Be Round?
Absolutely, short nails look fantastic with a round shape. In fact, rounding short nails can create the illusion of elongated fingers. You simply follow the natural curve of your fingertip. Even if the nail does not extend past the skin, you can still file the corners for a soft look.
FAQ 5: How Often Should I Re-Shape?
To maintain a perfect round shape, you should file your nails gently once a week. Nails grow constantly, and the sides can start to square off as they grow out. A quick touch-up with a fine-grit file keeps the edges smooth and maintains the desired curvature without removing too much length.
Conclusion
Achieving the perfect manicure at home is a skill that improves with practice. By preparing your nails properly, using the right tools, and following a consistent filing technique, you can create a look that is both durable and stylish. Remember to take your time and focus on symmetry for the best results. Now that you know exactly how to make round nails, you can enjoy a polished, elegant look that works for any occasion.
Additionally, maintaining healthy nails is crucial to achieving a flawless manicure. Regularly moisturizing your cuticles, avoiding harsh chemicals, and incorporating a balanced diet rich in vitamins and minerals all contribute to stronger, shinier nails. Taking these steps not only enhances the appearance of your manicure but also supports the long-term health of your nails.
About the Author
Jane Hubbard is a passionate beauty expert with a wealth of experience in makeup, hair, and overall beauty techniques. After years of working as a hairdresser specialist, she followed her entrepreneurial spirit and started her own consultancy business.
Jane has always been driven by her desire to help others feel confident in their own skin, and she does this by sharing her knowledge, experiences, and practical beauty tips. Through her consultancy, she empowers individuals to embrace their unique beauty, offering tailored guidance that boosts both self-esteem and personal style.
Professional Focus
- Specializes in makeup, hairstyling, and beauty consulting.
- Provides personalized beauty advice, tips, and techniques to help individuals feel confident in their appearance.
- Dedicated to staying up-to-date with the latest industry trends and developments.
- Passionate about creating a comfortable and empowering experience for every client.
Education History
- University of Craft and Design – Bachelor of Fine Arts (BFA) in Woodworking and Furniture Design
- Woodworking Apprenticeships – Extensive hands-on training with skilled craftsmen to refine carpentry and furniture making techniques
- Online Courses & Masterclasses – Continued education in advanced woodworking techniques, design principles, and specialized tools
Expertise:
- Makeup artistry, hairstyling, and beauty consulting.
- Personalized beauty techniques to enhance confidence and self-expression.
- Educating clients on how to maintain their beauty routines at home.