
Are you tired of your tinted moisturizer fading away by midday? Don’t worry, we’ve got you covered.
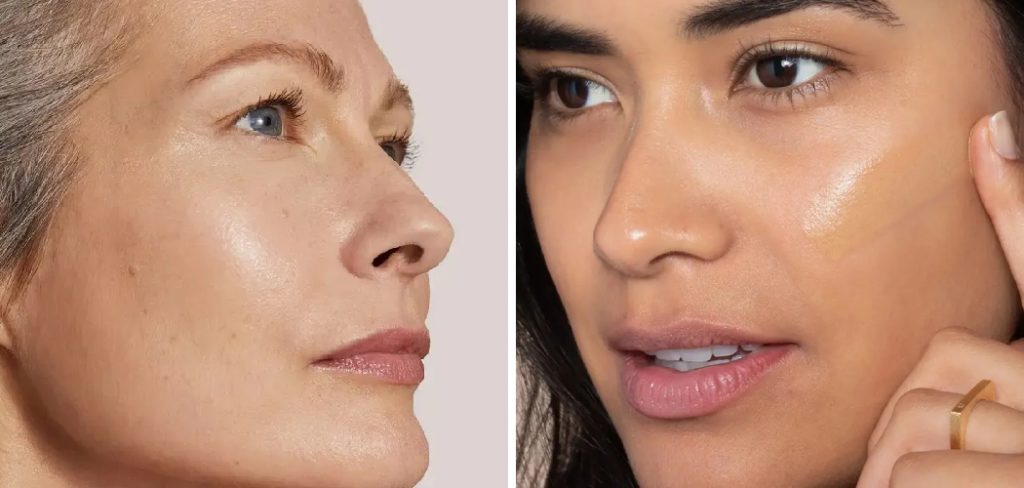
Keeping your tinted moisturizer looking fresh and flawless all day can sometimes feel challenging, especially in humid or busy environments. This lightweight alternative to foundation is a favorite for its natural finish and hydrating properties, but its longevity often depends on the right application techniques and complementary products. With the right approach, you can ensure your tinted moisturizer stays in place from morning to night, giving you a radiant, even finish that lasts throughout the day.
In this guide on how to make tinted moisturizer last all day, we’ll explore tips and tricks for extending the wear time of your tinted moisturizer while maintaining its beautiful, dewy appearance.
What Are the Benefits of Using Tinted Moisturizer?
Tinted moisturizer makeup look is a versatile beauty product that offers numerous benefits, making it a staple in many makeup routines. Some of the key advantages of using tinted moisturizer include:
- Hydrating Formula: Tinted moisturizer is primarily a skincare product with added pigmentation. This means it’s designed to provide skin moisture while offering light coverage for an even complexion.
- Natural-looking Finish: Unlike heavy foundations, tinted moisturizers give a more natural and less “made-up” appearance. This makes them perfect for everyday wear, especially if you prefer a more minimal or no-makeup look.
- Time-saving: Tinted moisturizers can save you time in your daily beauty routine by combining skincare and makeup. You won’t need to apply a separate moisturizer and foundation, making them a great option for busy mornings or on-the-go touch-ups.
- Suitable for All Skin Types: Tinted moisturizers are ideal for all skin types, including dry, oily, and sensitive skin. They often contain nourishing ingredients like hyaluronic acid or glycerin that help hydrate the skin without clogging pores.
- Versatility: Tinted moisturizers can be used in multiple ways. They can be applied with fingers for a sheer coverage, layered for more coverage, or mixed with your regular moisturizer for a natural, dewy finish.
What Will You Need?
To get started with using a tinted moisturizer, you’ll need the following:
- A Tinted Moisturizer of Your Choice: There are many options available in the market, so choose one that suits your skin type and desired coverage.
- Clean Hands or Makeup Brushes: Depending on how you prefer to apply the tinted moisturizer, make sure your hands or makeup brushes are clean before use.
- Cleanser and Moisturizer: As with any makeup product, it’s always best to start with a clean canvas. For better results, cleanse and moisturize your face before applying the tinted moisturizer.
10 Easy Steps on How to Make Tinted Moisturizer Last All Day
Step 1. Start with a Primer:
Using a primer is crucial to ensure your tinted moisturizer lasts all day. A good primer creates a smooth surface for your makeup, filling in pores and fine lines while helping to control excess oil. Choose a primer that complements your skin type, such as a mattifying primer for oily skin or a hydrating primer for dry skin.
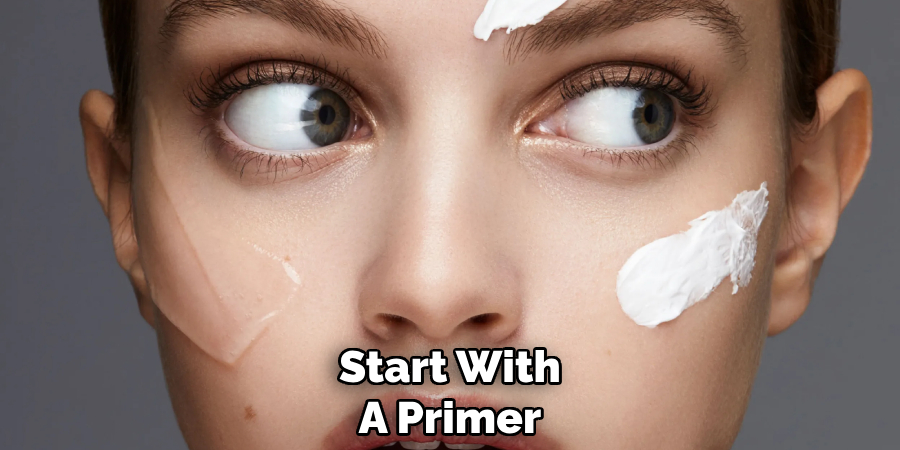
Apply a small amount evenly across your face, focusing on areas where makeup tends to fade or crease, like your T-zone. This step enhances the longevity of your tinted moisturizer and helps maintain a flawless finish throughout the day.
Step 2. Choose Long-Lasting Products:
When choosing long-lasting products, the key is to prioritize formulas designed to endure various conditions, such as humidity, sweat, and extended wear. Look for tinted moisturizers or foundations labeled as “long-wear” or “waterproof” to ensure they stay put throughout the day. Additionally, consider layering products with similar staying power, such as waterproof concealers, smudge-proof eyeliners, and transfer-resistant lip colors.
These formulations are designed to resist fading, creasing, or smearing, preserving your look from morning to night without constant touch-ups. Don’t forget to finish with a setting spray or powder that locks everything in place, adding an extra layer of protection to your makeup and ensuring it remains flawless for hours.
Step 3. Layer for Desired Coverage:
When layering your makeup, it’s essential to start with light, buildable products to avoid a heavy or cakey appearance. Begin with a thin layer of foundation or tinted moisturizer, blending it evenly across your skin for a natural base. Gradually add product only in areas where additional coverage is needed, such as blemishes, redness, or discoloration.
Use a concealer that matches your skin tone for targeted application under the eyes or on specific spots. Mix thoroughly with a sponge or brush to create a seamless finish. For a more polished look, you can layer translucent powder over oily areas to set your foundation and prevent shine while still maintaining a breathable, skin-like texture.
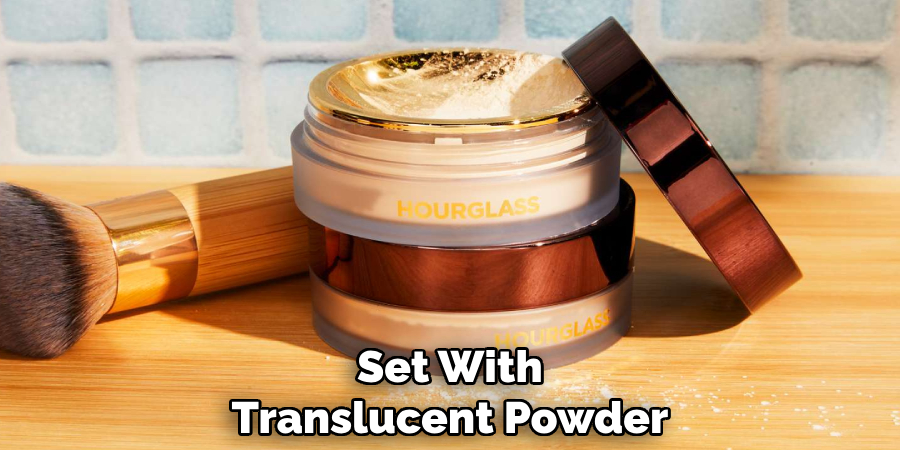
Step 4. Set with Translucent Powder:
Lightly dust translucent powder over your face using a fluffy brush or a makeup puff to lock your makeup in place. Focus on areas prone to oiliness, such as the T-zone, to help control shine throughout the day. Be sure to apply a thin, even layer to avoid a cakey appearance and maintain your foundation’s natural finish. This step ensures your makeup stays fresh and lasts longer, especially in humid or long-wear conditions.
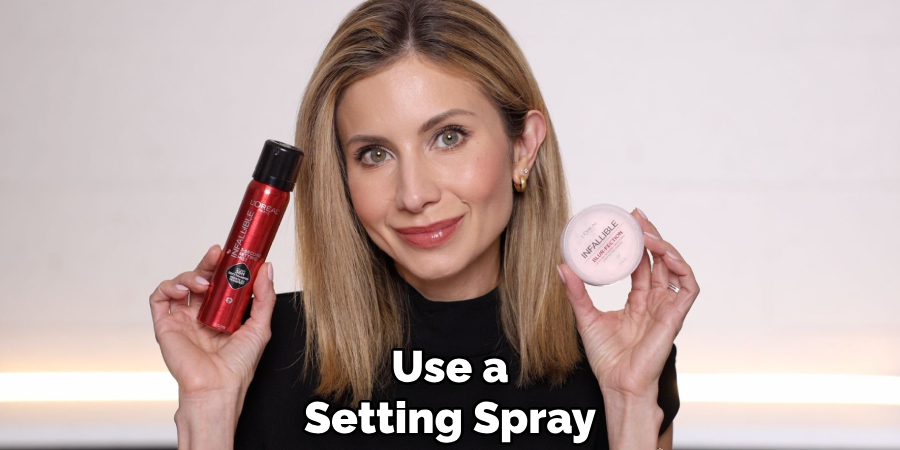
Step 5. Use a Setting Spray:
Mist a setting spray evenly over your face from a distance of about 8-10 inches. Close your eyes and mouth while spraying, and allow the product to dry naturally without touching your face. This step helps lock in your makeup, reduce any powdery finish, and ensure your look stays intact throughout the day.
To enhance the overall effectiveness, opt for a setting spray that suits your skin type, such as a mattifying spray for oily skin or a hydrating one for dry skin.
Step 6. Avoid Touching Your Face:
Touching your face throughout the day can transfer oils, dirt, and bacteria from your hands onto your skin, disrupting your makeup and potentially causing breakouts. Make a conscious effort to avoid resting your hands on your face or rubbing your eyes.
If you need to fix or adjust your makeup, use clean tools like a makeup sponge or brush instead of your fingers. This small habit can make a big difference in keeping your makeup flawless and your skin healthy.
Step 7. Blot Oil as Needed:
To keep your makeup fresh throughout the day, use blotting papers to absorb excess oil without disturbing your foundation or other products. Gently press a blotting sheet onto oily areas of your face, such as the T-zone, instead of wiping or dragging it across your skin. This method helps maintain a matte appearance while preventing your makeup from moving or appearing cakey. Blotting papers are compact and easy to carry, making them a convenient tool for quick touch-ups on the go.
Step 8. Reapply as Necessary:
Throughout the day, monitoring your makeup and reapplying products as needed to keep your look fresh is essential. Focus on areas where the product might wear off, such as around the nose, chin, or under the eyes. Use a light hand to avoid building up too much product, leading to a heavy or unnatural appearance.
For foundation or concealer touch-ups, consider using a makeup sponge or brush to blend seamlessly with the existing makeup. Additionally, reapplying a light layer of setting powder can help to control shine and prolong your makeup’s wear. Remember to retouch lipstick or gloss as needed to ensure a polished finish.
Step 9. Protect With SPF:
Wearing SPF is essential, even if your makeup already contains some sun protection. Opt for a lightweight, broad-spectrum sunscreen with at least SPF 30 to shield your skin from harmful UVA and UVB rays. You can apply it as a final step in your skincare routine, underneath your makeup, or use a setting spray with added SPF for touch-ups throughout the day. Protecting your skin from sun damage helps prevent premature aging and reduces the risk of skin cancer, making SPF a non-negotiable part of your beauty regimen.
Step 10. End with Hydration:
Hydration is key to maintaining healthy and glowing skin. Finish your skincare routine by applying a nourishing moisturizer that suits your skin type. Look for ingredients like hyaluronic acid, glycerin, or ceramides, which help lock in moisture and support your skin’s natural barrier. This step ensures your skin stays supple and well-hydrated throughout the day or night, leaving it feeling refreshed and rejuvenated.
By following these 10 steps consistently, you can achieve healthy, radiant skin that will make you feel confident and beautiful.
Conclusion
To make your tinted moisturizer last all day, start with a clean and well-prepped face by cleansing and moisturizing adequately.
Follow up with a lightweight primer to create a smooth base for application. When applying the tinted moisturizer, use a blending sponge or your fingers to create an even layer, ensuring it’s well absorbed into the skin. To lock everything in place, use a translucent setting powder or spray, particularly focusing on areas prone to excess oil.
Hopefully, the article on how to make tinted moisturizer last all day has helped you achieve a flawless and long-lasting makeup look.
About the Author
Jane Hubbard is a passionate beauty expert with a wealth of experience in makeup, hair, and overall beauty techniques. After years of working as a hairdresser specialist, she followed her entrepreneurial spirit and started her own consultancy business.
Jane has always been driven by her desire to help others feel confident in their own skin, and she does this by sharing her knowledge, experiences, and practical beauty tips. Through her consultancy, she empowers individuals to embrace their unique beauty, offering tailored guidance that boosts both self-esteem and personal style.
Professional Focus
- Specializes in makeup, hairstyling, and beauty consulting.
- Provides personalized beauty advice, tips, and techniques to help individuals feel confident in their appearance.
- Dedicated to staying up-to-date with the latest industry trends and developments.
- Passionate about creating a comfortable and empowering experience for every client.
Education History
- University of Craft and Design – Bachelor of Fine Arts (BFA) in Woodworking and Furniture Design
- Woodworking Apprenticeships – Extensive hands-on training with skilled craftsmen to refine carpentry and furniture making techniques
- Online Courses & Masterclasses – Continued education in advanced woodworking techniques, design principles, and specialized tools
Expertise:
- Makeup artistry, hairstyling, and beauty consulting.
- Personalized beauty techniques to enhance confidence and self-expression.
- Educating clients on how to maintain their beauty routines at home.