
Many people seek brighter, more even-toned skin, and the market is filled with countless products promising to deliver just that.
However, commercial creams can be expensive and often contain harsh chemicals. Creating your own whitening cream at home offers a natural, affordable, and personalized alternative. By selecting your own ingredients, you can craft a product perfectly suited to your skin’s unique needs, avoiding unnecessary additives while harnessing the power of natural lightening agents.
This guide on how to make whitening cream will walk you through everything you need to know to get started.
What are the Benefits?
Opting for a homemade whitening cream comes with several advantages over store-bought options.
- Cost-Effective: Commercial whitening products often come with a high price tag. Making your own is significantly more budget-friendly, as the raw ingredients are generally inexpensive and can be used for multiple batches.
- Natural Ingredients: You have complete control over what goes into your cream. This means you can choose high-quality, natural ingredients and avoid parabens, sulfates, and other synthetic chemicals that may irritate the skin.
- Customization: Every person’s skin is different. A DIY approach allows you to tailor the formula to your specific skin type and concerns. Whether you have oily, dry, or sensitive skin, you can adjust the ingredients to create a blend that works best for you.
- Freshness and Potency: Homemade creams are made in small batches without the need for strong preservatives. This ensures you are using a fresh, potent product, maximizing the effectiveness of the active ingredients.
What Will You Need?
Before you begin, gather the following ingredients and tools. Most of these can be found at health food stores, online, or even in your local grocery store.
Ingredients
- 1/2 cup of plain, unsweetened yogurt or milk
- 1 tablespoon of honey
- 2 tablespoons of lemon juice (freshly squeezed)
- 1 teaspoon of turmeric powder
- 2 tablespoons of almond oil or coconut oil (as a moisturizer)
- 1 tablespoon of rice flour or gram flour (as a thickener)
- 4-5 drops of sandalwood essential oil (optional, for fragrance and skin benefits)
Tools
- A clean mixing bowl (glass or ceramic is best)
- A whisk or spoon for mixing
- Measuring cups and spoons
- A small, airtight jar for storage (preferably dark glass to protect from light)
10 Easy Steps on How to Make Whitening Cream
Step 1: Prepare Your Workspace and Tools
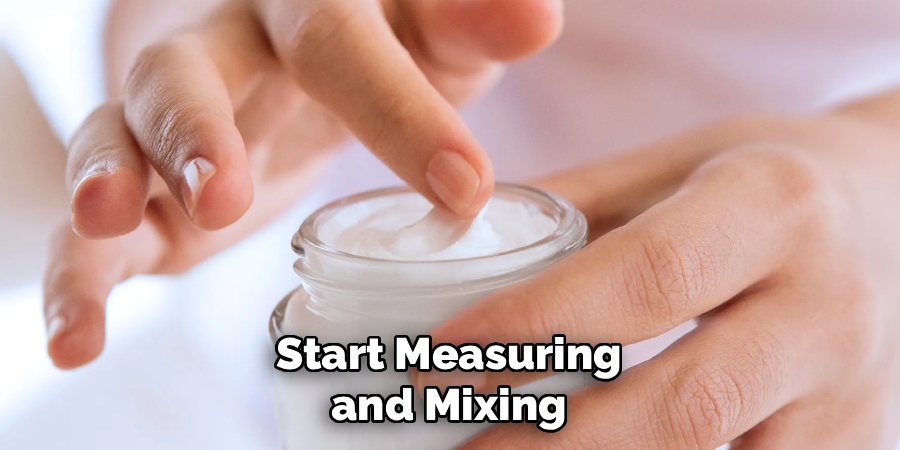
Before you start measuring and mixing, the first and most critical step is to establish a clean, sanitary environment. Think of your kitchen counter as a mini laboratory. Begin by thoroughly washing your hands with soap and water. Afterward, clean your work surface, mixing bowl, whisk, and storage jar. You can sanitize them by washing them with hot, soapy water and allowing them to air dry completely or by wiping them down with rubbing alcohol. This step is crucial because it prevents any unwanted bacteria or contaminants from getting into your cream. Since this recipe uses fresh ingredients and no synthetic preservatives, maintaining a sterile environment is your first line of defense against spoilage, ensuring your final product is safe and effective for your skin.
Step 2: Create the Cream’s Base
The foundation of your cream will determine its texture and provide some of its primary benefits. For this, you will combine the plain yogurt (or milk) with the rice or gram flour in your clean mixing bowl. Yogurt and milk are rich in lactic acid, a gentle alpha-hydroxy acid (AHA). Lactic acid works by dissolving the proteins that bind dead skin cells together, allowing them to be sloughed away easily. This exfoliation reveals the fresher, brighter skin cells underneath. The rice or gram flour acts as a natural thickener, transforming the liquid base into a smooth, spreadable paste. Whisk these two ingredients together until you achieve a lump-free, creamy consistency. This base is not just a carrier for other ingredients; it’s an active part of the whitening process.
Step 3: Add the Primary Lightning Agents
Now it’s time to introduce the powerhouse ingredients known for their skin-brightening effects: fresh lemon juice and turmeric powder. Squeeze the juice from a fresh lemon directly into your bowl. Lemon juice is packed with Vitamin C (ascorbic acid) and citric acid, which are celebrated for their ability to inhibit melanin production and lighten hyperpigmentation, such as dark spots and sun damage. Next, carefully measure and add the turmeric powder. A staple in traditional beauty rituals for centuries, turmeric contains curcumin, a compound with powerful antioxidant and anti-inflammatory properties that helps to even out skin tone and impart a natural glow. Be mindful not to add too much turmeric, as it can temporarily stain the skin a slight yellow color.
Step 4: Whisk Thoroughly for a Smooth Paste

This step is all about integration. Using your whisk or a spoon, blend the lemon juice and turmeric powder into your base mixture. Your goal is to create a perfectly homogenous paste. Continue mixing until the color is uniform—a pale, creamy yellow—and you can no longer see any streaks of lemon juice or clumps of turmeric or flour. A well-mixed cream ensures that every application delivers an even distribution of the active ingredients to your skin. A lumpy or separated mixture will not only feel unpleasant but will also provide inconsistent results. Take your time with this step; the smooth, velvety texture you create now will translate directly to a more luxurious feel when you apply it.
Step 5: Incorporate the Moisturizing Oil
The acidic components in this cream, while effective, can be drying. To counteract this and nourish your skin, you’ll now incorporate a moisturizing oil. Slowly drizzle in the almond or coconut oil while continuously whisking the mixture. Almond oil is a fantastic choice as it’s light, easily absorbed, and rich in Vitamin E, a potent antioxidant that helps protect skin from damage. Coconut oil is another excellent option, known for its deep hydrating and antimicrobial properties. This addition is vital for balancing the formula, ensuring that as your skin is being exfoliated and brightened, it is also being replenished and moisturized. This balance helps prevent irritation and keeps your skin feeling soft and supple.
Step 6: Add Honey for Healing and Hydration
Next, enrich your cream with the multi-tasking benefits of honey. Add one tablespoon of raw or pure honey to the bowl. Honey is a natural humectant, which means it actively draws moisture from the air and locks it into your skin, providing lasting hydration. Beyond its moisturizing capabilities, honey possesses natural antibacterial and anti-inflammatory properties. This makes it incredibly effective at soothing irritated skin, calming redness, and promoting the healing of minor blemishes. Its gentle enzymatic action also contributes to a brighter, more radiant complexion. Stir until the honey is fully dissolved and integrated into the cream.
Step 7: Enhance with an Optional Essential Oil
To elevate your cream from functional to truly luxurious, consider adding a few drops of an essential oil. Sandalwood essential oil is a particularly wonderful choice for a whitening cream. It is revered in skincare for its ability to help fade hyperpigmentation, reduce the appearance of fine lines, and calm inflammation. It also adds a beautiful, grounding, and woody aroma, turning your skincare routine into a relaxing sensory experience. If you don’t have sandalwood, lavender or frankincense essential oils are also excellent alternatives for skin health. Add just 4-5 drops, as essential oils are highly concentrated, and mix well to disperse the oil evenly throughout the cream.
Step 8: Perform a Final, Vigorous Blending
This is the final check for consistency and integration. Give your cream one last, thorough whisk for about a minute. This final blend ensures that the oils, liquids, and powders are fully emulsified, creating a stable, cohesive mixture. The cream should now have a light, airy, and uniform texture that feels smooth between your fingers. A properly blended cream will be easier to apply and will remain stable during its shelf life in the refrigerator. Inspect the cream closely to ensure there are no signs of separation.
Step 9: Transfer to Your Storage Container
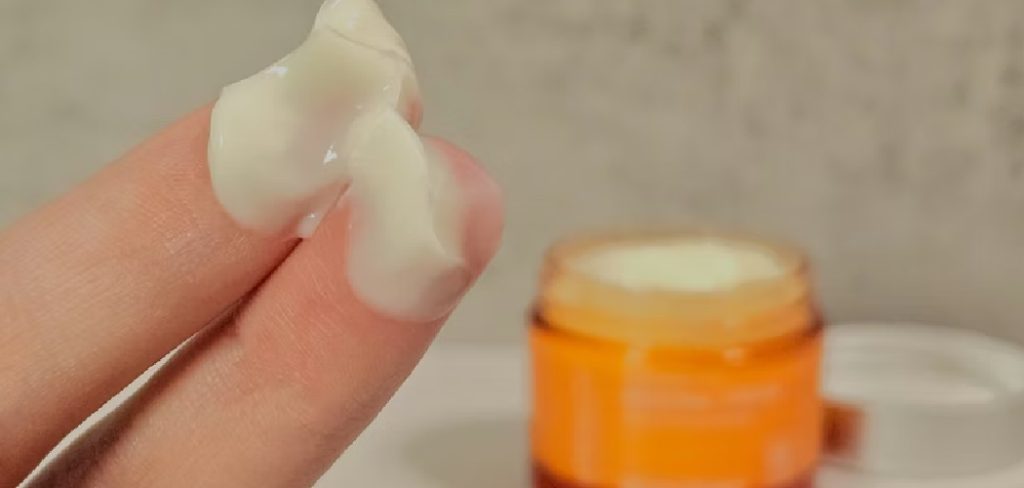
Your homemade whitening cream is now complete. Carefully spoon the mixture out of the bowl and into your designated airtight storage jar. A dark-colored glass jar (like amber or cobalt blue) is highly recommended. This is because ingredients like Vitamin C in lemon juice and the compounds in essential oils are sensitive to light and can degrade quickly when exposed to it. A dark jar acts as a protective barrier, preserving the potency and freshness of your cream. Fill the jar, leaving a little space at the top, and wipe the rim clean before sealing it.
Step 10: Store Correctly and Use as Directed
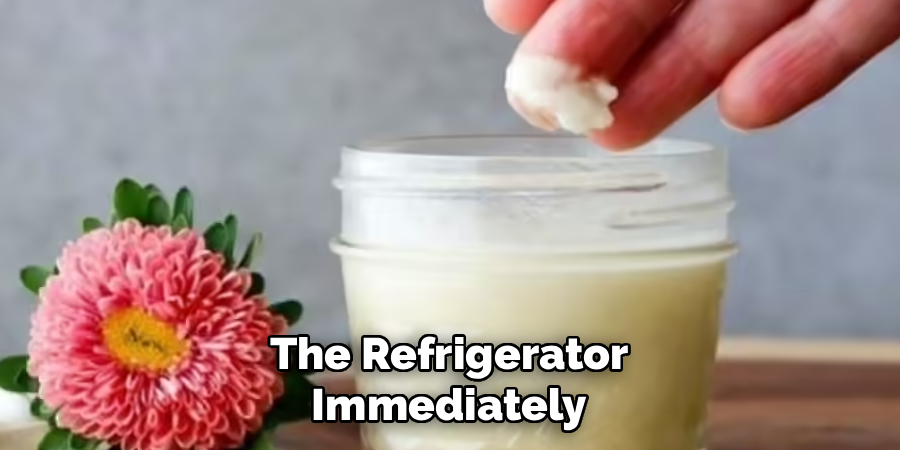
Proper storage is non-negotiable for this all-natural product. Seal the jar tightly and place it in the refrigerator immediately. The cold temperature is what will keep the fresh ingredients, like yogurt and lemon juice, from spoiling. Your cream should stay fresh for about 7-10 days. For application, use clean fingers or a small spatula to apply a thin, even layer to your cleansed face and neck, avoiding the delicate eye area. Leave it on for 15-20 minutes, allowing the ingredients to work their magic. Rinse off with lukewarm water, pat your skin dry, and follow with your favorite moisturizer.
5 Things You Should Avoid
To get the best results and keep your skin safe, be mindful of these common mistakes.
- Using Old Ingredients: Always use fresh ingredients, especially lemon juice and yogurt. Expired products can lose their potency and may even harbor bacteria that can harm your skin.
- Skipping a Patch Test: Before applying the cream to your entire face, test a small amount on your inner arm or behind your ear. Wait 24 hours to ensure you don’t have an allergic reaction, particularly to ingredients like lemon or turmeric.
- Applying to Broken Skin: Avoid using the cream on any cuts, open sores, or irritated areas. The acidic nature of lemon juice can cause stinging and further irritation.
- Sun Exposure After Application: Lemon juice can make your skin more sensitive to the sun (photosensitive). Always apply this cream in the evening and be sure to use a broad-spectrum sunscreen during the day to protect your skin.
- Improper Storage: Do not leave your homemade cream at room temperature. The natural ingredients will spoil quickly without refrigeration, rendering the cream ineffective and potentially harmful.
Conclusion
How to make whitening cream is a rewarding, simple, and effective way to achieve brighter, healthier-looking skin.
By taking control of the ingredients, you can create a personalized product that is both natural and affordable. This guide provides a solid foundation for getting started, so you can enjoy the benefits of a custom-tailored skincare solution. Give it a try and embrace the confidence that comes with a radiant, even-toned complexion.
Hopefully, you have gained a better understanding of the ingredients, process, and benefits of making your own whitening cream.
About the Author
Jane Hubbard is a passionate beauty expert with a wealth of experience in makeup, hair, and overall beauty techniques. After years of working as a hairdresser specialist, she followed her entrepreneurial spirit and started her own consultancy business.
Jane has always been driven by her desire to help others feel confident in their own skin, and she does this by sharing her knowledge, experiences, and practical beauty tips. Through her consultancy, she empowers individuals to embrace their unique beauty, offering tailored guidance that boosts both self-esteem and personal style.
Professional Focus
- Specializes in makeup, hairstyling, and beauty consulting.
- Provides personalized beauty advice, tips, and techniques to help individuals feel confident in their appearance.
- Dedicated to staying up-to-date with the latest industry trends and developments.
- Passionate about creating a comfortable and empowering experience for every client.
Education History
- University of Craft and Design – Bachelor of Fine Arts (BFA) in Woodworking and Furniture Design
- Woodworking Apprenticeships – Extensive hands-on training with skilled craftsmen to refine carpentry and furniture making techniques
- Online Courses & Masterclasses – Continued education in advanced woodworking techniques, design principles, and specialized tools
Expertise:
- Makeup artistry, hairstyling, and beauty consulting.
- Personalized beauty techniques to enhance confidence and self-expression.
- Educating clients on how to maintain their beauty routines at home.