
Are you tired of buying expensive setting sprays that don’t work? Why not make your own at home with just a few simple ingredients?
A flawless makeup look can often be short-lived without the right finishing touches. Setting spray is crucial in ensuring that your makeup stays put throughout the day, preventing smudging, creasing, and fading.
While many commercial setting sprays are available, making your own allows you to customize the ingredients to suit your skin type and preferences. Plus, it’s a cost-effective and environmentally friendly alternative. As a bonus, you can also use it to refresh your skin throughout the day for a dewy and hydrated look.
This guide will walk you through the simple steps on how to make your own setting spray using natural and readily available ingredients.
What are the Benefits of Making Your Own Setting Spray?
- Customization: You control the ingredients used by making your own setting spray. You can choose to add essential oils for added skincare benefits or adjust the formula for a stronger hold.
- Cost-effective: Buying setting sprays from high-end brands can be expensive in the long run. Making your own saves money while still achieving the desired results.
- Environmentally Friendly: Commercial setting sprays often come in plastic packaging that contributes to pollution and waste. Making your own eliminates the need for unnecessary packaging and reduces your carbon footprint.
- Natural Ingredients: Natural ingredients avoid harsh chemicals that may be present in commercial products. This is especially beneficial for those with sensitive skin.
These are just some of the advantages of making your own setting spray. Now, let’s get into the steps on how to create one.
What Will You Need?
To make your own setting spray, you will need the following ingredients and tools:
- Distilled or filtered water
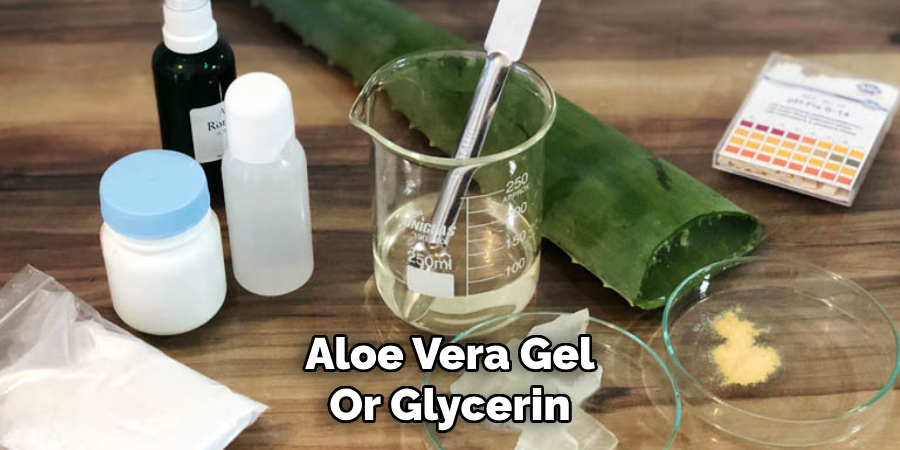
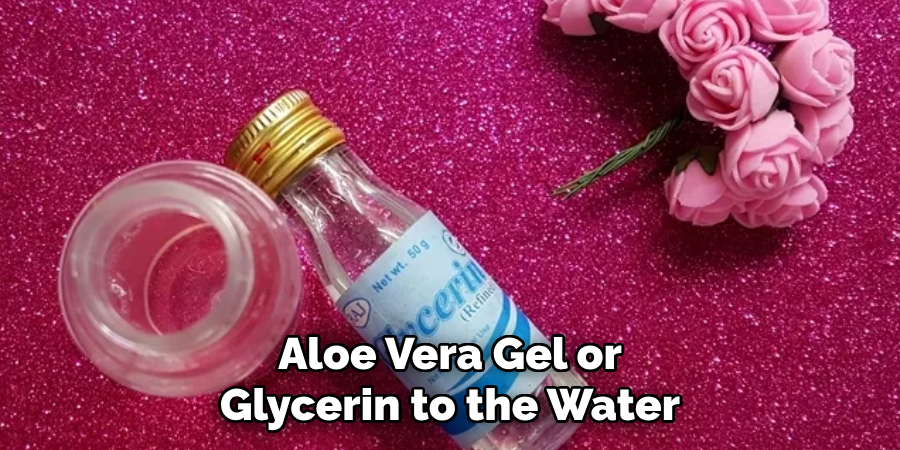
- Aloe vera gel or glycerin
- Essential oils of your choice (optional)
- An empty spray bottle
It’s important to use distilled or filtered water to prevent any impurities from affecting the quality of the setting spray. Aloe vera gel or glycerin will act as emollients, helping to keep your skin hydrated and makeup in place. Essential oils are optional but can add a subtle scent and provide additional benefits for your skin. Lastly, you’ll need an empty spray bottle to store and use your setting spray.
10 Easy Steps on How to Make Your Own Setting Spray
Step 1. Sanitize Your Tools and Work Area:
Sanitizing your tools and work area is a crucial first step in making your own setting spray. Start by washing your hands thoroughly with soap and water to eliminate germs. Next, clean the surface where you will be preparing your setting spray; you can use a disinfectant wipe or a solution of water and rubbing alcohol.
Wash the spray bottle, measuring spoons, and mixing utensils with warm, soapy water for the tools. Rinse them well and then sanitize them by dipping them in a solution of 1 part vinegar to 3 parts water, or you can use a rubbing alcohol solution. Leave the tools to air dry on a clean paper towel. This step ensures that no bacteria or impurities will contaminate your setting spray, making it safe for your skin and extending the product’s shelf life.
Step 2. Measure Your Ingredients:
Once your tools and work area are sanitized, it’s time to measure your ingredients. For the base of your setting spray, measure out 1/2 cup of distilled or filtered water. Next, add 1-2 teaspoons of aloe vera gel or glycerin, depending on your preference for a more hydrating or lightweight spray.
If you choose to include essential oils, add 2-3 drops of your favorite essential oil for fragrance and skin benefits. Popular choices include lavender for its soothing properties, tea tree for its antibacterial benefits, or chamomile for its calming effects. Measure everything carefully to ensure your setting spray’s right balance and efficacy.
Step 3. Mix Your Ingredients:
With your ingredients measured out, it’s time to mix them together. Pour the distilled or filtered water into a clean mixing bowl. Add the aloe vera gel or glycerin to the water and mix well with a spoon or small whisk until fully combined.
If you are including essential oils, add them at this stage and continue to mix thoroughly. The goal is to create a uniform solution with well-blended ingredients, ensuring that each spray delivers the intended benefits evenly. Once mixed, your setting spray solution can be funneled into the spray bottle.
Step 4. Funnel the Mixture into the Spray Bottle:
Carefully funnel your well-mixed setting spray solution into the empty spray bottle. Use a small funnel to avoid spills and make the transfer as smooth as possible.
If you don’t have a funnel, you can use a measuring cup with a spout to pour the mixture directly into the spray bottle. Make sure to leave some space at the top of the bottle to allow for shaking before each use. Once the solution is in the bottle, securely fasten the spray nozzle.
Step 5. Shake Well Before Each Use:
Before using your homemade setting spray, always shake the bottle well. This ensures that the ingredients are properly mixed and that each spray delivers the full benefits of the solution. Over time, some ingredients might settle at the bottom, so this step is crucial for maintaining the consistency and effectiveness of your product.
Step 6. Test the Spray:
Before applying your setting spray to your face, do a patch test on a small area of your skin, such as your wrist or the back of your hand. This ensures that none of the ingredients cause any irritation or allergic reactions. Wait for about 24 hours and monitor your skin for any adverse reactions. If everything looks good, you can proceed to use the spray on your face.
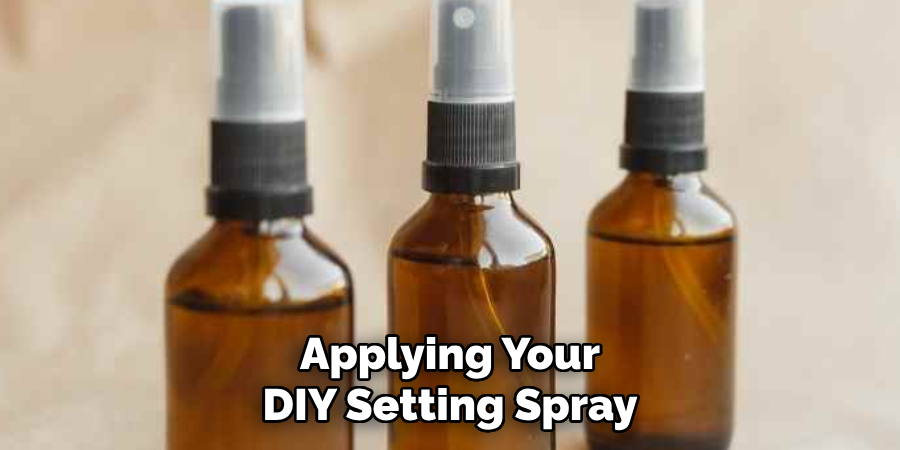
Step 7. Apply the Setting Spray:
Hold the spray bottle about 8-10 inches away from your face and mist evenly over your makeup. Close your eyes and mouth while spraying to avoid getting the solution in your eyes or mouth. Use a gentle, sweeping motion to cover all areas where you’ve applied makeup. Allow the spray to dry naturally for a few seconds to set your makeup in place.
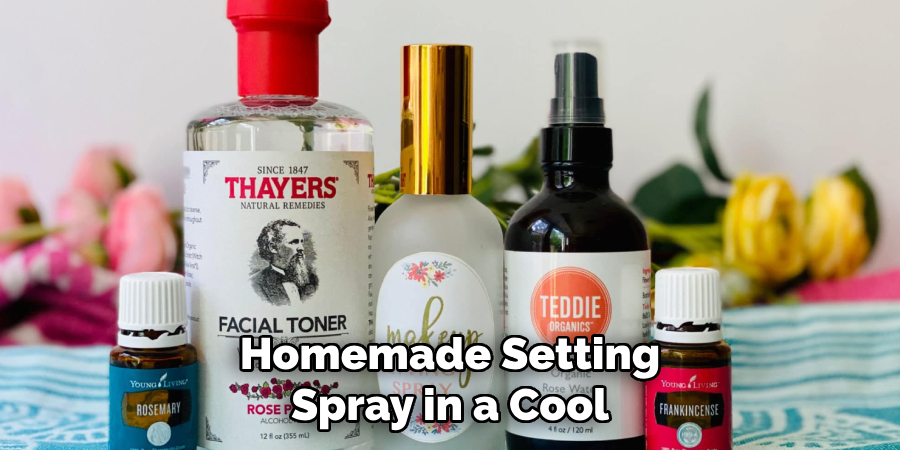
Step 8. Store Properly:
Store your homemade setting spray in a cool, dark place away from direct sunlight. The bathroom cabinet or a drawer is ideal. Proper storage will help extend the shelf life of your setting spray and maintain its effectiveness. Make sure the bottle is tightly closed to prevent any contamination.
Step 9. Refresh as Needed:
You can use your setting spray to set your makeup and refresh your face throughout the day. If you feel your skin getting a bit dull or dry, a few spritzes of your setting spray can rejuvenate your appearance and add a dewy glow. Just shake the bottle well, hold it at the same distance, and mist your face lightly.
Step 10. Customize for Different Occasions:
Feel free to experiment with different essential oils or aloe vera and glycerin proportions to customize your setting spray for other occasions or seasons. For instance, you might prefer a more hydrating spray for winter and a lighter, mattifying one for summer. Adjust the recipe according to your needs and preferences to achieve the best results for your skin type.
By following these steps, you can easily create your own setting spray that is safe, effective, and tailored to your specific skin needs.
5 Additional Tips and Tricks
- Choose the Right Base: Start with distilled or gentle rose water as your base. These options are less likely to irritate your skin and can provide a refreshing finish.
- Hydration Boosters: Add a few drops of glycerin or aloe vera gel to enhance the hydrating properties of your setting spray. These ingredients help to lock in moisture and give your makeup a natural glow.
- Essential Oils for Added Benefits: Incorporate crucial oils like lavender or tea tree oil. Lavender can be calming, while tea tree oil offers antibacterial properties. Remember to use them sparingly to avoid overpowering scents.
- Secure and Shake Well: Once combined ingredients are combined in a spray bottle, ensure the cap is securely closed and shaken well before each use. This ensures that the mixture is well-blended and effective when sprayed.
- Testing for Sensitivity: Before applying your DIY setting spray on your face, do a patch test on your inner arm to check for any adverse reactions. This step is crucial to avoid any potential skin irritations or allergies.
With these additional tips and tricks, you can customize your DIY setting spray to suit your skin’s needs.
5 Things You Should Avoid
- Using Harsh Alcohols: Avoid using rubbing alcohol or other harsh alcohols in your setting spray. These can dry out your skin and lead to irritation, especially for those with sensitive skin.
- Adding Too Many Fragrances: Avoid adding too many artificial fragrances or strong essential oils. While they may smell nice, they can cause skin irritation and allergic reactions.
- Skipping the Patch Test: Never skip the patch test. Without testing the spray on a small area of your skin first, you might be at risk for unexpected allergic reactions or sensitivities.
- Using Contaminated Containers: Do not use old or unclean spray bottles. Using a clean, sterilized spray bottle is essential to prevent bacterial contamination, which can lead to breakouts or infections.
- Overloading with Ingredients: Avoid adding too many ingredients to your setting spray. A complex mixture can reduce its effectiveness and increase the chances of irritation and clogged pores. Stick to a few essential, high-quality ingredients for the best results.
By avoiding these mistakes, you can ensure your DIY setting spray is safe and effective for your skin.

Conclusion
How to make your own setting spray can be a rewarding and skin-friendly alternative to commercial options.
By carefully choosing high-quality, natural ingredients and following a few simple steps, you can customize a formula that suits your skin type and enhances your makeup’s longevity and finish.
Remember to start with a gentle base like distilled water or rose water and incorporate beneficial additives like glycerin, aloe vera gel, and essential oils in moderation. Always ensure your equipment is clean and conduct a patch test before full application to avoid adverse reactions.
By avoiding common pitfalls and following the tips, you’ll craft a safe and effective setting spray that keeps your makeup fresh and flawless all day.
About the Author
Jane Hubbard is a passionate beauty expert with a wealth of experience in makeup, hair, and overall beauty techniques. After years of working as a hairdresser specialist, she followed her entrepreneurial spirit and started her own consultancy business.
Jane has always been driven by her desire to help others feel confident in their own skin, and she does this by sharing her knowledge, experiences, and practical beauty tips. Through her consultancy, she empowers individuals to embrace their unique beauty, offering tailored guidance that boosts both self-esteem and personal style.
Professional Focus
- Specializes in makeup, hairstyling, and beauty consulting.
- Provides personalized beauty advice, tips, and techniques to help individuals feel confident in their appearance.
- Dedicated to staying up-to-date with the latest industry trends and developments.
- Passionate about creating a comfortable and empowering experience for every client.
Education History
- University of Craft and Design – Bachelor of Fine Arts (BFA) in Woodworking and Furniture Design
- Woodworking Apprenticeships – Extensive hands-on training with skilled craftsmen to refine carpentry and furniture making techniques
- Online Courses & Masterclasses – Continued education in advanced woodworking techniques, design principles, and specialized tools
Expertise:
- Makeup artistry, hairstyling, and beauty consulting.
- Personalized beauty techniques to enhance confidence and self-expression.
- Educating clients on how to maintain their beauty routines at home.