
Are you tired of the unpleasant smell that lingers on your hair after using a straightener? You’re not alone. Many people struggle with this issue, but thankfully, there are some simple steps you can take.
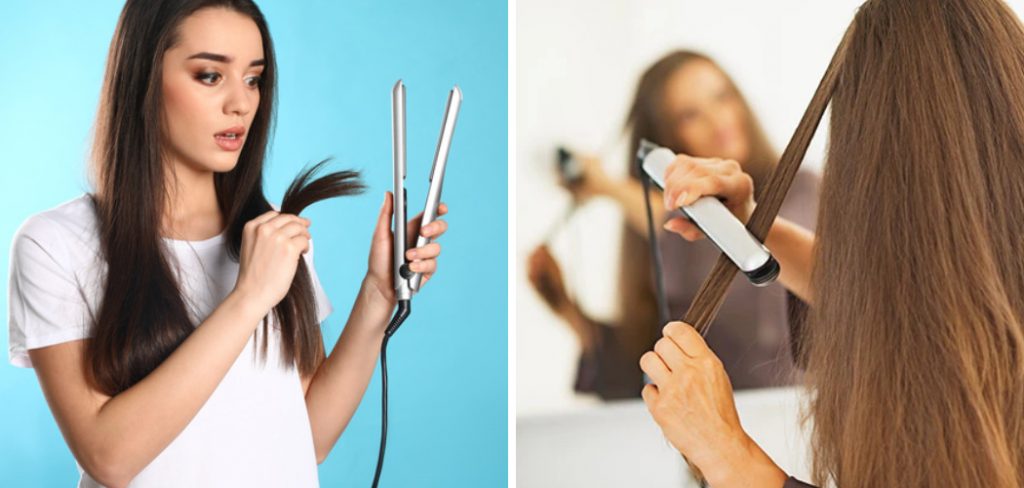
Dealing with a hair straightener that emits an unpleasant burnt smell can be a significant annoyance, especially when you’re rushing to get ready. Not only does it affect your mood, but it can also linger on your hair, leaving you self-conscious throughout the day. Fortunately, there are effective ways to tackle this issue, ensuring your hair straightener leaves your locks looking sleek, shiny, and free from any undesirable odors.
In this guide, we’ll explore several techniques on how to make your straightener not smell like burnt hair, so you can enjoy a pleasant styling experience every time.
What are the Causes of Burnt Hair Smell?
Before we dive into the solutions, it’s essential to understand what causes the burnt hair smell in the first place.
- Product Build-up: Product build-up on your straightener’s plates is one of the most common reasons for a burnt hair smell. Over time, hair products such as hairspray, heat protectant, and serum can accumulate on the plates of your straightener. When you use the heated tool, these products get burned, producing that unpleasant odor.
- Excessive Heat: Using your straightener at a high temperature setting for an extended period can also cause burnt hair. The excessive heat damages your hair, causing it to produce that unpleasant odor.
- Dirty Straightener: Just like any other styling tool, regular cleaning of your straightener is crucial to prevent build-up and maintain its efficiency. When left uncleaned, dirt, oil, and hair products can accumulate on the plates of your straightener, resulting in a burnt smell when heated.
These are the primary reasons for the burnt hair smell but don’t worry; we’ve got you covered with some effective solutions.
What Will You Need?
To eliminate the burnt hair smell from your straightener, you’ll need a few items:
- A soft cloth
- Rubbing alcohol
- Cotton swabs or cotton balls
- Heatproof mat or towel
Once you have these items, you’re ready to follow the steps below.
10 Easy Steps on How to Make Your Straightener Not Smell Like Burnt Hair
Step 1. Turn Off and Unplug:
First and foremost, safety is paramount. Ensure that your straightener is turned off and unplugged from the power source. This precaution protects you from potential burns and allows the plates to cool down, making them safer and easier to clean. Allow the straightener to cool completely on a heatproof mat or towel before proceeding to the next step. This cooling period is crucial to avoid accidents and ensure the cleaning process is as effective as possible.
Step 2. Wipe the Plates with a Soft Cloth:
Begin by gently wiping the plates of your straightener with a soft, dry cloth. This step helps to remove any loose particles, dust, or hair strands that might be sitting on the surface. Be gentle to prevent scratching the plates, which could damage them or affect their performance.
This initial wipe-down prepares the straightener for a more thorough cleaning, ensuring that you’re starting with a relatively clean surface.
Step 3. Apply Rubbing Alcohol:
Next, dampen a cotton swab or cotton ball with a small amount of rubbing alcohol. Gently run the dampened cotton over the plates of your straightener.
The rubbing alcohol will help dissolve and remove the built-up product residue contributing to the burnt smell. Be careful not to saturate the plates; you want them lightly moistened, not wet. This step helps to break down stubborn build-up without causing damage to the straightener’s plates.
Step 4. Carefully Clean Around the Edges:
Using a new cotton swab dampened with rubbing alcohol, carefully clean around the edges of the straightener plates. These areas can harbor more build-up due to their proximity to the hair’s oils and products, and they are often overlooked during a basic clean.
Be meticulous, ensuring that all nooks and crannies are attended to, as this will help to effectively remove any residue that could be causing the burnt smell. Allow the straightener to dry completely before moving on to the next step, ensuring that no moisture remains that could potentially cause damage when the device is heated.

Step 5. Reinspect and Repeat if Necessary:
After allowing the straightener to dry, examine the plates closely to ensure that all residue has been removed. If you still notice build-up or if the burnt smell persists, repeat Steps 2 through 4.
It may take a couple of attempts to completely eliminate all traces of product build-up, especially if your straightener last cleaned a while ago. Persistence is key here, as a thoroughly clean straightener will not only smell better but also perform more efficiently, providing a smoother styling experience.
Step 6. Prevent Future Build-up
To minimize the chances of future burnt hair smells, incorporate a preventative cleaning routine into your hair styling regimen. After each use, once the straightener has cooled down, wipe it quickly with a soft, slightly damp cloth to remove any immediate residue.
Additionally, habitually apply a deep clean with rubbing alcohol at least once a month, depending on how frequently you use your straightener. This routine extends the life of your straightener and ensures that your hair remains free from any unpleasant odors after styling.
Step 7. Use Lower Heat Settings:
Using your straightener at a lower heat setting is an effective way to prevent the burnt hair smell from returning. High temperatures can damage your hair and increase the likelihood of burning any residue on the plates.
Choosing a lower temperature minimizes the risk of product build-up being charred and emitting that unpleasant smell. Experiment with the lowest temperature that still allows you to style your hair effectively. This practice helps maintain the integrity of your hair and keeps your straightener cleaner and smelling fresh.
Step 8. Store Properly When Not in Use:
Proper storage of your straightener, when it’s not in use, is essential to prevent dust accumulation and other debris, which can contribute to the burnt smell during heating. Always ensure that the straightener is completely cool before storing it away. Ideally, place it in a clean, dry area, away from direct sunlight and humidity.
Using a heat-resistant protective casing or bag is recommended, as it keeps the straightener clean and protects the plates from damage. This precaution helps maintain the straightener in optimal condition, reducing the chances of burnt smells and extending the device’s lifespan.
Step 9. Opt for Heat Protectant Products:
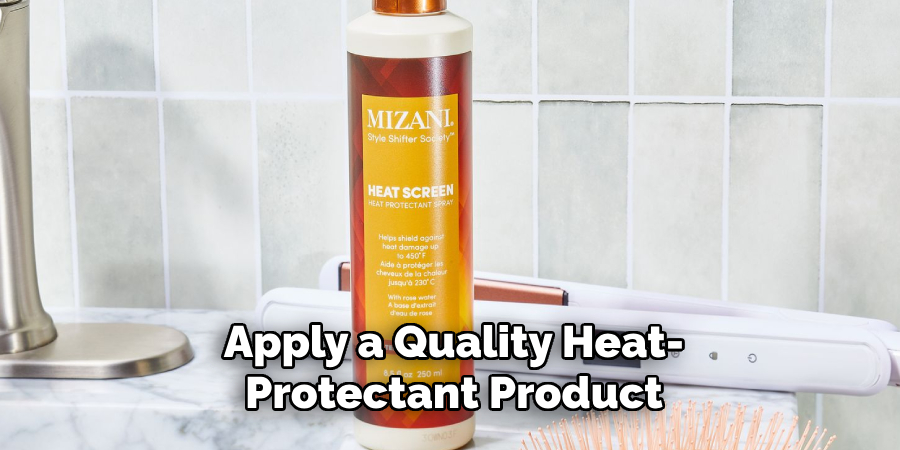
Before styling your hair, always apply a quality heat-protectant product. These products are designed to shield your hair from the damaging effects of high heat and reduce residue build-up on the straightener plates. When selecting a heat protectant, opt for one that is lightweight and free from ingredients that can lead to heavy build-up.
Applying it evenly throughout your hair ensures that the product forms a protective barrier, significantly decreasing the probability of burnt hair smells. This step is critical in maintaining both the health of your hair and the cleanliness of your straightener, making it an indispensable part of your hair care and styling routine.
Step 10. Regular Inspection and Maintenance:
To ensure the longevity of your straightener and maintain its performance, make it a habit to inspect the device regularly for any signs of wear and tear. Look out for loose plates, frayed cords, or any damage to the heating element.
These issues can not only affect the efficiency of your straightener but can also be a safety hazard. If you notice any damage, consider having your straightener professionally repaired or replacing it altogether. Regular maintenance checks, combined with the cleaning and care steps outlined earlier, will help keep your straightener in top condition, ensuring safe and effective styling sessions every time.
By following these ten simple steps, you can quickly eliminate the burnt hair smell from your straightener and maintain its performance for longer.
5 Additional Tips and Tricks
- Clean Regularly: Ensure your straightener is cleaned after each use to prevent hair product residue from burning onto the plates. Use a soft, damp cloth with a little rubbing alcohol to wipe the plates gently.
- Use a Heat Protectant: Always apply a heat protectant to your hair before straightening. This not only protects your hair from damage but also prevents the product from burning on the iron, which can cause an unpleasant smell.
- Select the Right Temperature: Using a setting that is too high can burn your hair, leading to that burnt smell. Adjust the temperature according to your hair type; fine hair requires a lower temperature, whereas thicker hair might need a slightly higher setting.
- Invest in Ceramic Plates: Straighteners with ceramic plates distribute heat more evenly, reducing the risk of hot spots that can burn your hair. These plates also tend to accumulate less residue than metal plates.
- Allow Fresh Air Flow: After using your straightener, allow it to cool down completely before storing it. Leave it in an area with good air circulation to help dispel any lingering smells. This ensures your straightener smells fresh for its next use.
With these additional tips and tricks, you can keep your straightener smelling fresh and avoid that unpleasant burnt hair smell. Remember to take care of your straightener by cleaning it regularly and using a heat protectant to prevent any residue buildup.
5 Things You Should Avoid
- Avoid Using Oily Hair Products Before Straightening: Products with high oil content can cause residue to build up faster on the plates, leading to a burnt smell. Use these products after straightening instead.
- Do Not Forget to Section Your Hair Properly: Straightening large chunks of hair at once produces uneven results and increases the chances of overheating and burning your hair, contributing to the unwanted smell.
- Never Store Your Straightener While It’s Still Hot: Placing a hot straightener in a confined space can trap the heat and burnt smell, embedding the odor into the straightener. Always allow it to cool in an open, ventilated area.
- Avoid Constant High-Temperature Use: Regularly using your straightener at its maximum temperature setting can damage hair and burnt residues, which are a primary source of bad smells. Opt for the lowest effective temperature.
- Don’t Ignore Regular Maintenance: Failing to clean your straightener or to check for damaged plates can lead to accumulated hair products and oils burning off during use, causing a persistent burnt smell. Regular checks ensure the longevity and cleanliness of your device.
By following these avoidance tips, you can prevent the unwanted burnt hair smell and keep your straightener in good condition for long-lasting use.
How Can You Clean a Hair Straightener?
To ensure your straightener stays clean and smells fresh, it’s essential to clean it after each use regularly. Here is a simple step-by-step guide on how to properly clean your hair straightener:
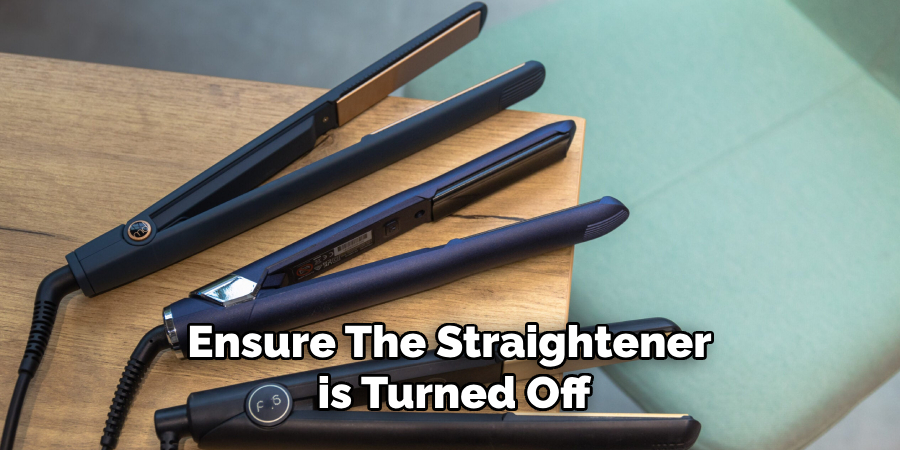
- Turn Off and Unplug the Straightener: Before cleaning, ensure the straightener is turned off and unplugged from any power source. Use caution when handling a hot straightener.
- Wipe the Plates With a Damp Cloth: Gently wipe the plates with a soft, damp cloth to remove any residue or buildup. Avoid using harsh chemicals or abrasive materials that can damage the plates.
- Apply Rubbing Alcohol: For tougher residue or buildup, apply a small amount of rubbing alcohol to the cloth and gently wipe the plates. Do not saturate the plates with alcohol.
- Clean the Edges and Crevices: Use a cotton swab or soft toothbrush to clean any hard-to-reach areas, such as the plates’ edges and crevices.
- Wipe Down the Entire Straightener: Once you have cleaned all the surfaces, use a clean, damp cloth to wipe down the straightener as a whole. Make sure to dry it off thoroughly before storing it.
- Store in a Cool, Ventilated Area: Allow your straightener to fully cool down before storing it in a cool, dry place with good air circulation. This will prevent any lingering smells or buildup from occurring.
Regularly clean your hair; a straightener keeps it in good condition and prevents any unpleasant smells from developing.
What are the Disadvantages of Using a Hair Straightener?
While hair straighteners can give you sleek, smooth hair, it’s essential to be aware of their potential disadvantages. Some possible drawbacks include:
- Damage to Hair: Regular use of high heat settings and failure to use a heat protectant can lead to damage such as breakage, split ends, and dryness.
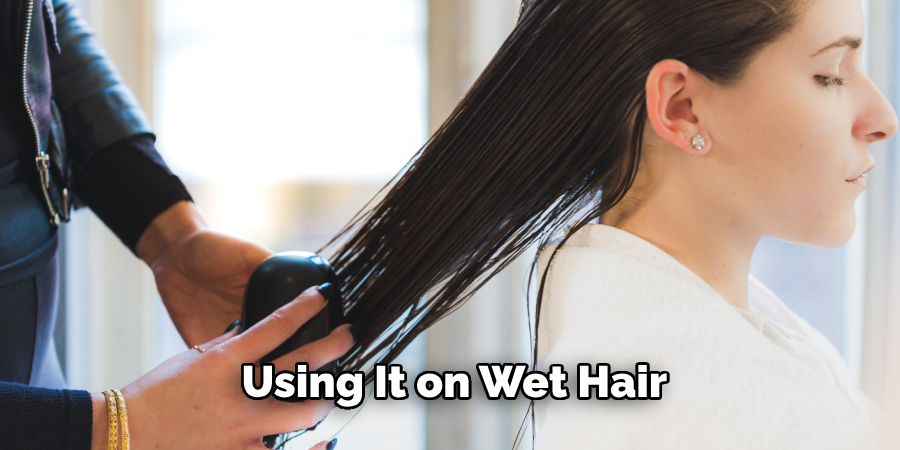
- Burns and Injuries: Mishandling a hot straightener or using it on wet hair can result in burns to the scalp, neck, ears, or hands.
- Unpleasant Smell: As discussed earlier, a burnt hair smell is common with hair straighteners due to residue buildup and overheating. This can be avoided by following proper cleaning and maintenance practices.
- Uneven Results: Straighteners can produce uneven results if not used correctly or on the wrong hair type and may even cause hair to look frizzy or damaged.
- Expense and Maintenance: Hair straighteners can be expensive, especially high-quality ones. They also require regular cleaning and maintenance to ensure they continue functioning correctly.
Ultimately, using a hair straightener responsibly and following proper techniques and precautions to avoid any potential drawbacks is essential. Overall, with careful use and maintenance, hair straighteners can help achieve your desired hairstyle.
Can You Use Baking Soda on Your Hair?
Yes, baking soda can be used on hair as a natural alternative to traditional shampoo. It is known for clarifying and removing buildup from the scalp and hair, leaving it feeling clean and refreshed. Here’s how you can use baking soda on your hair:
- Create a Mixture: Mix 1 tablespoon of baking soda with 1 cup of warm water in a small bowl. Stir until the baking soda is fully dissolved.
- Wet Your Hair: Wash the mixture in the shower or over a sink before applying the mixture.
- Apply the Mixture: Slowly pour the baking soda mixture onto your scalp and massage it into your hair, focusing on areas with buildup or oily roots.
- Rinse Thoroughly: Rinse your hair with warm water, making sure to remove all of the baking soda mixture.
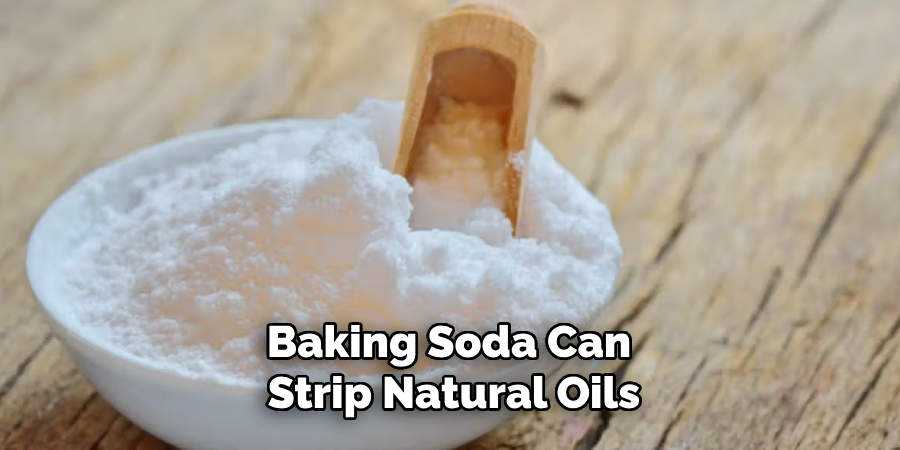
- Condition as Usual: Since baking soda can strip natural oils from your hair, following up with a conditioner or leave-in treatment is essential.
It is recommended to use this method once a week at most, as frequent use may cause dryness and damage to your hair. Additionally, it may not work for everyone, so it’s essential to test it on a small area of your scalp before using it on your entire head.
Conclusion
Hair straighteners can be useful tools for achieving sleek, smooth hair, but it’s important to use them responsibly and take proper precautions to avoid any potential drawbacks.
Regular maintenance and cleaning can also help prevent the unwanted burnt hair smell that can occur with prolonged use. Additionally, baking soda can be a natural alternative to traditional shampoo for those looking to remove buildup from their hair. Remember always to prioritize the health and safety of your hair when using any heat styling tool.
Hopefully, the article on how to make your straightener not smell like burnt hair has provided helpful tips and information to keep your hair straightener in good condition. With proper care, you can enjoy beautiful, frizz-free hair without any unpleasant smells. So go ahead and confidently style your hair, knowing that it’s clean and well-maintained! Happy styling!
About the Author
Jane Hubbard is a passionate beauty expert with a wealth of experience in makeup, hair, and overall beauty techniques. After years of working as a hairdresser specialist, she followed her entrepreneurial spirit and started her own consultancy business.
Jane has always been driven by her desire to help others feel confident in their own skin, and she does this by sharing her knowledge, experiences, and practical beauty tips. Through her consultancy, she empowers individuals to embrace their unique beauty, offering tailored guidance that boosts both self-esteem and personal style.
Professional Focus
- Specializes in makeup, hairstyling, and beauty consulting.
- Provides personalized beauty advice, tips, and techniques to help individuals feel confident in their appearance.
- Dedicated to staying up-to-date with the latest industry trends and developments.
- Passionate about creating a comfortable and empowering experience for every client.
Education History
- University of Craft and Design – Bachelor of Fine Arts (BFA) in Woodworking and Furniture Design
- Woodworking Apprenticeships – Extensive hands-on training with skilled craftsmen to refine carpentry and furniture making techniques
- Online Courses & Masterclasses – Continued education in advanced woodworking techniques, design principles, and specialized tools
Expertise:
- Makeup artistry, hairstyling, and beauty consulting.
- Personalized beauty techniques to enhance confidence and self-expression.
- Educating clients on how to maintain their beauty routines at home.