
For those of us who spend our days tending to the garden, heavy makeup often feels out of place. We want something that feels lightweight, looks natural, and stays put through hours of weeding and watering. Learning how to master the korean lip tint is the perfect solution. It offers a pop of color that brightens the face but remains subtle enough for everyday wear. It’s low maintenance, easy to touch up, and versatile enough to go from the garden to a dinner party with just a little extra gloss.
In this guide, we will walk through the process with the patience and precision of a master gardener. We will prepare the “soil” (your lips), apply the color with intention, and blend it out for that perfect, soft-focus finish. Whether you are completely new to makeup or just looking to switch up your routine, this technique is approachable and forgiving. Let’s dig in and cultivate a fresh new look.
Step by Step on How to Master the Korean Lip Tint
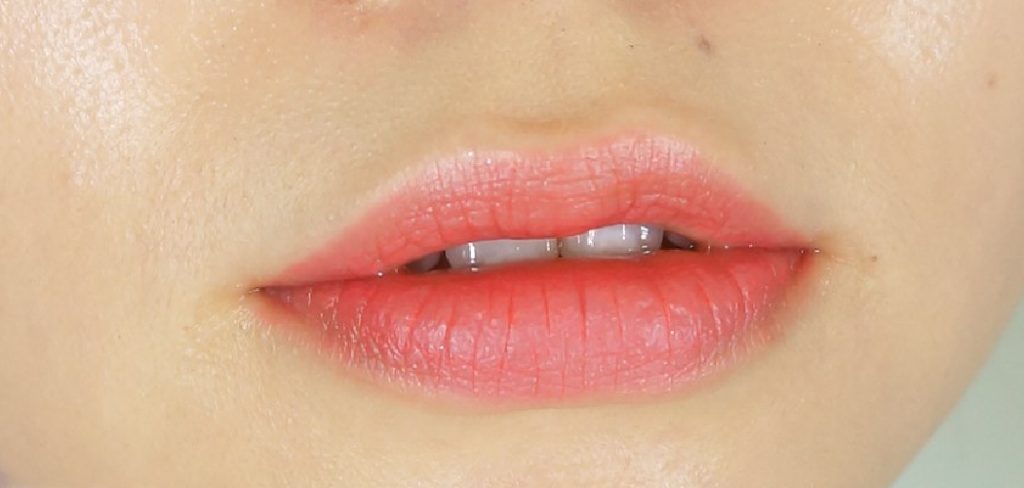
Creating a gradient lip is very similar to designing a flower bed; it requires preparation, layering, and a gentle hand. The goal is to avoid hard lines and instead create a seamless transition of color. This section will guide you through seven essential steps to achieve that coveted soft-focus pout.
Step 1: Prep and Exfoliate for a Smooth Canvas
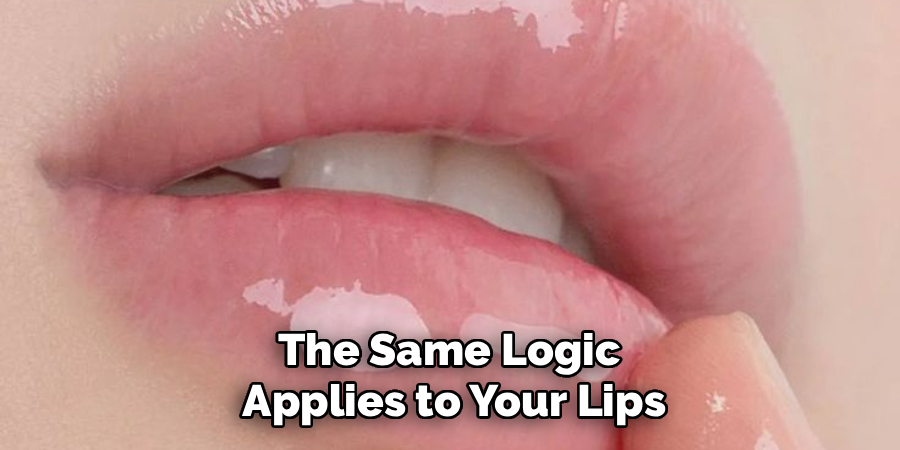
Before you plant a single seed, you must prepare the earth. The same logic applies to your lips. If your lips are dry, flaky, or chapped, the tint will settle into the cracks, creating an uneven and patchy appearance that ruins the illusion of softness. Begin by using a gentle lip scrub. You can buy one, or easily make a natural version at home using a mixture of sugar and honey—ingredients you might already have in your kitchen.
Gently massage the scrub onto your lips in circular motions for about thirty seconds. This sloughs away dead skin cells and stimulates blood flow, making your lips look plumper naturally. Rinse off the scrub with warm water and pat dry. Immediately follow up with a non-greasy lip balm to hydrate the fresh skin. Let the balm sit for a few minutes to fully absorb, just as you would let water soak into the soil. If there is excess grease, blot it away with a tissue before moving to the next step.
Step 2: Neutralize Your Natural Lip Color
To make the color of a flower truly pop, you often need a neutral background. Similarly, to get the true color of your lip tint to show, especially if you are learning how to do Korean lip tint with a lighter shade, you need to neutralize your natural lip pigmentation. This acts as a primer and ensures the gradient effect is visible. If your natural lip color is dark or very red, the gradient might not show up clearly without this step.
Take a small amount of concealer or foundation—whatever you use for the rest of your face works perfectly fine. Dab a tiny dot onto the center of your lips and use your ring finger or a makeup sponge to tap it outwards. You don’t want to completely erase your lips; you just want to tone down the natural redness around the edges. It should look like a soft, nude base. This blank slate allows the tint color to bloom from the center, creating that essential contrast between the vibrant inner lip and the pale outer edge.
Step 3: Apply the Inner Tint
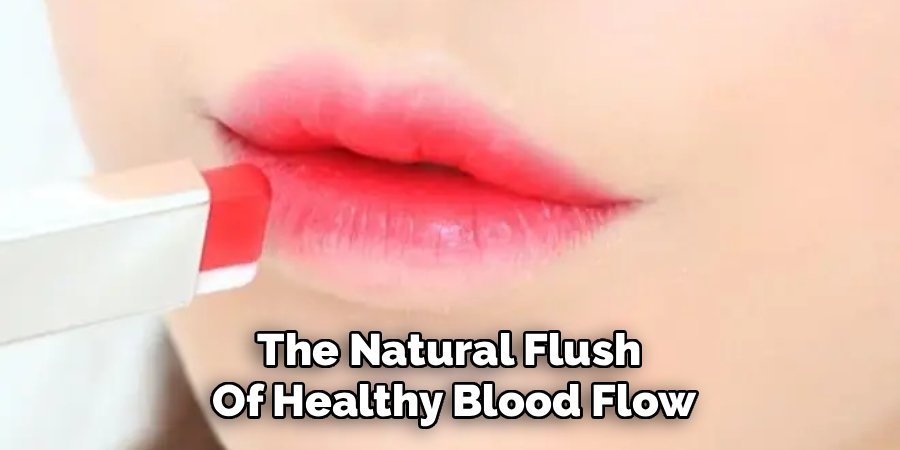
Now comes the planting phase. Choose your lip tint color. Common shades for this look are cherries, strawberries, or corals, which mimic the natural flush of healthy blood flow. Open your tint applicator and wipe off any excess product on the rim of the bottle; you want to control the amount of pigment you are depositing. A little goes a long way here, and it is always easier to add more than to take it away.
Focus your application strictly on the innermost part of your bottom lip. Imagine where your lips would naturally stain if you sucked on a red popsicle. Swipe the color along the inner mucous membrane of the bottom lip. Then, press your lips together gently—once or twice is enough—to transfer a little bit of that color to the inner part of the top lip. Do not swipe the color all over the full lip like traditional lipstick. The pigment should be concentrated in the center, like the dark heart of a poppy flower.
Step 4: Blend the Edges for a Soft Transition
In gardening, we often soften the edges of a flower bed with ground cover so it transitions naturally into the lawn. In makeup, we use blending to achieve this effect. This is the most crucial step in the gradient process. You need to blur the line between the concentrated color in the center and the nude concealer on the outer edges.
Using a clean finger, a cotton swab, or a small fluffy eyeshadow brush, gently tap the edges of the color you just applied. tap outwards toward the lip line, but stop before you actually reach the edge. You want to drag the pigment slightly so it fades out. Use a “patter” motion rather than a “wiping” motion. Wiping will smear the product and destroy the gradient. Tapping diffuses the pigment into the skin. Keep checking your work in the mirror. The color should be darkest inside the mouth and gradually get lighter until it disappears into your skin tone near the lip line.
Step 5: Add a Second Layer for Depth
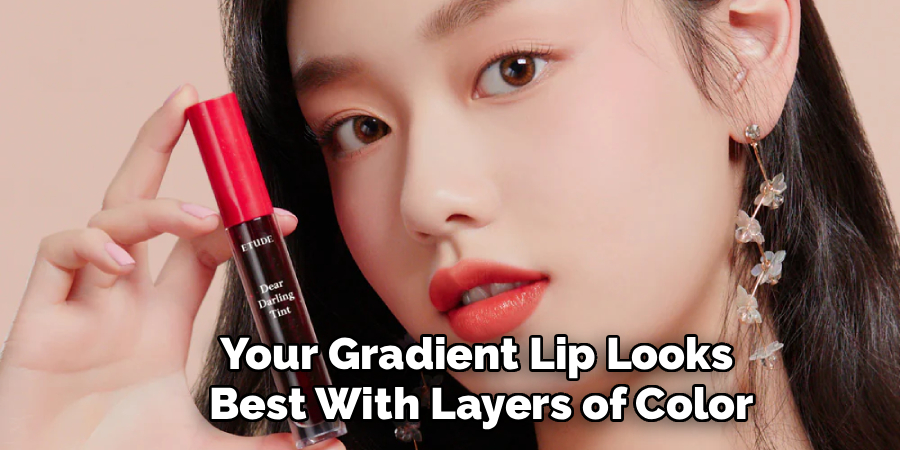
Just as a garden looks lush with layers of foliage, your gradient lip looks best with layers of color. Once your first layer is blended and dry, it is time to add depth. This creates a three-dimensional effect that makes the lips look juicier and more vibrant. This step is particularly important if you are using a sheer watery tint, as one coat might be too subtle.
Take your tint applicator again and apply a second, smaller layer of product. This time, keep it even more concentrated in the absolute center of the lips than you did in Step 3. Do not spread this layer out as far. Dab it right on the inner rim. Press your lips together gently to transfer the color. Because the first layer has already set as a base, this second layer adds a punch of intensity. It creates a “blooming” effect, looking as if the color is radiating from within. Wait a moment for this layer to dry to prevent it from bleeding into the lighter areas.
Step 6: Clean Up the Lip Line
Even the most careful gardener sometimes spills a little soil on the patio. If you accidentally blended the color too far out, or if the concealer around the edges looks a bit messy after all that tapping, it is time to tidy up. A crisp, clean edge around the gradient (where the lip meets the skin) makes the blurry gradient inside look even more intentional and professional.

Take a cotton swab with a tiny bit of makeup remover, or a small brush with a bit of concealer. Carefully trace the outer perimeter of your lips. You are not drawing a new line; you are simply erasing any pigment that traveled too far. This re-establishes the “nude” outer edge that is characteristic of the Korean gradient lip. If you used concealer, tap it gently with your finger to ensure it blends seamlessly into your surrounding skin. This step ensures the focus remains on the beautiful flush of color in the center of your mouth.
Frequently Asked Questions
What Is the Difference Between Water Tint and Velvet Tint?
When selecting products for your garden, texture matters. The same applies to lip tints. Water tints are exactly what they sound like—liquid, watery formulas. They absorb quickly into the lips, leaving a sheer wash of color that feels like nothing is there. They are very long-lasting but can be drying. Velvet tints, on the other hand, have a creamy, mousse-like texture. They sit on top of the lips more than water tints and have a soft, matte finish. Velvet tints are generally more hydrating and easier to blend for beginners, while water tints offer that classic, retro stain look.
Can I Use Lipstick Instead of Lip Tint?
Yes, you certainly can! While traditional lip tints are designed specifically to stain the skin, you can achieve a very similar effect with a standard bullet lipstick. The key is the application method. Instead of swiping the lipstick directly onto your full lips, dab the color onto your finger first, or use a lip brush.
How Do I Prevent the Tint from Drying Out My Lips?
Just as plants wilt without water, lips can dry out from alcohol-based tints. To prevent this, hydration is key. Always start with a lip scrub to remove dead skin, as tints cling to dry patches. Use a moisturizing balm ten minutes before applying your makeup. If you find water tints too drying, switch to an oil-based tint or a velvet formula, which usually contains moisturizing ingredients like dimethicone or oils.
Why Does My Gradient Lip Look Patchy?
A patchy result is usually due to the condition of the lips rather than the product itself. If your lips are chapped or have dry skin flakes, the pigment will grab onto those areas more intensely, creating dark spots. Exfoliation is the most important step to fixing this. Another reason could be that you didn’t let the first layer dry before applying the second, or you rubbed your lips together too vigorously. Remember to tap, not rub, when blending.
Is This Look Suitable for Mature Lips?
Absolutely. In fact, the gradient lip technique can be more flattering for mature lips than a full, solid lip color. As we age, our natural lip line can become less defined, and heavy lipstick can sometimes bleed into fine lines around the mouth. Because the gradient lip focuses color in the center and fades out at the edges, it avoids the lip line entirely, meaning there is no risk of feathering or bleeding.
Conclusion
Mastering the gradient lip is a lot like mastering a new planting technique; it takes a little bit of practice, but the results are wonderfully rewarding. By following these steps, you can create a look that is fresh, youthful, and enduring. It is a style that doesn’t demand constant attention, allowing you to go about your day—whether that involves potting seedlings or running errands—with confidence.
Remember that makeup, like gardening, is meant to be a relaxing and creative expression of yourself. There are no strict rules, only guidelines to help you find what works best for your features. Don’t be afraid to experiment with different colors, textures, and intensities. Now that you know how to do Korean lip tint, you have another tool in your kit to help you feel your best, most vibrant self.
About the Author
Jane Hubbard is a passionate beauty expert with a wealth of experience in makeup, hair, and overall beauty techniques. After years of working as a hairdresser specialist, she followed her entrepreneurial spirit and started her own consultancy business.
Jane has always been driven by her desire to help others feel confident in their own skin, and she does this by sharing her knowledge, experiences, and practical beauty tips. Through her consultancy, she empowers individuals to embrace their unique beauty, offering tailored guidance that boosts both self-esteem and personal style.
Professional Focus
Specializes in makeup, hairstyling, and beauty consulting.
Provides personalized beauty advice, tips, and techniques to help individuals feel confident in their appearance.
Dedicated to staying up-to-date with the latest industry trends and developments.
Passionate about creating a comfortable and empowering experience for every client.
Education History
University of Craft and Design – Bachelor of Fine Arts (BFA) in Woodworking and Furniture Design
Woodworking Apprenticeships – Extensive hands-on training with skilled craftsmen to refine carpentry and furniture making techniques
Online Courses & Masterclasses – Continued education in advanced woodworking techniques, design principles, and specialized tools
Expertise:
Makeup artistry, hairstyling, and beauty consulting.
Personalized beauty techniques to enhance confidence and self-expression.
Educating clients on how to maintain their beauty routines at home.