Are you looking for a way to make sure your hair looks perfect? Do you have a natural hair color that needs more attention and care? If so, then you’ll be glad to know that there are ways how to match your natural hair color. With the right approach and know-how, you can easily find the shade that blends seamlessly with your existing hue. Not only will this help give you a flawless finish, but it also helps prevent damage from over-processing!
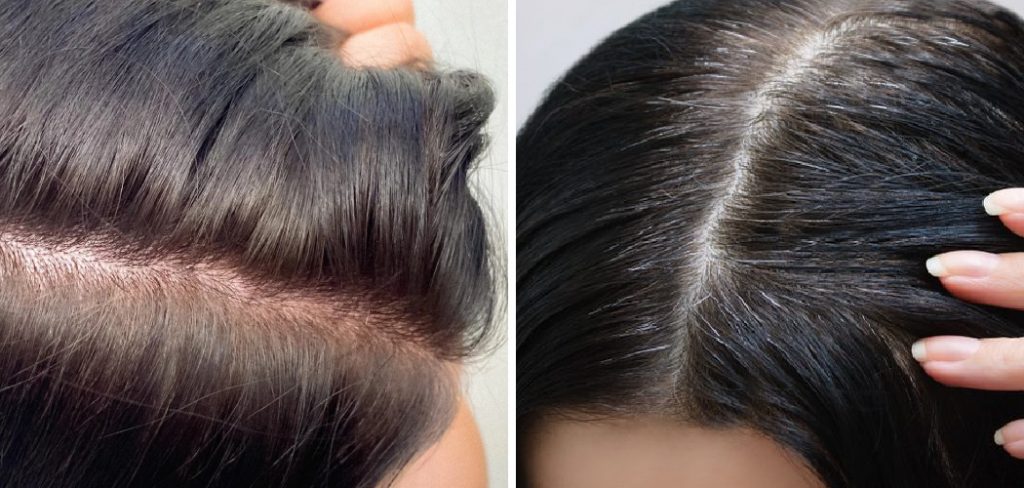
Natural hair can be a blessing, but it also comes with its challenges when finding the right hair color. Unlike dyed or treated hair, natural hair has different textures and tones that require careful consideration when choosing a new shade.
Read on for our top tips on choosing the best shade of hair dye for your natural locks.
What Will You Need?
You will need a few essential tools to achieve the perfect hair color match. These include:
- A mirror
- A good quality light source (preferably natural lighting)
- Hair dye in your desired shade
- Gloves
- Hair dye brush (optional)
- Old t-shirt or cape
- Petroleum jelly or barrier cream
Once you have everything ready, it’s time to start matching your natural hair color.
10 Easy Steps on How to Match Your Natural Hair Color
Step 1. Identify Your Shade and Undertone:
The first step is to determine your natural hair color shade and undertone. Hair color is typically categorized into light, medium, and dark shades, while undertones can be warm (red, orange, yellow), cool (blue, green, violet), or neutral. Understanding your hair’s undertone will help you select a dye that complements it. You can do this by looking at the color of your roots in natural lighting or consulting with a professional stylist.
Step 2. Select the Right Hair Dye:
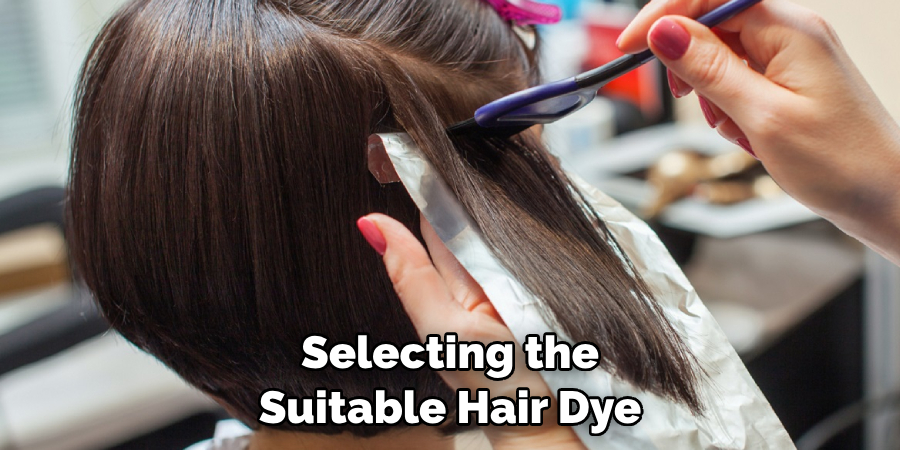
After identifying your shade and undertone, the next step is selecting the suitable hair dye. If your hair is light with warm undertones, opt for a one or two shades darker dye with the same undertones. For dark hair with cool undertones, choose a dye that’s one or two shades lighter. Make sure to read the labels of the hair dye boxes. These typically indicate the color and undertone of the dye, along with an image to show how it might look on different base colors. Always remember, it’s better to start with a lighter shade as you can always go darker later on, but it’s far more challenging to lighten a dark dye.
Step 3. Perform a Strand Test:
Before you dive headfirst into dyeing all of your hair, it’s crucial to perform a strand test. This is an easy way to see if the color matches your expectations and how it will appear on your hair. To conduct a strand test, apply a small amount of your chosen dye to a small, inconspicuous section of hair (typically at the back of your head), following the instructions provided with the dye. After the recommended time, rinse off the dye and dry your hair to see the results.
If the color is too light, select a darker shade, and if it’s too dark, opt for a lighter shade. This preparatory step can save you from potential hair disasters and ensure you’re happy with your new color.
Step 4. Prepare Your Scalp and Hair:
Before you start the dyeing process, it is essential to prepare your scalp and hair. Apply a thin layer of petroleum jelly or barrier cream along your hairline, ears, and neck to prevent staining from the dye. Ensure your hair is clean and free of any products. This will allow the pigment to penetrate evenly. If your hair is particularly coarse or dry, apply a leave-in conditioner an hour or so before dyeing. This can help protect your hair from damage and ensure a more even color result.
Step 5. Apply the Hair Dye:
Now, it’s time to apply the hair dye. Wear your old t-shirt or cape to protect your clothes from dye splatters. Put on your gloves and start applying the dye, first to your roots, then spread it through the length of your hair. If you’re using a hair dye brush, it can help achieve a more even application. Make sure all of your hair is thoroughly coated in dye. Follow the hair dye box instructions for how long to leave the dye on your hair. This can vary depending on the brand and type of dye you’re using.
Step 6. Wait for the Dye to Process:
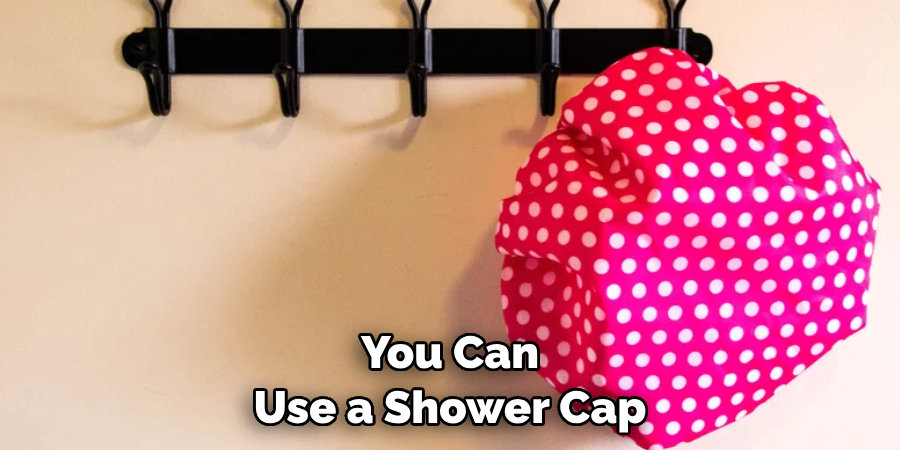
After applying the dye, you need to wait for it to process. This is when the hair color is developing and adhering to your hair. The amount of time you should leave the dye on your hair will be specified in the instructions provided with the dye. Typically, it can be anywhere from 10 to 30 minutes. Avoid leaving the dye on for longer than recommended, as this can result in over-processing, which can damage your hair and lead to an unwanted color outcome. You can use a shower cap during this waiting period to avoid staining your surroundings.
Step 7. Rinse Your Hair:
Once the processing time is up, it’s time to rinse your hair. Start rinsing your hair with lukewarm water until the water runs clear. Do not use shampoo during this initial rinse, as it can strip the color prematurely. Apply a color-safe conditioner to your hair once you have rinsed out all the dye. This will help seal the hair cuticle and lock in the color while also providing hydration to your colored hair. After applying the conditioner, leave it on for about 2-3 minutes before rinsing it out thoroughly. Finally, gently pat your hair dry with a towel, rather than rubbing, to avoid causing damage to your freshly dyed hair.
Step 8. Evaluate the Result:
After drying your hair, evaluate the result in a well-lit space, preferably in natural light. Check if the tone and shade of the dye match your natural color. Remember that newly dyed hair might seem more vibrant at first but will likely fade to a more natural-looking tone after a few washes. If the color does not match your expectations, remember to take your time with another dyeing process immediately as this could lead to hair damage. Instead, consult a professional stylist for advice. Finally, if you are pleased with the result, note the dye brand and shade so you can replicate the color in the future.
Step 9. Maintain Your Color:
After the dyeing process, it’s essential to take steps to maintain your hair color and keep it looking fresh. Firstly, switch to a sulfate-free shampoo and conditioner specifically formulated for color-treated hair. These products will help retain the color and prevent fading. Additionally, try to wash your hair less frequently to preserve the color and avoid drying out your hair.
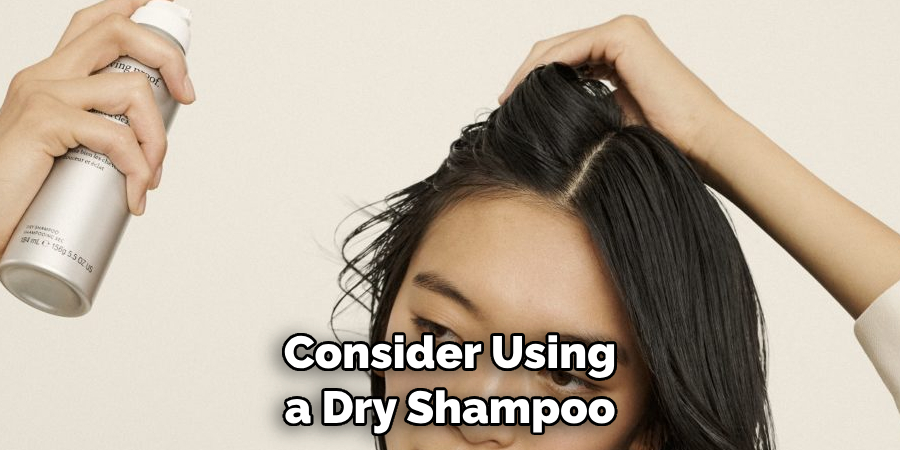
Consider using a dry shampoo between washes to keep your hair feeling clean without stripping the color. Lastly, protect your hair from excessive heat and sun exposure, as these can also cause your color to fade more rapidly. A heat protectant spray and wearing a hat or scarf in the sun are simple ways to protect your hair.
Step 10. Regular Touch-ups:
Regular touch-ups are necessary to keep your hair color consistent with your natural shade. The frequency of touch-ups depends on various factors such as hair growth rate, how quickly your color fades, and your preference. Typically, a touch-up is required every 4-6 weeks. When doing a touch-up, focus on the roots and any grey strands, as the color of the rest of your hair should still be relatively intact from the previous dye job.
Following these steps, you can achieve a natural-looking hair color that perfectly matches your own.
5 Things You Should Avoid
- Over-washing: Washing your hair daily can strip the color and make it fade faster. Try to limit washing to 2-3 times per week and use a dry shampoo in between if necessary.
- Heat Styling Without Protection: Heat can cause your hair color to fade more quickly. Always use a heat protectant before blow-drying, straightening, or curling your hair.
- Skipping Deep Conditioning: Colored hair needs extra hydration. Ignoring deep conditioning can lead to dry, brittle hair that fades faster. Try to use a deep conditioning mask at least once a week.
- Using the Wrong Products: Avoid using hair products that contain sulfates, as these can strip the color from your hair. Choose products that are labeled as safe for color-treated hair.
- Immediate Sun Exposure: Just as the sun can damage your skin, it can also damage your hair and fade your color. Wear a hat or use a hair product with SPF when you’ll be in the sun for extended periods.
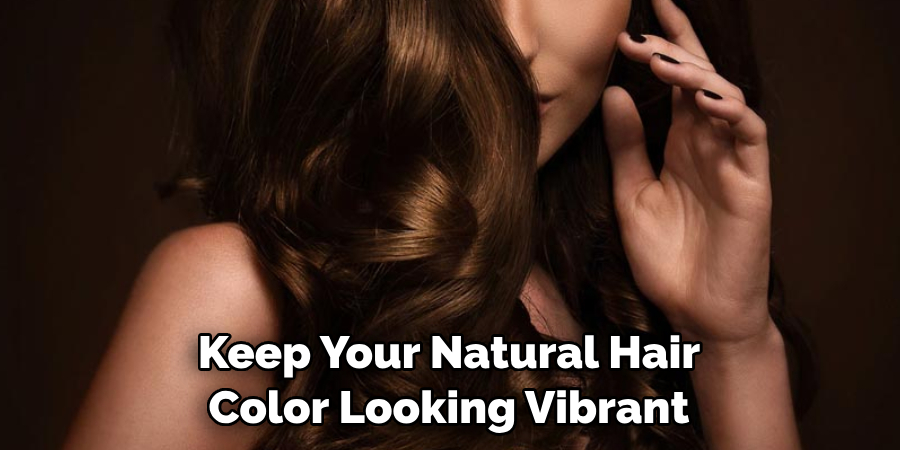
By avoiding these common mistakes, you can keep your natural hair color looking vibrant and healthy.
Conclusion
Overall, how to match your natural hair color can be difficult but it doesn’t have to be. With a few simple steps, you can achieve beautiful results that truly make you feel great. Remember to go in for regular trims and treatments and, when appropriate, use color protecting products.
Most importantly – stay true to yourself and what makes YOU feel comfortable and beautiful! Whether you’re keeping it natural or trying out something daringly new, remember that beauty comes from within as well.
So go forth with confidence and care – you are enough just as you are! Now, let’s celebrate embracing our authentic selves and love the hair we’re in!
About the Author
Jane Hubbard is a passionate beauty expert with a wealth of experience in makeup, hair, and overall beauty techniques. After years of working as a hairdresser specialist, she followed her entrepreneurial spirit and started her own consultancy business.
Jane has always been driven by her desire to help others feel confident in their own skin, and she does this by sharing her knowledge, experiences, and practical beauty tips. Through her consultancy, she empowers individuals to embrace their unique beauty, offering tailored guidance that boosts both self-esteem and personal style.
Professional Focus
- Specializes in makeup, hairstyling, and beauty consulting.
- Provides personalized beauty advice, tips, and techniques to help individuals feel confident in their appearance.
- Dedicated to staying up-to-date with the latest industry trends and developments.
- Passionate about creating a comfortable and empowering experience for every client.
Education History
- University of Craft and Design – Bachelor of Fine Arts (BFA) in Woodworking and Furniture Design
- Woodworking Apprenticeships – Extensive hands-on training with skilled craftsmen to refine carpentry and furniture making techniques
- Online Courses & Masterclasses – Continued education in advanced woodworking techniques, design principles, and specialized tools
Expertise:
- Makeup artistry, hairstyling, and beauty consulting.
- Personalized beauty techniques to enhance confidence and self-expression.
- Educating clients on how to maintain their beauty routines at home.
