
Everyone loves a bit of sparkle, whether you are decorating plant pots for the garden or adding flair to a birthday card. However, we all know the horror story: you try to pry open a new container, and suddenly, your kitchen table looks like a disco ball exploded. Glitter is notorious for getting absolutely everywhere and staying there forever. The key to avoiding this sparkly disaster lies in knowing the proper technique. You might think it is straightforward, but different brands use tricky seals that can baffle even experienced crafters.
In this guide, we will walk you through the process of how to open a glitter shaker without creating a permanent mess. We will cover everything from the initial seal removal to ensuring the shaker holes are clear for perfect distribution. Get your workspace ready, and let’s make your next project shine without the stress of a major cleanup operation.
When working with glitter shakers, it’s essential to approach the task with care to avoid spills and waste. A little preparation and the right techniques can go a long way in ensuring a smooth crafting experience. Whether you are a seasoned crafter or a beginner, understanding how to handle these shakers properly will save you time and prevent any unnecessary frustration.
How to Open a Glitter Shaker: Step-by-Step Guide
Step 1: Prepare Your Workspace
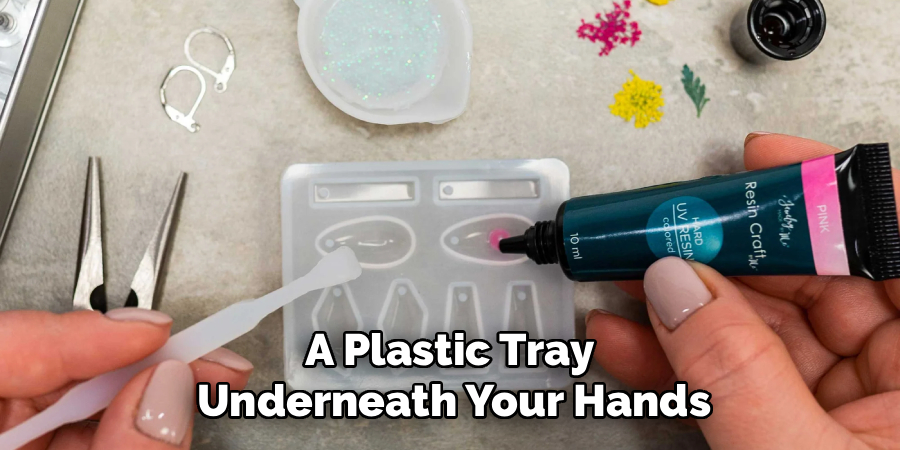
Before you even touch the container, you need to set up a safe area. Glitter has a way of traveling, so place a large sheet of paper or a plastic tray underneath your hands. This catches any stray sparkles that might fall during the opening process. If you are working outside in the garden, ensure it is not a windy day, or you will lose your supplies immediately. Having a damp paper towel nearby is also a smart move to quickly pick up any rogue flecks. By taking a moment to prep, you save hours of cleaning time later on.
Step 2: Remove the Outer Plastic Seal
Most new containers come wrapped in a tight plastic shrink seal that covers the lid. You cannot twist the cap off until this barrier is fully removed. Look for a perforated line running vertically down the side of the cap. If you cannot find one, carefully use a pair of scissors or a craft knife to slice the plastic. Be gentle so you do not scratch the container underneath. Peel the plastic strip away completely and discard it immediately. This simple action exposes the lid and gets you one step closer to accessing the sparkles inside your new jar.
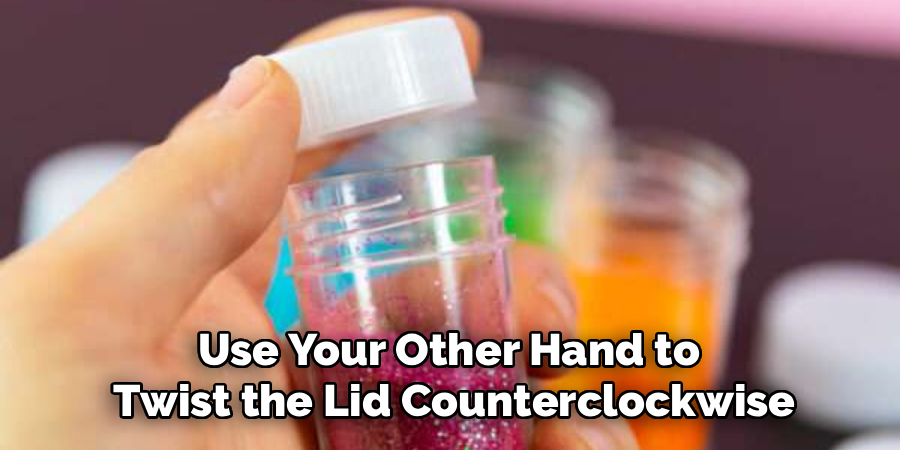
Step 3: Unscrew the Main Cap
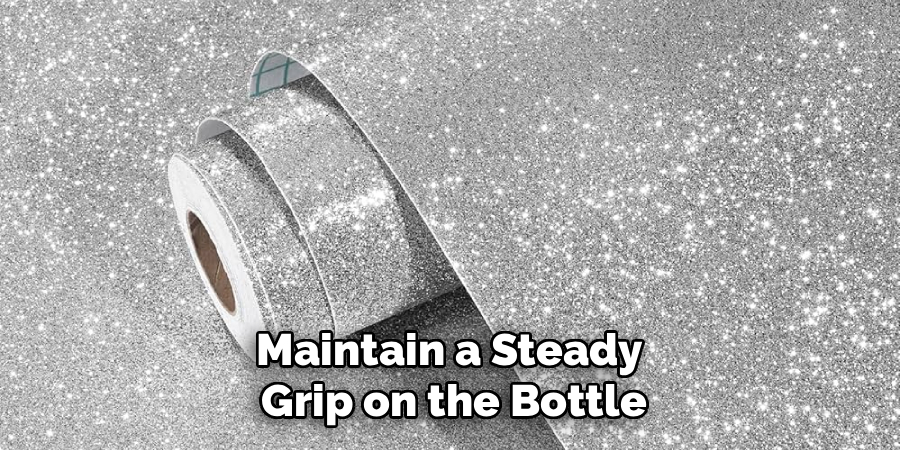
Now that the outer plastic is gone, firmly grip the base of the bottle with one hand. Use your other hand to twist the lid counterclockwise. It might be tight initially, so use a rubber grip pad if your hands are slipping. Do not pull upwards, as this could cause the glitter to jerk out if the inner seal is loose. You want a smooth, twisting motion until the cap comes free. Set the lid aside in a safe spot where it will not roll away. You are now ready to tackle the inner protective seal covering the opening.
Step 4: Loosen the Inner Protective Seal
Underneath the main cap, you will usually find a paper or foil seal glued to the rim. This is the most critical moment when learning how to open a glitter shaker cleanly. Do not just rip it off aggressively. Instead, inspect the edge of the seal to find a small tab or a loose spot where the glue is not as strong. If there is no tab, use your fingernail or a thin tool to gently lift one edge. Prying it up slowly prevents the pressure change from puffing a cloud of fine glitter dust into your face.
Step 5: Peel Back the Foil or Paper Tab
Once you have lifted the edge, maintain a steady grip on the bottle. Slowly peel the seal back across the opening. If you pull too fast, the seal might tear, leaving paper residue stuck to the rim which can block the flow later. Try to remove it in one clean piece if possible. If stubborn bits remain glued to the rim, carefully scrape them away with your fingernail or a craft knife. Ensure no debris falls into the glitter itself. A clean rim ensures the lid screws back on tightly, preventing future leaks in your crafting storage box.
Step 6: Clear the Shaker Holes
Sometimes, manufacturing debris or clumps of glitter can block the shaker holes inside the lid mechanism. Before screwing the top back on, hold it up to the light to check for obstructions. If you see any plastic bits or stuck glitter, poke them out using a pin or a straightened paper clip. This ensures a smooth flow when you start your project. It is frustrating to start shaking and get nothing out, so this preventive check is vital. It is a small detail that makes a huge difference in how to open a glitter shaker for immediate use.
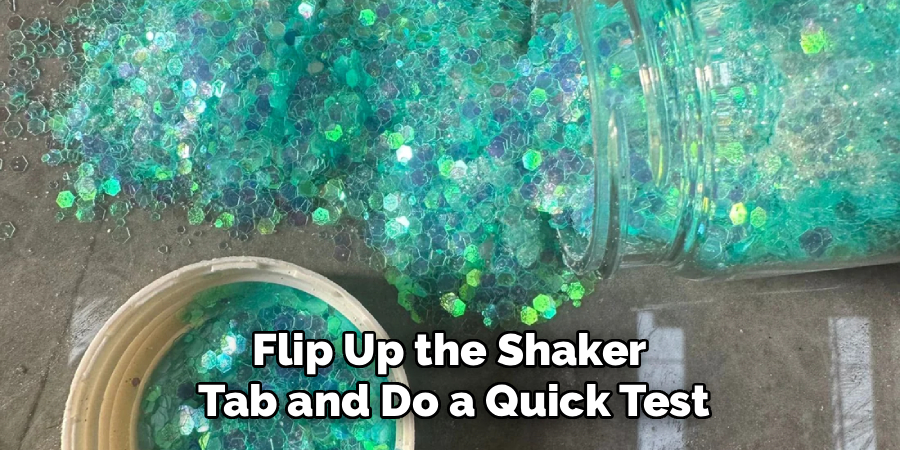
Step 7: Test the Flow and Secure the Lid
Screw the lid back onto the container, ensuring it is threaded correctly and sits tight. Flip up the shaker tab and do a quick test shake over your catch paper. The glitter should come out smoothly without clumping. If it floods out too fast, you may need to adjust the shaker opening or tape over some holes for finer control. Once you are satisfied with the flow, close the snap-top securely. Listen for a click to ensure it is sealed. Your glitter is now ready for any craft, ensuring maximum sparkle with minimum mess on your work surface.
Frequently Asked Questions
What if the lid is stuck?
If the lid refuses to budge, run the cap under hot water for thirty seconds. The heat helps expand the plastic slightly and breaks the seal of dried glue or glitter. Dry it thoroughly before trying to twist it again to prevent water from getting inside. Alternatively, wrap a rubber band around the lid to give your hand better traction. You can also ask a friend to help hold the base while you twist the top, as two pairs of hands are often better than one when dealing with stubborn factory seals.
How do I clean up spilled glitter?
Spilled glitter is annoying, but do not panic. Avoid using a wet cloth immediately, as this just smears it around and makes it stick to surfaces. Instead, use a lint roller or wrap masking tape around your hand, sticky side out. Press it onto the glitter to lift it effortlessly. For larger spills on hard floors, a vacuum with a hose attachment works wonders. If you have spilled it on a carpet, dab the area with playdough or putty, which picks up the tiny particles that a vacuum might miss.
Can I refill these shakers?
Yes, most glitter shakers are designed to be refilled. Once empty, simply unscrew the cap and use a paper funnel to pour in new glitter. This is a great way to reduce waste and mix custom colors for specific projects. Just ensure the bottle is completely dry if you washed it out, as moisture ruins glitter. It is often cheaper to buy bulk bags of glitter and refill your existing high-quality shaker bottles than to keep buying small new ones for every single project.
Why is my glitter clumping?
Glitter usually clumps due to moisture or static electricity. If you live in a humid environment, store your shakers with a small silica gel packet nearby to absorb excess moisture. If static is the issue, wiping the outside of the bottle with a dryer sheet can help reduce the charge and allow the sparkles to flow freely again. Keeping your containers in a cool, dry place away from direct sunlight also helps maintain the quality of the material over time, ensuring a smooth shake every time.
Are biodegradable glitters easier to open?
Generally, biodegradable glitter comes in very similar packaging to standard plastic glitter, so the opening mechanism is usually the same. However, the packaging might be made of cardboard or thinner eco-plastics rather than rigid plastic. In this case, be gentler when removing seals to avoid crushing the container, as cardboard is less rigid than the standard plastic bottles. Always check the manufacturer’s instructions, but usually, the screw-top and seal method remains the standard for keeping your eco-friendly sparkles safe and contained.
Conclusion
Adding a touch of sparkle to your life should be a joy, not a cleaning nightmare. By following these careful steps, you ensure that your materials are ready to go whenever inspiration strikes. Whether you are embellishing a flower pot or creating handmade greeting cards, proper preparation makes all the difference. Now that you have mastered how to open a glitter shaker safely, you can focus on the creative part of your project. Keep your workspace tidy, store your bottles upright, and enjoy the shine.
About the Author
Jane Hubbard is a passionate beauty expert with a wealth of experience in makeup, hair, and overall beauty techniques. After years of working as a hairdresser specialist, she followed her entrepreneurial spirit and started her own consultancy business.
Jane has always been driven by her desire to help others feel confident in their own skin, and she does this by sharing her knowledge, experiences, and practical beauty tips. Through her consultancy, she empowers individuals to embrace their unique beauty, offering tailored guidance that boosts both self-esteem and personal style.
Professional Focus
Specializes in makeup, hairstyling, and beauty consulting.
Provides personalized beauty advice, tips, and techniques to help individuals feel confident in their appearance.
Dedicated to staying up-to-date with the latest industry trends and developments.
Passionate about creating a comfortable and empowering experience for every client.
Education History
University of Craft and Design – Bachelor of Fine Arts (BFA) in Woodworking and Furniture Design
Woodworking Apprenticeships – Extensive hands-on training with skilled craftsmen to refine carpentry and furniture making techniques
Online Courses & Masterclasses – Continued education in advanced woodworking techniques, design principles, and specialized tools
Expertise:
Makeup artistry, hairstyling, and beauty consulting.
Personalized beauty techniques to enhance confidence and self-expression.
Educating clients on how to maintain their beauty routines at home.