Have you ever wondered how to patch test hair dye? It’s actually a pretty simple process, and in this blog post, we’ll walk you through everything you need to know. Patch testing is an important part of using any new hair dye product and can help ensure that you don’t have any adverse reactions.
This simple process can save you a lot of pain and irritation down the road, so it’s definitely worth taking the time to do it. Keep reading to learn more about patch testing hair dye and how to do it properly.
What is a Patch Test?
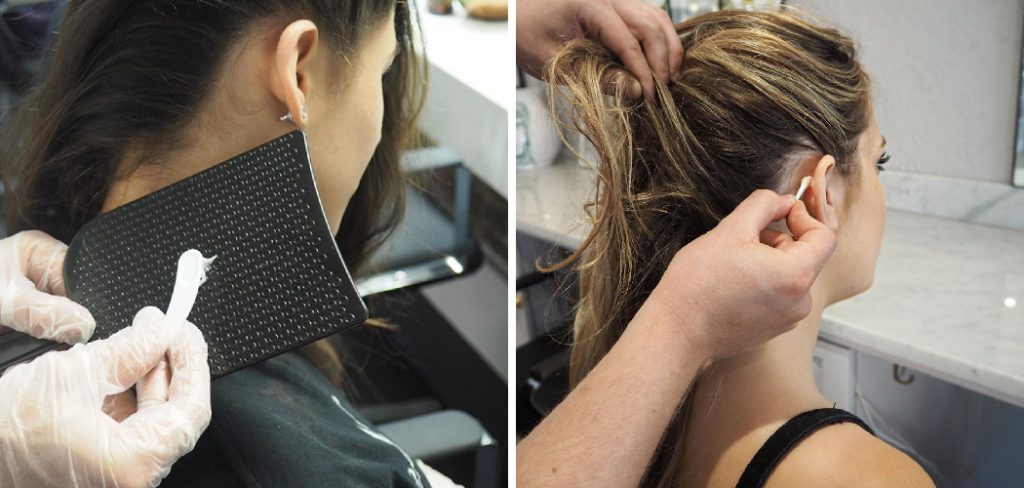
A patch test is an important step for anyone who plans to dye their hair with a new product. It’s a way to check if you’re allergic or sensitive to the ingredients in the dye before applying it over your entire head. During a patch test, you will apply small amounts of hair dye on a skin patch, usually on your arm or behind your ear. You will then leave it to sit for the amount of time indicated in the product’s packaging. After that time has passed, you can observe if there is any reaction to the dye, such as redness, swelling, itching, rashes, hives, or stinging.
If the patch test does not cause any type of reaction, you can go ahead and apply the dye to your hair. However, it’s important to note that even if you do not have a reaction during the patch test, there is still a chance of one occurring after applying the dye to your entire head. Therefore, it’s essential to follow the instructions on the product’s packaging and start with a strand test first before dyeing your entire head. Additionally, you should always read the ingredients in the hair dye and patch-test any new products you plan on using.
What Things You’ll Need?
To patch test, you will need:
- A small amount of hair dye
- A cotton swab or cotton ball
- A bandage or adhesive strip
- A watch or timer
Why is It Important to Patch Test?
It is important to patch tests because some people can be allergic to the ingredients in hair dye, which can cause a range of reactions, from mild irritation to more severe reactions such as anaphylaxis. If your hair dye is the cause of an allergic reaction, patch testing will help you determine which ingredient may be triggering the reaction.
Patch testing can also give you a general idea of how your skin might react to the hair dye, allowing you to adjust your application techniques if necessary. Furthermore, patch testing can prevent reactions that may occur after applying hair dye over large areas, such as your entire head. Therefore, patch testing is a safety measure that can help protect you from harmful reactions to hair dye.
10 Steps Guide on How to Patch Test Hair Dye
Step 1: Do a Strand Test
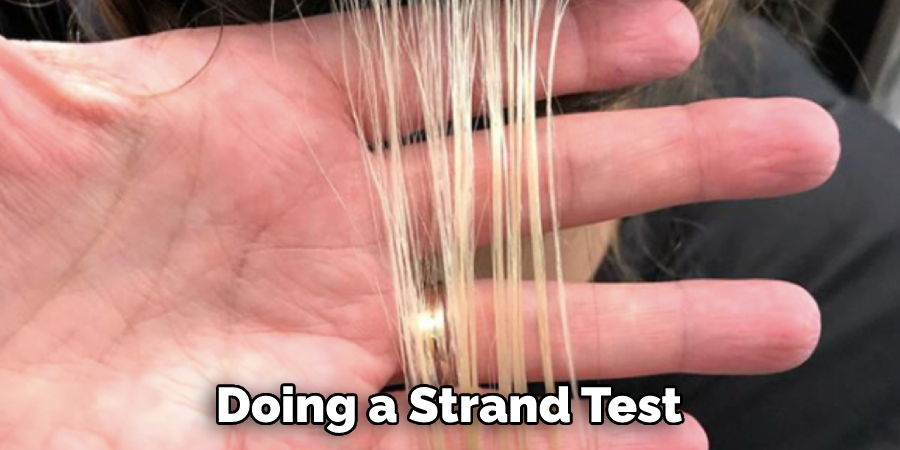
Before you dye your whole head, doing a strand test first is important. This will help you determine whether you’re allergic to the hair dye or not. To do a strand test, mix a small amount of the hair dye according to the instructions on the package. Then, apply the mixture to a small section of your skin, such as your inner elbow or behind your ear. Leave it on for 48 hours, and then check the area for any signs of irritation, such as redness, swelling, or itchiness. You can die your hair if you don’t experience any adverse reactions.
Step 2: Choose the Right Hair Dye
Not all hair dyes are created equal. If you’re looking for a hair dye that is less likely to cause an allergic reaction, then opt for one that is “patch tested” or “dermatologically tested.” These hair dyes have been specifically designed to be gentle on the skin and are less likely to cause an allergic reaction. Of course, if you want to be extra cautious, you can always use a natural hair dye that’s free of chemicals.
Step 3: Do a Patch Test
Once you’ve selected a hair dye, it’s time to do a patch test. This will help you determine if you’re allergic to any of the ingredients in the hair dye. To do a patch test, mix a small amount of the hair dye according to the instructions on the package. Then, apply the mixture to a small section of your skin, such as your inner elbow or behind your ear. Leave it on for 48 hours, and then check the area for any signs of irritation, such as redness, swelling, or itchiness. You can dye your hair if you don’t experience any adverse reactions.
Step 4: Follow the Instructions
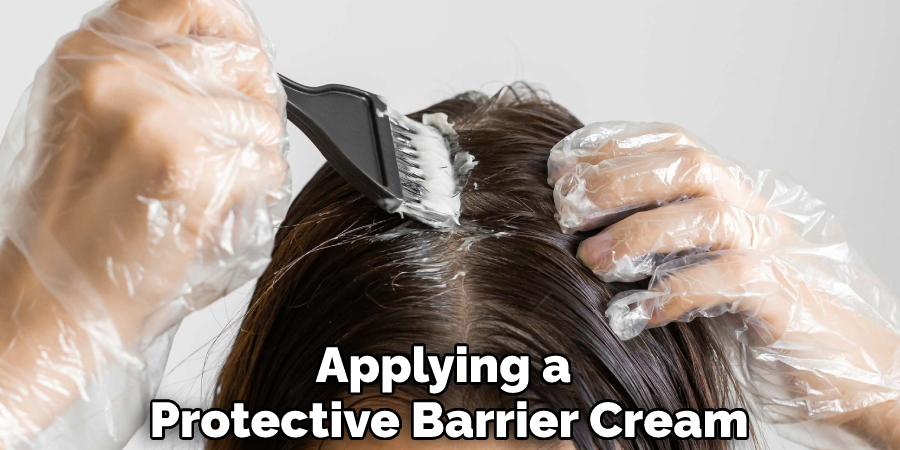
When dying your hair, it’s important to follow the instructions on the hair dye package carefully. This will help ensure that you don’t accidentally leave the dye on for too long and cause an allergic reaction. If your hair dye comes with a mixing bottle, be sure to use it as instructed. Also, check for any special instructions, such as wearing gloves or applying a protective barrier cream.
Step 5: Use Protective Gear
When dyeing your hair, it’s important to use protective gear to avoid any adverse reactions. This could include gloves, safety glasses, and even a face mask if you are sensitive to the hair dye smells. Also, if your hair dye contains a developer, it’s always best to use gloves and safety glasses because this chemical can burn your eyes and skin if not applied properly.
Step 6: Apply the Hair Dye
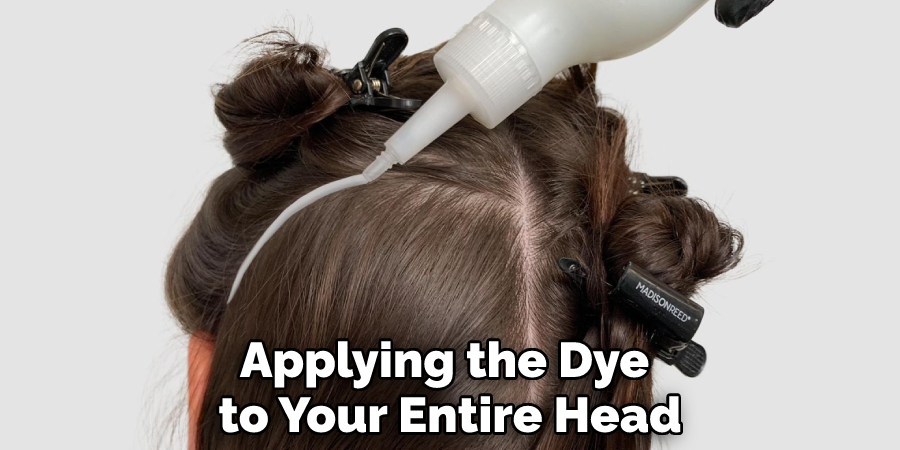
Once you have completed the patch test, it is time to apply the hair dye. Depending on the type of hair dye you are using, you may need to mix the dye with a developer. This is especially important if you are using permanent hair color. Make sure you follow the directions provided by the manufacturer, as mixing too much or too little of the chemicals can result in unexpected results. It is also important to note that hair dye should never be applied on broken or irritated skin, so make sure to take extra precautions when applying.
Step 7: Rinse Thoroughly
After you’ve dyed your hair, make sure to rinse your hair thoroughly with water until the water runs clear. This will help remove any residual hair dye from your scalp and minimize the risk of an allergic reaction. Keep in mind that the longer you leave the dye on, the more likely there will be an allergic reaction.
Step 8: Condition Your Hair
After rinsing out the hair dye, it’s important to condition your hair to help restore moisture and protect against dryness and breakage. Use a deep conditioning mask or leave-in conditioner to nourish your hair and scalp deeply. Avoid using any products containing harsh chemicals, such as sulfates, parabens, or phthalates.
Step 9: Monitor Your Scalp
After completing the patch test and applying the hair dye, keep a close eye on your scalp over the next 48 hours. Pay extra attention to any areas where you applied the patch test. If you experience any redness, irritation, or swelling around these areas, this could be a sign of an allergic reaction, and you should seek medical attention immediately.
Step 10: Consider a Professional Hair Colorist
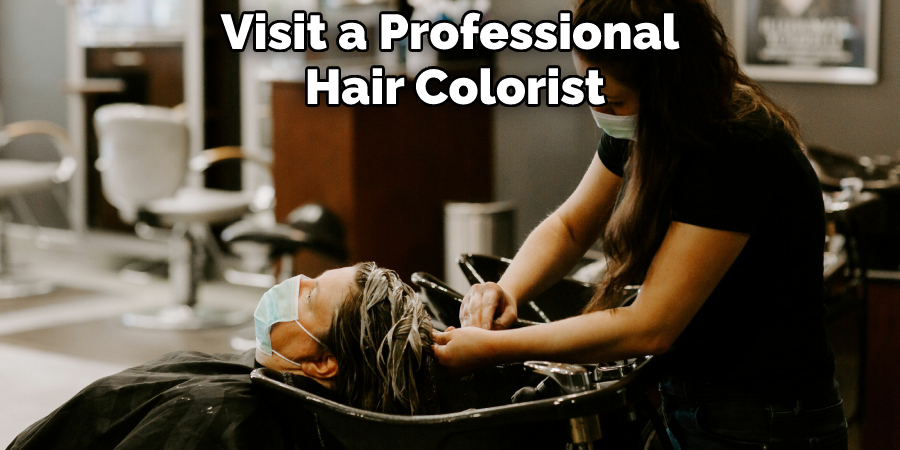
If you’re not confident in doing the patch test on your own or have had an allergic reaction before, it might be best to visit a professional hair colorist. A qualified hair colorist can perform a more thorough patch test and take special measures to reduce the risk of a reaction. Additionally, they can help you select the best hair color for your skin tone and advise on maintaining your new look.
Following these steps can help reduce the chances of an allergic reaction when using hair dye. However, it’s important to remember that even with a patch test, there is still a risk of an allergic reaction. However, with the right precautions, you can get the perfect hair color without worrying about any adverse reactions.
Frequently Asked Questions
What Should I Do if I Have a Reaction?
If you have a reaction to the hair dye during the patch test, it is important to consult a doctor immediately as you may be allergic to one or more of the ingredients in the hair dye. In addition, if you experience any symptoms such as difficulty breathing, swelling of the face or throat, or dizziness during or after using hair dye, stop using it immediately and seek medical help, as these could be signs of anaphylaxis a potentially life-threatening reaction.
When Should I Patch Test?
You should always patch test before using any new hair dye product, even if you have used that brand or type before, without any problems. This is because manufacturers can change their formulas at any time without notice, which could make you suddenly allergic to an ingredient that was previously safe for you. Additionally, even if you have used a certain brand or type of hair dye before without any problems, it is still possible to develop an allergy at any time. Therefore, it is always best to err on the side of caution and patch test before each use.
Final Words
Patching test is an important step that should never be missed, no matter how much of a hurry you are into color your hair. This will help ensure that you do not have any adverse reaction to the chemicals in the dye, and it will also help you determine how long you need to leave the dye in your hair.
We hope this guide on how to patch test hair dye was helpful. Remember, this process is crucial to ensure you don’t get an allergic reaction. In addition, by taking the time to test the product beforehand, you can avoid any potential problems down the road. So follow these steps next time you plan to color your hair!
