
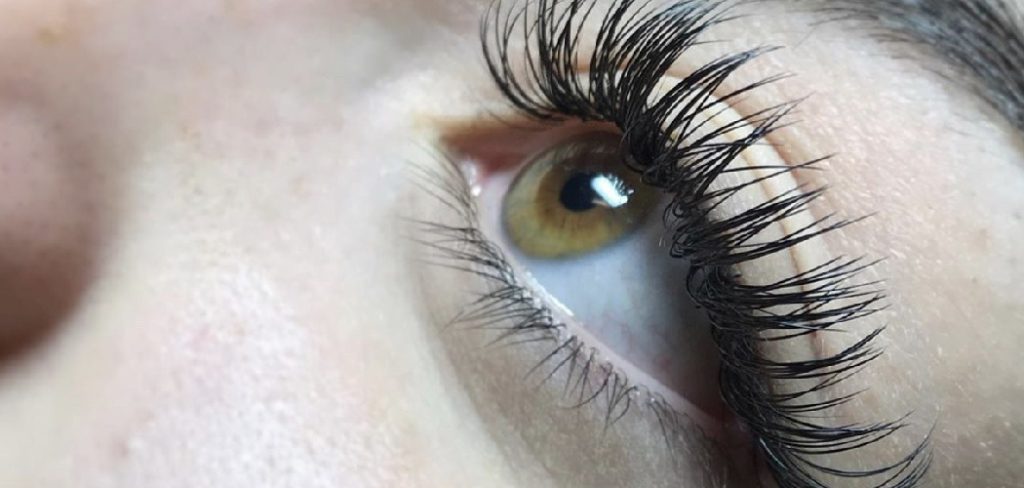
Waking up with perfectly curled, fluttery lashes feels like a dream for many beauty enthusiasts. The daily ritual of clamping down with a mechanical curler and applying layers of mascara can be time-consuming and often damaging to your delicate eye area. If you are tired of straight, lackluster lashes that refuse to hold a shape, you might be searching for a longer-lasting solution. While the term “permanent” is slightly misleading—as lashes naturally shed and regrow—a lash lift is the closest method available to achieve that semi-permanent curl.
Learning how to permanently curl lashes through a lash lift procedure can completely transform your morning routine. This process chemically alters the structure of your lash hairs, setting them into a beautiful, upward curve that lasts for weeks. Whether you choose to visit a professional salon or carefully attempt a DIY kit at home, understanding the process is crucial for safety and results. In this guide, we will walk you through everything you need to know to achieve that wide-eyed look without the daily hassle.
Why Learning To Curl Lashes Is A Game Changer
Understanding the mechanics behind long-lasting lash curling is essential for anyone looking to elevate their beauty game. Straight or downward-pointing lashes can make eyes look smaller or tired, whereas a lifted lash opens up the entire face, creating a youthful and awake appearance.
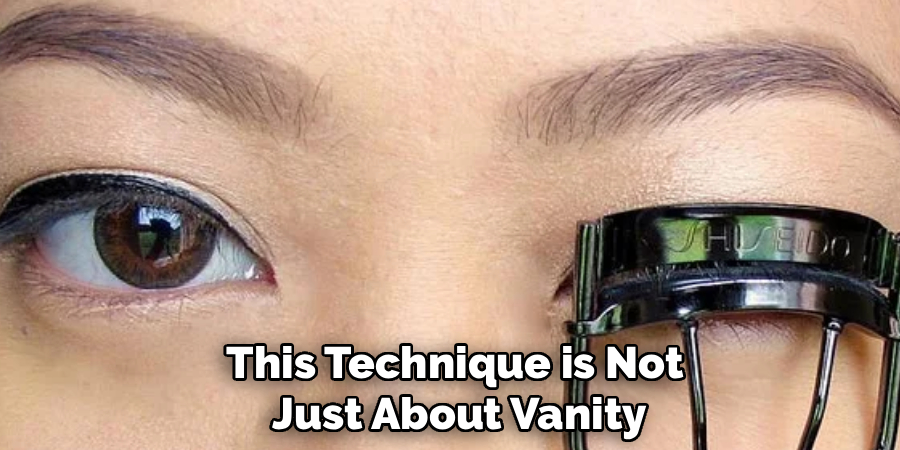
This technique is not just about vanity; it is about efficiency and hair health. Mechanical curlers work by applying physical pressure, which can crimp or snap lashes over time. By using a chemical process to set the shape, you eliminate the need for daily physical manipulation. This means less breakage and healthier growth cycles for your natural lashes. Furthermore, for those with active lifestyles or who live in humid climates where curls drop instantly, a semi-permanent solution ensures your look stays polished from the gym to the office without needing touch-ups.
Step-by-Step Guide: How To Permanently Curl Lashes
Step 1: Prep And Cleanse Your Eye Area
The most critical foundation for a successful lash lift is a pristine canvas. You must begin by thoroughly removing all traces of makeup, oil, and skincare products from your eyes and the surrounding skin. Even a microscopic amount of mascara residue or facial oil can create a barrier that prevents the lifting solutions from penetrating the hair shaft effectively. Use an oil-free cleanser specifically designed for eyes to ensure deep cleaning without leaving a slick film behind. After washing, gently pat your eyelids dry with a lint-free tissue. Ensuring your lashes are completely dry and free of debris guarantees that the adhesive and curling lotions will work at their maximum potential for a uniform result.
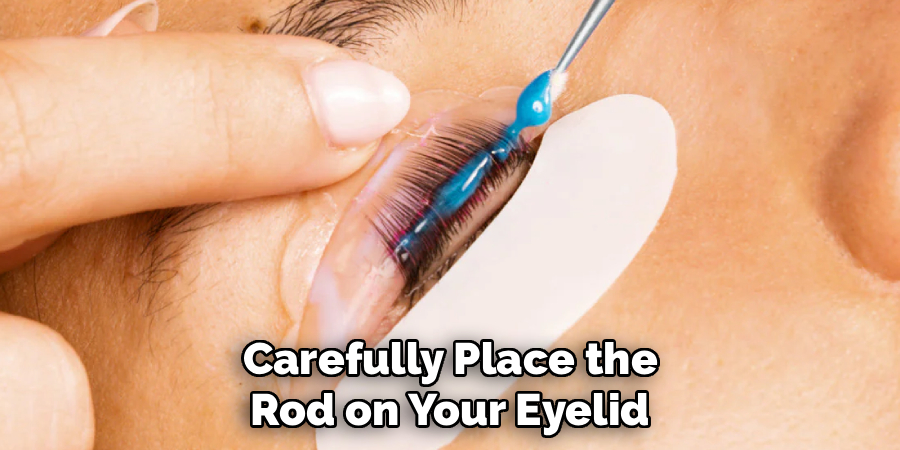
Step 2: Select And Apply The Silicon Rods
Choosing the correct size for your silicone rod or shield is vital because it determines the intensity of the curl. Smaller rods create a tighter, more dramatic C-curl, while larger rods produce a subtle, natural lift. Once you have selected your size, apply a thin layer of lash adhesive to the back of the rod and wait a few seconds for it to become tacky. Carefully place the rod on your eyelid as close to the lash line as possible without touching the hairs themselves. Press and hold it down for at least thirty seconds to ensure it adheres securely to the skin. Proper placement here is essential to prevent a gap between the lift and your eyelid.
Step 3: Adhere Lashes To The Rod
This step requires patience and precision to ensure your final look is fanned out and beautiful rather than clumpy. Apply the adhesive to the front of the silicone rod in small sections, working from the inner corner to the outer edge. Using a lash lifting tool or a clean spoolie, brush your natural lashes upward onto the glued rod. You must separate the lashes individually as you go, ensuring they are straight and parallel to one another. If lashes cross over each other on the rod, they will be permanently set in that crossed position. Take your time to ensure every single hair is taut and perfectly aligned against the silicone form.
Step 4: Apply The Perming Solution
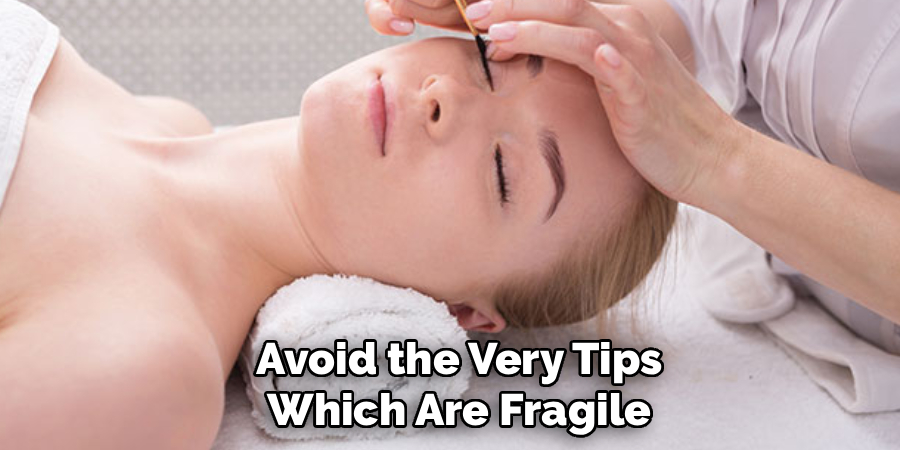
Once your lashes are securely attached to the rod, it is time to apply the perm lotion. This solution softens the disulfide bonds in your hair, allowing it to change shape. Using a micro-brush, apply the lotion carefully to the middle section of your lashes. Avoid the very tips, which are fragile and can over-process quickly, and avoid the root to prevent irritation or skin contact. The processing time varies depending on the thickness of your hair, usually ranging between eight to twelve minutes. It is crucial to follow the specific instructions of your kit strictly. Over-processing can lead to brittle, frizzy lashes, so set a timer immediately upon application.
Step 5: Remove Perm Lotion And Apply Fixative
After the perming solution has processed for the correct amount of time, remove it gently using a dry cotton swab or micro-brush in an upward motion. Do not use water at this stage. Next, apply the setting or fixing lotion to the exact same area where the perming solution was placed. This step neutralizes the perm and reforms the bonds in the hair, locking in the new curled shape. Just like the first solution, this needs to sit for a specific duration, typically matching the time used for the perming lotion. This creates the structure of your new look, effectively showing you how to permanently curl lashes by chemically setting the curve.
Step 6: Nourish And Clean The Lashes
Once the setting lotion has done its job, gently wipe it away using a dry cotton swab. Now it is time to remove the lashes from the silicone rod. Apply a nourishing oil or cleanser provided in your kit to dissolve the adhesive. Gently rub the solution over the lashes until they detach from the rod, and the rod detaches from your eyelid. This nourishing step is vital as it rehydrates the lashes after the chemical treatment, restoring moisture and shine. Be gentle during removal to avoid pulling out any natural lashes. Use a clean spoolie to comb through your lashes, removing any remaining glue residue and separating the hairs for a fluffy finish.
Step 7: Aftercare For Long-Lasting Results
The first twenty-four hours after your treatment are crucial for maintaining the curl. You must keep your lashes completely dry and avoid steam, saunas, and swimming. Water can weaken the newly formed bonds before they have fully hardened. additionally, avoid sleeping on your face or rubbing your eyes, as the lashes are still malleable and can become misshapen. Skip mascara and heavy eye creams for a day to allow the cuticle to seal properly. By following these strict aftercare rules, you ensure the lift lasts for the full natural growth cycle of your lashes, typically six to eight weeks.
Frequently Asked Questions
Is A Lash Lift Safe For Sensitive Eyes?
Generally, lash lifts are safe, but patch testing is essential. If you have sensitive eyes or skin, apply a small amount of the solutions behind your ear 24 hours before the treatment. If redness or irritation occurs, do not proceed. Always choose high-quality kits or certified professionals to minimize risks.
How Long Does A Lash Lift Actually Last?
A lash lift typically lasts between six to eight weeks. This duration depends on your natural lash growth cycle. As your natural lashes shed and new straight ones grow in, the effect will gradually fade. You can repeat the treatment once you notice the majority of your lashes have returned to their natural state.
Can I Wear Mascara With A Lash Lift?
Yes, you can absolutely wear mascara. However, you should wait at least 24 hours after the treatment before applying any eye makeup. For the best maintenance, use water-based mascaras rather than waterproof formulas, as waterproof mascara requires harsh scrubbing to remove, which can weaken the lift and damage the lashes.
Will This Process Damage My Natural Lashes?
If performed correctly, a lash lift should not damage your natural lashes. Damage usually occurs from over-processing (leaving solutions on too long) or using poor-quality products. Following the instructions precisely and adhering to the recommended timing for your hair type is the best way to ensure your lashes remain healthy and strong.
Can I Do This On Short Lashes?
Yes, lash lifts can work on short lashes. In fact, they can make short lashes appear significantly longer by lifting them from the root. However, using the correct rod size is crucial; smaller rods are better suited for shorter lashes to create a noticeable curve rather than just a slight lift.
Conclusion
Achieving salon-quality results at home is entirely possible with the right preparation and patience. By understanding the process of a lash lift, you can enjoy weeks of beautifully curled lashes without the daily need for mechanical tools. It simplifies your beauty routine, opens up your eyes, and gives you a polished look from the moment you wake up.
Remember that safety is paramount. Always perform a patch test, follow instructions religiously, and prioritize the health of your natural hair. With these steps, you now know how to permanently curl lashes effectively, giving you the confidence to flaunt a stunning, wide-eyed look every single day.
About the Author
Jane Hubbard is a passionate beauty expert with a wealth of experience in makeup, hair, and overall beauty techniques. After years of working as a hairdresser specialist, she followed her entrepreneurial spirit and started her own consultancy business.
Jane has always been driven by her desire to help others feel confident in their own skin, and she does this by sharing her knowledge, experiences, and practical beauty tips. Through her consultancy, she empowers individuals to embrace their unique beauty, offering tailored guidance that boosts both self-esteem and personal style.
Professional Focus
- Specializes in makeup, hairstyling, and beauty consulting.
- Provides personalized beauty advice, tips, and techniques to help individuals feel confident in their appearance.
- Dedicated to staying up-to-date with the latest industry trends and developments.
- Passionate about creating a comfortable and empowering experience for every client.
Education History
- University of Craft and Design – Bachelor of Fine Arts (BFA) in Woodworking and Furniture Design
- Woodworking Apprenticeships – Extensive hands-on training with skilled craftsmen to refine carpentry and furniture making techniques
- Online Courses & Masterclasses – Continued education in advanced woodworking techniques, design principles, and specialized tools
Expertise:
- Makeup artistry, hairstyling, and beauty consulting.
- Personalized beauty techniques to enhance confidence and self-expression.
- Educating clients on how to maintain their beauty routines at home.