
Applying false lashes can feel intimidating, especially when you are staring at a tiny strip of hair and a tube of glue, wondering how it will ever look natural. You might have had past disasters with corners lifting, glue getting everywhere, or the lash sitting too high on your lid. But with a little patience and the right technique, anyone can master this skill. False lashes have the power to completely transform your look, opening up your eyes and adding a touch of glamour that mascara alone simply cannot achieve.
Whether you want a subtle enhancement for daytime or dramatic volume for a night out, learning the proper application method is key. This guide breaks down the process into manageable parts so you can skip the expensive salon appointments. By following these instructions, you will learn how to put false eyelashes on yourself with confidence and ease, achieving a flawless flutter every single time. Get ready to elevate your beauty routine and frame your eyes like a professional makeup artist.
Step-by-Step Guide: How to Put False Eyelashes on Yourself
Step 1: Prepare Your Natural Lashes and Eye Area
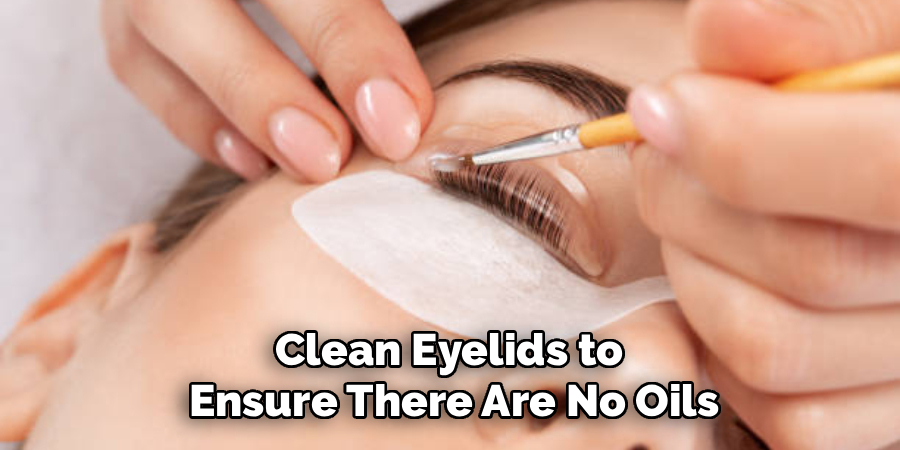
Before you even touch the false lashes, the condition of your natural eye area sets the stage for success. Start with clean eyelids to ensure there are no oils or leftover makeup that could interfere with the adhesive. If you plan to wear eyeshadow or eyeliner, apply those first; applying makeup after the lashes are on can be messy and might dislodge the band.
Next, curl your natural lashes. This is a crucial step that many beginners skip, but it makes a huge difference. Curling helps your real lashes blend seamlessly with the curve of the falsies, preventing that awkward separation where your straight lashes poke out from underneath the curled false ones. Apply a light coat of mascara to your natural lashes after curling.
Step 2: Measure and Trim the Lash Strip
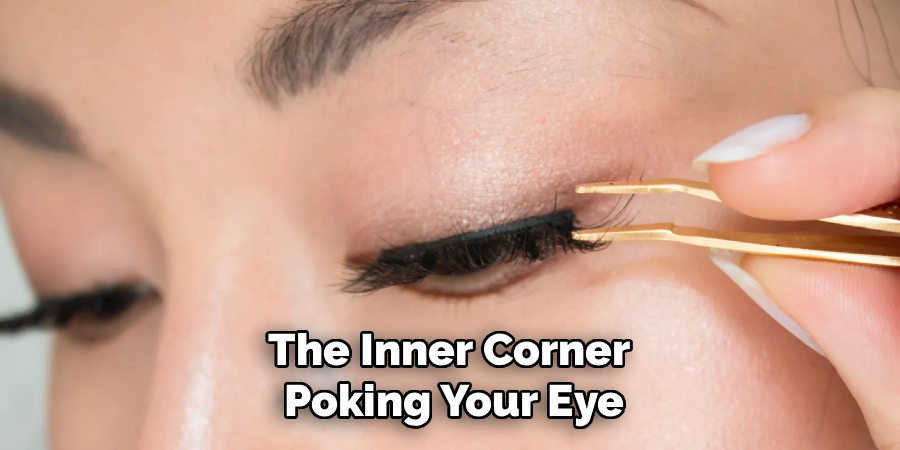
One size rarely fits all when it comes to false eyelashes. Most strips are made extra long to accommodate different eye shapes, so wearing them straight out of the box usually results in a drooping effect or the inner corner poking your eye. To get the perfect fit, gently remove the lash from the tray and hold it against your lash line. Align the start of the lash band with where your natural lashes begin on the inner corner.
Notice how much overhang there is at the outer corner. If the lash extends beyond your natural lash line, it will drag your eye down visually. Take the lash down and use small grooming scissors to trim the excess from the outer corner, not the inner corner. Trimming from the outer edge preserves the natural taper of the lashes, ensuring they look realistic. It is always better to trim less than you think you need and measure again, rather than cutting off too much at once.
Step 3: Flex the Lash Band for Better Fit
New false eyelashes can be stiff right out of the packaging, which makes them fight against the natural curve of your eyelid. This stiffness is a common reason why the corners tend to pop up shortly after application. To prevent this, wrap the lash band around your finger or a makeup brush handle for a few seconds to loosen it up. Alternatively, you can hold the ends of the lash strip and gently wiggle them back and forth in a “U” shape. This movement breaks the tension in the band, making it more flexible and pliable. A flexible band will hug your lash line much more effectively than a stiff one, ensuring comfortable wear throughout the day.
Step 4: Apply the Adhesive Correcting for Tacky Consistency
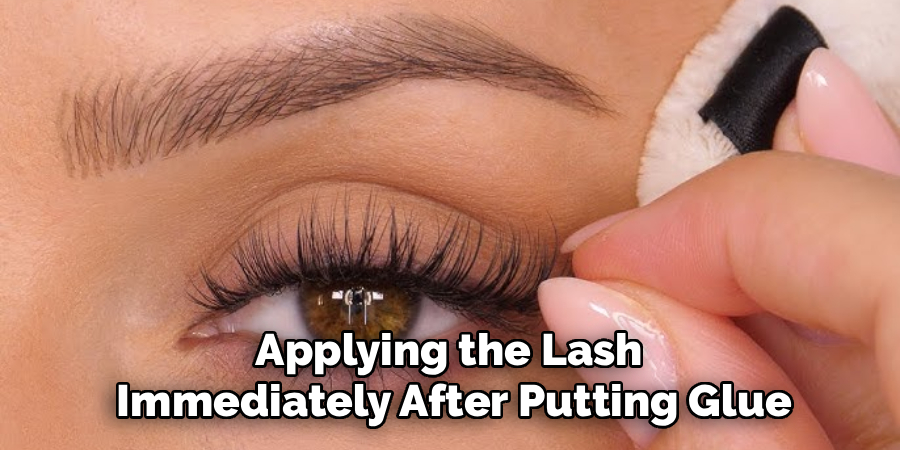
Applying glue correctly is perhaps the most critical part of learning how to put false eyelashes on yourself. Many people make the mistake of applying the lash immediately after putting glue on the band, which causes the strip to slide around and make a mess. Instead, apply a thin, even layer of lash adhesive along the entire band. You can squeeze the glue directly onto the strip or use a toothpick for more precision.
Pay extra attention to the inner and outer corners, adding a tiny bit more product there since these areas are most prone to lifting. Once the glue is applied, wait. You need to let the adhesive dry for about 30 to 40 seconds until it becomes tacky and sticky, rather than wet and slippery.
Step 5: Position the Mirror and Look Downward
Body positioning plays a surprisingly large role in successful lash application. If you look straight ahead into a mirror, your eyelashes will be in the way, and you will likely close your eye as a reflex, which bunches up the skin. Instead, place a mirror flat on a table or hold a hand mirror below your chin level. Look down into the mirror while keeping your eyes open.
This angle stretches your eyelid smooth and exposes your upper lash line fully, giving you the maximum amount of space to work with. It also prevents your natural lashes from obstructing your view of the lash band. By looking downward, you can see exactly where the falsie is landing in relation to your real lash roots.
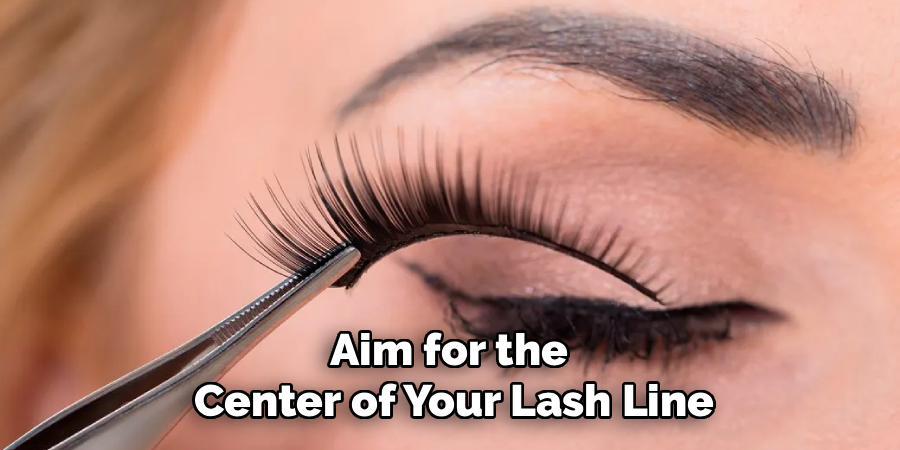
Step 6: Apply the Lash to the Center and Secure the Ends
With your mirror positioned correctly and the glue at the perfect tacky consistency, you are ready to apply. Grab the middle of the false lash using tweezers or a lash applicator tool—fingers can work, but tools offer better visibility. Aim for the center of your lash line and place the strip down right on top of your natural lashes, as close to the skin as you can get.
Once the center is anchored, the rest becomes much easier. Use your tweezers to gently grab the outer corner of the strip and press it down along your natural lash line. Then, do the same for the inner corner. If the glue is tacky enough, it should stick immediately.
Step 7: Seamlessly Blend Your Natural and False Lashes
Once the lash strip is securely glued down and the adhesive has dried completely—usually clear or black depending on your glue choice—it is time for the finishing touches. To make the false lashes look like they are truly yours, you need to blend them with your natural hairs.
Take a lash curler and gently pulse it at the base of your lashes, squeezing your real and false lashes together. Be gentle so you don’t pull the strip off. This clamps them together into one cohesive unit. Follow up with another light coat of mascara if needed to mesh the textures together. Finally, check for any visible gaps between the lash band and your lash line.
Frequently Asked Questions
How Do I Remove False Lashes Without Damaging My Real Ones?
Removing false lashes requires patience and gentleness to protect your natural eyelashes and the delicate skin around your eyes. Never rip the lashes off dry, as this can pull out your natural hairs and cause irritation. Start by soaking a cotton pad or a Q-tip with an oil-free makeup remover or a dedicated lash adhesive remover. Hold the saturated pad against your closed eye for about 30 seconds to dissolve the glue.
Once the adhesive has softened, gently lift the outer corner of the lash band and slowly peel it away from your eyelid towards the inner corner. If you feel any resistance, stop and apply more makeup remover. After the lash is off, use the remover to clean any remaining glue residue from your eyelid. Finally, cleanse your face as usual to ensure all traces of makeup and adhesive are gone.
Can I Reuse My False Eyelashes Multiple Times?
Yes, high-quality false eyelashes can be reused multiple times if you care for them properly. Synthetic lashes can typically be worn 5 to 10 times, while mink or silk lashes might last up to 20 wears with diligent maintenance. The key to longevity is keeping them clean and storing them correctly. After every use, you must remove the old adhesive from the lash band. Gently peel off the dried glue with tweezers, being careful not to tear the band itself. If there is mascara buildup on the lashes, clean them gently with a cotton swab dipped in makeup remover or rubbing alcohol.
What Type Of Lash Glue Is Best For Beginners?
For beginners, a brush-on adhesive that dries clear is generally the easiest option to work with. Tube glues can be messy and hard to control, often dispensing too much product at once. A brush-on applicator allows you to paint a thin, precise line of adhesive directly onto the lash band without any globs. Choosing a formula that applies white or iridescent and dries clear is incredibly helpful because it acts as a visual guide; you can see exactly where you have applied the glue, and you know it is dry when the white color disappears.
Latex-free formulas are also recommended if you have sensitive eyes or a latex allergy, as they are less likely to cause irritation. As you get more comfortable, you might experiment with dark-tone glues that blend in with eyeliner, but clear glue is the most forgiving for learning the ropes.
How Do I Clean My False Lashes After Wearing Them?
Cleaning your false lashes is essential for hygiene and extending their lifespan. Start by laying the lashes on a clean paper towel. Take a cotton swab dipped in oil-free makeup remover or micellar water and gently run it along the lash band to loosen the glue and any eyeliner buildup. Use tweezers to carefully pick off the softened glue residue from the band. To clean the lash fibers themselves, place the lashes between two cotton pads soaked in makeup remover and gently press them together—do not rub, as this can distort the shape or cause shedding.
Is It Safe To Wear False Lashes With Contact Lenses?
Yes, it is generally safe to wear false lashes with contact lenses, but you should take extra precautions to avoid irritation or infection. Always insert your contact lenses before applying your makeup and false lashes. This prevents any makeup particles, glitter, or lash glue from getting trapped underneath the lens, which can be extremely painful and damaging to the cornea. When applying the glue, be careful not to use too much, as excess adhesive can seep into the eye and cloud the lens. It is also wise to choose hypoallergenic and latex-free lash glue to minimize the risk of an allergic reaction.
Conclusion
Applying false lashes is a skill that gets easier with every attempt. While your first try might feel clumsy, practicing the technique of measuring, trimming, and waiting for the glue to get tacky will eventually become second nature. Remember that even makeup artists had to learn the basics at some point. By following these steps and being patient with yourself, you can achieve that stunning, wide-eyed look without leaving your house.
Whether you are preparing for a special event or just want to spice up your Tuesday, knowing how to put false eyelashes on yourself empowers you to take control of your beauty routine. Keep practicing, experiment with different lash styles, and enjoy the confidence boost that comes with a perfectly applied set of lashes.
About the Author
Jane Hubbard is a passionate beauty expert with a wealth of experience in makeup, hair, and overall beauty techniques. After years of working as a hairdresser specialist, she followed her entrepreneurial spirit and started her own consultancy business.
Jane has always been driven by her desire to help others feel confident in their own skin, and she does this by sharing her knowledge, experiences, and practical beauty tips. Through her consultancy, she empowers individuals to embrace their unique beauty, offering tailored guidance that boosts both self-esteem and personal style.
Professional Focus
- Specializes in makeup, hairstyling, and beauty consulting.
- Provides personalized beauty advice, tips, and techniques to help individuals feel confident in their appearance.
- Dedicated to staying up-to-date with the latest industry trends and developments.
- Passionate about creating a comfortable and empowering experience for every client.
Education History
- University of Craft and Design – Bachelor of Fine Arts (BFA) in Woodworking and Furniture Design
- Woodworking Apprenticeships – Extensive hands-on training with skilled craftsmen to refine carpentry and furniture making techniques
- Online Courses & Masterclasses – Continued education in advanced woodworking techniques, design principles, and specialized tools
Expertise:
- Makeup artistry, hairstyling, and beauty consulting.
- Personalized beauty techniques to enhance confidence and self-expression.
- Educating clients on how to maintain their beauty routines at home.