
Are you looking for a way to achieve gorgeous, bouncy curls without using a curling iron or hot rollers? Look no further than mousse!
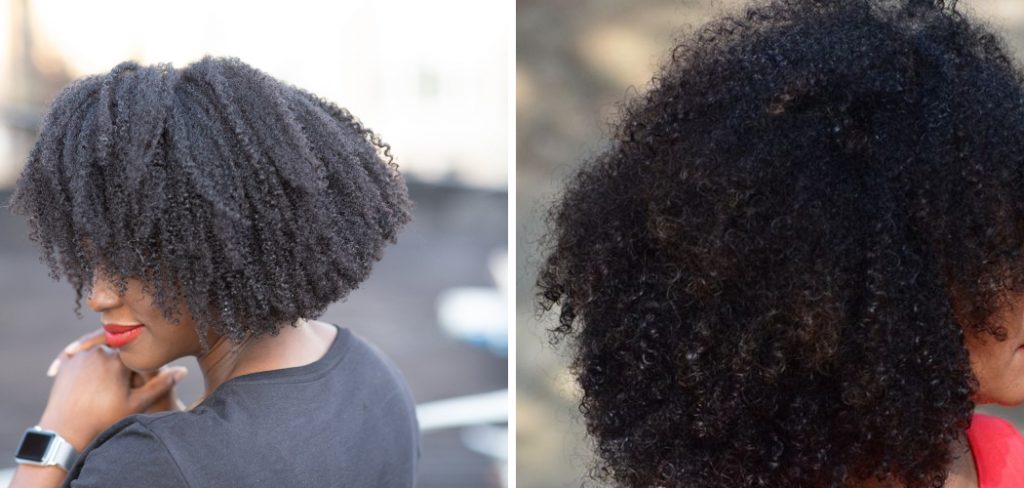
Achieving well-defined, bouncy curls often starts with using the right styling products, and mousse is a popular choice for many with curly hair. Mousse is a lightweight foam that helps enhance curls, reduce frizz, and provide hold without weighing the hair down. Applying mousse correctly can make a big difference in your curls’ overall look and feel, giving them structure while maintaining natural movement.
Whether you want to enhance your natural curl pattern or keep your hair styled all day, learning the proper technique for applying mousse is essential. Let’s explore the steps on how to put mousse in curly hair.
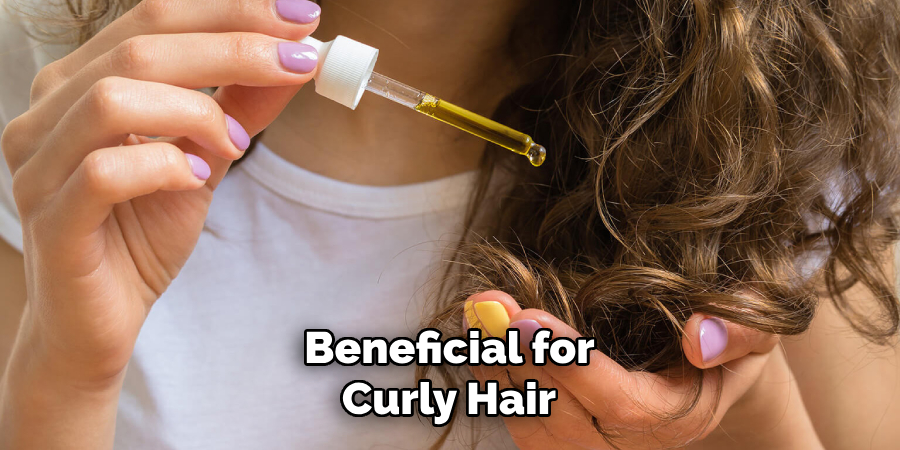
What Are the Benefits of Using Mousse for Curly Hair?
Before we dive into the steps of applying mousse, it’s essential to understand why this product is beneficial for curly hair. Some of the benefits include:
- Enhancing Natural Curl Pattern: Mousse adds volume and definition to your curls, making them look more defined and bouncy. It can also help revive limp or flat curls.
- Reducing Frizz: The lightweight mousse formula helps tame frizz without weighing down your hair. This is especially helpful for those with naturally frizzy or unruly curls.
- Providing Hold: Unlike other styling products, mousse offers a light to medium hold that keeps your curls in place without making them stiff or crunchy. This allows for natural movement and touchable curls.
- Versatility: Mousse can be used on both wet and dry hair, making it a versatile styling product that can be used for various styling techniques.
What Will You Need?
Before we get into the steps, gather these essential items:
- Mousse: Choose a mousse specifically designed for curly hair, preferably lightweight and alcohol-free. This will ensure that your curls are not weighed down or dried out.
- Wide-tooth Comb: Use a wide-tooth comb to detangle your hair and evenly distribute the mousse.
- Microfiber Towel: A microfiber towel is gentle on hair and helps reduce frizz while drying.
- Hair Dryer (Optional): If you prefer a diffuser for faster drying time, have a hairdryer with a diffuser attachment ready.
Once you have these items, let’s get started on how to put mousse in curly hair.
10 Easy Steps on How to Put Mousse in Curly Hair
Step 1: Start with Clean, Damp Hair
Begin by washing your hair with a shampoo and conditioner specifically formulated for curly hair. These products will help enhance the natural curl pattern and provide the moisture your curls need. Once your hair is clean, gently squeeze the excess water using your hands or a microfiber towel. Avoid rubbing your hair with a regular towel, which can cause frizz and breakage. The goal is to leave your hair damp but not dripping wet, as this will ensure an even application of the mousse and a better curl definition.
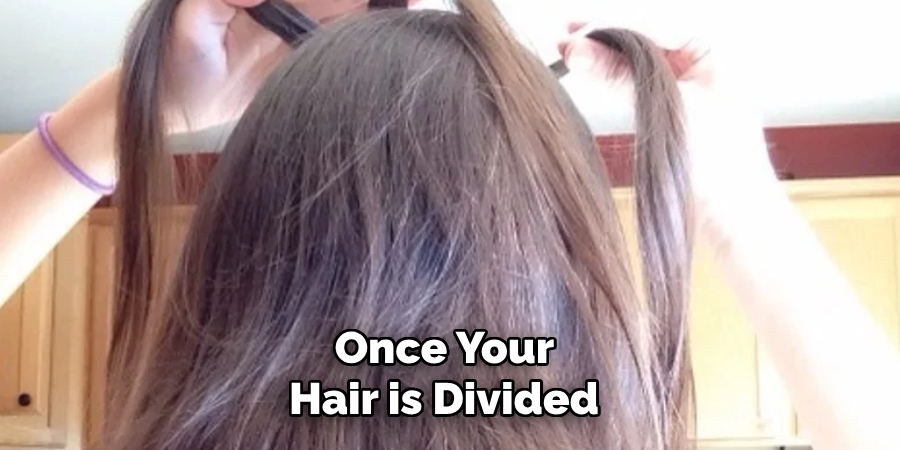
Step 2: Divide Your Hair into Sections
Dividing your hair into sections is an essential step for achieving an even application of mousse and ensuring well-defined curls. Start by parting your hair into four or more manageable sections, depending on your hair’s thickness and length. You can use hair clips or clamps to keep each section separated. Working in smaller sections allows you to coat your curls thoroughly with product and ensures no strand is missed. Focus on detangling each section gently with your fingers or a wide-tooth comb if necessary.
This step will prepare your curls for proper product distribution and prevent clumping or uneven texture later. Taking the time to divide your hair will make the styling process more manageable and result in more uniform and polished curls.
Step 3: Apply Mousse to Each Section
Once your hair is divided into sections, it’s time to apply the mousse. Start by dispensing a small amount of mousse into the palm of your hand; the exact amount will depend on the density and length of your hair, but a golf ball-sized portion is a good starting point. Take one section of hair and gently work the mousse from roots to tips, ensuring even distribution. Pay particular attention to the ends of your hair, as they tend to be the driest and often need the most product.
Use your fingers to scrunch the mousse into your curls, encouraging their natural shape and structure to form. If needed, add more mousse to areas that feel dry or lack definition.
Step 4: Use Scrunching Motion
Scrunching is a crucial technique for enhancing curl definition and achieving bouncy results. With the mousse applied to a section, cup the ends of your hair in your palms and gently push them upward toward your scalp. This motion encourages the natural curl pattern to form and helps lock in the shape as the product sets. Repeat this scrunching motion for each section of your hair, ensuring you give equal attention to all areas. Be gentle to avoid disrupting your curl pattern or causing unnecessary frizz.
Scrunching helps the mousse work effectively and adds volume and texture to your curls for a lively, natural look.
Step 5: Dry Your Hair Properly
Once you have scrunched your curls, it’s time to dry your hair while preserving the shape you’ve created. For the best results, use a microfiber towel or a cotton T-shirt to gently scrunch out excess moisture without causing frizz. Alternatively, you can use a diffuser attachment on a blow dryer to dry your hair on a low heat and speed setting. Hover the diffuser close to your roots and move it in a circular motion to enhance volume. Avoid touching your curls too much as they dry to maintain their definition. Patience during the drying process ensures soft, bouncy curls with minimal frizz.
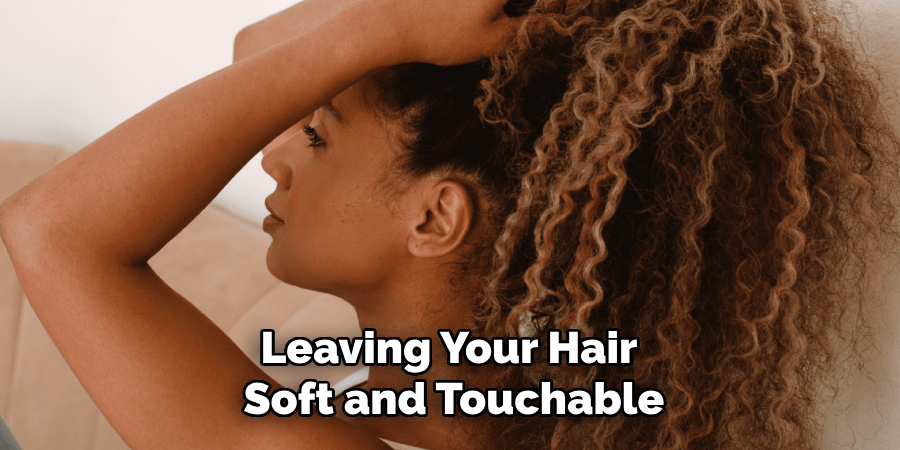
Step 6: Finish and Style Your Curls
Once your hair is dehydrated, it’s time to finish styling your curls. Gently scrunch your curls with your hands to break the cast created by any styling products, leaving your hair soft and touchable. You can use a hair pick or your fingers to gently lift the roots to add extra volume. If desired, apply a lightweight hair oil or serum to add shine and tame any flyaways. Avoid using too much product to prevent weighing down your curls. With this final step, your curls will look defined, vibrant, and full of life!
Step 7: Maintain Your Curls
Proper maintenance is essential to keep your curls looking their best between washes. Sleeping on a silk or satin pillowcase can help reduce friction and prevent frizz. Alternatively, you can wrap your hair in a satin scarf or use a silk bonnet to protect your curls overnight. Refresh your curls in the morning by spritzing them with a water-based leave-in conditioner or a curl-refreshing spray. Lightly scrunch the product into your hair to revive the curl pattern and restore moisture. Consistent care will ensure your curls stay healthy, bouncy, and well-defined.
Step 8: Trim Your Curls Regularly
Regular trims are vital to maintaining the health and shape of your curls. Split ends can travel up the hair shaft, leading to further damage, so trimming them every 6-8 weeks will keep your hair looking fresh and strong. Visit a stylist who understands curly hair, or carefully trim small sections at home using sharp, professional-grade scissors. Removing damaged ends will promote healthier growth and enhance the overall appearance and bounce of your curls.
Step 9: Experiment with Different Techniques and Products
Every individual’s hair is unique, so it may take trial and error to find the proper techniques and products that work for you. Don’t be afraid to experiment with different mousse formulas, application methods, and drying techniques until you find what works best for your curls. You can also incorporate other styling products, such as leave-in conditioners or gel,s into your routine for added hold or moisture. The key is to listen to your hair’s needs and adjust your routine accordingly.
Step 10: Embrace Your Natural Curls
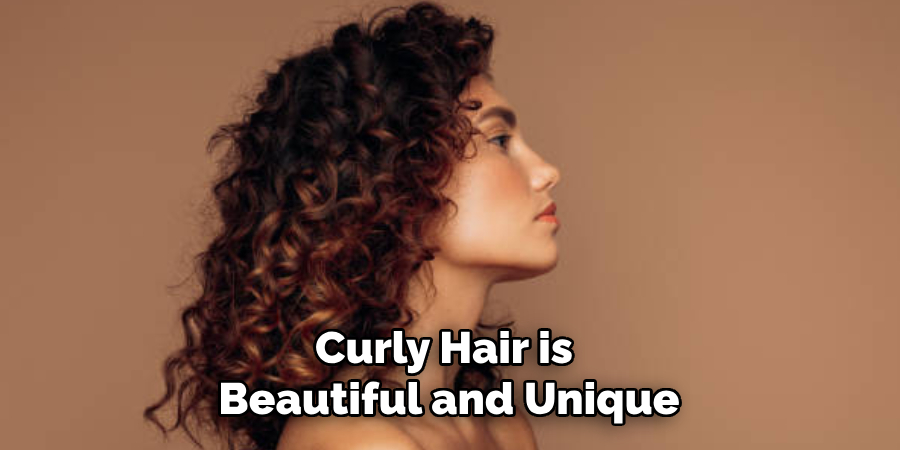
Finally, one of the most critical steps in achieving well-defined curls with mousse is to embrace and celebrate your natural hair texture. Curly hair is beautiful and unique, and it’s essential to love and care for your curls just as they are. Be patient with yourself as you learn what works best for your hair, and have fun experimenting with different styles. With proper care and techniques, you can achieve gorgeous, defined curls that will make a statement wherever you go!
By following these steps and taking the time to care for your curls, you can achieve defined, bouncy curls that will enhance your natural beauty and make you feel confident and beautiful.
Conclusion
Remember that the journey to embracing your natural curls is an ongoing process. As you continue to care for your hair, it will only get healthier and more defined over time.
Be patient, listen to your hair needs, and have fun experimenting with different techniques and products. You can rock stunning, well-defined curls daily with consistent care and love for your curls!
Hopefully, the article on how to put mousse in curly hair has given you some valuable insight and tips on how to achieve your desired look. So don’t be afraid to try new things and embrace the unique beauty of your curls – they are a beautiful part of who you are!
About the Author
Jane Hubbard is a passionate beauty expert with a wealth of experience in makeup, hair, and overall beauty techniques. After years of working as a hairdresser specialist, she followed her entrepreneurial spirit and started her own consultancy business.
Jane has always been driven by her desire to help others feel confident in their own skin, and she does this by sharing her knowledge, experiences, and practical beauty tips. Through her consultancy, she empowers individuals to embrace their unique beauty, offering tailored guidance that boosts both self-esteem and personal style.
Professional Focus
- Specializes in makeup, hairstyling, and beauty consulting.
- Provides personalized beauty advice, tips, and techniques to help individuals feel confident in their appearance.
- Dedicated to staying up-to-date with the latest industry trends and developments.
- Passionate about creating a comfortable and empowering experience for every client.
Education History
- University of Craft and Design – Bachelor of Fine Arts (BFA) in Woodworking and Furniture Design
- Woodworking Apprenticeships – Extensive hands-on training with skilled craftsmen to refine carpentry and furniture making techniques
- Online Courses & Masterclasses – Continued education in advanced woodworking techniques, design principles, and specialized tools
Expertise:
- Makeup artistry, hairstyling, and beauty consulting.
- Personalized beauty techniques to enhance confidence and self-expression.
- Educating clients on how to maintain their beauty routines at home.