
Are you tired of constantly refreshing your wash-and-go hairstyle? Don’t worry—you’re not alone. Many people struggle with maintaining their curls throughout the day.
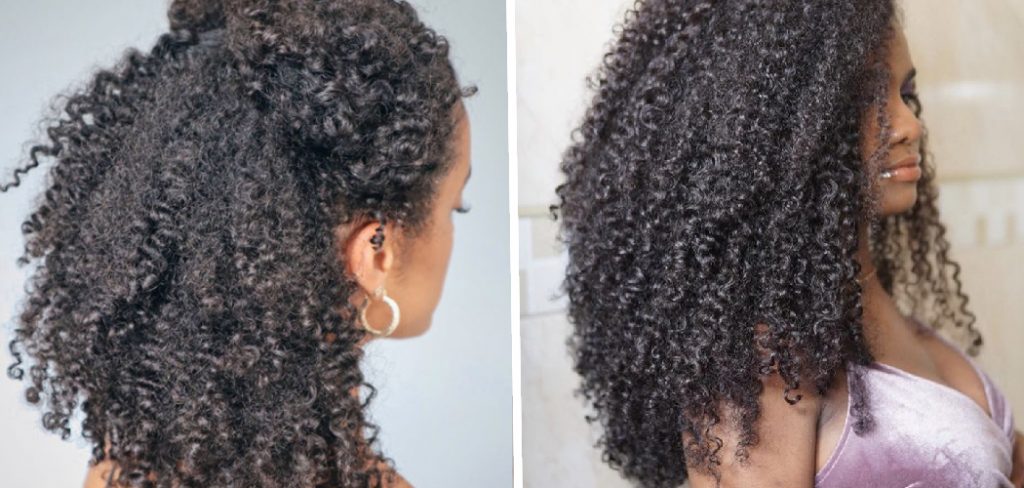
After putting in the time and effort to achieve a fabulous wash-and-go hairstyle, you want it to last as long as possible. But as the days go by, your curls may lose their definition and become less vibrant. That’s where the art of refreshing your wash and go comes in.
By following a few simple steps and using the right techniques and products, you can bring your curls back to life, restore their bounce and shine, and extend the life of your wash and go style. In this guide, we’ll walk you through the process of how to refresh a wash and go, so you can enjoy fabulous curls every day. Let’s dive in!
What Are the Benefits of Refreshing a Wash and Go?
Before we discuss the steps for refreshing a wash and go, let’s first understand why it’s important and beneficial.
- Restores Definition: As your curls start losing shape, refreshing your wash and go can help bring back their definition and bounce.
- Saves Time: Instead of starting from scratch every day, refreshing your wash and go can save you time in the morning.
- Maintains Moisture: Washing your hair daily can strip it of its natural oils, but refreshing your wash-and-go can retain moisture levels without over-washing.
- Eliminates Frizz: Using the proper techniques, products, and tools, refreshing your wash can help reduce frizz and flyaways.
- Extends Wash Day: With the proper refresh routine, you can extend the life of your wash-and-go style for multiple days without starting over.
Now that we’ve established the benefits of refreshing a wash-and-go hairstyle let’s explore the steps to take to achieve it effectively.
What Will You Need?
Before you start the refreshing process, make sure you have these essential products and tools on hand:
- Water: Whether in a spray bottle or from the shower, water will be your primary tool for refreshing your wash and go.
- Leave-in Conditioner: This will help add moisture back into your curls and restore their bounce.
- Curl Refresher/Revitalizer: This product is specifically designed to revive curls and help restore definition and shine.
- Wide-Tooth Comb/Fingers: You’ll need tools to detangle and reshape your curls.
Once these items are ready, you’re prepared to begin refreshing!
10 Easy Steps on How to Refresh a Wash and Go
Step 1. Dampen Your Hair:
Begin the refreshing process by dampening your hair. You can achieve this by spraying water onto your curls using a spray bottle or lightly wetting your hair in the shower. The goal is to add moisture to your hair, allowing it to regain its natural shape and bounce. Ensure that your hair is evenly dampened but not soaking wet, as excessive water can cause the curls to lose their definition.
Step 2. Apply Leave-in Conditioner:
After dampening your hair, it’s time to apply a leave-in conditioner. Choose a lightweight product compatible with your hair type. Apply the conditioner evenly throughout your hair, focusing on the mid-lengths and ends. This step helps to hydrate and nourish your curls, providing essential moisture for a refreshed look.
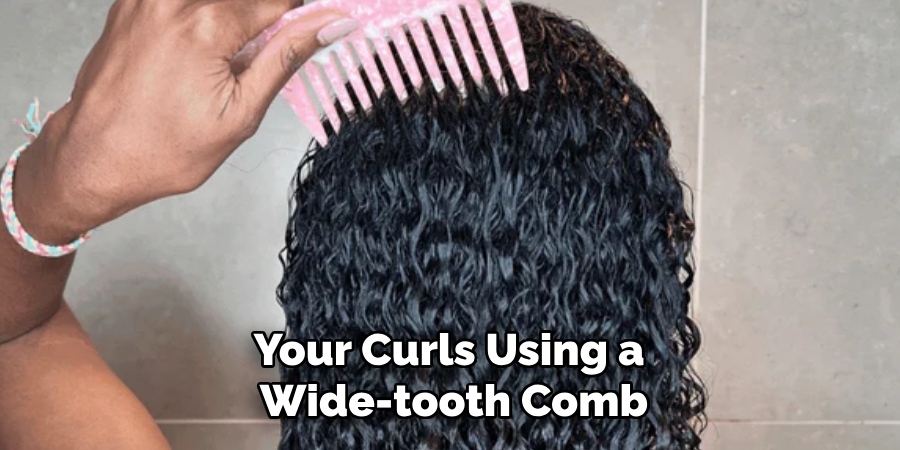
Step 3. Detangle Your Curls:
Gently detangle your curls using a wide-tooth comb or your fingers. Start from the ends and work your way up to avoid unnecessary breakage and to preserve your curl pattern. Be patient and work through any knots carefully, ensuring that your hair remains damp during this process to minimize damage. Proper detangling helps your curls clump together, creating a more defined and polished look. If you have looser curls, you can skip this step.
Step 4. Use a Curl Refresher or Revitalizer:
Apply a curl refresher or revitalizer to your hair to bring back lost definition and add shine. Focus on the areas that appear dull, frizzy, or lack curl structure. Use lightweight products to avoid weighing your hair down, and gently scrunch it as you apply it. This technique helps to reactivate and redefine your curls for a fresh and vibrant finish. Additionally, you can use a spray bottle filled with water and some leave-in conditioner as a DIY curl refresher.
Step 5. Shape Your Curls
Once you’ve applied the curl refresher or revitalizer, take some time to shape your curls. Use your fingers to twist or smooth individual curls that need extra definition. Scrunch your hair gently to encourage the natural curl pattern to bounce back. This step is key to achieving a uniform and polished look, allowing your curls to regain structure and vibrancy.
Step 6. Air Dry or Diffuse
After shaping your curls, allow your hair to air dry or use a diffuser for quicker results. If air drying, avoid touching your hair as it dries to minimize frizz. When using a diffuser, set it to a low or medium heat setting and gently cup sections of your hair into the diffuser, moving them upward. Diffusing can help speed up the drying process while enhancing your curl pattern.
Step 7. Add a Lightweight Oil (Optional)
If your hair feels a little dry or you want to add extra shine, consider applying a lightweight oil once your curls are dry. Rub a small amount of oil between your palms and gently scrunch it into your hair, focusing on the ends. This step helps seal moisture and gives your curls a soft, glossy finish.
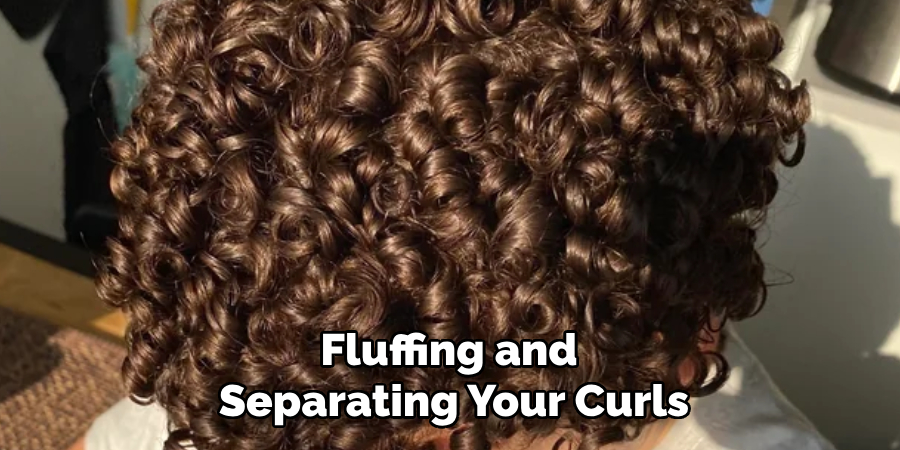
Step 8. Fluff and Separate
Once your curls are dehydrated, use your fingers or a pick to fluff and gently separate your hair at the roots. This step adds volume and ensures your curls are clumped evenly together. Fluffing also helps create a more natural and full-bodied look. Be careful not to over-manipulate your hair, which can lead to frizz. Work in small sections to achieve your desired volume and shape.
Step 9. Set with a Light-Hold Gel or Spray
After fluffing and separating your curls, it’s time to lock in the refreshed look. Apply a light-hold gel or spray to help define and hold the curls in place. Choose a product suitable for your hair type and desired level of hold. Gently scrunch or rake the product through your hair, focusing on the mid-lengths and ends. This step will help enhance the curl pattern and provide lasting hold throughout the day.
Step 10. Protect Your Curls Overnight
To ensure the longevity of your refreshed curls, it’s essential to protect them while you sleep. Consider using a satin or silk bonnet, scarf, or pillowcase to minimize friction and prevent frizz. These smooth and gentle materials will help preserve the shape and integrity of your curls, preventing them from becoming flattened or tangled overnight. Alternatively, you can loosely gather your hair at the top of your head using a soft scrunchie in a pineapple style. This method helps maintain the curl pattern and minimizes disturbance while you sleep, allowing you to wake up with beautifully preserved curls ready for another day of fabulous style.
By following these simple steps, you can quickly refresh your wash and go, bringing your curls back to life with minimal effort.
5 Things You Should Avoid
- Overloading with Products: Avoid using excessive amounts of styling products when refreshing a wash-and-go. Too much product can weigh down your hair, leaving it greasy.
- Skipping Moisture: When refreshing your wash-and-go, don’t skip the moisturizing step. Moisture is essential to revive and rejuvenate your curls, so be sure to use a hydrating leave-in conditioner or spray to keep your hair moisturized.
- Using Heat Tools: Avoid using heat tools like flat irons or curling wands to refresh your wash and go. Heat can cause damage and frizz, compromising the natural texture of your curls.
- Aggressive Manipulation: Be gentle when refreshing your wash and go. Avoid excessive combing, brushing, or pulling, as this can disrupt the curl pattern and lead to breakage.
- Skipping Protective Techniques: Remember to protect your hair while refreshing your wash and go. Sleep on a satin or silk pillowcase, or use a satin bonnet or scarf to prevent frizz and preserve your curls overnight.
By avoiding these common mistakes, you can effectively refresh your wash and go, maintaining defined and bouncy curls throughout the day.
Conclusion
A wash and go is a quick and easy way to style curly hair, but refreshing it can be just as effortless.
With the right techniques and products, you can revive your curls and maintain a polished look without having to repeat the entire washing process. Remember to start with clean, moisturized hair, use lightweight products, be patient when detangling, shape your curls carefully, and protect them while sleeping.
Hopefully, the article on how to refresh a wash and go has provided you with valuable information and tips to achieve beautiful and defined curls every day. Embrace your natural hair texture and have fun experimenting with different techniques to find what works best for you. Most importantly, rock those refreshed wash and go curls with confidence!
About the Author
Jane Hubbard is a passionate beauty expert with a wealth of experience in makeup, hair, and overall beauty techniques. After years of working as a hairdresser specialist, she followed her entrepreneurial spirit and started her own consultancy business.
Jane has always been driven by her desire to help others feel confident in their own skin, and she does this by sharing her knowledge, experiences, and practical beauty tips. Through her consultancy, she empowers individuals to embrace their unique beauty, offering tailored guidance that boosts both self-esteem and personal style.
Professional Focus
- Specializes in makeup, hairstyling, and beauty consulting.
- Provides personalized beauty advice, tips, and techniques to help individuals feel confident in their appearance.
- Dedicated to staying up-to-date with the latest industry trends and developments.
- Passionate about creating a comfortable and empowering experience for every client.
Education History
- University of Craft and Design – Bachelor of Fine Arts (BFA) in Woodworking and Furniture Design
- Woodworking Apprenticeships – Extensive hands-on training with skilled craftsmen to refine carpentry and furniture making techniques
- Online Courses & Masterclasses – Continued education in advanced woodworking techniques, design principles, and specialized tools
Expertise:
- Makeup artistry, hairstyling, and beauty consulting.
- Personalized beauty techniques to enhance confidence and self-expression.
- Educating clients on how to maintain their beauty routines at home.