
Are you tired of constantly washing your curly hair and losing its natural shine? Do you wish there was a way to refresh your curls without having to clean them every time thoroughly? Well, look no further because we have some tips on how to refresh curls between washes!

Maintaining vibrant, bouncy curls between washes can be challenging, but with the right techniques, it’s possible to keep them fresh and defined. Daily wear, environmental factors, and even sleep can cause curls to lose shape or become frizzy. However, incorporating a few simple steps into your routine can revive your curls and extend the time between washes without sacrificing their beauty.
This guide will walk you through practical methods to refresh curls, ensuring they stay hydrated, frizz-free, and full of life.
What Are the Benefits of Refreshing Curls Between Washes?
There are several benefits to refreshing curls between washes, including:
- Saves Time: Let’s face it washing and styling curly hair can be a time-consuming process. You can save time and effort by refreshing your curls while still maintaining their look.
- Preserve Natural Oils: By not constantly stripping your hair of its natural oils through frequent washing, you can keep your scalp and strands healthier in the long run.
- Extends the Life of Hairstyles: If you’ve spent hours perfecting those curls, why let them go after just one day? Refreshing your curls will help prolong the life of your hairstyle and preserve all your hard work.
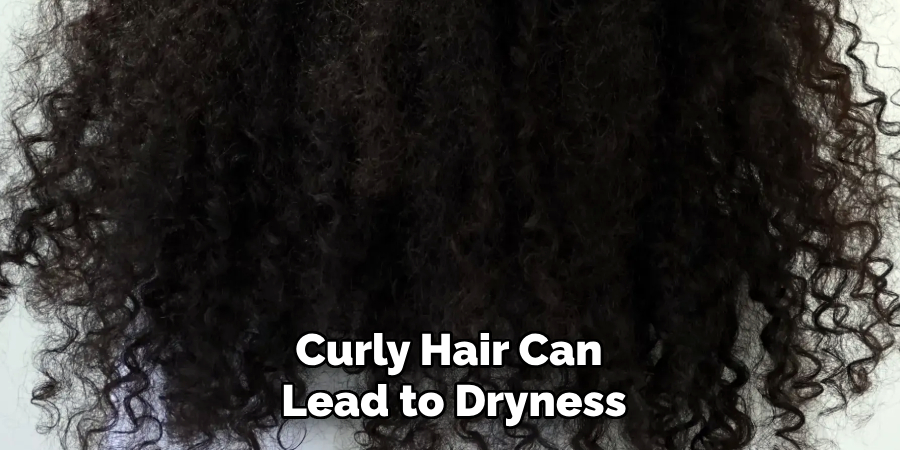
- Reduces Frizz: Overwashing curly hair can lead to dryness, which causes frizz. Refreshing your curls between washes helps maintain moisture levels and combat frizz.
- Adds Volume and Definition: Reviving your curls can bring back lost volume and definition, giving you that fresh, just-washed look without having to wash your hair.
These are just some of the benefits of refreshing curls between washes. Now, let’s dive into some practical techniques to help you achieve those refreshed, beautiful curls!
What Will You Need?
Before we get into the techniques, let’s make sure you have everything you need to refresh your curls:
- Water: This may seem obvious, but water is essential for refreshing curls. You can use a spray bottle or just wet your hands and run them through your hair.
- Leave-In Conditioner: A leave-in conditioner is essential in refreshing curls as it helps add moisture and definition back into the hair.
- Curl Refresher Spray: If you want a quick and convenient option, consider using a pre-made curl refresher spray. Look for products specifically designed for curly hair with natural ingredients.
- Hair Oil/ Serum: A small amount of hair oil or serum can help add shine and reduce frizz when refreshing curls.
- Wide-Tooth Comb/ Detangling Brush: These tools will be helpful in detangling and redistributing products throughout your hair.
Now that you have everything you need, let’s explore some techniques to refresh curls between washes!
10 Easy Steps on How to Refresh Curls Between Washes
Step 1: Start with Damp Hair
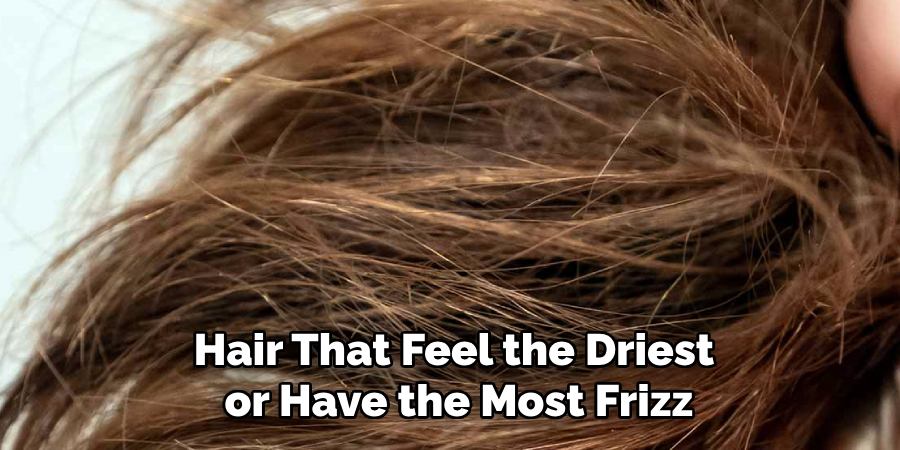
Begin by ensuring your hair is damp, not soaking wet. You can achieve this by lightly misting your hair with a spray bottle or a water and leave-in conditioner mixture. The goal is to provide enough moisture to reactivate the products already in your hair without making it too wet, leading to longer drying times. Focus on the sections of your hair that feel the driest or have the most frizz; these areas will benefit most from the added hydration.
Be gentle as you work the moisture into your curls, as rough handling can disrupt their natural pattern and cause unnecessary frizz. This step sets the foundation for revitalizing your curls and ensuring the products you use next are evenly distributed.
Step 2: Apply a Curl Refreshing Product
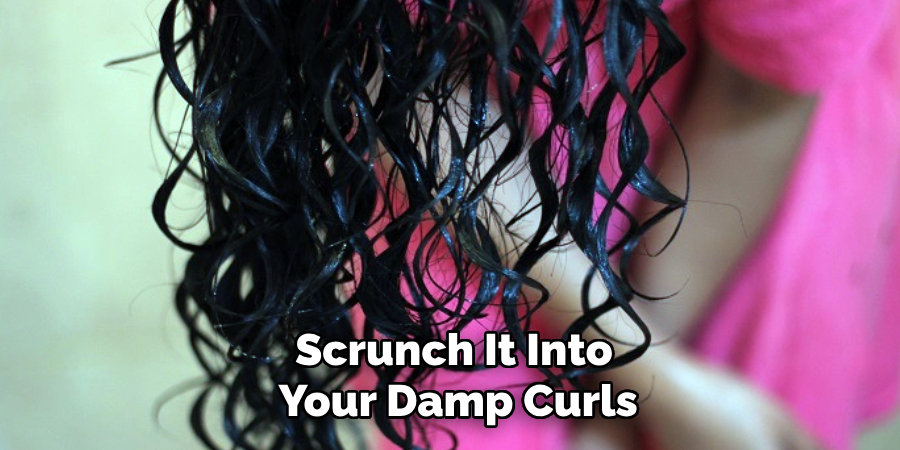
Choose a curl-refreshing product that works well for your hair type and texture. This could be a lightweight curl cream, a leave-in conditioner, or a curl-enhancing spray. Apply a small amount to your hands and gently scrunch it into your damp curls, focusing on areas that need extra definition or hydration. Be cautious not to use too much product, which can weigh your hair down or lead to buildup. The goal is to enhance the existing shape and bounce of your curls while smoothing out any frizz or uneven textures.
Step 3: Define and Set Your Curls
Once the refreshing product is applied, take time to define your curls further. You can do this by gently twisting small sections of hair around your fingers to encourage a uniform pattern. For extra hold and longevity, consider using a lightweight gel or mousse. Apply a small amount to each section, ensuring even coverage without overloading your hair. After defining your curls, allow them to air-dry or use a diffuser attachment on your blow dryer with low heat and speed settings. This will help set the curls in place, locking in their shape while minimizing frizz.
Step 4: Final Touches and Styling
Once your curls are dehydrated, it’s time for the final touches. Gently scrunch your hair to break any cast created by the styling product, softening the curls while maintaining their definition. Use a pick or your fingers to lift the roots, careful not to disrupt the curl pattern for added volume. If desired, you can apply a small amount of lightweight oil or serum to the ends of your hair for extra shine and hydration. This last step ensures your curls look polished and full of life, leaving you ready to take on the day confidently.
Step 5: Maintaining Your Curls Throughout the Day
To keep your curls looking fresh and defined all day long, avoid touching your hair excessively, which can lead to frizz and disrupt the curl pattern. If you notice any curls losing their shape, lightly mist them with water or a refreshing spray and gently scrunch to revive them. Consider using a light-hold hairspray for outdoor activities or humid environments to help protect your style. Following these maintenance tips will make your curls vibrant and beautiful from morning until night.
Step 6: Protecting Your Curls at Night
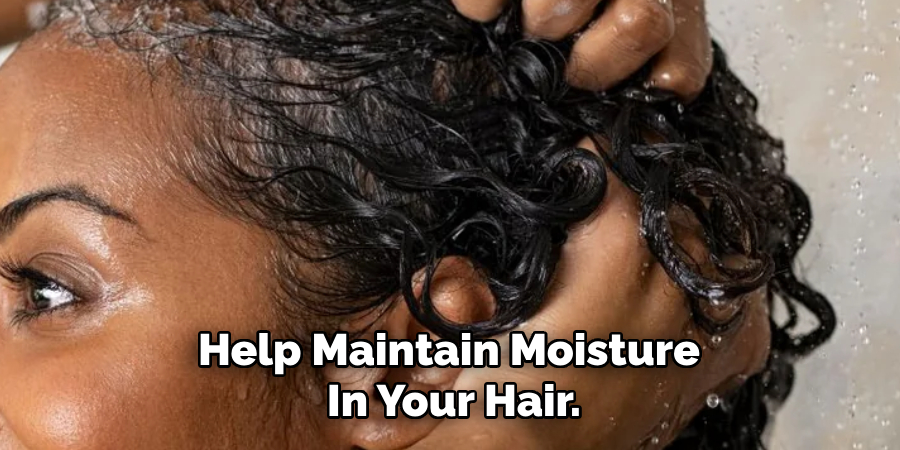
To preserve your curls while you sleep, it’s essential to protect them from friction and flattening. Use a satin or silk pillowcase, as these materials reduce friction and help maintain moisture in your hair. Alternatively, wrap your hair in a satin or silk scarf or use a bonnet to keep your curls secure. For extra protection, you can loosely gather your curls into a high pineapple-style ponytail to minimize disruption. With these nighttime care routines, your curls will stay intact, making your morning styling routine easier and more efficient.
Step 7: Deep Conditioning Routine
Regularly incorporating a deep conditioning routine into your hair care regimen is essential for keeping your curls hydrated, strong, and manageable. Use a deep conditioner or hair mask specifically formulated for curly hair at least once a week. After washing your hair, apply the product generously and focus on the mid-lengths to the ends, where curls often need the most moisture. Leave it on for the recommended duration, allowing the nutrients to penetrate and nourish your hair. Use a shower cap or a heated cap to lock in the treatment for enhanced results. Rinse thoroughly with cool water to seal the hair cuticle, leaving your curls shiny and revitalized.
Step 8: Protect Your Curls from Heat Damage
Minimizing heat exposure is crucial for maintaining the health and elasticity of your curls. If you must use heat tools, always apply a heat protectant spray or serum beforehand to create a barrier against potential damage. When blow-drying, use a diffuser attachment on a low heat setting to evenly distribute airflow without disturbing your curl pattern. Avoid excessive use of curling irons, straighteners, or other high-heat tools, as repeated exposure can lead to dryness, breakage, and loss of definition. By taking these precautions, you can preserve your curls’ natural beauty and texture.
Step 9: Maintain Your Curls with Regular Trims
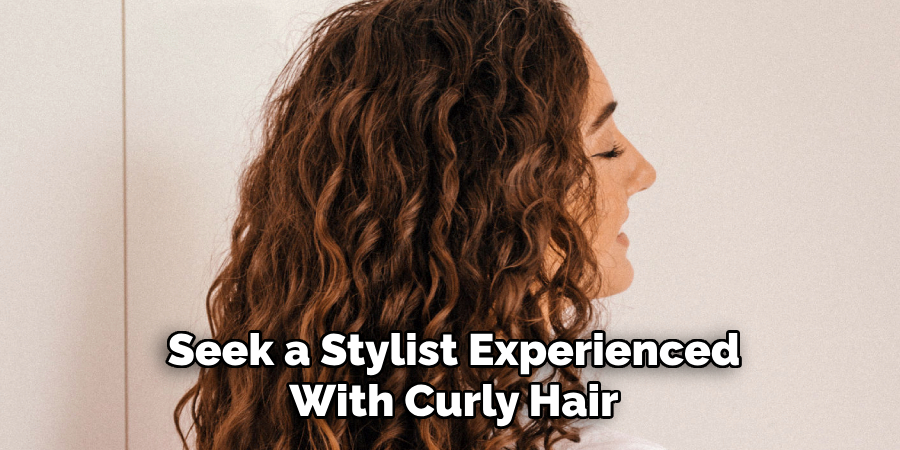
Regular trims are essential for keeping your curls healthy and vibrant. Split ends and damaged hair can travel up the hair shaft, causing frizz and breakage, affecting your overall curl pattern. Aim to trim your curls every 6 to 8 weeks, or as needed, to remove damaged ends and promote healthier growth. Seek a stylist experienced with curly hair, as their expertise can help shape and enhance your natural curl structure. Keeping up with regular trims ensures your curls stay bouncy, defined, and full of life.
Step 10: Embrace Your Curls
Finally, the most crucial step in revitalizing your curls is to embrace them! Every curl pattern is unique and beautiful, so don’t be afraid to experiment with different products and techniques to find what works best for you. Have fun with your hair, and rock those gorgeous curls with confidence and pride. With these steps and a little self-love, you can achieve healthy, defined, and stunning curls that will turn heads wherever you go! izz
By following these steps, you can achieve and maintain beautiful, defined curls that will make you feel confident and proud of your natural hair.
Conclusion
Embracing your natural curls and learning how to care for them can be a journey, but the results are worth it.
By following these steps on how to refresh curls between washes, you can achieve healthy, defined curls that reflect your unique style and personality. Remember to embrace your natural texture and have fun experimenting with different products and techniques to find what works best for you. With patience, consistency, and love for your natural hair, you can rock stunning curly locks daily.
So go ahead and flaunt those gorgeous curls with pride! Enjoy the journey of embracing your beautiful curls! Happy styling!
About the Author
Jane Hubbard is a passionate beauty expert with a wealth of experience in makeup, hair, and overall beauty techniques. After years of working as a hairdresser specialist, she followed her entrepreneurial spirit and started her own consultancy business.
Jane has always been driven by her desire to help others feel confident in their own skin, and she does this by sharing her knowledge, experiences, and practical beauty tips. Through her consultancy, she empowers individuals to embrace their unique beauty, offering tailored guidance that boosts both self-esteem and personal style.
Professional Focus
- Specializes in makeup, hairstyling, and beauty consulting.
- Provides personalized beauty advice, tips, and techniques to help individuals feel confident in their appearance.
- Dedicated to staying up-to-date with the latest industry trends and developments.
- Passionate about creating a comfortable and empowering experience for every client.
Education History
- University of Craft and Design – Bachelor of Fine Arts (BFA) in Woodworking and Furniture Design
- Woodworking Apprenticeships – Extensive hands-on training with skilled craftsmen to refine carpentry and furniture making techniques
- Online Courses & Masterclasses – Continued education in advanced woodworking techniques, design principles, and specialized tools
Expertise:
- Makeup artistry, hairstyling, and beauty consulting.
- Personalized beauty techniques to enhance confidence and self-expression.
- Educating clients on how to maintain their beauty routines at home.