
Pimple patches are an easy and effective solution for treating acne by protecting blemishes and absorbing impurities. However, removing them correctly is essential to avoid any potential skin irritation or damage. In this blog post we will show you how to remove pimple patch so that it functions properly. Read on to learn more about which components and tools are needed for the job as well as detailed instructions on completing the task!
What is a Pimple Patch and Why It’s Used?
A pimple patch is a small, adhesive sticker made from hydrocolloid or similar materials designed specifically to treat acne. These patches work by absorbing excess oil, pus, and impurities from the pimple while creating a protective barrier against bacteria, dirt, and external irritants. They come in various sizes and shapes to suit different types of blemishes and skin needs. Pimple patches are ideal for minimizing inflammation and redness, speeding up the healing process, and preventing you from picking at your acne, which can otherwise lead to scarring or infections. They are a convenient and discreet solution for clear and healthy skin.
Types of Pimple Patches
Pimple patches come in a variety of types, each designed to target specific skin concerns. The most common type is hydrocolloid patches, which work by absorbing fluid from the pimple, reducing swelling, and promoting faster healing. For those dealing with stubborn or inflamed acne, medicated diy pimple patches infused with ingredients like salicylic acid, tea tree oil, or benzoyl peroxide are an effective option.
These not only help dry out active breakouts but also combat acne-causing bacteria. Some pimple patches are specifically formulated for nighttime use, being thicker and more adhesive to stay in place while you sleep. Others are ultra-thin and transparent, making them suitable for use during the day, even under makeup. With so many variations available, there’s a pimple patch to fit nearly every skincare routine and concern.
Why Proper Removal Is Important
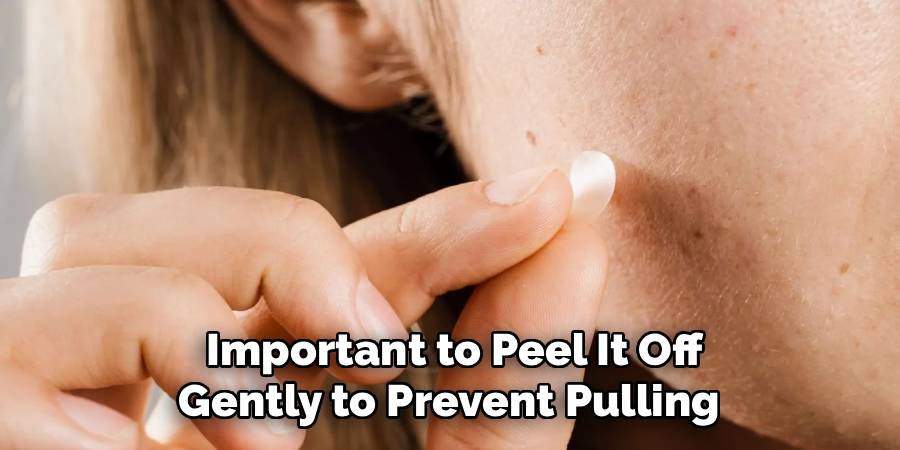
Proper removal of pimple patches is essential to ensure they work effectively and to avoid causing unnecessary irritation to your skin. When removing a patch, it’s important to peel it off gently to prevent pulling on the delicate skin or inflamed areas around the breakout. Improper or abrupt removal can disrupt the healing process and may even lead to scarring or redness. Additionally, if residues from the adhesive are left on the skin, they can clog pores and potentially trigger further breakouts. By taking the time to carefully and correctly remove pimple patches, you can maximize their benefits while keeping your skin healthy and irritation-free.
10 Methods How to Remove Pimple Patch
1. Wait Until the Patch Has Done Its Job Before Removal
One of the most effective methods to remove a pimple patch is to simply wait until it has fully completed its purpose. Pimple patches are designed to absorb pus, oil, and fluid from the blemish. You’ll know it’s ready for removal when the patch turns opaque or white in the center, indicating it has drawn out impurities. Removing it prematurely can disrupt the healing process and may lead to further irritation. Exercising patience ensures that the patch has maximized its benefit, making removal easier and less damaging to the surrounding skin.
2. Wash Your Hands Before Touching Your Face
Before attempting to remove any pimple patch, hygiene is crucial. Always begin by thoroughly washing your hands with soap and water. Dirty fingers can introduce bacteria to the area, potentially causing infection or additional breakouts. Even though the patch forms a protective barrier, removing it exposes the skin underneath, which is especially vulnerable to contamination. Clean hands help maintain the integrity of your skincare routine and protect your healing skin from external aggressors.
3. Gently Peel from the Edge for Controlled Removal
When it’s time to remove the pimple patch, avoid yanking it off abruptly. Instead, start from one edge and gently lift it using clean fingers or a pair of sanitized tweezers. Slowly peel it back in the direction of hair growth, keeping the movement as smooth and controlled as possible. This method prevents sudden pulling that can damage the skin or cause discomfort. Gentle removal also reduces the risk of reopening the blemish or leaving a red mark where the patch was applied.

4. Use Warm Water or Steam to Loosen Adhesive
If a pimple patch is sticking too firmly to the skin and resists removal, you can use warm water or steam to help soften the adhesive. Apply a warm, damp washcloth to the patch for a few seconds or stand in a steamy shower. The moisture and heat will gradually loosen the glue, making it easier to peel off without tugging. This is especially useful for patches that are designed to stay on for extended periods. Softening the adhesive minimizes irritation and keeps your skin comfortable during the removal process.
5. Avoid Pulling or Stretching the Skin Around the Patch
One common mistake people make is pulling the skin around the patch while trying to remove it. This can lead to redness, sensitivity, or even tiny tears in the skin. Instead of stretching the skin, focus on lifting the patch itself in a way that it separates cleanly from the surface. If you feel resistance, pause and consider applying more warm water or steam. Treating your skin with gentleness is crucial, especially when it’s already inflamed or recovering from a pimple.
6. Do Not Reuse the Patch Once Removed
Pimple patches are single-use only, designed for hygiene and effectiveness in one application. Once you remove the patch, even if part of it seems unused, never attempt to reapply it. Reusing a patch can introduce bacteria back to your skin and may even worsen your breakout. Dispose of it immediately after use in a hygienic manner. Using a fresh patch every time ensures cleanliness, better adhesion, and consistent results. It’s better for your skin’s health and for achieving clearer results in the long run.
7. Clean the Area Gently After Removal
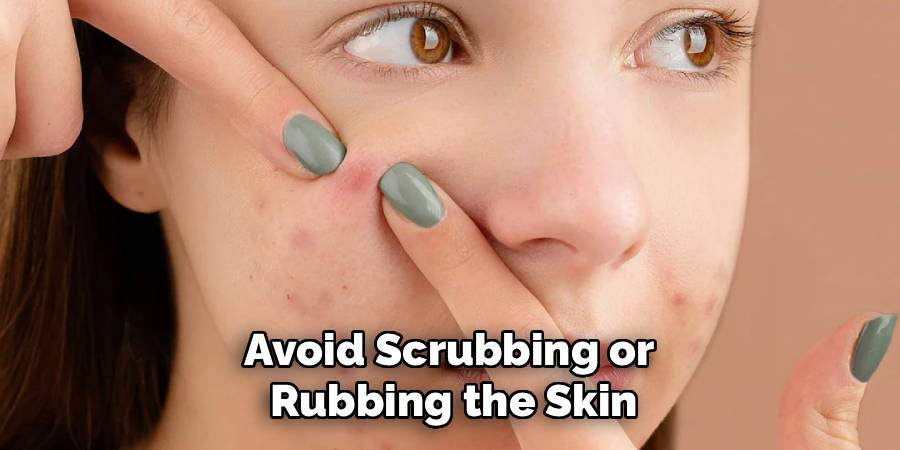
After removing the patch, it’s a good idea to gently cleanse the area to remove any remaining adhesive residue or impurities that may have surfaced. Use a mild, alcohol-free cleanser and lukewarm water. Avoid scrubbing or rubbing the skin, as this can irritate the blemish or interfere with healing. Pat the area dry with a clean towel and inspect for any signs of redness or sensitivity. This post-removal cleansing step helps reset your skin and prepares it for any additional treatment like toner or spot serum.
8. Apply a Soothing Product After Removal to Aid Recovery
Once the pimple patch is removed and the area has been cleansed, apply a soothing product such as aloe vera gel, niacinamide serum, or a fragrance-free moisturizer. These ingredients help calm inflammation, hydrate the skin, and support the healing process. If your skin feels particularly tender after removing the patch, a cooling gel or anti-redness solution can bring relief. This step ensures that your skin continues to heal smoothly and reduces the chances of scabbing or post-inflammatory hyperpigmentation.
9. Avoid Touching or Picking at the Treated Area
It can be tempting to touch or pick at the area after removing a pimple patch, especially if the blemish has visibly reduced or surfaced. However, doing so can interrupt healing, introduce bacteria, and potentially cause scarring. Resist the urge to touch the spot unnecessarily. Allow your skin the chance to repair itself naturally. If you’re prone to touching your face out of habit, consider applying a lightweight moisturizer that acts as a protective barrier and a subtle reminder to keep your hands off.
10. Incorporate the Patch Removal into Your Nightly Routine
For many, pimple patches are worn overnight for convenience and effectiveness. Removing the patch should become a gentle part of your nighttime skincare ritual. In the evening, after your face has had hours to absorb the patch’s benefits, follow your regular cleansing, toning, and moisturizing steps post-removal. This not only ensures consistency in your skincare routine but also optimizes the skin’s healing window while you sleep. When incorporated thoughtfully, pimple patch removal becomes a seamless, soothing end to your day that supports clearer skin over time.
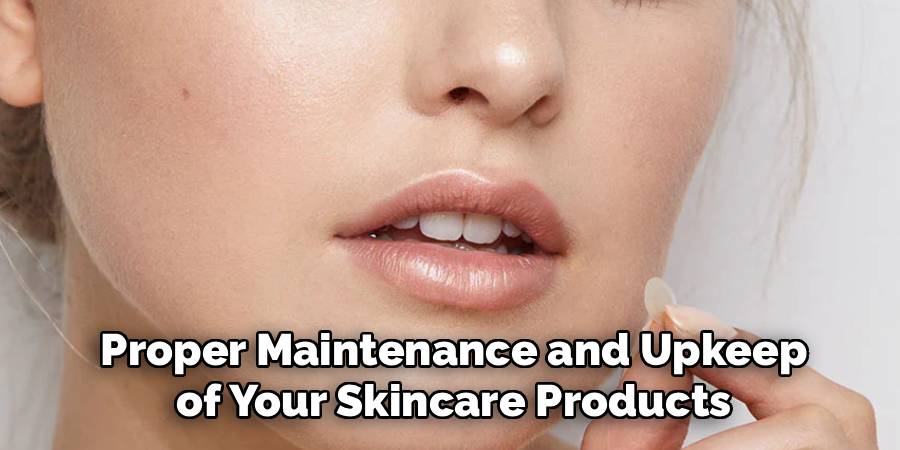
Maintenance and Upkeep
Proper maintenance and upkeep of your skincare products, including pimple patches, is essential to ensure their effectiveness and longevity. Store your patches in a clean, dry place away from direct sunlight or excessive humidity, as these conditions can compromise the adhesive quality and effectiveness of the ingredients. Always make sure your hands are clean before handling patches to avoid contamination. Additionally, check the expiration dates on your products and replace them as needed to prevent irritation from expired materials. By taking these small yet crucial steps, you can maximize the benefits of your skincare routine while maintaining healthy and hygienic practices.
Conclusion
Pimple patches are a powerful addition to acne care, but how you remove them makes a significant difference in your skin’s recovery and health. By using these ten elaborated methods—from choosing the right timing to following a soothing post-removal routine—you can maximize the benefits of your patches while minimizing irritation or setbacks. Gentle handling, cleanliness, and patience are the keys to achieving clear, healthy skin one patch at a time. Thanks for reading our blog post on how to remove pimple patch! We hope you found it helpful and informative.
About the Author
Jane Hubbard is a passionate beauty expert with a wealth of experience in makeup, hair, and overall beauty techniques. After years of working as a hairdresser specialist, she followed her entrepreneurial spirit and started her own consultancy business.
Jane has always been driven by her desire to help others feel confident in their own skin, and she does this by sharing her knowledge, experiences, and practical beauty tips. Through her consultancy, she empowers individuals to embrace their unique beauty, offering tailored guidance that boosts both self-esteem and personal style.
Professional Focus
- Specializes in makeup, hairstyling, and beauty consulting.
- Provides personalized beauty advice, tips, and techniques to help individuals feel confident in their appearance.
- Dedicated to staying up-to-date with the latest industry trends and developments.
- Passionate about creating a comfortable and empowering experience for every client.
Education History
- University of Craft and Design – Bachelor of Fine Arts (BFA) in Woodworking and Furniture Design
- Woodworking Apprenticeships – Extensive hands-on training with skilled craftsmen to refine carpentry and furniture making techniques
- Online Courses & Masterclasses – Continued education in advanced woodworking techniques, design principles, and specialized tools
Expertise:
- Makeup artistry, hairstyling, and beauty consulting.
- Personalized beauty techniques to enhance confidence and self-expression.
- Educating clients on how to maintain their beauty routines at home.