
Are you the type of person who loves to glam up their nails with those popular Polygel designs? Or perhaps you’re just a regular nail technician and want to know how to remove it properly? Removing it with oil can be a simple and effective way to do so.
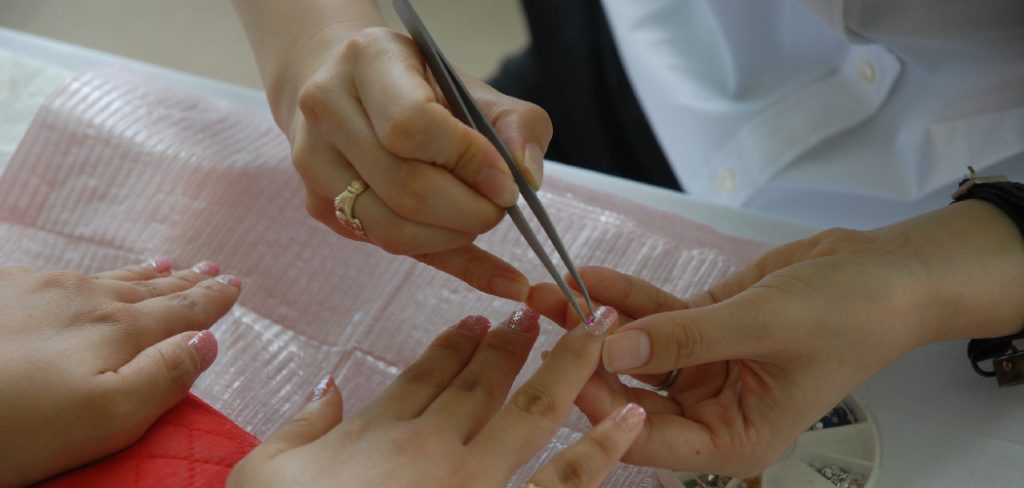
If so, this post is perfect for you! In this article, we’ll take a look at why Polygel nails are trendy in the beauty industry, provide an easy-to-follow guide on how to remove polygel nails with oil safely, and also give some helpful tips – all designed to keep your nails healthy and look good. So let’s dive in; read on and learn everything there is to know about getting rid of Polygel safely!
Can You Do It?
Yes! But you’ll need to be careful and follow certain safety protocols. First, make sure you have the right supplies. With the right supplies and a bit of patience, you can easily remove your Polygel nails with oil in no time at all. Besides a bottle of oil, you’ll also need a few other items, such as cotton wool, a nail clipper, and some lint-free clothes.
What Type Of Oil Should You Use?
The best option is to use natural oils like olive or jojoba oil since these are both gentle on the skin and help soften the gel. Alternatively, you can also use cuticle oil or nail polish remover with acetone – but be sure to read the instructions carefully and make sure it’s safe for your nails.
The instructions will also tell you how to dilute the product if needed. You can also use a combination of both natural and acetone oils if you prefer.
Supplies Needed
- Nail clipper
- Cotton pad or swab
- Cuticle pusher
- Nail buffer or nail file
- Acetone-free nail polish
10 Steps on How to Remove Polygel Nails With Oil
Step 1: Prepare the Nails
Prep your nails by clipping and filing them down to the desired length. It is an important step because it will help the oil penetrate the nail more easily and make it easier to remove. File them properly to get rid of any rough edges.
Step 2: Remove Excess Gel
With the help of a cuticle pusher, scrape off any excess gel or residue from the nail surface. This will make it easier to remove the gel altogether, as well as allow for better penetration of the oil into the nail bed.
Step 3: Apply the Oil

Take a cotton pad or swab and dip it into your oil of choice (natural or acetone). Gently, apply the oil to each nail in a circular motion for about 2-3 minutes. This will help soften the gel and make it easier to remove. Applying a few drops of oil to your cuticles can also help soften the skin and reduce any irritation.
Step 4: Soak Your Nails
Once you’ve applied the oil, it’s time to let them soak for about 10-15 minutes. This will give the oil enough time to really penetrate into the nail and help break up the gel.
Step 5: Remove the Gel
Once you’ve allowed time to pass, take a cuticle pusher and gently start scraping off the softened gel from each nail. Take your time and make sure to get rid of all the residual products. You may need to apply more oil if necessary.
Step 6: Buff Away Any Residue
Once you’ve removed the majority of the gel, use a nail buffer or nail file to buff away any remaining residue. Don’t press too hard – just gently buff and scrape until all that’s left is your natural nails.
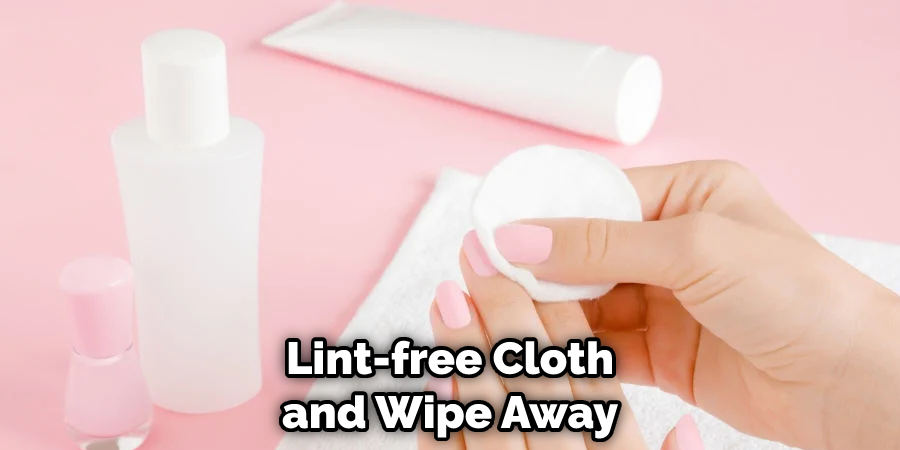
Step 7: Wipe Away Excess Oil
Take a clean, lint-free cloth and wipe away any excess oil from the nails. Doing so will help to prevent your nails from becoming too greasy or oily afterward. Excess oil may cause the nail to peel or lift.
Step 8: Nail Care
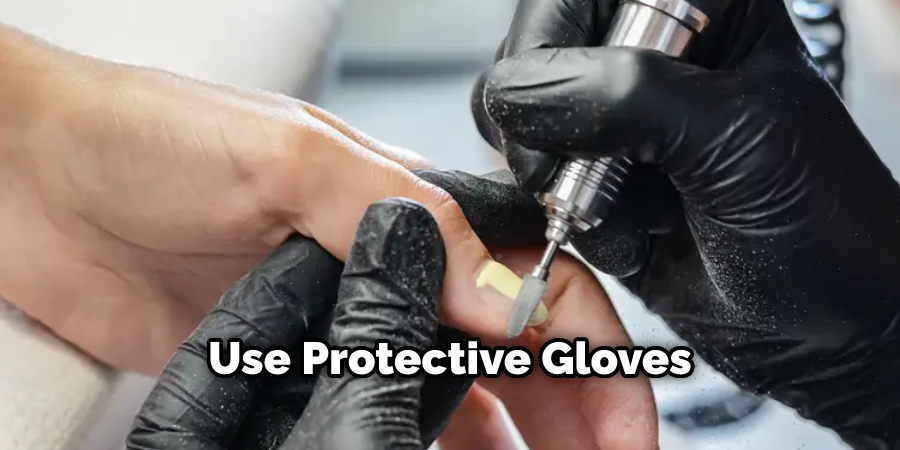
This is the most important step! Get into a regular nail care routine, even if you don’t plan on wearing Polygel nails again. This includes regularly moisturizing your nails and cuticles, using protective gloves when cleaning, and avoiding harsh chemicals like acetone-based nail polish removers.
Step 9: Keep Your Nail Salon In Check
If you plan on getting Polygel nails again, make sure to choose a reliable and reputable nail salon. Ask questions such as how often they change their drill bits or what kind of products they use. Poor hygiene can lead to infections, so it’s important to be vigilant when it comes to your safety.
Step 10: Enjoy Your Natural Nails!
Once you’ve removed the gel and taken all the necessary precautions, enjoy your natural nails and show them off! You don’t have to go for Polygel nails every time – you can still enjoy a classic mani or pedi with regular nail polish.
8 Safety Precautions to Follow
- Always wear gloves when using acetone-based products. Gloves will protect your skin from any harsh chemicals.
- Make sure to use a clean and sterilized nail clipper for each application, as dirt and bacteria can cause infection.
- Don’t leave your nails soaked in oil for too long – 10-15 minutes is enough time for the oil to penetrate into the nail bed. Oiling is only necessary for removing the gel, not for nourishing your nails.
- Be patient. Rushing will only lead to more damage, and it may cause the nail to tear or break off.
- If you feel any pain or discomfort while removing the gel, stop immediately and consult a professional.
- Make sure to moisturize your nails and cuticles afterward.
- Use protective gloves when cleaning or doing any household chores to avoid contact with harsh chemicals.
- Always choose a reputable nail salon that takes safety precautions seriously and follows high standards of hygiene.
Frequently Asked Questions
Is Using Oil Safe?
Yes, oil is a safe and gentle way to remove poly gel nails. Make sure to use an oil that won’t irritate your skin, such as natural oils like jojoba or coconut oil. Oil is also safe to use on the cuticles, as it helps nourish and soften them. Oil has the added benefit of breaking down the gel and making it easier to remove. It’s natural, non-toxic, and gentle on the nails.
How Often Should I Remove Polygel Nails?
It’s generally recommended to remove polygel nails every 4-6 weeks, depending on the condition of your natural nails. If you notice any signs of damage, such as splitting or peeling, it’s best to remove the gel as soon as possible. Remember to take a break in between applications and allow your nails to rest. Otherwise, your nails may become brittle and weak.
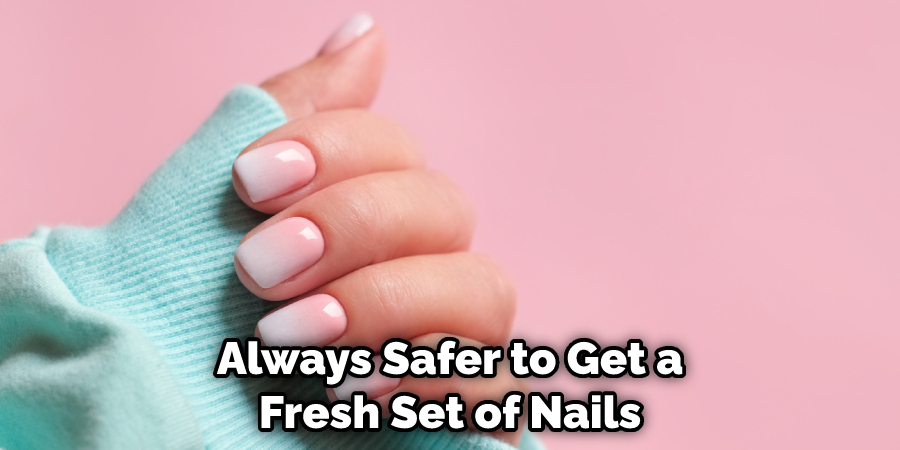
Can I Reuse Polygel Nails?
No, it’s not recommended to reuse polygel nails due to hygiene concerns. The product may have been exposed to dirt and bacteria, which can cause infection if reused. It’s always safer to get a fresh set of nails. But you can reuse polygel nails provided that they are removed correctly, and all of the necessary safety precautions are taken.
How Much Will It Cost to Get It Done?
The cost of getting a Polygel nail removal can vary depending on the type of service you choose. Some salons offer basic services for as low as $20, while more specialized treatments may be more expensive. It’s best to do your research and find a reliable salon that offers quality services at an affordable price.
Polygel nails are much cheaper than traditional acrylics or gels. That’s why it’s such a popular choice! You can buy oil for nail removal from any beauty store or online. Depending on the size and quality of the oil, the price ranges from a few dollars to more than $20. It’s best to go for high-quality oils as they are usually more effective in removing gel nails.
Conclusion
Removing polygel nails with oil is an effective yet gentle method to remove your polygel nails without causing further damage to the nail bed. Make sure you follow the steps outlined by any certified nail technician and always use a professional-grade oil for removing these types of nails.
If this is your first time attempting this removal method, it might be best to get an expert’s help or check out other tutorials from the comfort of your home before taking the risk. It’s essential to understand your skin’s sensitivity or any potential allergies that you may have before applying chemicals to your hands and feet.
Nonetheless, a proper guide on how to remove polygel nails with oil will help keep your hands and feet safe from long-term nail damage caused by harsh acids or removers. And as always, it’s best not to hurry through any professional service since results vary depending on each patient’s unique set of circumstances. Feel free to ask questions if you are unsure about specific instructions, and enjoy the ease that comes along with successfully removed polygel nails!
About the Author
Jane Hubbard is a passionate beauty expert with a wealth of experience in makeup, hair, and overall beauty techniques. After years of working as a hairdresser specialist, she followed her entrepreneurial spirit and started her own consultancy business.
Jane has always been driven by her desire to help others feel confident in their own skin, and she does this by sharing her knowledge, experiences, and practical beauty tips. Through her consultancy, she empowers individuals to embrace their unique beauty, offering tailored guidance that boosts both self-esteem and personal style.
Professional Focus
Specializes in makeup, hairstyling, and beauty consulting.
Provides personalized beauty advice, tips, and techniques to help individuals feel confident in their appearance.
Dedicated to staying up-to-date with the latest industry trends and developments.
Passionate about creating a comfortable and empowering experience for every client.
Education History
University of Craft and Design – Bachelor of Fine Arts (BFA) in Woodworking and Furniture Design
Woodworking Apprenticeships – Extensive hands-on training with skilled craftsmen to refine carpentry and furniture making techniques
Online Courses & Masterclasses – Continued education in advanced woodworking techniques, design principles, and specialized tools
Expertise:
Makeup artistry, hairstyling, and beauty consulting.
Personalized beauty techniques to enhance confidence and self-expression.
Educating clients on how to maintain their beauty routines at home.