

Thrive Causemetics mascara is famous for its tubing formula, the kind that wraps tiny tubes around each lash for smudge-proof, all-day wear. That staying power is wonderful until bedtime rolls around and your usual makeup wipe barely makes a dent. If you have ever tugged at your lashes in frustration, you are not alone, and learning how to remove thrive mascara the gentle way will change your entire nighttime routine.
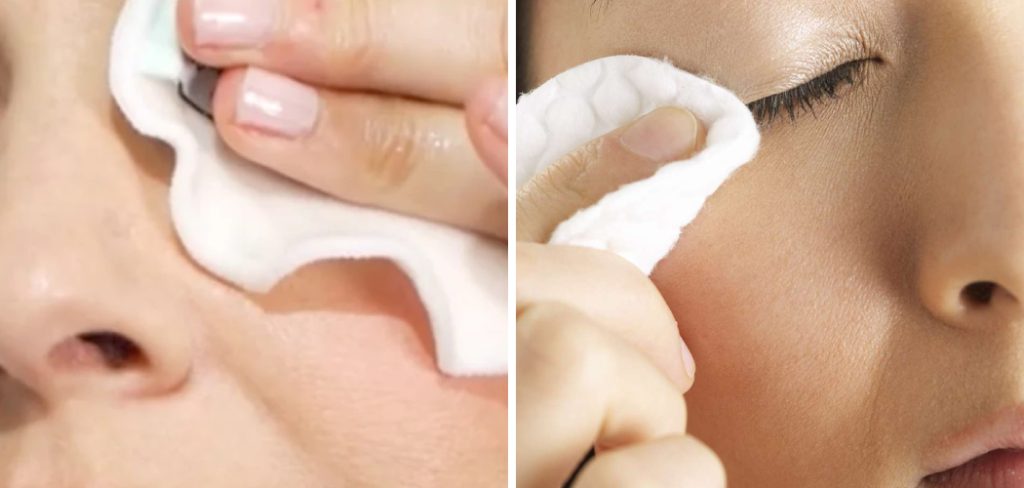
The trick is understanding that tubing mascara behaves differently from regular formulas. It does not dissolve with oil or scrub away with force. Instead, it slides off cleanly when you use warm water and the right technique, which keeps your delicate lashes safe from breakage.
This friendly, beginner-friendly guide walks you through exactly what to do, step by step. You will discover why the standard approach fails, which tools work best, and how to protect your lashes along the way. By the end, you will feel confident removing even the most stubborn coats without stress, mess, or a single tug. Let us make takeoff as easy as application.
Why Removing Thrive Mascara The Right Way Matters
Your eyelashes are surprisingly fragile, and rough removal can lead to breakage, thinning, and irritation over time. Because tubing mascara clings so well, many people rub and pull far harder than they should, which stresses the lash line and the delicate skin around your eyes.
Using the correct method protects your natural lashes while saving you time and frustration. Warm water loosens the tubes so they release intact, meaning no black smudges left behind and no morning-after raccoon eyes. Gentle removal also keeps your eye area calm, reducing redness and dryness that harsh scrubbing often causes. When you treat your lashes kindly, they stay fuller and healthier, giving you a better base for tomorrow’s look. A little care tonight pays off with stronger, happier lashes down the road.
Step-by-Step Guide To How To Remove Thrive Mascara
Step 1: Gather Your Supplies
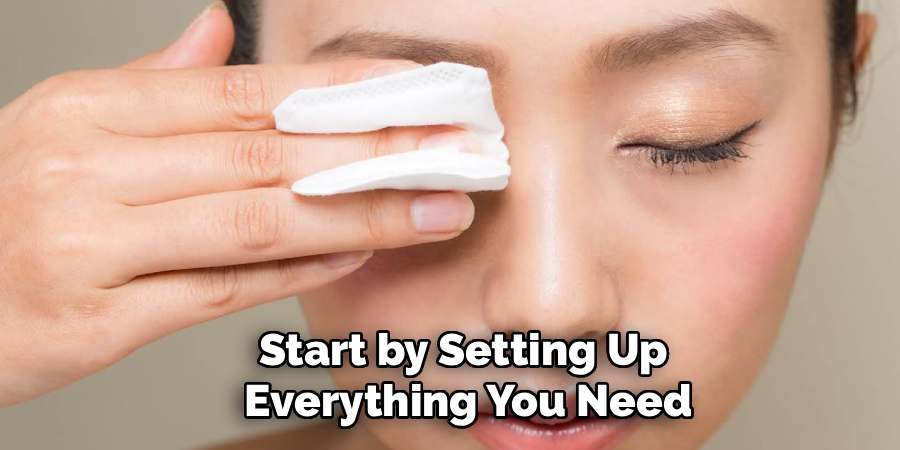
Start by setting up everything you need so the process feels smooth and unhurried. Grab a clean washcloth, some warm water, a gentle cleanser, and a couple of cotton pads if you like extra control. Because this is tubing mascara, you will not need heavy oil-based removers, which actually work against the formula. Keeping your tools within reach means you can focus fully on being gentle rather than scrambling mid-routine. Learning how to remove thrive mascara becomes far easier when you prepare first, so take a moment to organize your space before you begin. A calm setup leads to a calm, tug-free experience.
Step 2: Warm Up The Water
Warm water is your secret weapon with tubing formulas, so this step matters more than any fancy product. Turn on your tap and wait until the water feels comfortably warm, never hot enough to sting your skin. The gentle heat softens the tiny tubes wrapped around each lash, encouraging them to loosen and slide free. Splash a little onto your closed eyes, or soak your washcloth and hold it against your lashes for about twenty seconds. You will feel the mascara begin to release almost immediately. Resist the urge to scrub, since the warmth is already doing the hard work for you.
Step 3: Soften The Lashes
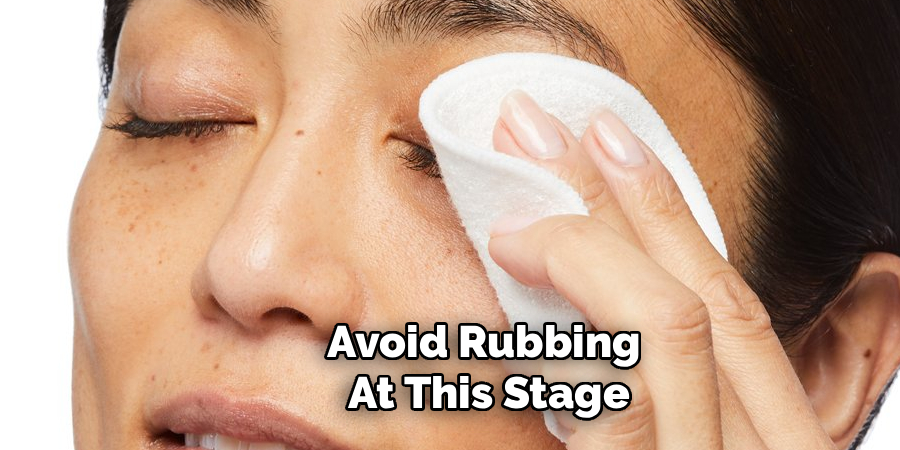
Once your lashes feel warm, press a damp, warm cloth gently over your closed eyes and let it rest there. Give it a full thirty seconds so the tubes have time to break down completely. This patience-based step is the heart of how to remove thrive mascara without pulling or discomfort. You might notice faint gray marks appearing on the cloth, which is a great sign that the tubes are lifting away. Avoid rubbing at this stage, and simply let the moisture and heat soften everything. Think of it like steaming, where gentle warmth does what force never could, protecting your lashes throughout.
Step 4: Wipe Gently Downward
Now that the tubes have loosened, it is time to guide them away with light, downward strokes. Using your warm washcloth or a soft cotton pad, sweep gently from the base of your lashes toward the tips, following their natural direction. The mascara should slide off in soft, threadlike pieces rather than smearing. If you spot any resistance, pause and reapply warmth instead of increasing pressure. Work in slow, patient motions, and repeat as needed until your lashes feel clean. This downward technique respects the way your lashes grow, keeping them intact while the tubing formula releases smoothly and completely.
Step 5: Cleanse The Eye Area
After most of the mascara has lifted, follow up with a gentle facial cleanser to catch any lingering residue. Apply a small amount to damp fingertips, then lightly massage around your closed eyes in soft circles. This step removes leftover tube fragments and clears away any oils or product buildup from the day. Rinse thoroughly with warm water, making sure no cleanser stays behind to irritate your eyes. A mild, fragrance-free formula works best here, especially if your skin tends to react easily. Cleansing seals the deal, leaving your lash line fresh, clear, and ready for the next stage of care.

Step 6: Rinse And Inspect
Give your face a final rinse with warm water, then gently pat the area dry with a clean, soft towel. Take a close look in the mirror to check for stray flecks of mascara clinging near the roots or corners of your eyes. If you spot a few stubborn tubes, simply reapply a warm cloth and sweep again, since forcing them off can harm your lashes. This quick inspection ensures nothing gets left behind to smudge overnight or clog your lash line. A thorough check now means healthier lashes and a cleaner canvas for whatever look you plan tomorrow.
Step 7: Nourish Your Lashes
Finish your routine by treating your lashes to a little extra love. Once your skin is dry, apply a lash conditioner or a tiny dab of nourishing oil along the lash line using a clean spoolie or fingertip. This helps replace moisture, supports strength, and keeps your lashes soft and resilient over time. Nightly nourishment is especially helpful if you wear tubing mascara often, since consistent care prevents dryness and encourages healthy growth. Skip this only if you have sensitive eyes that react to products near the lash line. A gentle finishing touch rounds out a caring, lash-friendly removal routine beautifully.

Frequently Asked Questions
Why Does Regular Makeup Remover Not Work On Thrive Mascara?
Thrive uses a tubing formula, which wraps around each lash rather than sitting on top like traditional mascara. Oil-based and standard removers are designed to break down waxy, pigment-heavy formulas, so they struggle with tubes. Warm water is what actually loosens and releases the tubes cleanly. That is why the gentle water method works far better than reaching for your usual remover bottle at night.
Can I Use Oil-Based Removers Instead Of Water?
You can, but you probably will not need to, and they often make the process messier. Tubing mascara responds best to warm water because heat and moisture dissolve the tubes so they slide away intact. Oil can smear the loosened pieces around your eyes rather than lifting them cleanly. If you prefer using a cleanser afterward, that is perfectly fine, but warm water should always come first for the smoothest results.
Will This Method Damage My Lashes?
Not at all, and that is the beauty of it. This gentle, water-based approach is specifically designed to protect your lashes from the tugging and rubbing that cause breakage. By softening the tubes with warmth first, you let them release naturally instead of forcing them off. As long as you avoid harsh scrubbing and work in soft downward strokes, your lashes stay safe, strong, and healthy over time.
How Long Does The Removal Process Take?
Most people finish in about three to five minutes once they get the hang of it. The warming and softening steps take the most time, usually around thirty seconds to a minute, but they are essential for a tug-free experience. Rushing tends to backfire and can leave residue behind. With a little practice, this quickly becomes a soothing, easy part of your nightly wind-down routine.
What If Some Mascara Still Remains?
Leftover flecks are common and easy to handle without stress. Simply reapply a warm, damp cloth to the area and hold it there for another twenty seconds to loosen any stubborn tubes. Then sweep gently again in a downward motion. Avoid picking or rubbing at the residue, since that risks pulling out lashes. A second gentle pass almost always clears everything, leaving your lash line completely clean.
Conclusion
Taking off tubing mascara does not have to be a nightly battle. The key takeaways are simple. Prepare your supplies, use comfortably warm water to soften the tubes, and wipe gently in downward strokes rather than scrubbing. Follow up with a mild cleanser, rinse and inspect for stray flecks, then nourish your lashes to keep them strong and healthy. Warmth and patience do all the heavy lifting, protecting your delicate lash line every single time.
Now that you know how to remove thrive mascara the gentle, expert-approved way, you can say goodbye to tugging, smudges, and morning-after residue for good. Give this method a try tonight and feel the difference for yourself. Your lashes will thank you with softness, strength, and fullness that lasts. Treat them kindly, stay patient, and enjoy a removal routine that feels less like a chore and more like a soothing bit of self-care.

About the Author
Jane Hubbard is a passionate beauty expert with a wealth of experience in makeup, hair, and overall beauty techniques. After years of working as a hairdresser specialist, she followed her entrepreneurial spirit and started her own consultancy business.
Jane has always been driven by her desire to help others feel confident in their own skin, and she does this by sharing her knowledge, experiences, and practical beauty tips. Through her consultancy, she empowers individuals to embrace their unique beauty, offering tailored guidance that boosts both self-esteem and personal style.
Professional Focus
Specializes in makeup, hairstyling, and beauty consulting.
Provides personalized beauty advice, tips, and techniques to help individuals feel confident in their appearance.
Dedicated to staying up-to-date with the latest industry trends and developments.
Passionate about creating a comfortable and empowering experience for every client.
Education History
University of Craft and Design – Bachelor of Fine Arts (BFA) in Woodworking and Furniture Design
Woodworking Apprenticeships – Extensive hands-on training with skilled craftsmen to refine carpentry and furniture making techniques
Online Courses & Masterclasses – Continued education in advanced woodworking techniques, design principles, and specialized tools
Expertise:
Makeup artistry, hairstyling, and beauty consulting.
Personalized beauty techniques to enhance confidence and self-expression.
Educating clients on how to maintain their beauty routines at home.