
Keeping your makeup collection clean is one of the most overlooked aspects of a beauty routine, yet it is crucial for skin health. Bacteria and germs thrive in moist, dark environments like liquid foundation bottles and cream palettes, which can lead to breakouts or infections if ignored.
Regular sanitisation not only protects your complexion but also extends the shelf life of your favorite products. By adopting a simple cleaning schedule, you ensure that every application is fresh, safe, and effective, allowing your makeup to perform exactly as intended without risking your skin’s well-being. In this guide on how to sanitise makeup, we will discuss the best methods and products for keeping your beauty routine clean and healthy.
Tools and Materials You’ll Need
- 70% Isopropyl Alcohol (Rubbing Alcohol) in a spray bottle
- Mild antibacterial soap or specialized brush shampoo
- Clean paper towels or lint-free microfiber cloths
- A palette knife or small spatula (for cream products)
- Cotton pads and cotton swabs
- A clean towel for drying
- A sharp pencil sharpener (specifically for makeup pencils)
- A small bowl for washing sponges
7 Simple Step-By-Step Guidelines on How to Sanitise Makeup
Step 1: Sanitising Pressed Powders
Pressed powders, such as eyeshadows, blushes, and bronzers, are often assumed to be dry enough to resist bacteria, but oils from brushes can create a hard seal where germs reside. To sanitise them effectively, you need to remove this top layer and disinfect the surface without destroying the pigment or the binding agents that hold the powder together.
Start by taking a clean tissue or a dry spoolie brush to gently scrape off the very top layer of the product, removing any hardened oil or visible debris that might have accumulated over time. This exposes a fresh layer of product underneath that has not been exposed to external contaminants.
Step 2: Cleaning Cream Products
Cream products like blushes, stick foundations, and concealers in pots require a different approach because bacteria can penetrate deeper into the emollient base compared to powders. The moisture and oil content in these products make them a much friendlier environment for microbial growth, meaning surface cleaning is essential but needs to be done carefully. Begin by taking a clean paper towel and gently wiping off the very top layer of the cream product to remove any dust, lint, or immediate surface contamination. If the product is in a stick form, you can simply slice off the very tip with a sanitised knife to reveal a completely fresh surface.
Step 3: Disinfecting Lipsticks
Lipsticks are perhaps the most critical items to sanitise regularly because they come into direct contact with the mouth, which is a primary entry point for germs and viruses. Since we often reapply lipstick after eating or drinking, food particles and saliva can easily transfer onto the bullet, making regular sanitisation necessary to prevent reinfection or cold sores. To start, twist the lipstick bullet up slightly and use a clean tissue to wipe off the very top layer of the lipstick. This removes the immediate outer coating that has touched your lips and potentially collected bacteria.
Step 4: Maintaining Mascara and Liquid Liners
Liquid products with wand applicators, like mascara, lip gloss, and liquid eyeliner, are notoriously difficult to sanitise because once the wand goes back into the tube, any bacteria it collected go with it. Because of this “double-dipping” mechanism, the internal environment of the tube can become contaminated quickly, and you cannot “clean” the liquid inside. Therefore, the primary method of sanitisation here is prevention and strict adherence to expiration dates. Never share these products, and if you have an eye infection, discard them immediately. However, you can sanitise the wand itself occasionally to prevent buildup at the rim.
Step 5: Sanitising Makeup Pencils
Makeup pencils, whether they are for eyes, lips, or brows, are actually the easiest products to keep sanitary because sharpening them physically removes the contaminated surface. Every time you use a pencil, the tip collects skin cells and oils, so a quick sharpening session acts as a reset button for hygiene. Before you start, however, you must ensure your sharpener itself is clean. Old shavings and graphite residue in a sharpener can re-contaminate your pencil. Use a cotton swab dipped in alcohol to clean out the blades and the casing of your sharpener thoroughly before use.
Once your tool is clean, insert your makeup pencil and give it two or three full turns. You want to shave off the entire outer layer of wood and product that was previously exposed, revealing a fresh, untouched tip underneath. If you want to be extra cautious, you can dip the newly sharpened tip into alcohol for a second and let it dry, although the sharpening process is usually sufficient. This mechanical removal of the old surface ensures that you are essentially using a “new” pencil every time. Make it a habit to sharpen your pencils before each use, not just for a sharp line, but for a clean application.
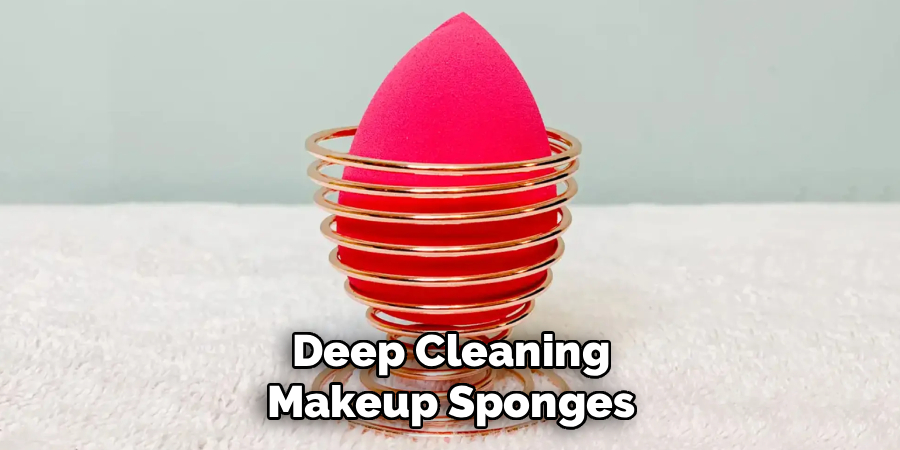
Step 6: Deep Cleaning Makeup Sponges
Makeup sponges are highly absorbent and retain moisture, making them the most high-risk tool in your kit for mold and bacterial growth if not cleaned properly. Unlike brushes, surface cleaning isn’t enough; you must deep clean them to remove foundation and concealer trapped deep within the foam pores. Start by wetting the sponge thoroughly with warm water until it expands to its full size. Apply a generous amount of antibacterial soap or a dedicated solid brush cleanser directly onto the sponge and work it into a lather by massaging it with your fingers.
Squeeze the sponge repeatedly under running water, watching the color of the water change as the product is pushed out. You will likely need to repeat the soap and rinse cycle multiple times until the water runs completely clear and no suds remain. Once clean, the most critical step is drying. Wring out as much water as possible, then wrap the sponge in a clean towel and squeeze again to remove excess moisture. Place the sponge in an open, well-ventilated area to dry completely. Never store a damp sponge in a closed bag or drawer, as this guarantees mold growth. Regular deep cleaning ensures your sponge applies makeup flawlessly without depositing acne-causing bacteria.
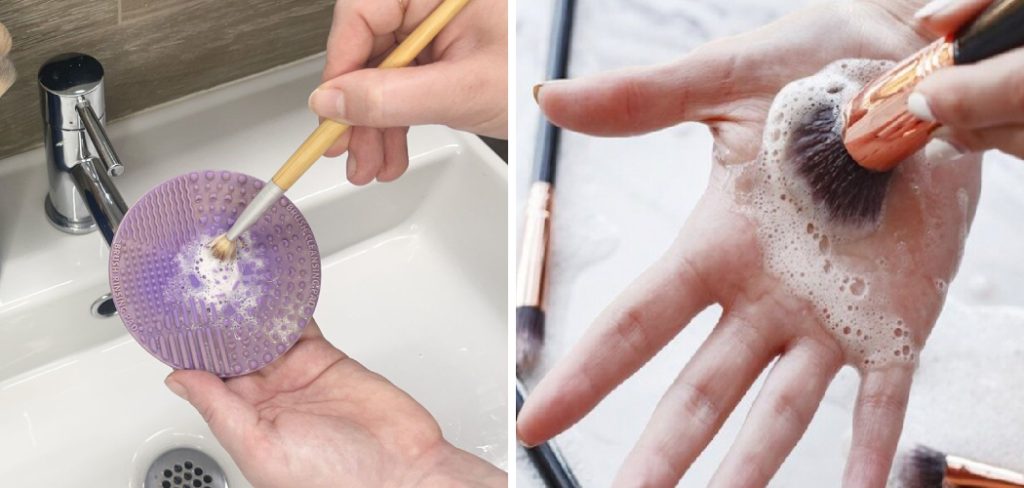
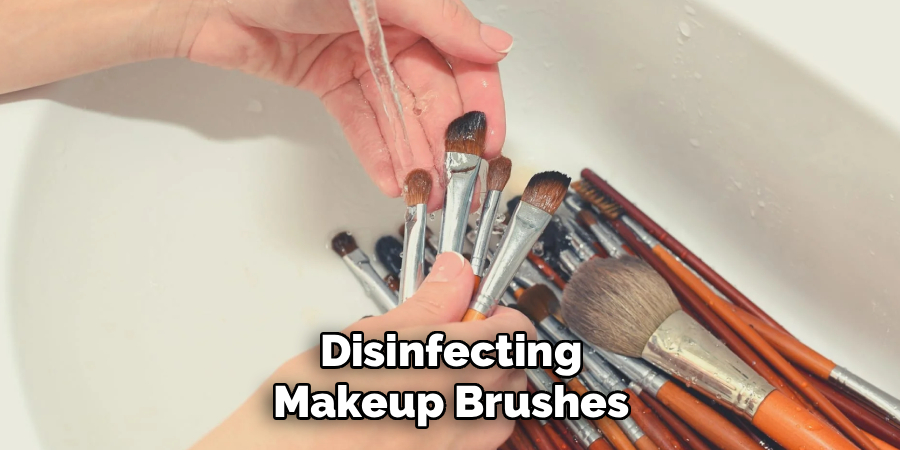
Step 7: Disinfecting Makeup Brushes
Brushes are the workhorses of your makeup routine and collect everything from dust and dead skin to product residue and oil. Dirty brushes can cause patchy application and skin irritation, so a routine deep clean is non-negotiable. Begin by rinsing the bristles under lukewarm water, being careful not to wet the ferrule (the metal part that holds the bristles), as water here can dissolve the glue and cause shedding. Apply a drop of brush cleanser or gentle shampoo to the palm of your hand or a textured silicone cleaning mat.
Swirl the brush bristles in the soap, creating a lather that breaks down the oils and pigments. Rinse the bristles under running water and repeat the swirling process until the water runs clear. Once rinsed, gently squeeze out excess water with your fingers or a clean towel and reshape the brush head to its original form. Lay the brushes flat on a towel to dry with the bristles hanging off the edge of a counter, if possible, allowing air to circulate 360 degrees. Never dry brushes standing upright, as water will drip down into the handle and loosen the glue. A proper wash keeps bristles soft and effective for years.
Following these steps on how to sanitise makeup brushes will not only keep your skin healthy, but it will also prolong the lifespan of your makeup brushes. It’s important to incorporate brush cleaning into your regular beauty routine, as dirty brushes can harbor bacteria that can lead to breakouts and infections.
Tips for Beginners
If you are new to sanitising makeup, start small by focusing on the items you use daily, like your foundation brush and mascara, rather than trying to clean your entire collection at once. It helps to designate a specific day of the week, like Sunday evening, as your “sanitisation day” to build a consistent habit. Always ensure you are using 70% isopropyl alcohol; higher concentrations like 90% evaporate too quickly to effectively kill bacteria, while lower concentrations may not be strong enough.
Keep a small spray bottle of alcohol on your vanity for quick daily spritzes of powder palettes. Remember that patience is key—never close compacts or store brushes while they are still damp, as trapped moisture defeats the purpose of cleaning. Finally, if a product smells off or has changed texture, sanitising won’t save it; trust your nose and throw it away.
Common Mistakes to Avoid
One major mistake is soaking brushes excessively, particularly submerging the ferrule, which destroys the glue and ruins the brush. Another common error is using household cleaners or harsh detergents that can irritate the skin when residue is left on the tools.
Many people also forget to clean the actual storage bags and makeup organizers, putting clean products back into a dirty environment. Lastly, blowing on brushes or palettes to remove excess powder is a huge mistake; it spreads oral bacteria directly onto your face products.
Safety Tips
Safety is paramount when dealing with chemicals and hygiene. Always use sanitising sprays in a well-ventilated area to avoid inhaling alcohol fumes, which can be dizzying or irritating to the lungs. Keep all cleaning supplies, especially rubbing alcohol, away from open flames or heat sources, as they are highly flammable. If you have sensitive skin, patch-test any brush cleansers or soaps to ensure they don’t cause a reaction before using them on your tools.
Be careful not to get alcohol directly in your eyes when spraying brushes or palettes; always spray away from your face. Finally, never try to add water or other liquids to dried-out mascara or eyeliner to “revive” it, as this disrupts the preservative system and creates a serious risk of eye infection.
Frequently Asked Questions
Q1: How Often Should I Sanitise My Makeup?
Ideally, you should sanitise cream products and lipsticks once a week, as their moisture content attracts bacteria more rapidly than dry products. Powder products like eyeshadows and blushes are more forgiving and can be sanitised once a month, though wiping the top layer is good practice. Brushes used for liquid products (foundation, concealer) should be washed after every use or at least weekly to prevent acne, while powder brushes can be washed every two weeks. Sponges must be washed after every single use because they are porous and retain bacteria easily. Establishing a routine based on product type ensures you strike the right balance between hygiene and convenience.
Q2: Can I Use Hand Sanitiser Instead of Rubbing Alcohol?
No, you should not use hand sanitiser to clean your makeup products or tools. Hand sanitisers often contain ingredients like glycerin, aloe, fragrances, and moisturisers that are designed to be left on the skin, not on cosmetics. These additives can leave a sticky residue on your powders and creams, altering their texture and potentially causing them to seal up or apply unevenly. Furthermore, the alcohol concentration in hand gels varies and may not be effective for disinfecting surfaces quickly without leaving moisture behind. Always stick to pure 70% isopropyl alcohol, which evaporates cleanly without leaving any residue that could interfere with your makeup’s performance.
Conclusion
Sanitising your makeup is an essential practice that safeguards both your skin’s health and the longevity of your beauty investments. By incorporating these seven simple steps on how to sanitise makeup into your routine, you can prevent breakouts, avoid infections, and ensure your products apply flawlessly every time.
While it requires a bit of extra time and effort, the peace of mind that comes from using clean, hygienic tools is well worth it. Treat your makeup tools with the same care you treat your skin, and you will enjoy a safer, more beautiful application experience for years to come.
About the Author
Jane Hubbard is a passionate beauty expert with a wealth of experience in makeup, hair, and overall beauty techniques. After years of working as a hairdresser specialist, she followed her entrepreneurial spirit and started her own consultancy business.
Jane has always been driven by her desire to help others feel confident in their own skin, and she does this by sharing her knowledge, experiences, and practical beauty tips. Through her consultancy, she empowers individuals to embrace their unique beauty, offering tailored guidance that boosts both self-esteem and personal style.
Professional Focus
- Specializes in makeup, hairstyling, and beauty consulting.
- Provides personalized beauty advice, tips, and techniques to help individuals feel confident in their appearance.
- Dedicated to staying up-to-date with the latest industry trends and developments.
- Passionate about creating a comfortable and empowering experience for every client.
Education History
- University of Craft and Design – Bachelor of Fine Arts (BFA) in Woodworking and Furniture Design
- Woodworking Apprenticeships – Extensive hands-on training with skilled craftsmen to refine carpentry and furniture making techniques
- Online Courses & Masterclasses – Continued education in advanced woodworking techniques, design principles, and specialized tools
Expertise:
- Makeup artistry, hairstyling, and beauty consulting.
- Personalized beauty techniques to enhance confidence and self-expression.
- Educating clients on how to maintain their beauty routines at home.