
Halo hair extensions have surged in popularity, offering a simple and damage-free way to add instant length and volume to your hair.

Unlike traditional extensions that require clips, glue, or weaving, the halo design uses an invisible wire that sits on your head like a crown. This makes them a favorite for anyone seeking a quick and dramatic hair transformation. However, the key to a flawless look is ensuring your halo is secure.
In this guide on how to secure halo hair extensions, we’ll walk you through a few tips and tricks to ensure your halo stays put all day long.
What are the Benefits?
Halo hair extensions offer a host of advantages that make them a standout choice for enhancing your natural hair. Their popularity isn’t just about looks; it’s also about convenience and hair health.
One of the biggest benefits is the ease of use. You can apply a halo extension in minutes without needing a professional stylist or any special tools. This makes them perfect for daily wear or special occasions when you want to change your look quickly.
They are also incredibly gentle on your natural hair. Since they don’t attach directly to your hair strands, there is no pulling, tension, or risk of breakage associated with clips, tape-ins, or fusion bonds. This makes them an excellent option for those with fine or fragile hair.
Finally, their versatility is unmatched. You can achieve a completely natural appearance because the extension weft is hidden beneath the top layer of your own hair. They are easy to remove at the end of the day, allowing you to care for your hair and scalp without any obstructions.
What Will You Need?
Securing your halo extension is a straightforward process, but having the right tools on hand will make it even easier and ensure the best results. Before you begin, gather these simple items:
- Halo Hair Extension: Ensure it’s the correct color match and has been adjusted to fit your head size.
- Rat-Tail Comb: The long, pointed end is perfect for sectioning your hair precisely.
- Hair Clips: A few clips will help you keep your sectioned hair out of the way.
- Mirror: A handheld or wall mirror is essential for seeing the back of your head.
- Hairspray (Optional): A light mist can help blend your natural hair with the extensions.
10 Easy Steps on How to Secure Halo Hair Extensions
Follow these detailed steps to achieve a secure and seamless application every time.
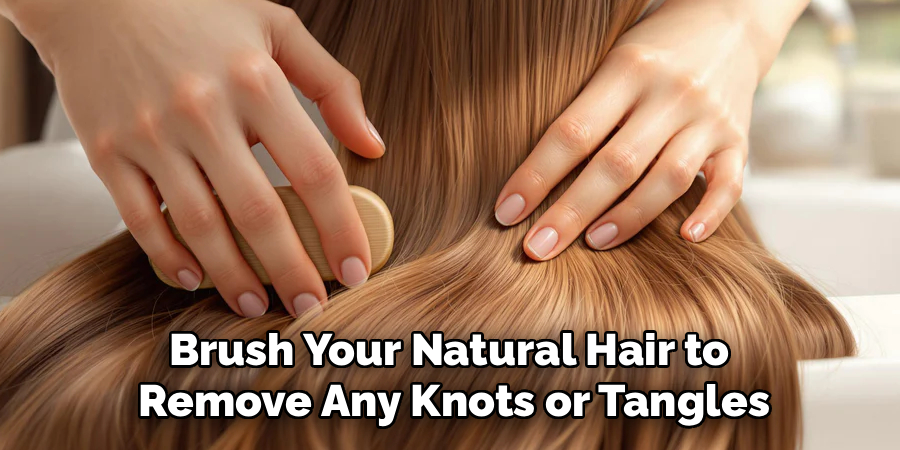
Step 1: Brush Your Hair and the Extension
Start with a clean slate. Thoroughly brush your natural hair to remove any knots or tangles. Smooth hair creates an ideal foundation for the extension to sit on and helps prevent any bumps under the weft. Next, gently brush the halo extension itself. This ensures the extension hair is smooth and ready to blend seamlessly with your own. Always use a brush designed for extensions or a wide-tooth comb to avoid snagging.
Step 2: Adjust the Wire for a Perfect Fit
Before you even place the halo on your head, make sure the wire is adjusted to your specific head size. Most halos come with an adjustable wire and different size options. The wire should fit snugly but not tightly. A good test is to place the halo on your head; it should feel secure enough not to slide with gentle movement, but not so tight that it causes pressure or a headache. Getting the fit right is the most critical step for all-day comfort and security.
Step 3: Section Your Hair at the Crown
Using a rat-tail comb, create a clean, circular part around the crown of your head. This part should begin about one to two inches from your hairline and continue around your head, ending just above your ears. Think of the shape of a halo or a half-up hairstyle. The hair above this part will be used to cover the extension, so a neat section is key.
Step 4: Secure the Top Section of Hair
Gather all the hair you’ve just sectioned off and clip it securely on top of your head. A large clip will keep this hair neatly out of the way, giving you a clear workspace to position the halo extension. This top section is your “cover” hair, so keeping it separate and tidy will make the final blending process much easier.
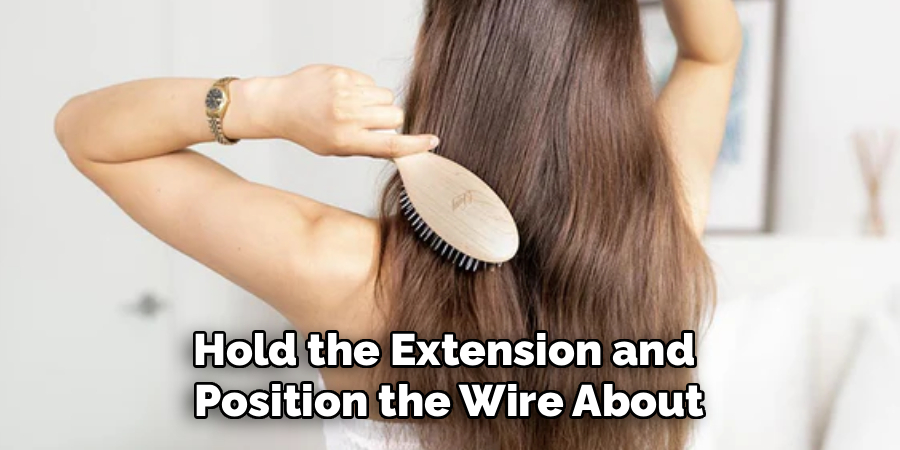
Step 5: Position the Halo Extension
Now it’s time to place the halo. Hold the extension and position the wire about an inch behind your hairline, much like you would wear a headband. Let the weft of hair fall at the back. The weft should rest comfortably below your occipital bone—that small, curved bone at the back of your skull. This placement prevents the weft from riding up and helps anchor the extension in place.
Step 6: Settle the Weft Securely
Gently push down on the weft at the back of your head to ensure it’s sitting flush against your scalp. It should feel snug and secure. The weight of the weft, combined with the properly adjusted wire, creates a balanced system that holds the extension in place. Move your head side to side to feel if it’s stable. If it feels loose, you may need to tighten the wire slightly.
Step 7: Release Your Hair Over the Extension
Once you’re happy with the placement, unclip the top section of your hair. Let it fall naturally, completely covering the weft and the wire. Your own hair will now be sitting on top of the extension, which is the first step in creating a seamless blend and adding to its security.
Step 8: Use a Comb to Blend and Conceal
This is the magic step for making the halo truly invisible. Take the pointed end of your rat-tail comb and gently pull out strands of your own hair from underneath the wire. Work your way around the entire circle of the wire, pulling hair out and over it. This technique completely hides the wire under a layer of your natural hair, creating an undetectable finish from every angle.
Step 9: Brush Gently to Integrate the Layers
Using a soft-bristled brush, gently brush through your hair to merge your natural locks with the extension hair. Start from the ends and work your way up to the roots to avoid pulling or snagging. This final brushing step helps to create a fluid, cohesive look where it’s impossible to tell where your hair ends and the extension begins.

Step 10: Final Check and Style
Do a final check in the mirror, looking at your hair from the front, sides, and back. Give your head a gentle shake to confirm the halo feels secure. Once you’re confident it’s not going anywhere, you’re ready to style! You can curl, straighten, or add waves to your newly voluminous hair. A light mist of hairspray can help hold the style and further meld the layers together for a perfect finish.
5 Things You Should Avoid
To ensure your halo hair extension looks great and lasts long, steer clear of these common mistakes:
- Placing the Wire Too Far Forward: Positioning the wire right at your hairline makes it much harder to conceal. Always place it at least an inch back for a more natural look.
- Choosing the Wrong Size: An ill-fitting wire can cause discomfort or slippage. Most halos are adjustable, so take the time to find the perfect fit for your head shape before your first application.
- Brushing Aggressively: When brushing your hair with the halo in, always be gentle. Aggressive brushing can snag the wire, causing it to shift or even break.
- Skipping the Blending Step: Simply letting your hair down over the halo is not enough. You must use a comb to pull out your own hair to completely cover the wire for a truly invisible finish.
- Wearing it in High Ponytails: While low styles work well, high ponytails or buns can expose the weft at the back. Stick to hairstyles that keep the lower half of your hair down to conceal the extension.
Frequently Asked Questions
Will the Halo Hair Extension Fall Off?
When fitted correctly, a halo extension is very secure. The weight of your own hair sitting on top of the weft, combined with the snug fit of the wire, holds it firmly in place. It’s designed to withstand normal daily activities without slipping or falling off.
Can I Swim or Sleep With My Halo Extension in?
It is highly recommended to remove your halo extension before swimming or sleeping. Chlorine and saltwater can damage the hair, while sleeping can cause severe tangling and matting for both the extension and your natural hair. Removing it takes only a few seconds and will preserve its quality.
How Do I Choose the Right Color for My Halo Extension?
For the most natural look, choose a halo that matches the mid-lengths and ends of your hair, not your roots. Many brands offer color-matching services or sample swatches. If you’re in between shades, it’s often best to opt for the slightly lighter color, as it tends to blend more easily.

Conclusion
Halo hair extensions are a fantastic solution for anyone wanting to effortlessly add length and volume.
By following these simple steps on how to secure halo hair extensions, you can secure your halo for a comfortable, confident, and completely seamless look. The process is quick, the results are stunning, and the method is entirely safe for your natural hair.
Now you know to master the application and enjoy the beautiful transformation that halo extensions provide.
About the Author
Jane Hubbard is a passionate beauty expert with a wealth of experience in makeup, hair, and overall beauty techniques. After years of working as a hairdresser specialist, she followed her entrepreneurial spirit and started her own consultancy business.
Jane has always been driven by her desire to help others feel confident in their own skin, and she does this by sharing her knowledge, experiences, and practical beauty tips. Through her consultancy, she empowers individuals to embrace their unique beauty, offering tailored guidance that boosts both self-esteem and personal style.
Professional Focus
- Specializes in makeup, hairstyling, and beauty consulting.
- Provides personalized beauty advice, tips, and techniques to help individuals feel confident in their appearance.
- Dedicated to staying up-to-date with the latest industry trends and developments.
- Passionate about creating a comfortable and empowering experience for every client.
Education History
- University of Craft and Design – Bachelor of Fine Arts (BFA) in Woodworking and Furniture Design
- Woodworking Apprenticeships – Extensive hands-on training with skilled craftsmen to refine carpentry and furniture making techniques
- Online Courses & Masterclasses – Continued education in advanced woodworking techniques, design principles, and specialized tools
Expertise:
- Makeup artistry, hairstyling, and beauty consulting.
- Personalized beauty techniques to enhance confidence and self-expression.
- Educating clients on how to maintain their beauty routines at home.