
Are you tired of your eyebrow pencil constantly breaking or not creating the sharp, defined lines you desire? Don’t worry, we’ve got you covered. Follow these simple steps to learn how to sharpen eyebrow pencil like a pro.
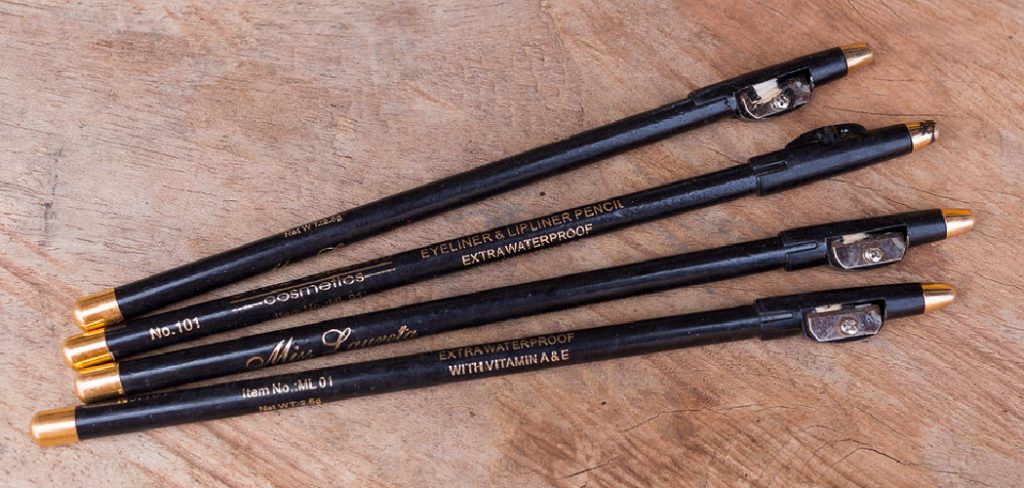
Sharpening an eyebrow pencil properly is essential for precise and flawless makeup application. A well-sharpened pencil ensures you can create defined lines and natural-looking brows without any hassle. However, using the right techniques and tools is important to prevent breakage or waste.
Whether you’re using a manual sharpener or an alternative method, knowing how to apply eyebrow pencil can enhance its longevity and performance, saving you both time and money. Let’s explore some tips and tricks to help you achieve perfectly sharpened eyebrow pencils every time.
What Are the Benefits of Sharpening Your Eyebrow Pencil?
Sharpening your eyebrow pencil can have various benefits, including:
- Creating Precise Lines and Shapes: A sharp pencil tip allows for more control and precision when shaping and filling your eyebrows.
- Avoiding a Dull or Blunt Look: Over time, the tip of an eyebrow pencil can become flat or rounded, resulting in a less defined and polished appearance.
- Removing Any Buildup or Bacteria: Sharpening your eyebrow pencil regularly can remove any product buildup or bacteria that may accumulate on the surface.
- Maintaining Hygiene: Keeping your eyebrow pencil clean and sharp can help prevent eye infections and maintain sanitary conditions in your makeup routine.
What Will You Need?
- An Eyebrow Pencil: Choose a pencil with a sharpener included or purchase a separate one.
- A Sharpener: Ensure it is designed for eyebrow pencils to avoid damaging the tip.
- A Tissue or Cloth: This will help remove excess product or debris.
- Rubbing Alcohol: Optional, but recommended for a deeper clean.
10 Easy Steps on How to Sharpen Eyebrow Pencil
Step 1. Prepare Your Tools:
Ensure you have everything you need within reach before sharpening your eyebrow pencil. Lay out your eyebrow pencil, sharpener, tissue or cloth, and rubbing alcohol if you wish to sanitize your tools. Having these items ready will streamline the process and prevent interruptions. If you’re using rubbing alcohol, lightly dampen a tissue or cloth with it and wipe down your sharpener to remove any residual product or bacteria. This ensures a hygienic makeup routine and prevents contamination. Once your tools are clean and organized, you’ll be ready to move on to the next step.
Step 2. Clean the Sharpener:
Cleaning your sharpener thoroughly is essential to maintain its functionality and hygiene. Start by ensuring the sharpener is completely emptied of any leftover shavings or debris from previous use. Tap it over a trash can or wipe it out with a clean tissue to remove any visible residue. Next, take a cotton swab or small brush to reach into the crevices of the blade and compartments, ensuring all tiny particles are cleared away.
If you’re using rubbing alcohol for sanitization, lightly dampen a cotton swab or cloth and carefully clean the blade and inner surfaces. This will help remove any oils, makeup residue, or bacteria that might have accumulated, ensuring the sharpener is both clean and safe to use. Allow the sharpener to air dry completely before using it again to avoid damaging your products.
Step 3. Stabilize the Pencil:
Before sharpening, ensure the pencil is stable and positioned correctly to prevent tip breakage or uneven sharpening. Hold the pencil firmly but gently in your dominant hand, and ensure the pencil sharpener is securely gripped in your other hand or placed on a flat, stable surface. If the pencil is wobbly or not appropriately aligned with the sharpener’s blade, it may result in uneven sharpening, wasted product, or a broken tip. Take time to securely insert the pencil into the sharpener, ensuring it is centered. Maintaining stability during this step enhances precision and extends the life of your makeup or colored pencils, making each use smooth and effective.
Step 4. Insert the Pencil into the Sharpener:
When inserting the pencil into the sharpener, hold both the pencil and the sharpener in a steady grip. Keep a gentle but firm pressure on the pencil as you guide it into the opening for best results. Avoid forcing the pencil in too quickly, as this can increase the risk of breaking the tip or damaging the sharpener’s blade. If the pencil is overly soft, such as creamy eyeliner pencils, apply even more care to prevent smudging or excess product loss. Additionally, rotating the pencil rather than the sharpener typically gives a more controlled and even finish. Attention during this step ensures that your pencil is sharpened effectively, minimizing waste and allowing for precise application in your final use.
Step 5. Twist Slowly:
Twisting the pencil slowly is crucial to achieve a precise and clean sharpening without compromising the integrity of the pencil. Rushing through this step can lead to uneven edges, broken tips, or wasted product, which diminishes the utility of your pencil. Taking your time and using gentle, consistent pressure reduces the likelihood of the pencil slipping or snapping within the sharpener. Furthermore, slow and deliberate movements provide better control over the sharpening process, ensuring that the pencil’s point remains smooth and tapered at the ideal angle for its intended use.
Step 6. Check the Tip:
Examine the pencil’s tip to ensure it has been sharpened to your desired point. A well-sharpened pencil will have a smooth and even tip without any splintering or jagged edges. If the tip appears too sharp and fragile or not sharp enough, consider making minor adjustments with the sharpener or using a fine-grit sandpaper to refine it. Remember, the ideal tip depends on your needs—fine precision for detailed drawing or a blunter point for shading. Taking a moment to check and perfect the tip will set you up for optimal task performance.
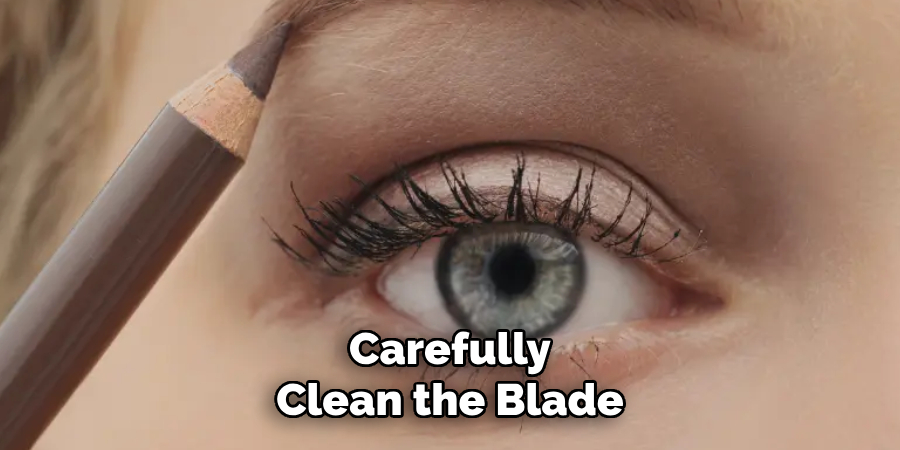
Step 7. Clean the Edge:
Using a soft, lint-free cloth or a brush, gently clean the tool’s edge to remove any dust, debris, or small particles left from sharpening. This step is essential to maintain the integrity of your work and prevent unwanted marks or scratches during use. Ensure the edge is smooth and free of any residue, as this will contribute to your tool’s precision and longevity. Keeping the edge clean will allow you to achieve consistent results every time.
Step 8. Sanitize the Tip:
Sanitize the tip thoroughly before use to ensure the tool remains hygienic and free from contaminants. Use a disinfectant solution or isopropyl alcohol applied to a clean cotton pad or cloth. Gently wipe the tip, making sure to cover all surfaces evenly. Allow the disinfectant to air dry completely, preventing any residue from interfering with the tool’s performance. Regular sanitization promotes cleanliness and extends the tool’s life by preventing corrosion or buildup.
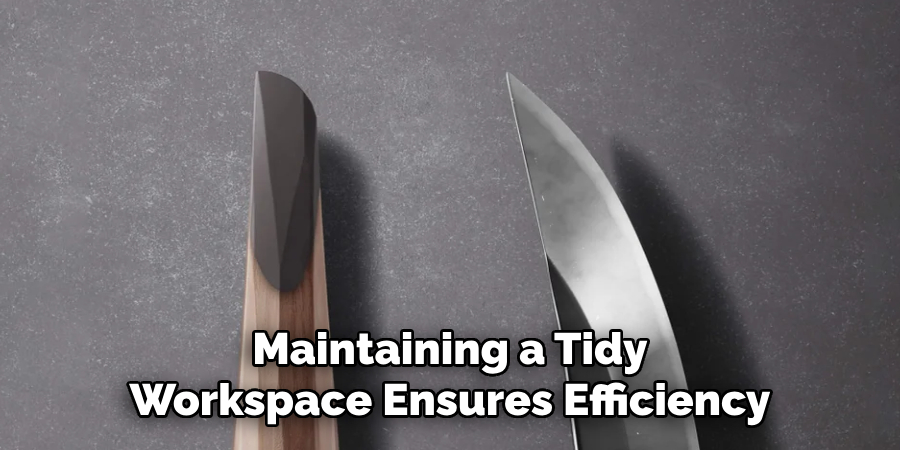
Step 9. Dispose of Shavings:
Properly disposing of the shavings is essential to maintaining cleanliness during tool use. Gather the shavings carefully to avoid scattering them, and place them into a dedicated waste container or disposal bag. If the shavings’ material is biodegradable, consider composting them if appropriate. Otherwise, ensure they are disposed of according to local waste management guidelines. Maintaining a tidy workspace ensures efficiency and safety while prolonging the life of your tools.
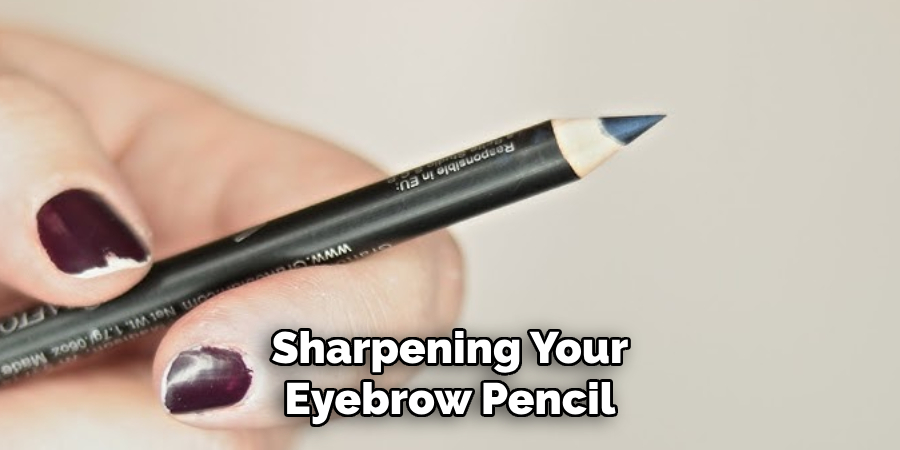
Step 10. Test the Pencil:
Hold the pencil as you normally would and test it on paper. Check if the pencil produces a clear, consistent line without any breaks or inconsistencies. If the point feels too sharp or rough, gently smooth it out by scribbling it on scrap paper. Ensure the pencil is comfortable to use and meets your intended purpose, whether for writing, sketching, or detailed drawing work. Adjust as necessary for the perfect result.
By following this simple step, you can ensure your pencil is ready to use whenever needed.
5 Things You Should Avoid
- Using a Regular Pencil Sharpener
Avoid using a regular pencil sharpener designed for standard pencils. Eyebrow pencils are often softer and designed differently, requiring a sharpener made explicitly for cosmetic products to prevent breakage or damage.
- Applying Too Much Pressure
Using excessive force while sharpening can cause the tip of the eyebrow pencil to snap or crumble. Be gentle and rotate the pencil slowly to maintain precision and avoid wastage.
- Sharpening Too Often
Over-sharpening reduces the lifespan of your eyebrow pencil and can lead to unnecessary product loss. Only sharpen when the tip becomes too dull to use effectively.
- Sharpening to a Very Sharp Point
Avoid sharpening the pencil to an overly fine or sharp point. This can make the application harsh on the skin and increase the likelihood of the tip breaking during use.
- Ignoring Hygiene
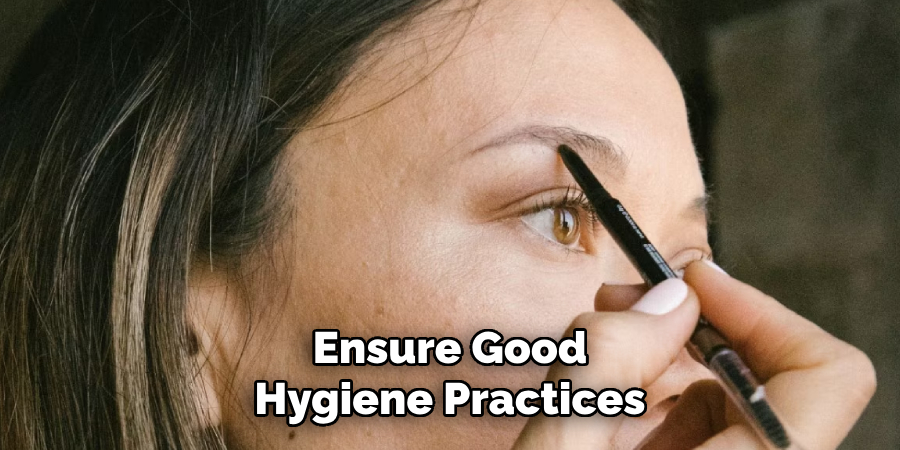
Using a dirty sharpener can lead to bacteria buildup, which may transfer to the eyebrow pencil and potentially irritate your skin. Always clean your sharpener regularly to ensure good hygiene practices.
Conclusion
How to sharpen eyebrow pencil properly is essential to ensure precise application and maintain its longevity.
By avoiding a too-sharp point and practicing good hygiene with your sharpener, you can prevent breakage and reduce the risk of skin irritation. These steps will ensure that your eyebrow pencil remains effective and safe for use, helping you achieve the desired look effortlessly.
Hopefully, this guide has provided you with all the necessary information to sharpen your eyebrow pencil effectively.
About the Author
Jane Hubbard is a passionate beauty expert with a wealth of experience in makeup, hair, and overall beauty techniques. After years of working as a hairdresser specialist, she followed her entrepreneurial spirit and started her own consultancy business.
Jane has always been driven by her desire to help others feel confident in their own skin, and she does this by sharing her knowledge, experiences, and practical beauty tips. Through her consultancy, she empowers individuals to embrace their unique beauty, offering tailored guidance that boosts both self-esteem and personal style.
Professional Focus
- Specializes in makeup, hairstyling, and beauty consulting.
- Provides personalized beauty advice, tips, and techniques to help individuals feel confident in their appearance.
- Dedicated to staying up-to-date with the latest industry trends and developments.
- Passionate about creating a comfortable and empowering experience for every client.
Education History
- University of Craft and Design – Bachelor of Fine Arts (BFA) in Woodworking and Furniture Design
- Woodworking Apprenticeships – Extensive hands-on training with skilled craftsmen to refine carpentry and furniture making techniques
- Online Courses & Masterclasses – Continued education in advanced woodworking techniques, design principles, and specialized tools
Expertise:
- Makeup artistry, hairstyling, and beauty consulting.
- Personalized beauty techniques to enhance confidence and self-expression.
- Educating clients on how to maintain their beauty routines at home.