
Are you tired of your braids curling up and losing their neatness? We understand the frustration that comes with spending time and effort to achieve the perfect braided hairstyle, only to have it unravel and lose its shape. But worry not! In this guide on how to stop my braids from curling up, we will share effective tips and techniques to help you keep your braids intact and prevent them from curling up.
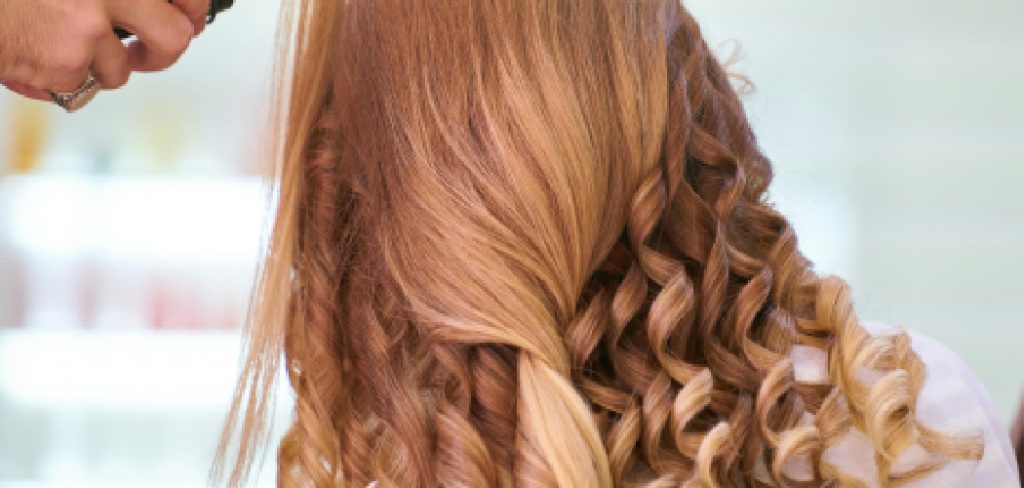
The curling up of braids can be caused by various factors such as hair texture, the type of extensions used, and improper maintenance. Following these simple steps, you can enjoy long-lasting, beautifully styled braids that will turn heads wherever you go.
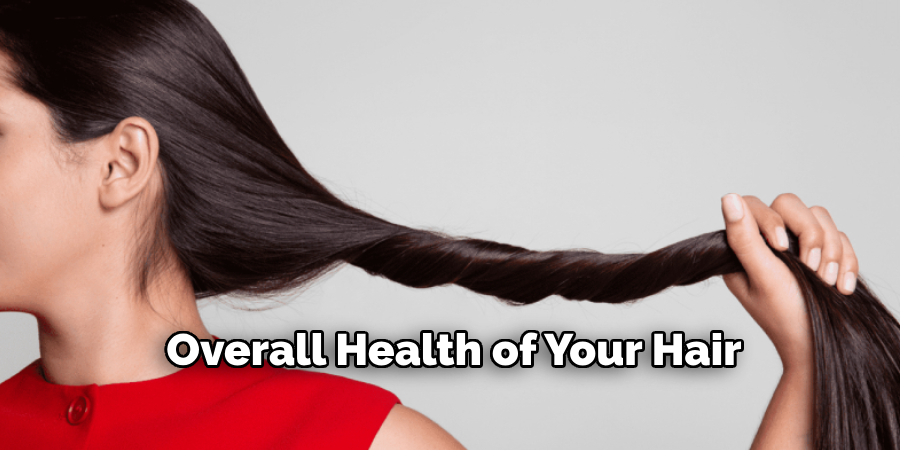
Let’s dive in and discover how to maintain your braids’ longevity and impeccable look!
What Are the Benefits of Preventing My Braids From Curling Up?
Before we delve into the tips and techniques, let’s first understand why preventing your braids from curling up is essential. Here are some benefits of maintaining well-kept, non-curling braids:
- Saves Time: By keeping your braids intact, you won’t have to spend extra time redoing them or fixing unraveled sections.
- Maintains Neatness: Neatly braided hair can make a huge difference in your overall appearance and boost your confidence.
- Protects Natural Hair: Braiding helps preserve natural hair by minimizing manipulation and reducing breakage.
Now that we know how to prevent our braids from curling up let’s move on to the tips and techniques.
What Will You Need?
- Hair products (moisturizing cream, edge control, braid spray)
- Satin scarf or bonnet
- Heat protectant spray (optional)
Once you have these essentials, you are ready to follow the steps below.
10 Easy Steps on How to Stop My Braids From Curling Up
Step 1. Clean Your Braids:
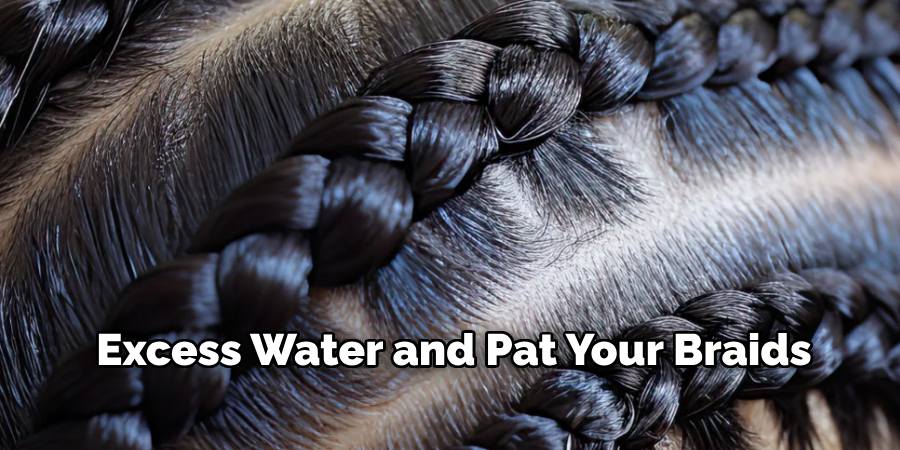
Keeping your braids clean is essential for preventing them from curling up. Use a gentle shampoo or a cleansing spray specially designed for braids to cleanse your scalp and remove any buildup or residue. Gently massage the shampoo or spray into your scalp, ensuring it reaches your braids’ roots.
Rinse thoroughly with lukewarm water, making sure to remove all traces of the product. Remember to avoid vigorously rubbing or twisting your braids, as this can cause frizz and disrupt their structure. Once you’ve rinsed, gently squeeze out any excess water and pat your braids dry with a soft towel. Avoid using a rough or abrasive towel, as it can create friction and lead to frizz or curling.
Step 2. Moisturize Your Braids:
Dry hair can cause frizz and curl your braids. To prevent this, moisturize your braids regularly. Use a moisturizing cream or oil for braided hair and apply it evenly throughout your scalp and braids. You can also use a braid spray to provide moisture and shine to your braids. Simply spritz it onto your braids and massage it gently into your scalp.
Step 3. Apply Edge Control:
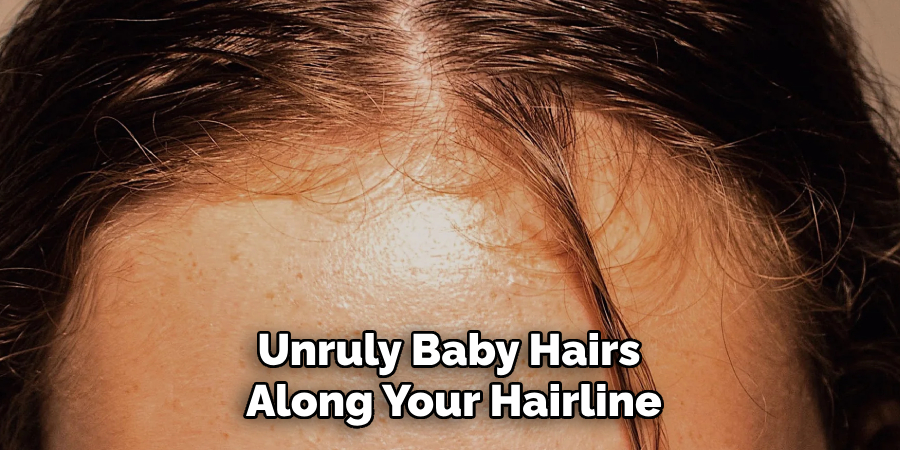
Applying edge control products can be beneficial to further enhance the sleekness and longevity of your braids. Edge control gels or creams help to tame and lay down any frizzy or unruly baby hairs along your hairline, giving your braided hairstyle a polished and well-defined look. Simply take a small amount of edge control product on your fingertips and gently smooth it along your edges, working from the temples towards the center.
Use a soft brush or a fine-toothed comb to shape and style your edges as desired. Remember to use a minimal amount of product to avoid a greasy or heavy appearance. By incorporating this step into your braided haircare routine, you’ll maintain a clean and refined look throughout the lifespan of your braids.
Step 4. Use a Satin Scarf or Bonnet:
Consider using a satin scarf or bonnet to protect your braids further and minimize friction while you sleep. Satin is a smooth and gentle fabric that helps prevent tangles, breakage, and frizz, reducing friction between your braids and your pillowcase. Before bedtime, gently gather your braids and cover them with a satin scarf or bonnet, ensuring they are tucked in securely. This simple step will help preserve your braided hairstyle and maintain its neatness and longevity.
Additionally, using a satin pillowcase can be an alternative to protect your braids while sleeping if you prefer not to use a scarf or bonnet. Remember, maintaining the integrity of your braids during sleep is vital for keeping them looking fresh and beautiful.
Step 5. Protect Your Braids While Sleeping:
During sleep, it’s important to take extra precautions to ensure the longevity and neatness of your braided hairstyle. Here are some additional tips to protect your braids while sleeping:
- Choose a Comfortable Sleeping Position: Sleeping on your back or on a satin pillowcase can help minimize friction and reduce the chances of your braids getting tangled or flattened.
- Wrap Your Braids in a Silk or Satin Scarf: Wrapping your braids in a silk or satin scarf before bed can provide an extra layer of protection and help maintain their shape. This helps prevent frizz, tangles, and breakage.
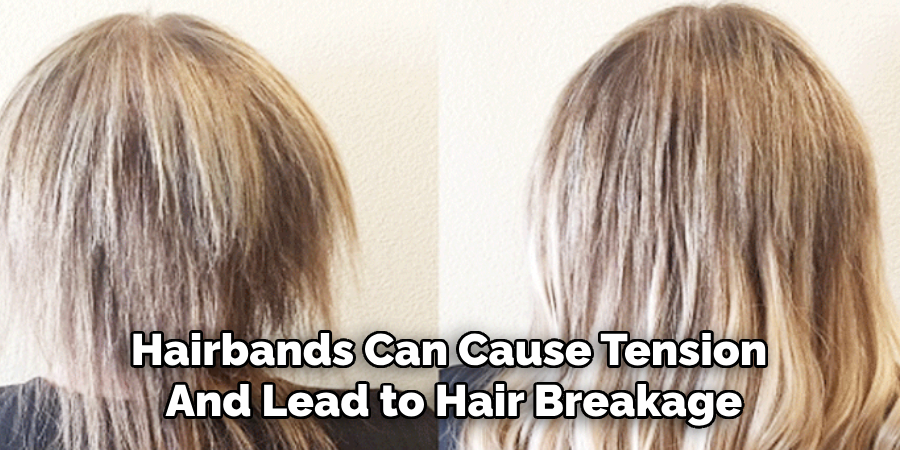
- Avoid Loose Hairbands or Elastic Bands: Using tight or elastic hairbands can cause tension and lead to hair breakage. Opt for soft silk or satin scrunchies, as they are gentler on your braids.
- Refresh Your Style in the Morning: When you wake up, spritzing your braids with a leave-in conditioner or a revitalizing spray can help revitalize and reshape your braids. Gently fluffing and separating your braids with your fingers can also help restore their original shape and volume.
Step 6. Avoid Heat Styling:
Heat styling tools, such as flat irons or curling wands, can cause significant damage to your braids and lead to unraveling or curling. The heat can weaken the structure of your braids and strip them of moisture, causing them to lose shape and frizz up. If you need to style your hair, opt for heatless methods such as braid-outs or twists.
Step 7. Use a Heat Protectant Spray (Optional):
If you decide to use heat-styling tools on your braids, protecting them from excessive heat damage is crucial. To minimize the risk, consider using a heat-protectant spray before styling. Heat protectant sprays create a barrier between your braids and the heat, helping to reduce the impact on the hair strands.
Look for heat-protectant sprays specifically designed for use with braided hairstyles, as they are formulated to provide adequate protection while keeping your braids intact. Remember to follow the instructions on the spray and apply it evenly throughout your braids before using any heat-styling tools.
Step 8. Don’t Over Manipulate Your Braids:
Constantly touching, pulling, or playing with your braids can cause them to lose their shape and lead to frizz and curling. Try not to over-manipulate your braids, as this can damage the structure of your hairstyle and make it appear messy or unkempt. Instead, let your braids be and avoid running your fingers through them too often.
Step 9: Sleep on a Satin Pillowcase:
To maintain the longevity and neatness of your braids, consider sleeping on a satin pillowcase. Unlike cotton or other fabrics, satin creates less friction and reduces the chances of your braids becoming frizzy or tangled overnight. The smooth surface of a satin pillowcase also helps to preserve the moisture and overall health of your hair.
Additionally, satin pillowcases are gentle on your skin, reducing the likelihood of facial creases or wrinkles. Making this simple switch can make a significant difference in preserving the integrity of your braided hairstyle, ensuring you wake up to beautiful, well-maintained braids each morning. Sweet dreams and beautiful braids await!
Step 10. Properly Remove Your Braids:
When taking down your braided hairstyle, it’s essential to do so carefully to avoid damaging your natural hair. Start by gently cutting off the ends of your braids, only if synthetic hair extensions were added, taking care not to cut your hair.
Work on one braid at a time and carefully unravel it from the bottom upwards, applying a detangling spray or leave-in conditioner to loosen the braid and reduce tangles. Use your fingers or a wide-toothed comb to detangle the hair gently once a braid is removed. After all braids are unraveled, detangle your hair to remove any knots thoroughly.
By following these steps and taking proper care of your braids, you can ensure they stay fresh, neat, and beautiful for weeks.
Conclusion
Braided hairstyles are a great way to protect and style your hair, but they do require proper maintenance and care to preserve their longevity and neatness.
By following these simple steps on how to stop my braids from curling up, you can ensure that your braids stay looking fresh and beautiful for weeks on end. From preparing your hair before getting it braided to properly removing the braids at the end of their lifespan, taking care of your braids is essential for maintaining healthy hair. Remember to be gentle with your braids, avoid heat styling, and take extra precautions while sleeping.
With these tips in mind, you can rock fabulous braids without worrying about damage or an unruly appearance. So go ahead and show off those stylish and well-maintained braids with confidence!
About the Author
Jane Hubbard is a passionate beauty expert with a wealth of experience in makeup, hair, and overall beauty techniques. After years of working as a hairdresser specialist, she followed her entrepreneurial spirit and started her own consultancy business.
Jane has always been driven by her desire to help others feel confident in their own skin, and she does this by sharing her knowledge, experiences, and practical beauty tips. Through her consultancy, she empowers individuals to embrace their unique beauty, offering tailored guidance that boosts both self-esteem and personal style.
Professional Focus
- Specializes in makeup, hairstyling, and beauty consulting.
- Provides personalized beauty advice, tips, and techniques to help individuals feel confident in their appearance.
- Dedicated to staying up-to-date with the latest industry trends and developments.
- Passionate about creating a comfortable and empowering experience for every client.
Education History
- University of Craft and Design – Bachelor of Fine Arts (BFA) in Woodworking and Furniture Design
- Woodworking Apprenticeships – Extensive hands-on training with skilled craftsmen to refine carpentry and furniture making techniques
- Online Courses & Masterclasses – Continued education in advanced woodworking techniques, design principles, and specialized tools
Expertise:
- Makeup artistry, hairstyling, and beauty consulting.
- Personalized beauty techniques to enhance confidence and self-expression.
- Educating clients on how to maintain their beauty routines at home.