
Dealing with under-eye makeup creasing can be frustrating. You spend time carefully applying your concealer for a smooth, bright finish, only to find fine lines and cracks appearing a few hours later. This common makeup issue can make you look more tired than you feel and detract from an otherwise flawless look.
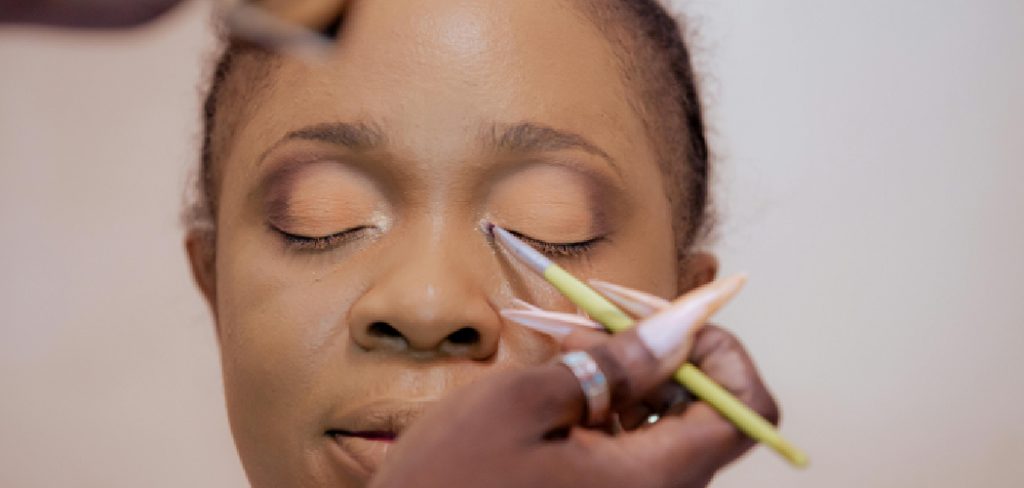
Fortunately, achieving a crease-free finish is possible with the right techniques and products. This guide on how to stop under eye makeup creasing will walk you through a detailed process to keep your under-eye area looking smooth all day. By properly preparing your skin and applying your makeup, you can say goodbye to creasing for good.
Tools and Materials You’ll Need
- Hydrating Eye Cream
- Makeup Primer (silicone-based or hydrating)
- Liquid or Cream Concealer
- Translucent Setting Powder
- Small, Fluffy Makeup Brush
- Damp Makeup Sponge
- Setting Spray
10 Step-by-step Guides on How to Stop Under Eye Makeup Creasing
Step 1: Start with Proper Skin Prep
The foundation of any good makeup application is a well-prepared canvas, and the delicate under-eye area is no exception. This skin is thinner and more prone to dryness, which can cause makeup to settle into fine lines. Begin by applying a hydrating eye cream. Gently tap a small amount around your orbital bone using your ring finger, which applies the least amount of pressure. Allow the cream to fully absorb for a few minutes before moving on. This step plumps the skin and creates a smooth surface for makeup.
Proper hydration is non-negotiable for preventing creasing. A well-moisturized under-eye area will grip concealer better and prevent it from drying out and cracking throughout the day. If you have particularly dry skin, look for eye creams with ingredients like hyaluronic acid or glycerin. Let the product sink in completely; applying makeup over wet skincare can cause it to slide around and break down faster, leading to more creasing instead of less. Patience during this initial step is key.
Step 2: Apply a Primer
Once your eye cream has been absorbed, the next step is to apply a primer. A primer acts as a barrier between your skin and your makeup, filling in fine lines and creating an even texture for the concealer to adhere to. For the under-eye area, you can use a face primer or one specifically designed for this delicate skin. A small, pea-sized amount is all you need. Gently tap it onto the under-eye area, focusing on where you tend to see the most creasing.
The type of primer you choose can make a significant difference. A silicone-based primer is excellent for smoothing over texture and creating a silky base. Alternatively, if dryness is your main concern, a hydrating primer can provide an extra layer of moisture to prevent your concealer from looking cakey. Whichever you choose, allow the primer to set for at least a minute before you apply any concealer on top. This ensures it has time to create that perfect, smooth canvas.
Step 3: Choose the Right Concealer
Not all concealers are created equal, especially when it comes to the under-eye area. It’s crucial to select a formula that is hydrating and flexible. Thick, heavy, or overly matte concealers are more likely to dry out and settle into fine lines, emphasizing the texture you want to hide. Instead, opt for a liquid or cream concealer with a lightweight, buildable formula. These products are designed to move with your skin, reducing the chances of creasing as you make facial expressions throughout the day.
When selecting a shade, aim for one that is one to two shades lighter than your foundation to brighten the under-eye area. Look for concealers described as “radiant,” “hydrating,” or “luminous,” as these often contain ingredients that add moisture and reflect light, creating a smoother appearance. Avoid products labeled as “full-coverage” or “matte” unless they are specifically formulated to be flexible and non-drying for under-eye use.
Step 4: Apply Concealer Sparingly
One of the biggest mistakes that leads to creasing is applying too much product. It’s tempting to apply a thick layer of concealer to cover dark circles, but this excess product is what inevitably settles into fine lines. The key is to use a less-is-more approach. Start by applying a few small dots of concealer on the inner and outer corners of your under-eye area, where darkness is usually most prominent. Avoid applying it directly into the lines where you tend to crease.
By concentrating the product only where you need it most, you minimize the amount of makeup that can potentially crease. You can always add another thin layer if you need more coverage, but it’s much harder to take away product once it has been applied. Applying concealer sparingly not only prevents creasing but also creates a more natural, skin-like finish. This technique ensures you get the brightening effect you desire without the heaviness that causes makeup to crack.
Step 5: Blend with a Damp Sponge
How you blend your concealer is just as important as how you apply it. Using a damp makeup sponge is one of the most effective methods for achieving a seamless, airbrushed finish. The moisture in the sponge helps to press the product into the skin rather than just moving it around. It also absorbs any excess product, which is crucial for preventing creasing. Use gentle tapping or stippling motions to blend the concealer outward.
Avoid dragging or wiping the sponge across your skin, as this can cause streaks and remove the product from where you need it most. The gentle bouncing motion helps to melt the concealer into your skin for a more natural look. Make sure your sponge is damp, not soaking wet. A properly dampened sponge will expand in size and feel soft to the touch. This simple technique can dramatically improve the final look and longevity of your under-eye makeup.
Step 6: Look Up and Smooth Out Creases
Before you set your concealer with powder, it’s essential to ensure the surface is as smooth as possible. After blending, look straight up toward the ceiling. This simple action helps to stretch the skin under your eyes, making any fine lines temporarily less prominent. While looking up, take your damp makeup sponge or your ring finger and gently tap over the area one last time to smooth out any concealer that may have already started to settle into creases.
This step is a quick but crucial check to perform right before setting. If you set your makeup while there are already small creases, you will lock them in place for the rest of the day. Taking a few extra seconds to smooth everything out ensures you are setting a perfectly blended canvas. This helps to maximize the wear time of your concealer and maintain a flawless finish for hours. It’s a small detail that makes a huge impact.
Step 7: Set Immediately with a Fine Powder
Setting your concealer is the most critical step for preventing creasing. As soon as you have smoothed out the area, you need to lock it in place with powder before it has a chance to move. Use a finely milled, translucent setting powder, as heavier powders can look cakey and add unwanted texture. Pick up a small amount of powder on a small, fluffy brush or the tip of your damp makeup sponge. Tap off any excess to avoid over-applying.
While still looking up, gently press the powder onto the under-eye area where you applied the concealer. The pressing motion sets the liquid product without disturbing it. Avoid swiping or buffing the powder on, as this can move the concealer and cause patchiness. Applying the powder immediately after blending ensures that the concealer is locked in place while it’s still perfectly smooth, providing a crease-proof finish that lasts.
Step 8: Bake (If Necessary)
For those with oilier skin or who need their makeup to be extra long-lasting, baking can be a game-changer. Baking involves applying a generous layer of translucent powder over your concealer and letting it sit for 5 to 10 minutes. The heat from your skin will help the powder meld with your concealer and foundation, creating a durable, matte, and crease-resistant finish. Use your damp sponge to press a thick layer of powder onto the under-eye area.
While the powder is “baking,” you can continue with the rest of your makeup routine, like applying bronzer or filling in your eyebrows. After the time is up, use a clean, fluffy brush to gently sweep away the excess powder. The result is a brightly highlighted and incredibly smooth under-eye area that is locked in place for the day. This technique may be too drying for those with very dry skin, so it’s best reserved for special occasions or oily skin types.
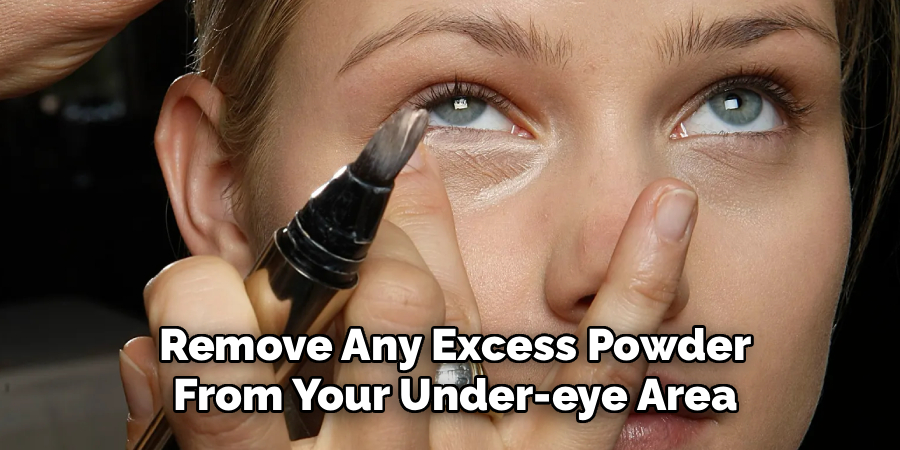
Step 9: Brush Away Excess Powder
Whether you lightly set your makeup or went for the full bake, it’s important to remove any excess powder from your under-eye area. Lingering powder can settle into lines later in the day or make the skin look dry and textured. Take a large, clean, and fluffy makeup brush and lightly sweep it under your eyes to dust off any remaining product. Use a very light hand to avoid disturbing the perfectly set makeup underneath.
This step ensures a soft, natural finish rather than a heavy, powdered look. The goal is to set the concealer without leaving a visible layer of powder on the skin’s surface. A quick, gentle sweep is all that’s needed to remove the excess and leave behind a flawless, airbrushed effect. This final touch helps to blend the under-eye area seamlessly with the rest of your face makeup, creating a cohesive and polished look.
Step 10: Finish with a Setting Spray
The final step to lock everything in place and give your skin a natural, healthy finish is to use a setting spray. A good setting spray will meld all the layers of makeup together—primer, concealer, and powder—and help them last longer. It can also take away any powdery or cakey appearance, making your makeup look more like actual skin. Hold the bottle about 8-10 inches away from your face and mist it lightly.
Let the setting spray air dry completely. Avoid fanning your face, as this can sometimes cause the makeup to move before it has a chance to set. Some setting sprays offer a matte finish, while others provide a dewy glow, so choose one that aligns with your desired look. This final step not only prevents under-eye creasing but also ensures that your entire face of makeup stays fresh and vibrant all day long.
Following these steps on how to stop under eye makeup creasing will help you achieve a flawless and long-lasting makeup look.

Conclusion
Achieving a smooth, crease-free under-eye area is entirely possible with the right approach. It begins with dedicated skin preparation to create a hydrated canvas, followed by the strategic selection and application of products.
By using less concealer, blending properly with a damp sponge, and setting immediately with a fine powder, you can effectively prevent makeup from settling into fine lines. Finishing with a setting spray will lock in your work for a flawless look that lasts all day. With these steps on how to stop under eye makeup creasing, you can confidently wear your makeup without worrying about under-eye creasing.
About the Author
Jane Hubbard is a passionate beauty expert with a wealth of experience in makeup, hair, and overall beauty techniques. After years of working as a hairdresser specialist, she followed her entrepreneurial spirit and started her own consultancy business.
Jane has always been driven by her desire to help others feel confident in their own skin, and she does this by sharing her knowledge, experiences, and practical beauty tips. Through her consultancy, she empowers individuals to embrace their unique beauty, offering tailored guidance that boosts both self-esteem and personal style.
Professional Focus
- Specializes in makeup, hairstyling, and beauty consulting.
- Provides personalized beauty advice, tips, and techniques to help individuals feel confident in their appearance.
- Dedicated to staying up-to-date with the latest industry trends and developments.
- Passionate about creating a comfortable and empowering experience for every client.
Education History
- University of Craft and Design – Bachelor of Fine Arts (BFA) in Woodworking and Furniture Design
- Woodworking Apprenticeships – Extensive hands-on training with skilled craftsmen to refine carpentry and furniture making techniques
- Online Courses & Masterclasses – Continued education in advanced woodworking techniques, design principles, and specialized tools
Expertise:
- Makeup artistry, hairstyling, and beauty consulting.
- Personalized beauty techniques to enhance confidence and self-expression.
- Educating clients on how to maintain their beauty routines at home.