
Are you tired of having too much volume in your hair? Do you want to switch up your hairstyle without making a drastic change?
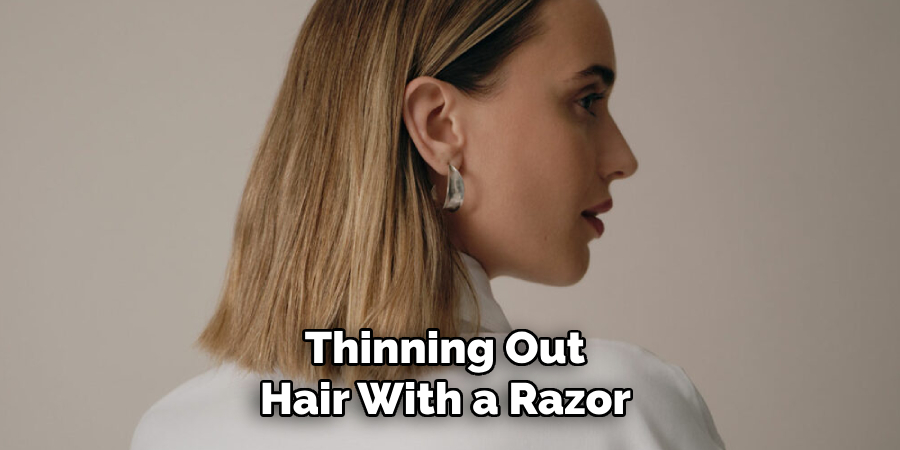
How to thin out hair with razor is a popular technique used to reduce hair volume and create a lighter, more textured look. This method involves strategically removing some hair strands to achieve the desired level of thickness and movement. Whether you have thick, dense hair or simply want to add some dimension to your hairstyle, learning to thin out your hair with a razor can give you the desired result.
In this guide, we will explore step-by-step instructions and essential tips for successfully thinning out your hair using a razor, allowing you to achieve a stylish and manageable hairstyle that suits your preferences.
What Are the Benefits of Thinning Out Hair With Razor?
Before we dive into the process, let’s first understand why thinning out hair with a razor is a popular choice among many individuals.
- Effortlessly Add Texture and Volume: By selectively removing some hair strands, you can create a layered effect that adds dimension to your hairstyle.
- Reduce Bulkiness and Heaviness: Thick hair can be challenging to manage, especially in hot and humid weather conditions. Thinning out your hair with a razor can help reduce the weight and make it easier to style.
- Achieve a Softer Look: Thinning out naturally coarse or thick hair can give you a more delicate and feminine appearance.
- Create a Tapered Effect: Thinning out the hair around your face can create a tapered effect, drawing attention to your facial features and giving you a more personalized look.
These are just a few of the benefits of thinning out hair with a razor. Now, let’s move on to the step-by-step process.
What Will You Need?
Here are the essential tools you will need to thin out your hair with a razor:
- A sharp, single-edge razor: It is crucial to use a high-quality, sharp razor to achieve precise results without damaging your hair.
- A comb: A fine-toothed comb can help separate and hold sections of hair for easier cutting.
- Hair clips: These will come in handy when sectioning off your hair and keeping it out of the way while you work on one area.
- Spray bottle with water: Spraying some water onto your hair can make cutting and prevent tugging or pulling easier.
Once you have all these tools ready, let’s begin the thinning process.
10 Easy Steps on How to Thin Out Hair With Razor
Step 1. Clean Your Hair
Start by washing your hair with a mild shampoo and conditioner to ensure it is clean and manageable. This will help remove any product buildup or oils interfering with the razor’s effectiveness. Gently towel dry your hair until it is damp and ready for thinning. Avoid excessive heat styling or products before thinning, as this can make the hair more brittle and prone to breakage. Remember, clean and well-prepared hair sets the foundation for a successful thinning technique.
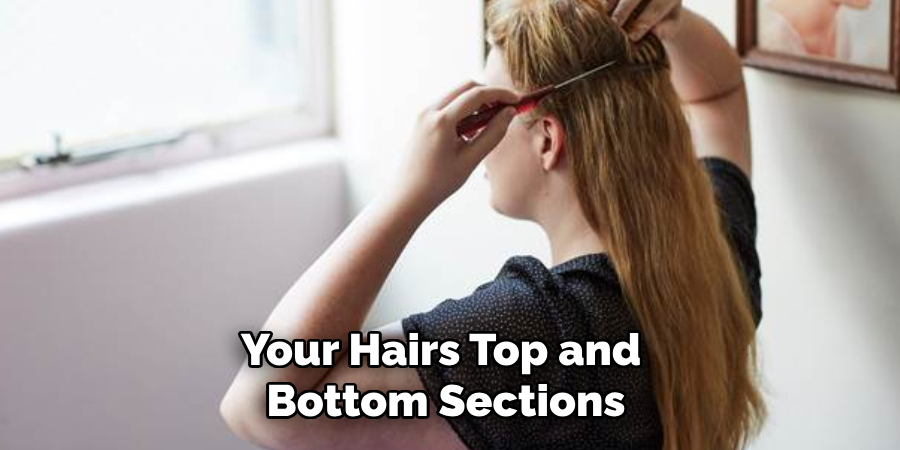
Step 2. Divide Your Hair into Sections
Using your comb, create a center part and divide your hair into two equal sections. Then, make a horizontal parting from ear to ear, separating your hair’s top half from the bottom. Clip the top section out of the way while you work on the bottom layer.
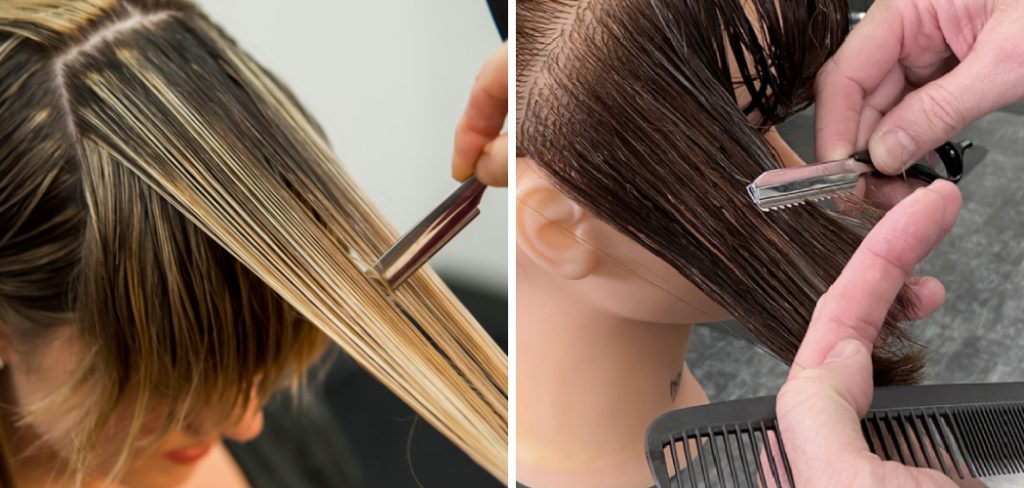
Step 3. Start Thinning Out Your Hair with Razor
Take small sections of hair from one side and hold them tightly between your fingers at a 45-degree angle. Gently slide the razor vertically down the strands, removing some hair as you move towards the ends. Avoid cutting too close to your scalp or removing too much hair in one go. Repeat this process for both sides of your head until you have thinned out the bottom section.
Step 4. Thin Out the Top Half of Your Hair
After completing the thinning process for the bottom section, release the clipped top half of your hair. Now, follow the same technique as in Step 3 to thin out the top layer. Hold small sections of hair between your fingers, angling the razor vertically and sliding it down the strands. Remember to maintain a 45-degree angle and avoid cutting too close to the scalp or removing excessive hair at once. Continue thinning out the top section until you achieve your desired level of thickness and texture.
Step 5. Blend the Layers
Once you’ve thinned out your hair’s top and bottom sections, use your comb to blend the layers carefully. This step ensures no harsh lines or uneven transitions between the thinned areas. Comb through your hair and check for any sections that appear thicker or out of balance. If needed, lightly thin those areas using the vertical razor technique. Be subtle to avoid removing too much hair, as blending creates a soft, cohesive look.
Step 6. Check for Balance and Evenness
Stand before a mirror and carefully examine your hair for balance and symmetry. Run your fingers through your hair to feel for any uneven bulkiness or areas that might need additional thinning. Adjust as required by taking small sections of hair and following the same razor technique. Keep in mind that it’s better to remove hair gradually rather than risk over-thinning, as it’s easier to trim more than to restore removed hair.
Step 7. Style Your Hair
After you’re satisfied with the thinning process, style your hair as desired. You can blow-dry your hair to enhance the texture, use curling or straightening tools for added definition, or leave it natural for a soft, effortless look. Thinning out your hair with a razor opens the door to numerous styling options, allowing you to showcase the texture and movement you’ve created.
Step 8. Maintain Your Thinned Style
To keep your hair looking fresh and light, you should touch up your razor-thinning technique every couple of months. Regular trims at your hair ends will also prevent splitting and maintain the overall health of your hair. Invest in good hair care products like moisturizing shampoos and conditioners to keep your hair hydrated and manageable. Consult a hairstylist for professional advice to ensure your thinning efforts align with your desired style.
Step 9. Use Caution When Thinning Hair at Home
Thinning hair with a razor requires skill, precision, and caution. If you’re unsure or inexperienced, it’s best to seek guidance from a professional stylist who can assess your hair type and recommend the best thinning technique. Attempting to thin your hair at home without proper knowledge or tools can result in unevenness, damage, or an unflattering appearance.
Step 10. Embrace Your Thinned-Out Hair
Once you have successfully thinned out your hair, embracing and celebrating your new look is time! Thinned-out hair can bring a sense of lightness and movement to your style, enhancing its overall texture and volume. Experiment with different hairstyles that highlight your hair’s newfound dimension and texture. Play with braids, updos, or loose waves to accentuate the lighter feel and create stunning looks. Embracing your thinned-out hair also means embracing your natural beauty and feeling confident in your unique style. Remember to continue with regular hair care practices, such as using suitable products and maintaining a healthy hair care routine.

By following these ten easy steps on how to thin out hair with a razor, you can achieve a beautifully textured and lightweight hairstyle that showcases your unique features.
5 Things You Should Avoid
- Using an Improper Razor Technique: Use a razor with proper technique and guidance. Thinning hair with a razor requires precision and skill to avoid uneven or choppy results.
- Skipping Proper Preparation: Remember to complete the essential step of preparing your hair before thinning it with a razor. Make sure your hair is clean, dry, and free from tangles or knots.
- Thinning Too Much Hair at Once: Thinning hair with a razor should be done gradually and with caution. Avoid thinning large sections of hair all at once, as it can lead to excessive thinning and an uneven appearance.
- Neglecting Maintenance and Care: Thinning out hair with a razor requires regular maintenance and care to keep it looking its best. Proper care is necessary, including regular trims and using appropriate hair products, to avoid frizz, damage, and an unkempt appearance.
- Attempting Razor Thinning on Curly or Coarse Hair: Razor thinning is not recommended for those with naturally curly or coarse hair. The texture of these hair types makes them more prone to damage and breakage when thinned with a razor.
Conclusion
How to thin out hair with razor can add dimension, texture, and movement to your style. It’s an excellent option for those looking to reduce bulkiness or achieve a lighter, more effortless look.
However, following proper techniques and precautions when thinning hair with a razor is essential. With the proper technique and regular maintenance, you can enjoy beautifully thinned-out hair that highlights your unique features and natural beauty.
So don’t be afraid to try this technique and embrace the beauty of thinned-out hair! Remember that practice makes perfect, so don’t get discouraged if your first attempt doesn’t turn out as expected.
About the Author
Jane Hubbard is a passionate beauty expert with a wealth of experience in makeup, hair, and overall beauty techniques. After years of working as a hairdresser specialist, she followed her entrepreneurial spirit and started her own consultancy business.
Jane has always been driven by her desire to help others feel confident in their own skin, and she does this by sharing her knowledge, experiences, and practical beauty tips. Through her consultancy, she empowers individuals to embrace their unique beauty, offering tailored guidance that boosts both self-esteem and personal style.
Professional Focus
- Specializes in makeup, hairstyling, and beauty consulting.
- Provides personalized beauty advice, tips, and techniques to help individuals feel confident in their appearance.
- Dedicated to staying up-to-date with the latest industry trends and developments.
- Passionate about creating a comfortable and empowering experience for every client.
Education History
- University of Craft and Design – Bachelor of Fine Arts (BFA) in Woodworking and Furniture Design
- Woodworking Apprenticeships – Extensive hands-on training with skilled craftsmen to refine carpentry and furniture making techniques
- Online Courses & Masterclasses – Continued education in advanced woodworking techniques, design principles, and specialized tools
Expertise:
- Makeup artistry, hairstyling, and beauty consulting.
- Personalized beauty techniques to enhance confidence and self-expression.
- Educating clients on how to maintain their beauty routines at home.