
Are you tired of constantly losing hair ties or running out at inconvenient times? Or you may want to try something different with your hairstyle.
Tying a braid without a hair tie might seem challenging initially, but it’s a simple and valuable technique that anyone can master with some practice. Whether you find yourself without a hair tie or looking for a more natural and seamless hairstyle, this method can come in handy. By using the structure of the braid itself to secure your hair, you can achieve a neat, stylish look without the need for extra accessories.

This guide on how to tie a braid without a hair tie will walk you through the steps to create a secure braid that stays in place, even without a hair tie.
What Are the Benefits of Tying a Braid Without a Hair Tie?
There are several benefits to learning how to tie a braid without a hair tie. Here are some of the most notable ones:
- Convenience: By eliminating the need for a hair tie, you no longer have to worry about losing or running out of them.
- Saves Money: Instead of constantly buying new hair ties, you can use this method and save money in the long run.
- More Natural Look: Sometimes, a hair tie can create a prominent band around your hair that might not blend well with your hairstyle. Tying a braid without a hair tie allows a more seamless and natural look.
- Works for Different Hair Types: This method can be used on all hair types, whether thick or thin, curly or straight.
- Less Strain on Hair: Tight hair ties can cause strain and damage to your hair. Tying a braid without a hair tie allows for a gentler hold on your hair.
Once you master this technique, you can also experiment with different types of braids to create unique and versatile hairstyles without the need for a hair tie.
What Will You Need?
To tie a braid without a hair tie, you only need two things:
- Your Hair: This method will work on any length of hair.
- Bobby Pins: Bobby Pins will secure the braid.
Only two simple items are needed, making this method accessible and easy for anyone to try.
10 Easy Steps on How to Tie a Braid Without a Hair Tie
Step 1: Prepare Your Hair
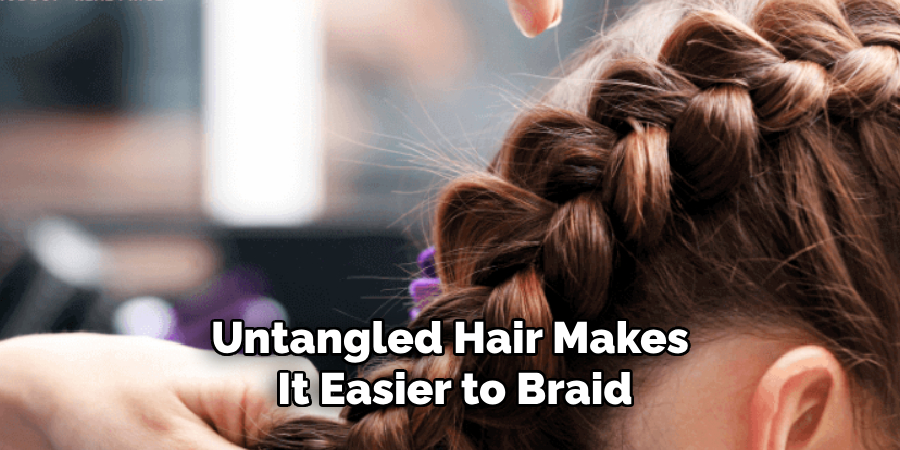
Start by brushing or combing your hair thoroughly to remove any tangles or knots. Smooth, untangled hair makes it easier to braid and ensures a polished final look. If your hair is naturally frizzy or prone to flyaways, consider applying a small amount of hair serum or leave-in conditioner to help manage and smooth out the strands.
You can also lightly dampen your hair with water if doing so suits your hair texture, as this can provide extra grip for braiding. Preparing your hair correctly will make the rest of the process much easier and result in a cleaner, more secure braid.
Step 2: Divide Your Hair Into Sections
Using your fingers, divide your hair into three equal sections. Hold one section in your left hand and one in your right hand, and allow the middle section to rest naturally. Ensure the sections are even in size to create a balanced, uniform braid. Taking care of this step will help maintain symmetry throughout the braiding process.
Step 3: Begin Crossing the Sections
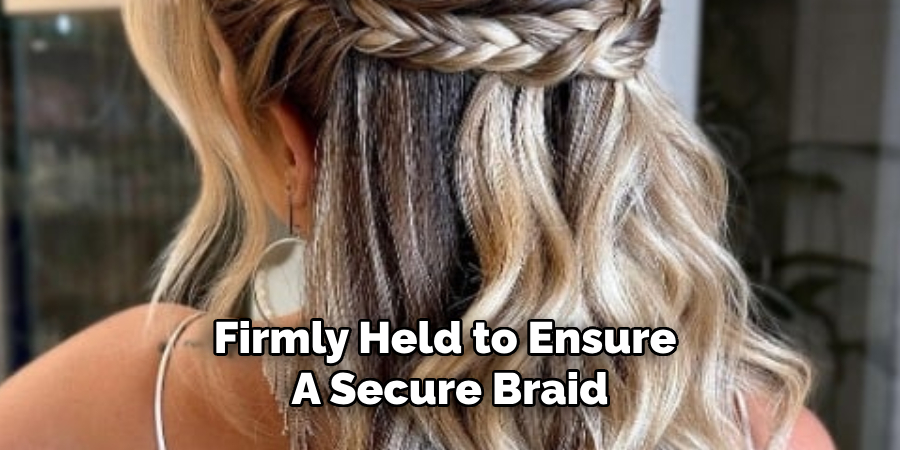
Start braiding by crossing the right section of hair over the middle section. The right section will now become the middle section. Next, cross the left section over the new middle section. Repeat this pattern, crossing the right and left sections over the middle. Keep the sections tight and firmly held to ensure a secure braid. Continue this process until you reach the end of your hair.
Step 4: Secure the End of the Braid
Secure the end with a hair tie or elastic band once you’ve braided down to the tip of your hair. Choose a band that is snug but gentle on your hair to avoid breakage. Make sure the end is tight enough to prevent the braid from unraveling. If desired, gently loosen the braid slightly for a softer, more relaxed look.
Step 5: Add Finishing Touches
Now that your braid is secure, it’s time to add the finishing touches to perfect your look. Start by inspecting the braid for any uneven sections or loose strands that may stick out. Use a fine-tooth comb or your fingers to gently tuck these strands back into the braid or smooth them down. If you’d like, you can apply a small amount of hair serum or smoothing cream to give your braid a polished, glossy finish.
Consider accessorizing your braid with decorative items such as ribbons, hairpins, or small charms that complement your outfit or the occasion for a touch of style. You can also gently pull on each braid section to create a fuller, voluminous appearance, often referred to as “pancaking” the braid. These minor adjustments can make a significant difference, elevating your braid from simple to stunning.
Step 6: Secure Your Style
To ensure your braid lasts throughout the day, lightly mist it with a flexible-hold hairspray. This will help keep flyaways in check without making the braid feel too stiff or sticky. For an extra layer of security, especially for longer or more intricate braids, you can use small, clear elastic bands at the end of the braid or add discreet bobby pins to anchor it in place. This step is crucial if you’re planning to wear your braid for an extended period or during an active event. Properly securing your braid maintains your style and keeps you looking effortlessly put together.
Step 7: Finishing Touches
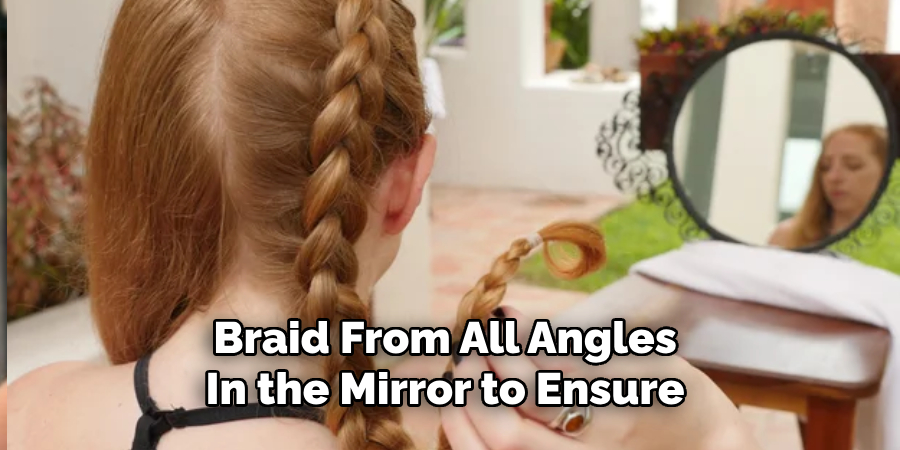
Once your braid is secured, add a personal touch to complete your look. For a romantic flair, consider incorporating accessories such as decorative hairpins, ribbons, or small flowers. Another option is to wrap a strand of hair around the elastic band at the end of the braid to conceal it, creating a polished and seamless finish. Take a moment to check your braid from all angles in the mirror to ensure it looks balanced and neat. These final adjustments help enhance your braid, taking it from practical to perfectly styled.
Step 8: Caring for Your Braid
To ensure your braid stays intact and looks fresh throughout the day, it’s essential to care for it properly. Lightly spritz your braid with a flexible hold hairspray to tame flyaways without stiffening your hair. If you notice any loose strands or sections unraveling, re-secure them with pins or gently tighten the braid. Avoid excessively pulling or adjusting your braid once it’s styled to prevent hair damage. With these simple care tips, your braid will remain chic and comfortable, no matter the occasion.
Step 9: Removing Your Braid
When it’s time to remove your braid, gently handle your hair to avoid unnecessary breakage or tangles. Start by removing any pins or accessories, then carefully undo the braid from the bottom upwards, section by section. Use your fingers or a wide-tooth comb to make this process smoother instead of pulling apart the hair. Once the braid is undone, take a few moments to brush out your hair and detangle it completely. Apply a nourishing hair serum or oil to restore moisture and leave your hair feeling soft and healthy.
Step 10: Maintaining Healthy Hair Post-Braiding
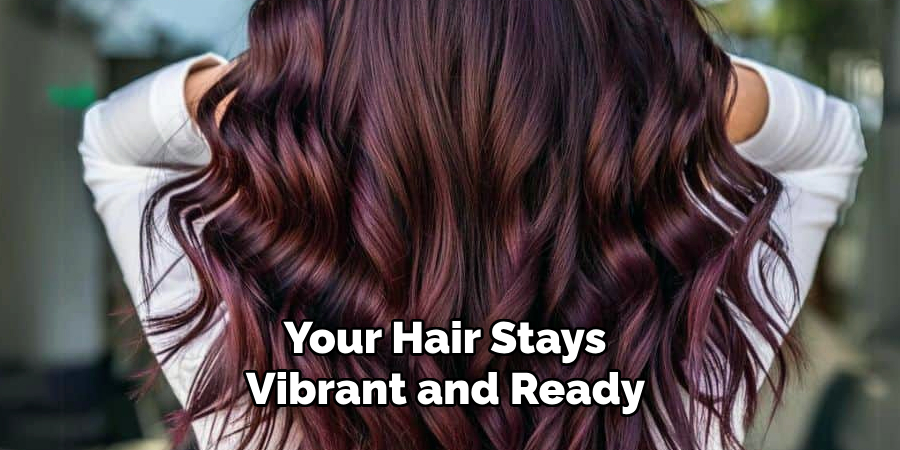
After removing your braid, it’s essential to maintain the health of your hair by following a proper aftercare routine. Begin by washing your hair with a gentle, sulfate-free shampoo to cleanse any product buildup or residue. Follow this with a hydrating conditioner to replenish moisture and prevent dryness. For added nourishment, consider using a deep conditioning treatment or hair mask once a week. Regular trims to remove split ends and using heat styling tools sparingly can also help keep your hair strong and healthy. These steps will ensure your hair stays vibrant and ready for your next braided look.
By following these steps, you can confidently create a beautiful braid that elevates your style.
5 Things You Should Avoid
- Over-tightening the braids: Avoid pulling the strands too tightly while braiding. This can cause unnecessary tension on the scalp, leading to discomfort or even hair breakage. Keep the braid snug but not overly tight for a comfortable hold.
- Using Uneven Sections of Hair: Make sure the sections of hair you use for the braid are even in size. Uneven sections can result in an unbalanced, messy braid. Use a comb to help divide your hair into equal sections before braiding.
- Skipping Steps: Follow the proper steps for braiding to achieve the desired style. Skipping steps can result in an incomplete or unsatisfactory braid. Take your time and follow each step carefully for a neat and polished look.
- Neglecting Moisture: Braids can dry out your hair, especially if left in for an extended time. Make sure to moisturize your scalp and hair regularly while wearing braids to keep them healthy and hydrated.
- Using Harsh Hair Ties: Avoid tight rubber bands or harsh hair ties when securing your braids. These can cause breakage and damage to the hair. Opt for gentle, snag-free hair ties or elastic bands designed explicitly for braiding.
Conclusion
Braiding is a versatile and stylish way to keep your hair out of your face while still looking put-together.
By following these steps on how to tie a braid without a hair tie, you can create a beautiful braid that lasts all day and maintains the health of your hair. With a bit of practice, you’ll be able to master different braided styles and effortlessly incorporate them into your everyday or special occasion looks.
Remember to have fun experimenting with different braid variations, accessorizing options, and adding a personal touch to make each braid uniquely yours. Happy braiding! So go ahead and try it – you never know, braids might just become your new favorite hairstyle!
About the Author
Jane Hubbard is a passionate beauty expert with a wealth of experience in makeup, hair, and overall beauty techniques. After years of working as a hairdresser specialist, she followed her entrepreneurial spirit and started her own consultancy business.
Jane has always been driven by her desire to help others feel confident in their own skin, and she does this by sharing her knowledge, experiences, and practical beauty tips. Through her consultancy, she empowers individuals to embrace their unique beauty, offering tailored guidance that boosts both self-esteem and personal style.
Professional Focus
- Specializes in makeup, hairstyling, and beauty consulting.
- Provides personalized beauty advice, tips, and techniques to help individuals feel confident in their appearance.
- Dedicated to staying up-to-date with the latest industry trends and developments.
- Passionate about creating a comfortable and empowering experience for every client.
Education History
- University of Craft and Design – Bachelor of Fine Arts (BFA) in Woodworking and Furniture Design
- Woodworking Apprenticeships – Extensive hands-on training with skilled craftsmen to refine carpentry and furniture making techniques
- Online Courses & Masterclasses – Continued education in advanced woodworking techniques, design principles, and specialized tools
Expertise:
- Makeup artistry, hairstyling, and beauty consulting.
- Personalized beauty techniques to enhance confidence and self-expression.
- Educating clients on how to maintain their beauty routines at home.