
Are you considering dyeing your hair green? Then you’ve come to the right place! In this guide, we will discuss how to tone green hair.
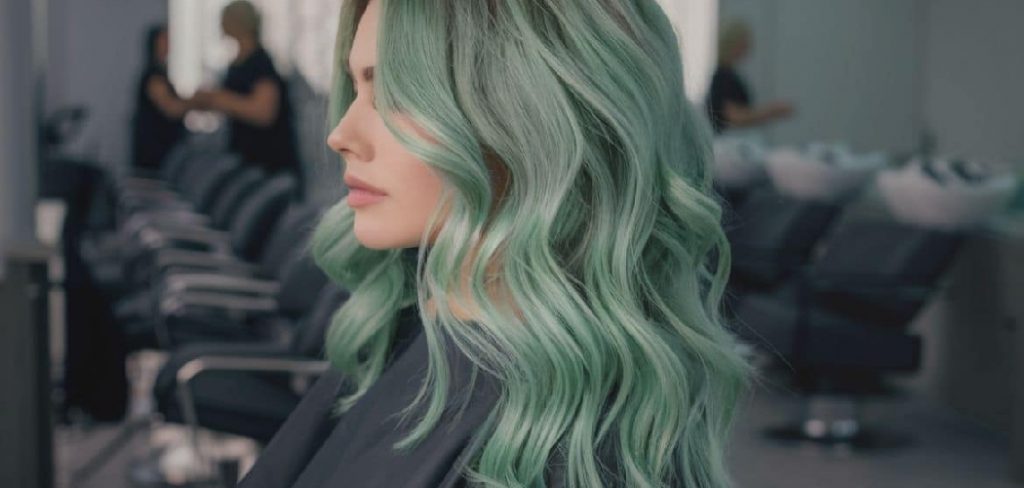
If you’ve found yourself with unwanted green tones in your hair, don’t worry—it’s a common issue, especially for those with blonde or light-colored hair. Whether it’s due to chlorine exposure, mineral buildup, or a hair dye mishap, toning green hair is entirely possible and can bring back your desired hair color.
This guide’ll explore effective techniques and products to help you tone and neutralize those green hues, restoring your hair to its natural or desired shade. Say goodbye to green and hello to beautiful, vibrant locks! Let’s get started.
What Are the Benefits of Toning Green Hair?
Toning green hair has several benefits, including:
- Restore Your Hair: As mentioned, green tones in hair can be caused by various factors. Regardless of the cause, toning your hair can help bring back its natural or desired color.
- Even Hair Color: Toning can help out any uneven hair color from a dye mishap or mineral buildup. This makes it an ideal solution for those with patchy or splotchy hair colors.
- Brighten Your Hair: Green tones dull and darken your hair’s overall appearance. By toning and neutralizing them, you can make your locks look brighter, healthier, and more vibrant.
- Long-Lasting Results: Toning products are designed to remove unwanted tones and deposit color pigments, ensuring long-lasting results. This means you can enjoy your desired hair color for an extended period without worrying about green hues showing up again.
These are just some of the benefits of toning green hair. Now, let’s dive into how to tone your hair at home effectively.
What Will You Need?
To begin with, you’ll need a few supplies to help you effectively tone green hair:
- A Purple or Blue Toning Shampoo and Conditioner: These are specially formulated to neutralize yellow, orange, and green tones in hair.
- A Deep Conditioner: This will help nourish and repair any potential damage caused by the toning process.
- White Vinegar: This common household ingredient can help remove mineral buildup from your hair.
- A Shower Cap: This will be used during toning to lock in moisture and heat for better results.
- Gloves: To avoid staining your hands during the toning process.
- A Wide-Tooth Comb: This can be helpful in evenly distributing toning products through your hair.
- A Towel: Protect your clothes and surfaces from potential product spills.
- Hair Dye Brush: This will make it easier to apply toning products onto specific sections of your hair.
Once you have these supplies, you’re ready to begin the toning process!
10 Easy Steps on How to Tone Green Hair
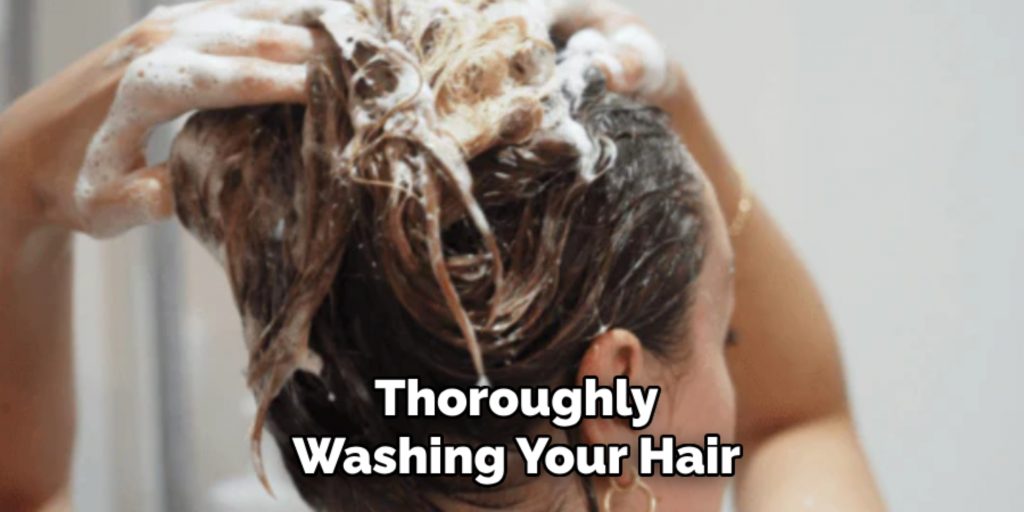
Step 1: Prepare Your Hair
Start by thoroughly washing your hair with a clarifying shampoo. This will help remove any residues, such as chlorine or product buildup, that might interfere with the toning process. Rinse your hair well and gently towel-dry it until it’s damp but no longer dripping. Preparing your hair ensures the toning products will be more effective and evenly applied.
Step 2: Apply the Toning Shampoo
Wear gloves to protect your hands and evenly distribute a generous amount of purple or blue toning shampoo through your damp hair. Focus on the green tones areas, gently massaging the shampoo into your strands. For more intense toning, you can leave the shampoo on your hair for a few minutes, as instructed on the product label.
Step 3: Rinse Thoroughly
Rinse your hair thoroughly with lukewarm water to remove all traces of the toning shampoo. Ensure the water runs clear to ensure no residue is left in your hair. This step is essential, as leftover products can weigh your hair down or affect the tone unevenly. Once rinsed, gently squeeze out any excess water.
Step 4: Apply the Toning Conditioner
After rinsing out the shampoo, apply the matching toning conditioner to your hair. Focus on the mid-lengths and ends, as these areas are often more prone to damage and discoloration. Leave the conditioner on for the recommended time, usually about 3-5 minutes, to further neutralize green tones. This step tones and hydrates your hair to keep it soft and manageable.
Step 5: Rinse and Towel Dry
Rinse your hair thoroughly with lukewarm water to remove the conditioner. Be sure no residue is left behind, as this could affect the final results. Gently towel-dry your hair, ensuring it’s still a bit damp for the next steps but not dripping wet.
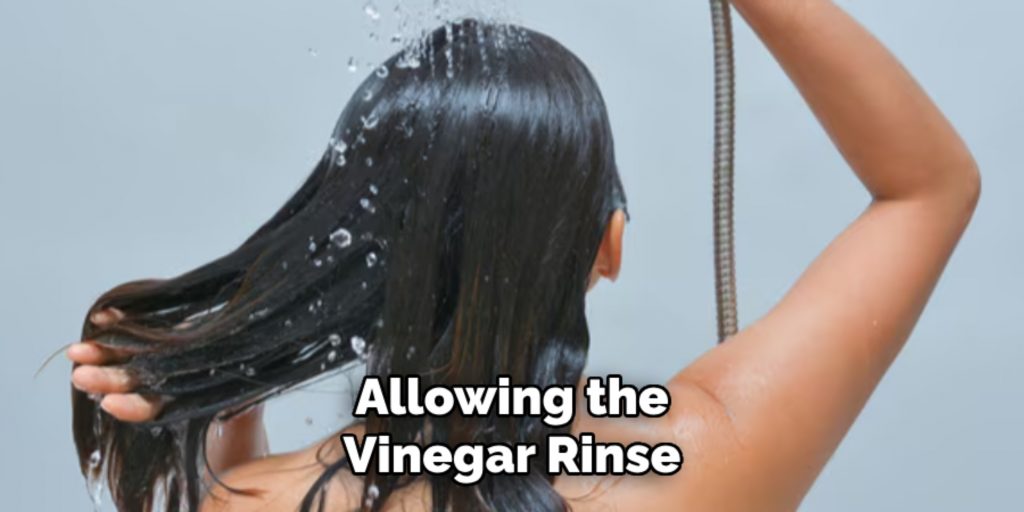
Step 6: Use a Vinegar Rinse
Mix equal parts white vinegar and water in a bowl or applicator bottle. Pour the mixture evenly over your hair, ensuring all areas are covered. Vinegar’s acidic properties can help strip away mineral buildup and further neutralize unwanted green tones. Leave the vinegar rinse on your hair for about 5-10 minutes.
Step 7: Rinse Out the Vinegar
After allowing the vinegar rinse to sit for 5-10 minutes, rinse your hair thoroughly with lukewarm water. Ensure that the vinegar is completely removed from your hair, as leaving it in can cause an unpleasant smell or irritation for some individuals. Comb through your damp hair gently to ensure no tangles before moving on to the next steps.
Step 8: Deep Condition Your Hair
Deep conditioning is essential to restore moisture, nourish, and repair your hair after the clarifying process. Choose a deep conditioning treatment that suits your hair type and apply it generously from root to tip. Massage the conditioner into your hair, ensuring all strands are coated. Cover your hair with a shower cap or wrap it in a warm towel for a more intensive treatment to help the conditioner penetrate deeply.
Leave the conditioner on for the recommended time, usually 10-15 minutes, allowing it to work its magic. Finally, rinse thoroughly with cool water to seal the hair cuticles and lock in moisture. Your hair will emerge revitalized and silky smooth, ready to showcase its natural beauty.
Step 9: Style as Desired
Once your hair has been thoroughly dried and conditioned, it’s time to style it as you like. Use a heat protectant if you plan to use styling tools such as a blow dryer, curling iron, or flat iron, as this will protect your hair from potential heat damage. You can also choose to air-dry your hair for a more natural finish.
Style your hair in a way that allows you to showcase the restored vibrancy and health of your strands. Whether you opt for sleek and straight, bouncy waves or a fun updo, your hair will look refreshed and beautiful without any green tones.
Step 10: Prevent Future Discoloration
It’s essential to take preventative steps to maintain your hair’s vibrant color and prevent green tones from coming back. If you swim frequently, consider wearing a swimming cap or using a swimmer’s shampoo to remove chlorine after swimming.
Additionally, use color-safe shampoos and conditioners that are free of harsh chemicals to avoid stripping your hair color. Regularly deep condition your hair to keep it moisturized and healthy. These precautions allow you to enjoy your beautiful hair without worrying about pesky discoloration again!
By following these simple steps and incorporating a maintenance routine, neutralizing green tones is a manageable process.
5 Things You Should Avoid
- Using Harsh Chemicals: Avoid using harsh chemicals or bleach to try to remove green tones from your hair. This can cause further damage and may not effectively solve the issue.
- Skipping a Strand Test: Always perform a strand test before attempting any hair toning methods. This will help you determine how your hair will react and prevent any unexpected results.
- Overusing Purple Shampoos: While purple shampoos can help neutralize brassiness in blonde hair, they may not be suitable for toning green hair. Overusing purple shampoos can make the green tones more prominent or result in an undesired color shift.
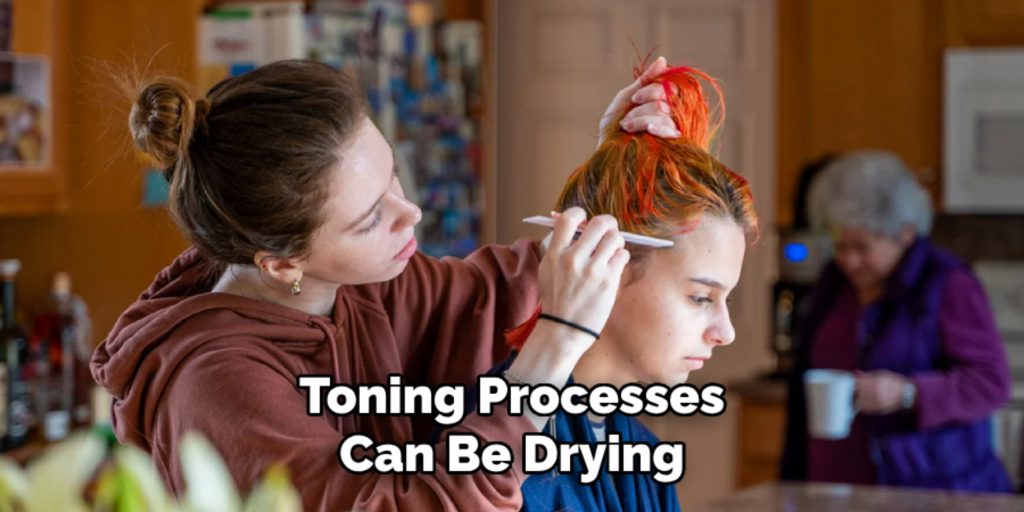
- Neglecting Moisture and Conditioning: Toning processes can be drying for the hair. To prevent further damage, it’s important to maintain moisture and nourishment by using hydrating conditioners and hair masks.
- Not Seeking Professional Help: If you need help with how to effectively tone green hair or if you have tried multiple methods without success, it is best to seek professional help from a hairstylist or color specialist. They can assess your hair condition and provide appropriate solutions to achieve the desired result while minimizing damage.
Remember, maintaining the health of your hair should always be a priority, and seeking professional advice when needed can help you achieve the best possible outcome.
Conclusion
Green tones in hair can be stubborn and frustrating, but with the right techniques and products, they can be quickly neutralized.
By following the steps outlined above and avoiding common pitfalls, you can successfully tone your hair back to its natural color or desired shade. Remember to take preventive measures to maintain your hair’s health and vibrancy, and don’t hesitate to seek professional help if needed.
Hopefully, the article on how to tone green hair has provided you with helpful tips and insights to confidently address this common hair issue. So don’t wait any longer, take action now and say goodbye to those pesky green tones for good. Your hair deserves it!
About the Author
Jane Hubbard is a passionate beauty expert with a wealth of experience in makeup, hair, and overall beauty techniques. After years of working as a hairdresser specialist, she followed her entrepreneurial spirit and started her own consultancy business.
Jane has always been driven by her desire to help others feel confident in their own skin, and she does this by sharing her knowledge, experiences, and practical beauty tips. Through her consultancy, she empowers individuals to embrace their unique beauty, offering tailored guidance that boosts both self-esteem and personal style.
Professional Focus
- Specializes in makeup, hairstyling, and beauty consulting.
- Provides personalized beauty advice, tips, and techniques to help individuals feel confident in their appearance.
- Dedicated to staying up-to-date with the latest industry trends and developments.
- Passionate about creating a comfortable and empowering experience for every client.
Education History
- University of Craft and Design – Bachelor of Fine Arts (BFA) in Woodworking and Furniture Design
- Woodworking Apprenticeships – Extensive hands-on training with skilled craftsmen to refine carpentry and furniture making techniques
- Online Courses & Masterclasses – Continued education in advanced woodworking techniques, design principles, and specialized tools
Expertise:
- Makeup artistry, hairstyling, and beauty consulting.
- Personalized beauty techniques to enhance confidence and self-expression.
- Educating clients on how to maintain their beauty routines at home.